How to Change a Light Fixture
A screwdriver and a voltage tester are your two most important tools!
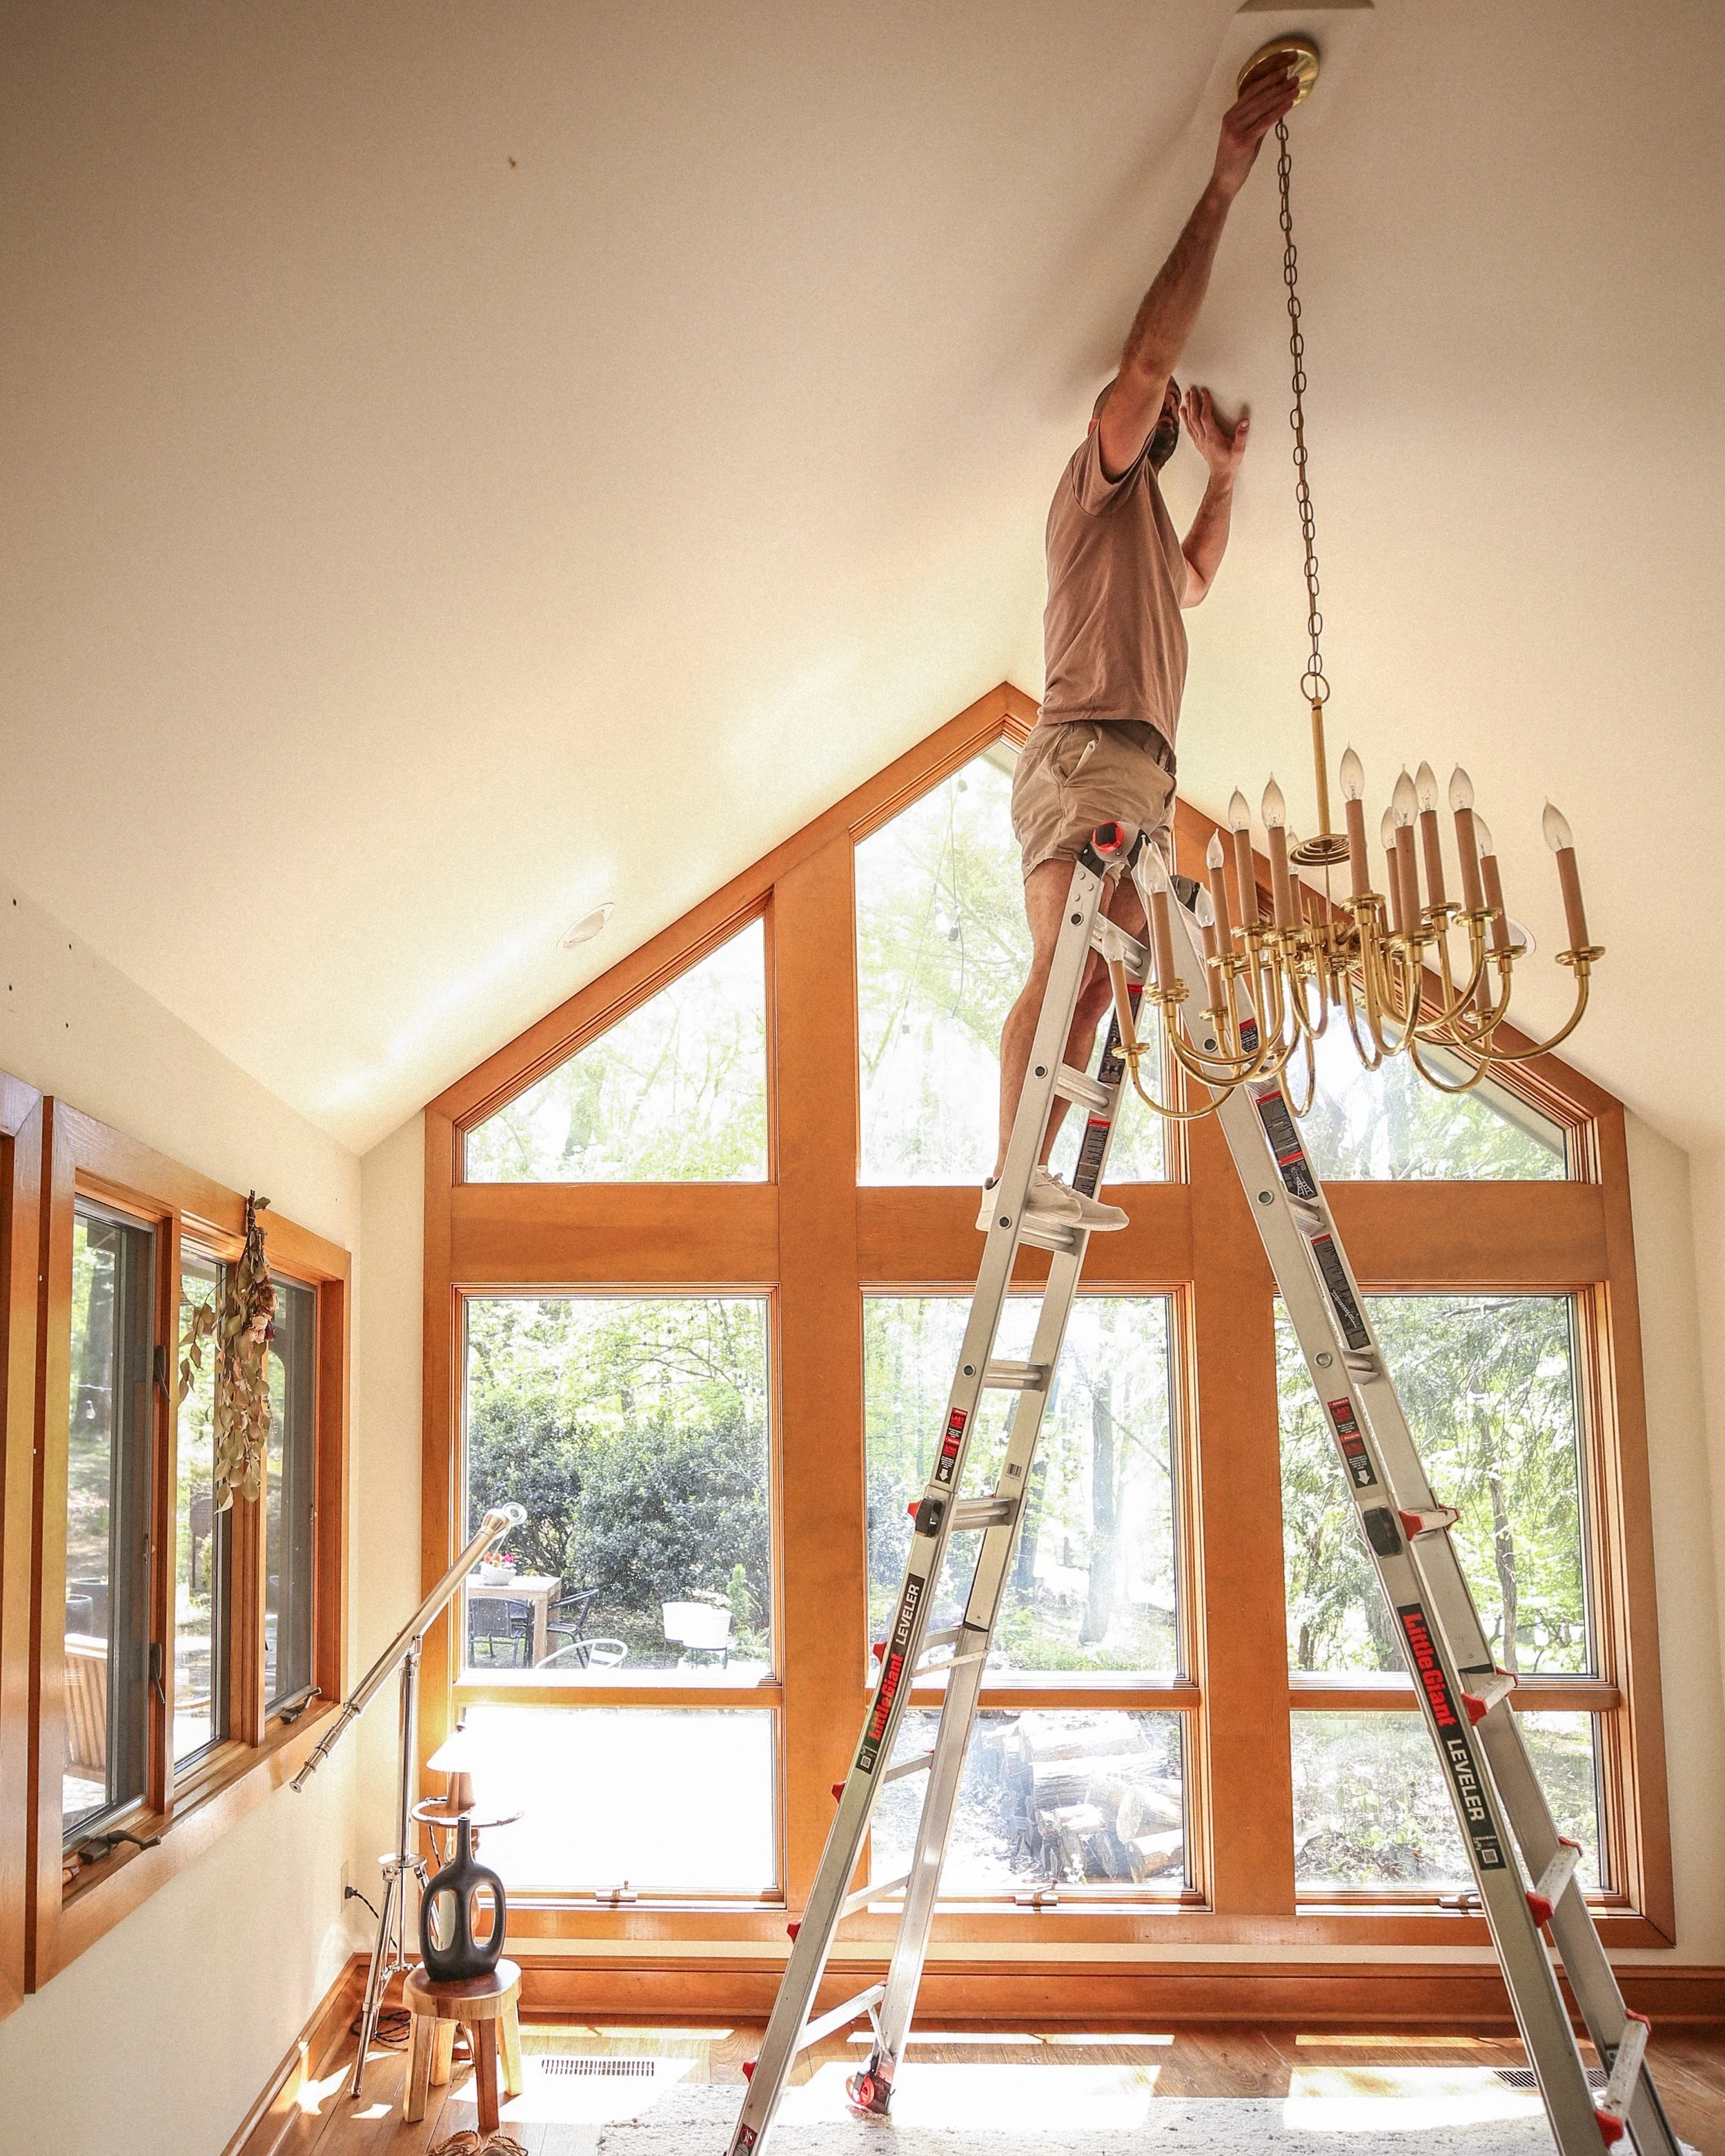
Testing to ensure that shutting off the breaker box and flipping off the switch did in fact stop the electrical current.
If you own our book Housewarming you can find this DIY on page 146!
And there’s a whole guide to lighting, terms to know, and pieces we love!
I feel like we’re about to get in a fight…
As professional evangelizers of the idea that anyone of any range of income can make any house a home through a menagerie of small alterations, a common bit of feedback we get falls along the lines of: “I’m a renter who doesn’t want to spend the money or time changing a place that I don’t own.”
And we get it! Your landlord probably sucks, you might be risking a deposit if you paint, and why would you spend $200 on a DIY in a space you’ll eventually need to leave – to leave to your shitty landlord no less!
Are we, the creators of Probably This, so out of touch with reality that we can’t even see why a renter wouldn’t want to spend time and money on changing their rental???
Doing a laundry list of DIYs to improve your rental and then leaving empty handed is frustrating… and it’s something we did in rental after rental for eight years. So fine. We GET it. You WIN!
But here’s where we’ve got you: there actually is a very specific and very impactful change you can make to your rental (or a house that you own, of course!) that you can take with you from place to place. An investment you make one time that can upgrade every new place you call home. And that change is your light fixtures.
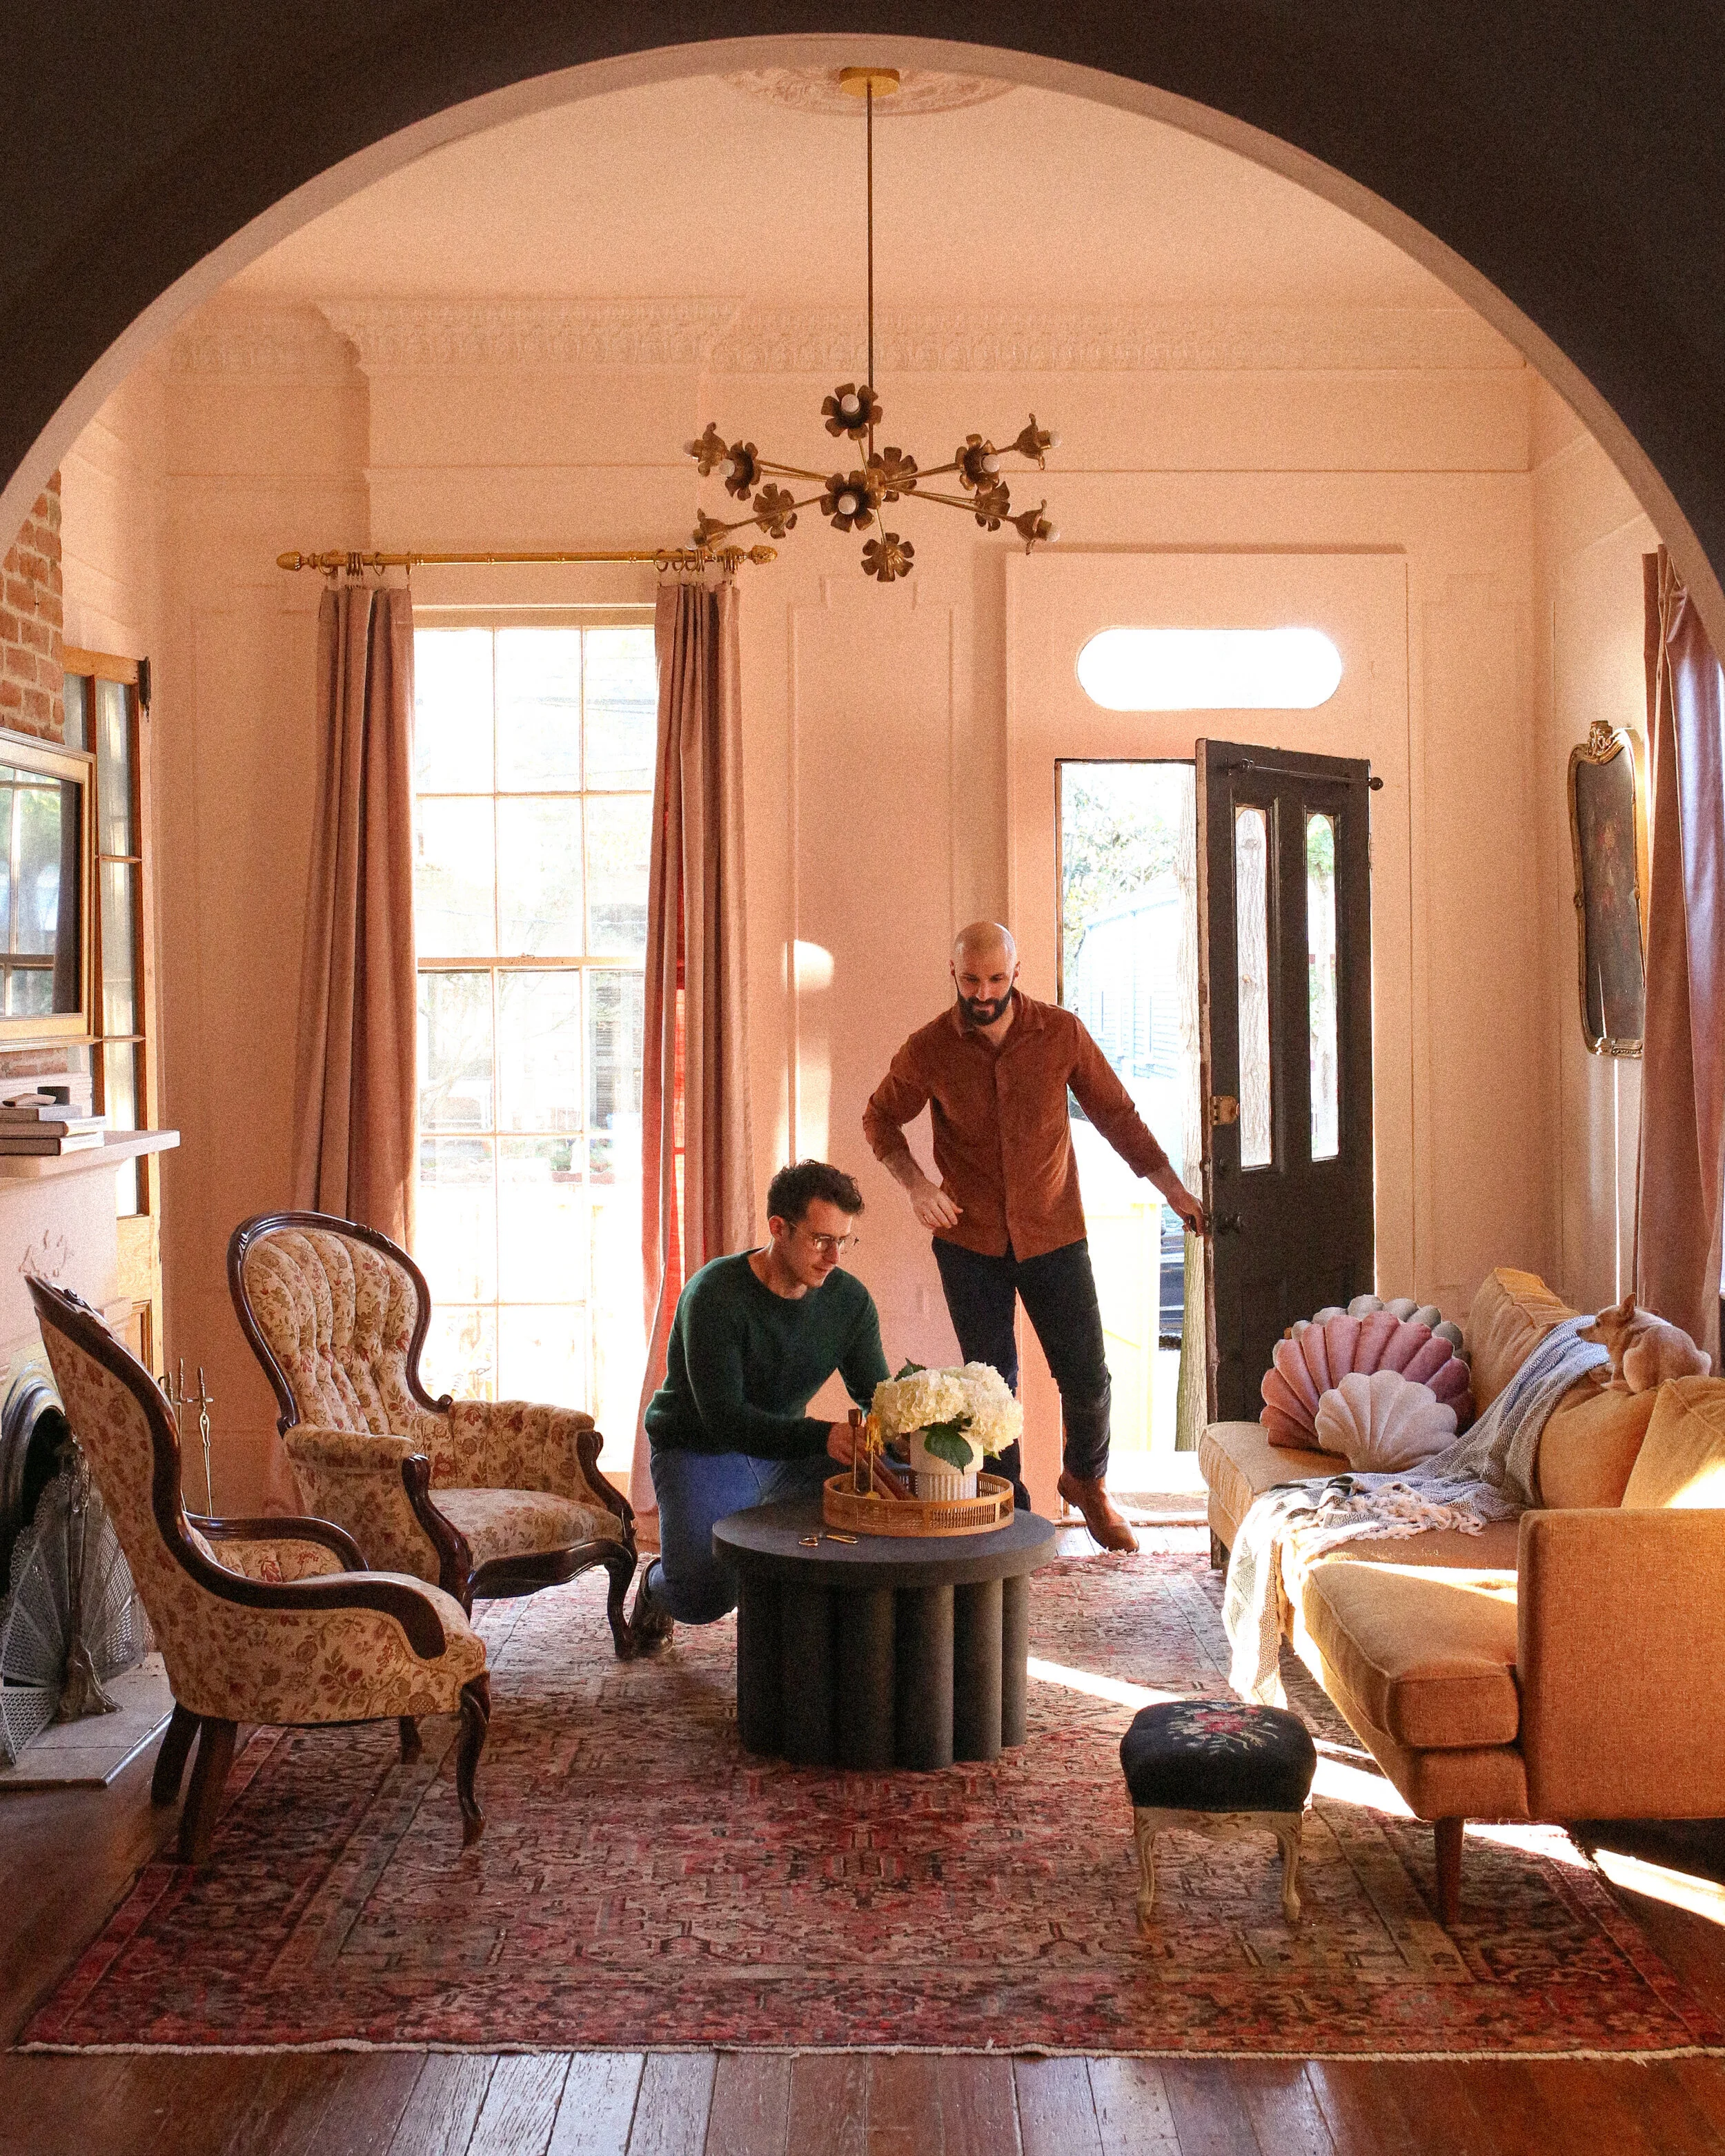
We have several light fixtures in our home we bought when we were still renting. We’d just swap out the fixtures when we moved into a rental and swap them back before leaving. The biggest headache was finding a place to store the original fixtures.
Below we’re sharing our DIY for changing out your light fixtures, from page 146 of our book, Housewarming. This is an intermediate DIY that needs to be done with extreme safety precautions, listed in the notes section. Our biggest piece of advice? If at any time in the process you feel unsafe or have trouble following the DIY due to differences in the wiring in your home: stop immediately and have a handyman or electrician come take a look for you. Do not take any risks on this DIY. It isn’t worth it!
This will come in handy once you start the DIY!
How to Change a Light Fixture (from page 146 of Housewarming: A Guide to Creating a Home You Adore)
Notes
This is probably the only DIY we’ve ever published that could literally kill you, and we can’t have that happening, so if this is something that you are uncomfortable with, shell out to have a handyman or electrician handle this — or just learn to love the lighting you currently have. Otherwise, follow the instructions extremely carefully. Most important: Turn off both the circuit breaker and the light switch, not just one or the other. Second most important: We’re only talking about switching fixtures on an existing junction box here. Don’t attempt to add a new junction box or do any other wiring modifications yourself, unless you know what you’re doing and your local guidelines permit it.
This guide assumes the fixture and junction box both have three wires — the white “neutral” wire, the black “hot” wire, and the green or copper “grounding” wire. Sometimes the fixture itself will not have a grounding wire, but instead a green grounding screw on the cross bar (labeled in image above). In these cases, the grounding wire from the junction box should be wrapped around the screw and the screw tightened securely so the fixture is properly grounded.
You’ll need:
A ladder tall enough to reach your fixture
An assistant
Screwdriver (most commonly Philips #2 and potentially a flathead for the cover plate fastener)
Your replacement light fixture
Shut it off: With the light fixture on to confirm the bulbs are in working order, turn the breaker off. Then double check you’ve switched the right breaker by flipping the interior wall switch on and off again. Have your assistant check behind you. It’s best to be sure when electricity is involved! Use your voltage tester to confirm there is no current running through the wires. Once you’re sure there is no electricity going to the fixture, the wires are safe to handle.
Remove the bad: Loosen the cover plate and slide it down to reveal the cross bar attached to the junction box. See labelled image above for what these terms are referring to. Behind the cross bar you’ll find the wires, likely tucked away; pull these down so you can handle them. You’ll see three pairs of wires: one that is black or red, one that is white, and a third that is green or copper. Remove the rubber caps connecting the fixture’s wires to the house wires of the junction box, and unwind them from each other. Start with the black or red, and finish with the green or copper. Your existing light fixture should have Phillips head screws holding its cross bar in place. Unscrew those while your assistant supports the weight of the fixture. Once the fixture has been unscrewed, your assistant can set the old fixture aside.
Bring in the good: Have your assistant hold the new light fixture in place while you screw the cross bar to the junction box. Starting with the green or copper pair, and finishing with the black or red pair, connect the wires from the fixture to the corresponding wires in the junction box. Twist the copper centers of each pair of wires around each other, and cap off each set with a rubber cap. Safety first: If your electrical box or new light fixture doesn’t have wires that match up to each other or to the instructions we’ve given here, you should stop and get professional help to make sure your replacement is electrically sound. This can sometimes be an issue in older houses and buildings. It’s less common but not impossible in newer homes. Make sure the rubber caps are secure around each pair of wires, then tuck the wrapped pairs of wires back into the junction box. Slide the cover plate up and tighten the fastener to keep it in place.
And there you have it! A new beautiful light fixture ready to illuminate your now-perfect life.
Thanks for stopping by the blog today, and let us know if you have any questions on this DIY!


![The Potting Shed: Plans, Inspo, and Progress [DIY Backyard Greenhouse & Potting Shed]](https://images.squarespace-cdn.com/content/v1/5451b54de4b0d0c075728ccb/1651625721970-50JYPR4Y0363PK26M141/Screen+Shot+2022-05-03+at+7.50.42+PM.png)


