Framed Gallery Wall: Inspiration, How-to, and Sources
People often ask us, in real life and over social media, if we ever disagree about design plans for our house. The answer is a big yes. I don’t think I’m even comfortable sharing how big a yes it is, but for any given paint color, furniture piece, or choice of moulding in our house, you’d be right to assume we argued about it. Beau always says that we agree on about 95% of stuff in this world, but that leftover 5%—almost entirely comprised of style minutia—can get dragged out for days before we reach a compromise. And that’s fine by me; we’re mostly good about keeping that stuff, which we consider “work stuff,” from getting too personal. Mostly. And often what results is a finished product that pleases both of us and solves the issues we’d seen with the other’s initial idea.
When it came to this gallery wall design, I truly fought tooth and nail to keep it intact, the way I imagined it.
Let me set the scene. Historically, this wall would have had a doorway for two huge, grand pocket doors that would divide the two rooms of a double parlor entry. What we found when we moved into this place was that the door casing had been left intact on both sides, but the pocket doors removed (sad!) and the space had been filled in with studs and drywall, separating the two rooms to create an entry office and a bedroom. This was a good floorplan choice; the house is a double shotgun that had been converted into one home, and so the building no longer needed that access between the rooms, and closing it off made way for a proper bedroom (even though we use it as a den).
On the office side of the doorway, we covered the original casing with entirely new sheetrock, completely hiding it, to make room for those huge navy built in book shelves we built last year. Beau was keen to do the same on the other side, hiding the old door frame entirely, but here’s where I really put my foot down. I thought this framed out doorway created a great opportunity to highlight the original architecture of the home in a unique way. Additionally, we’d already decided on an extremely busy floral wallpaper, and having a large painted area for art would be an easy way to break up the pattern and keep it from being too overwhelming. Still overwhelming! But not too overwhelming, you know?
I definitely made some compromises and concessions in this room! Beau and I had also disagreed about the paint color and the lighting fixtures. I ultimately felt so strongly about leaving the original architecture visible that I caved on both of those and we went with his choices for them, in exchange for me getting my way on the doorway. I’m really glad I stuck to my guns on this one, and (as it turns out) he just needed to see it finished to agree. Very pleased that he ended up liking it, because I would’ve felt like absolute crap if I’d been a brat and just turned out to be wrong anyway!
All that really needed to change about the wall was removing the white and black wallpaper, adding a more decorative door casing, and painting the whole space to match the trim of the rest of the room—Beau had chosen Sherwin-Williams Rosedust (SW 0025) for all the trim, so now that would be the base color of our gallery wall.
A quick DIY for you: to add the door casing, you’ll need your casing, paintable caulk, a miter saw, and an 18-gauge brad nailer. Assuming you’re doing this on a regular wall and not over a solid door frame, locate studs on your wall to determine where you can attach the casing. Use a miter saw to make 45 degree miter cuts on the edges of your casing so that they meet like a picture frame. Use your brad nailer to nail your casing into place, and caulk the edges for a smooth gapless transition to the wall. For extra drama, consider painting the casing a glossier finish than the wall—for instance if your wall is a satin finish, a semi-gloss or gloss finish is a subtle way to amp it up.
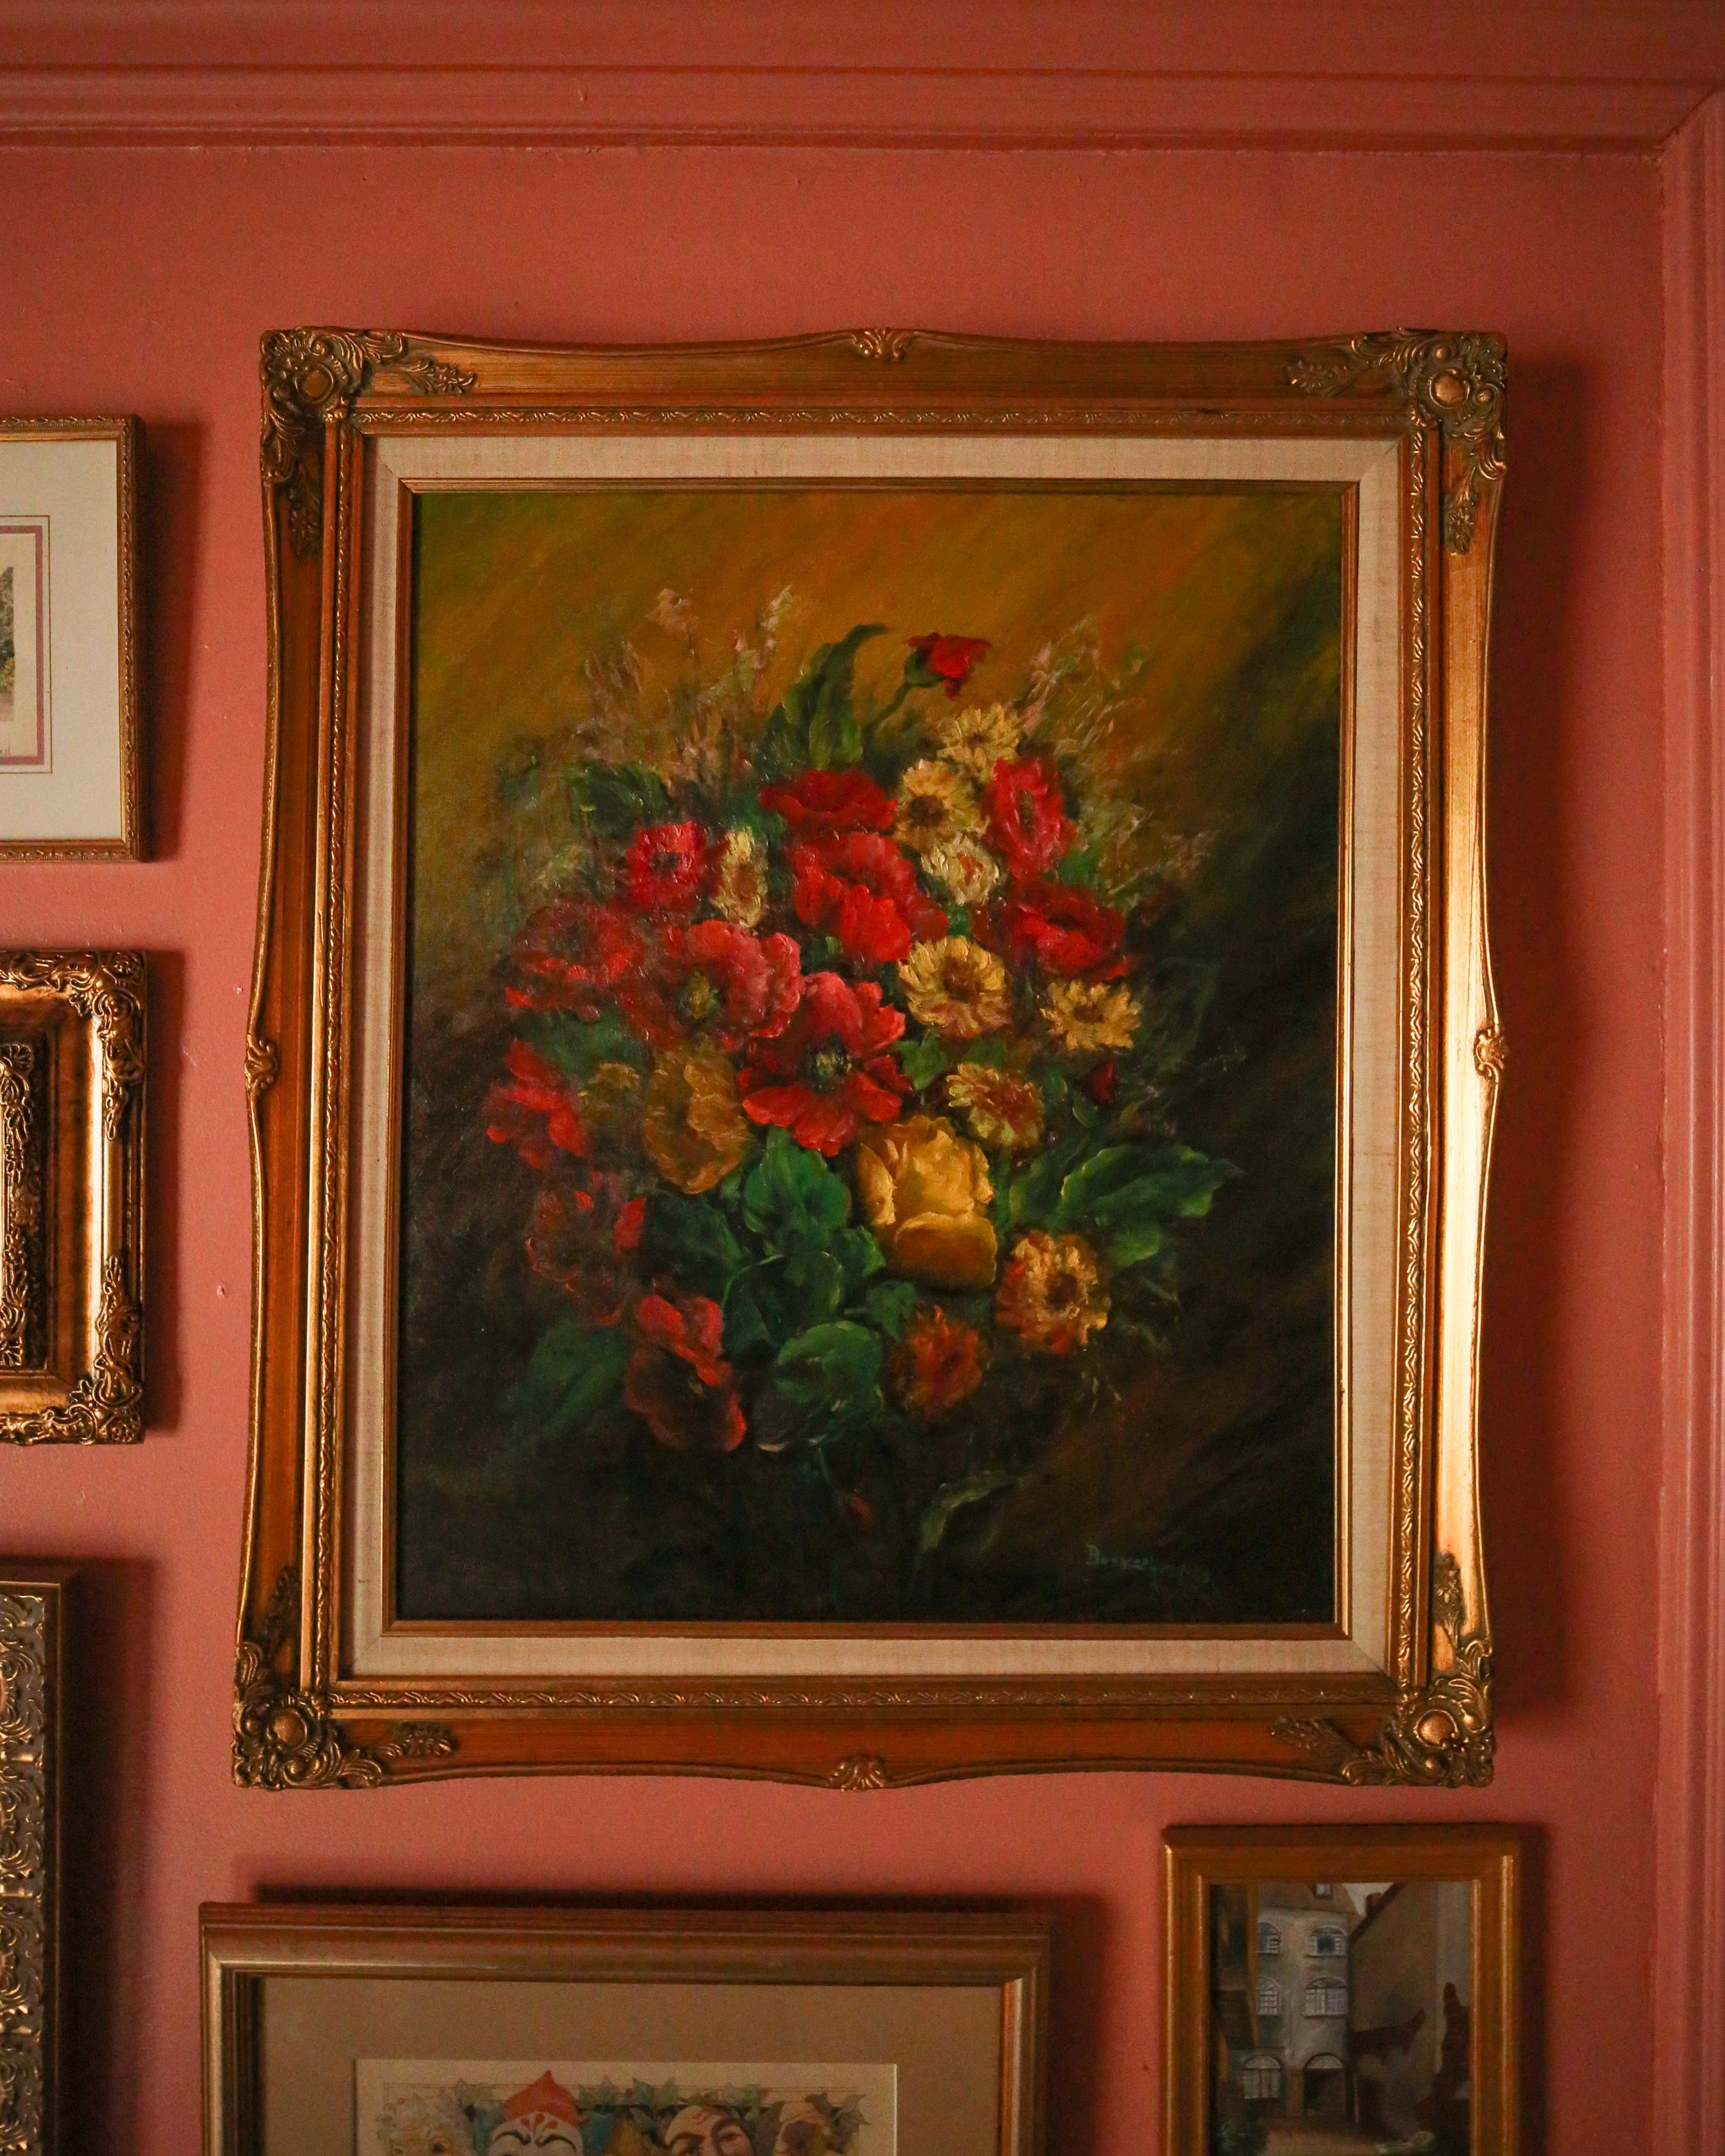
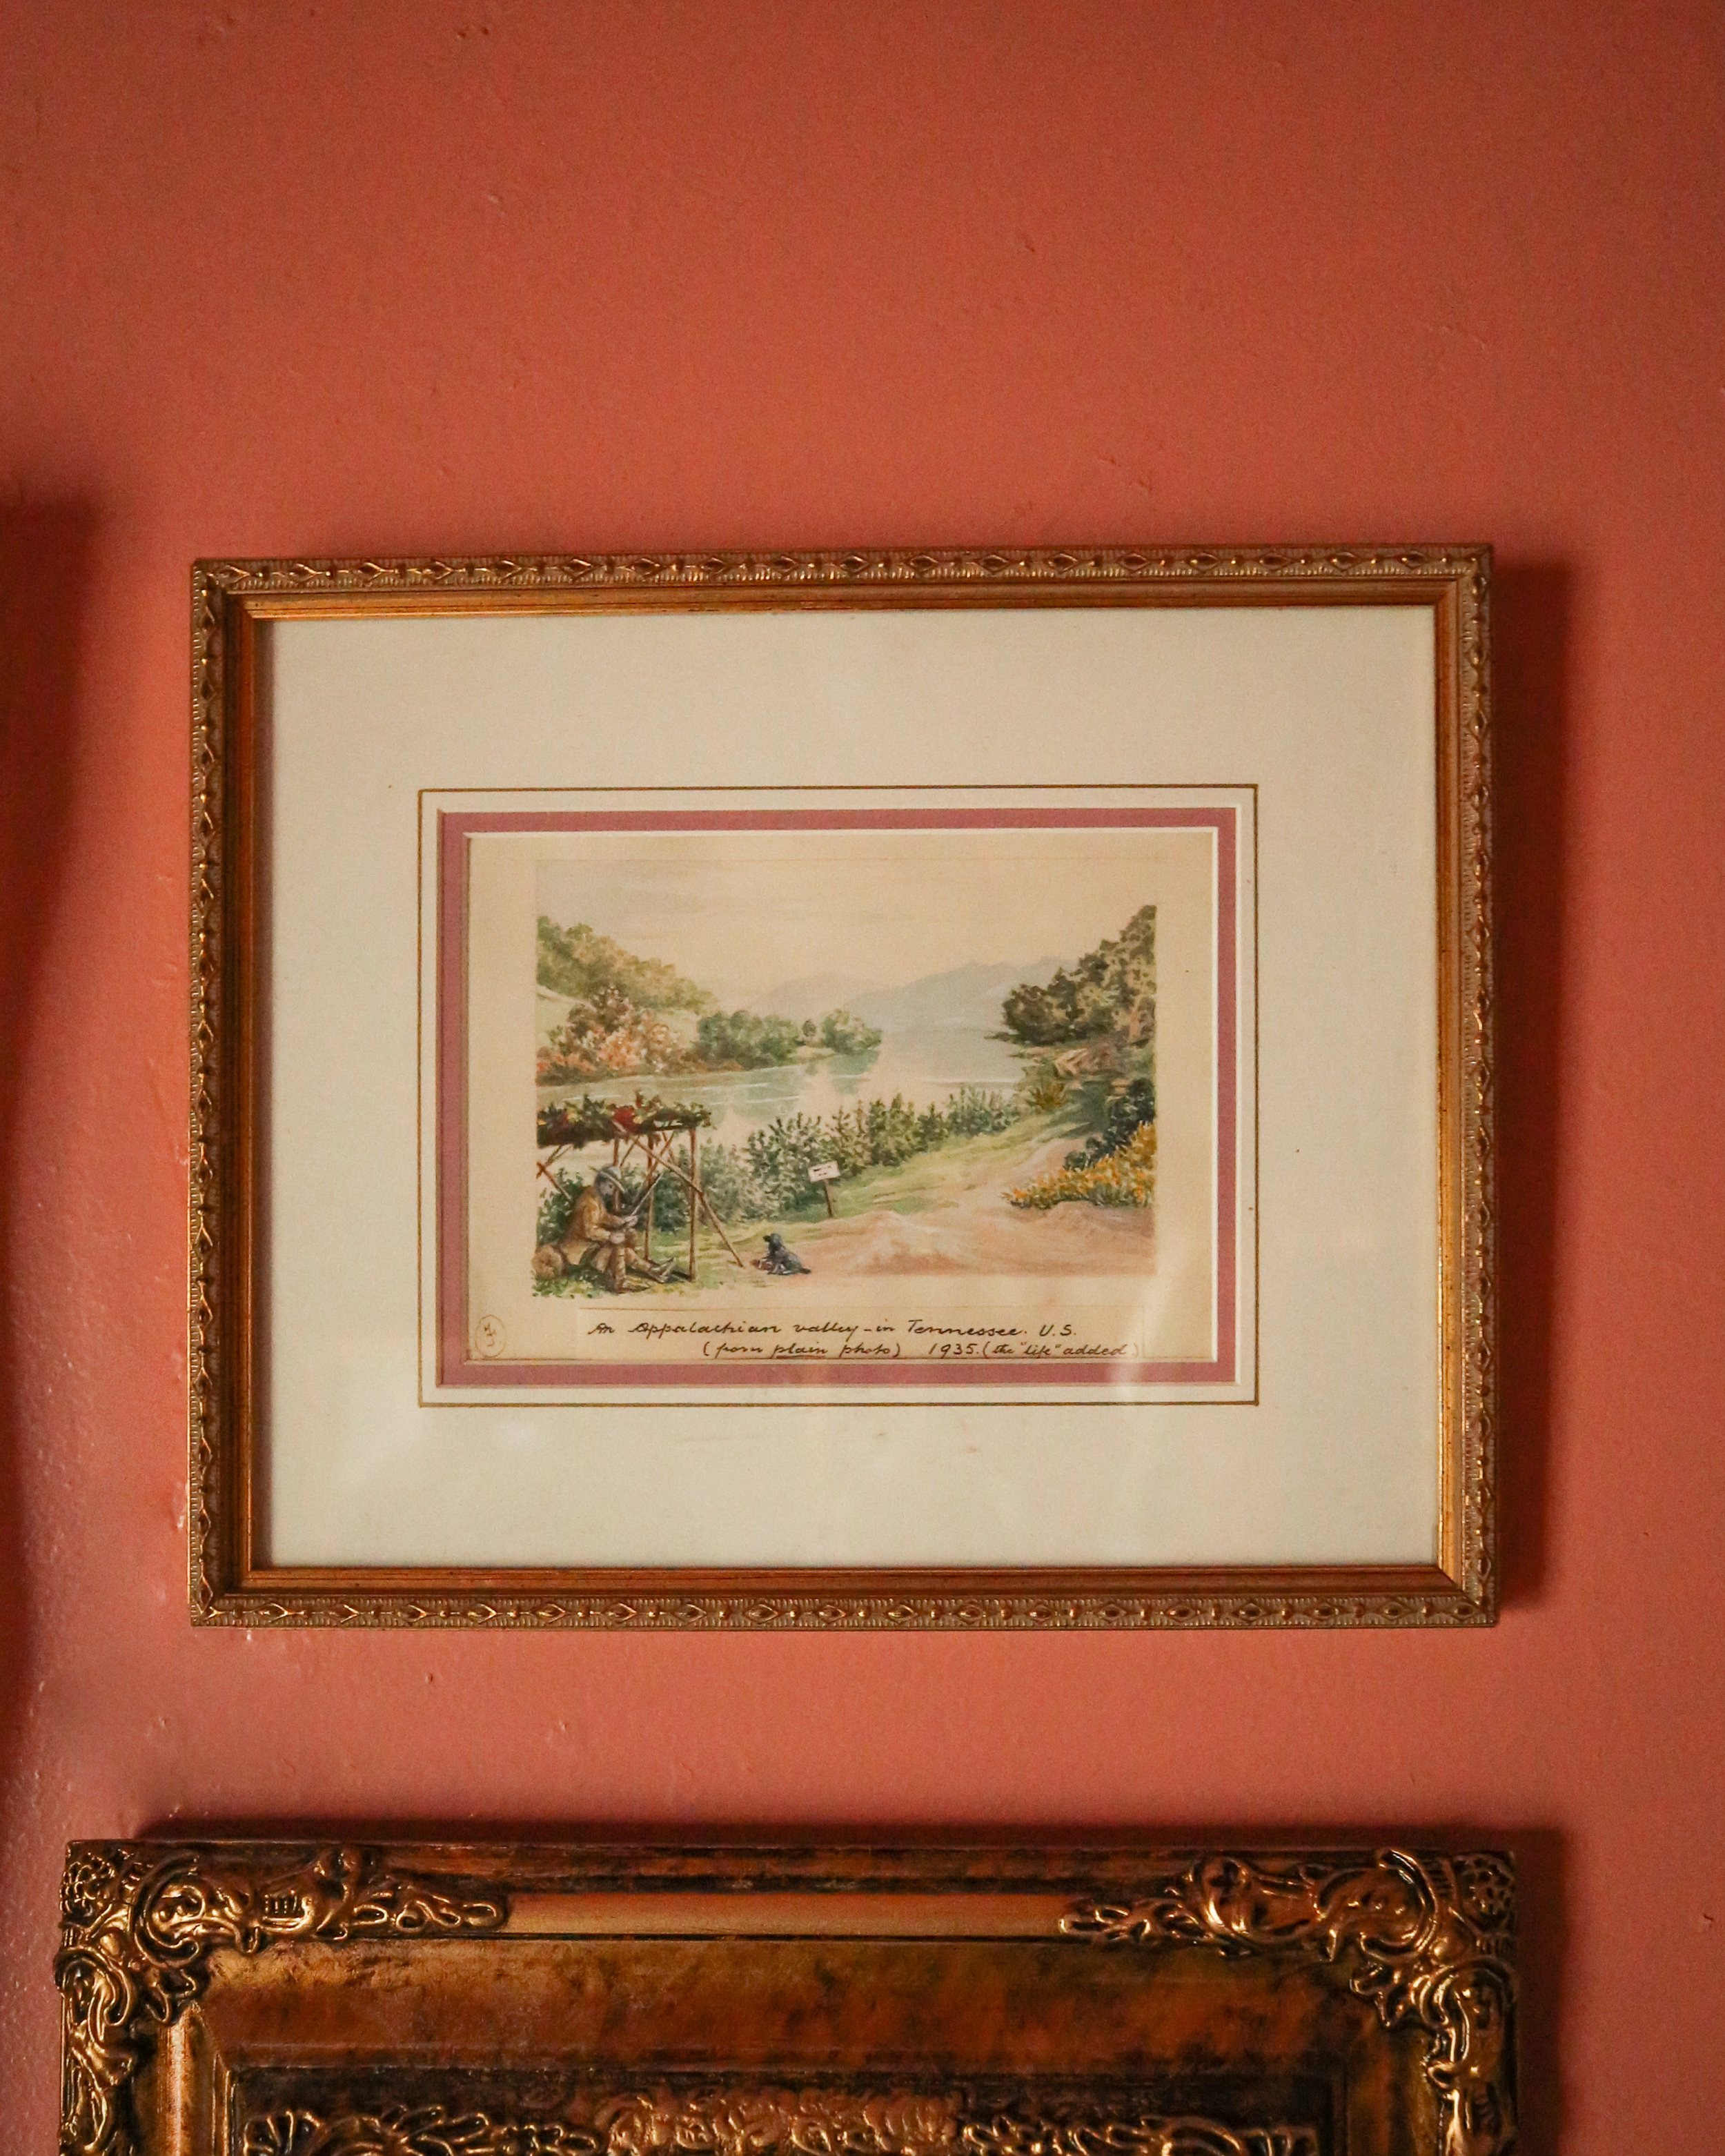
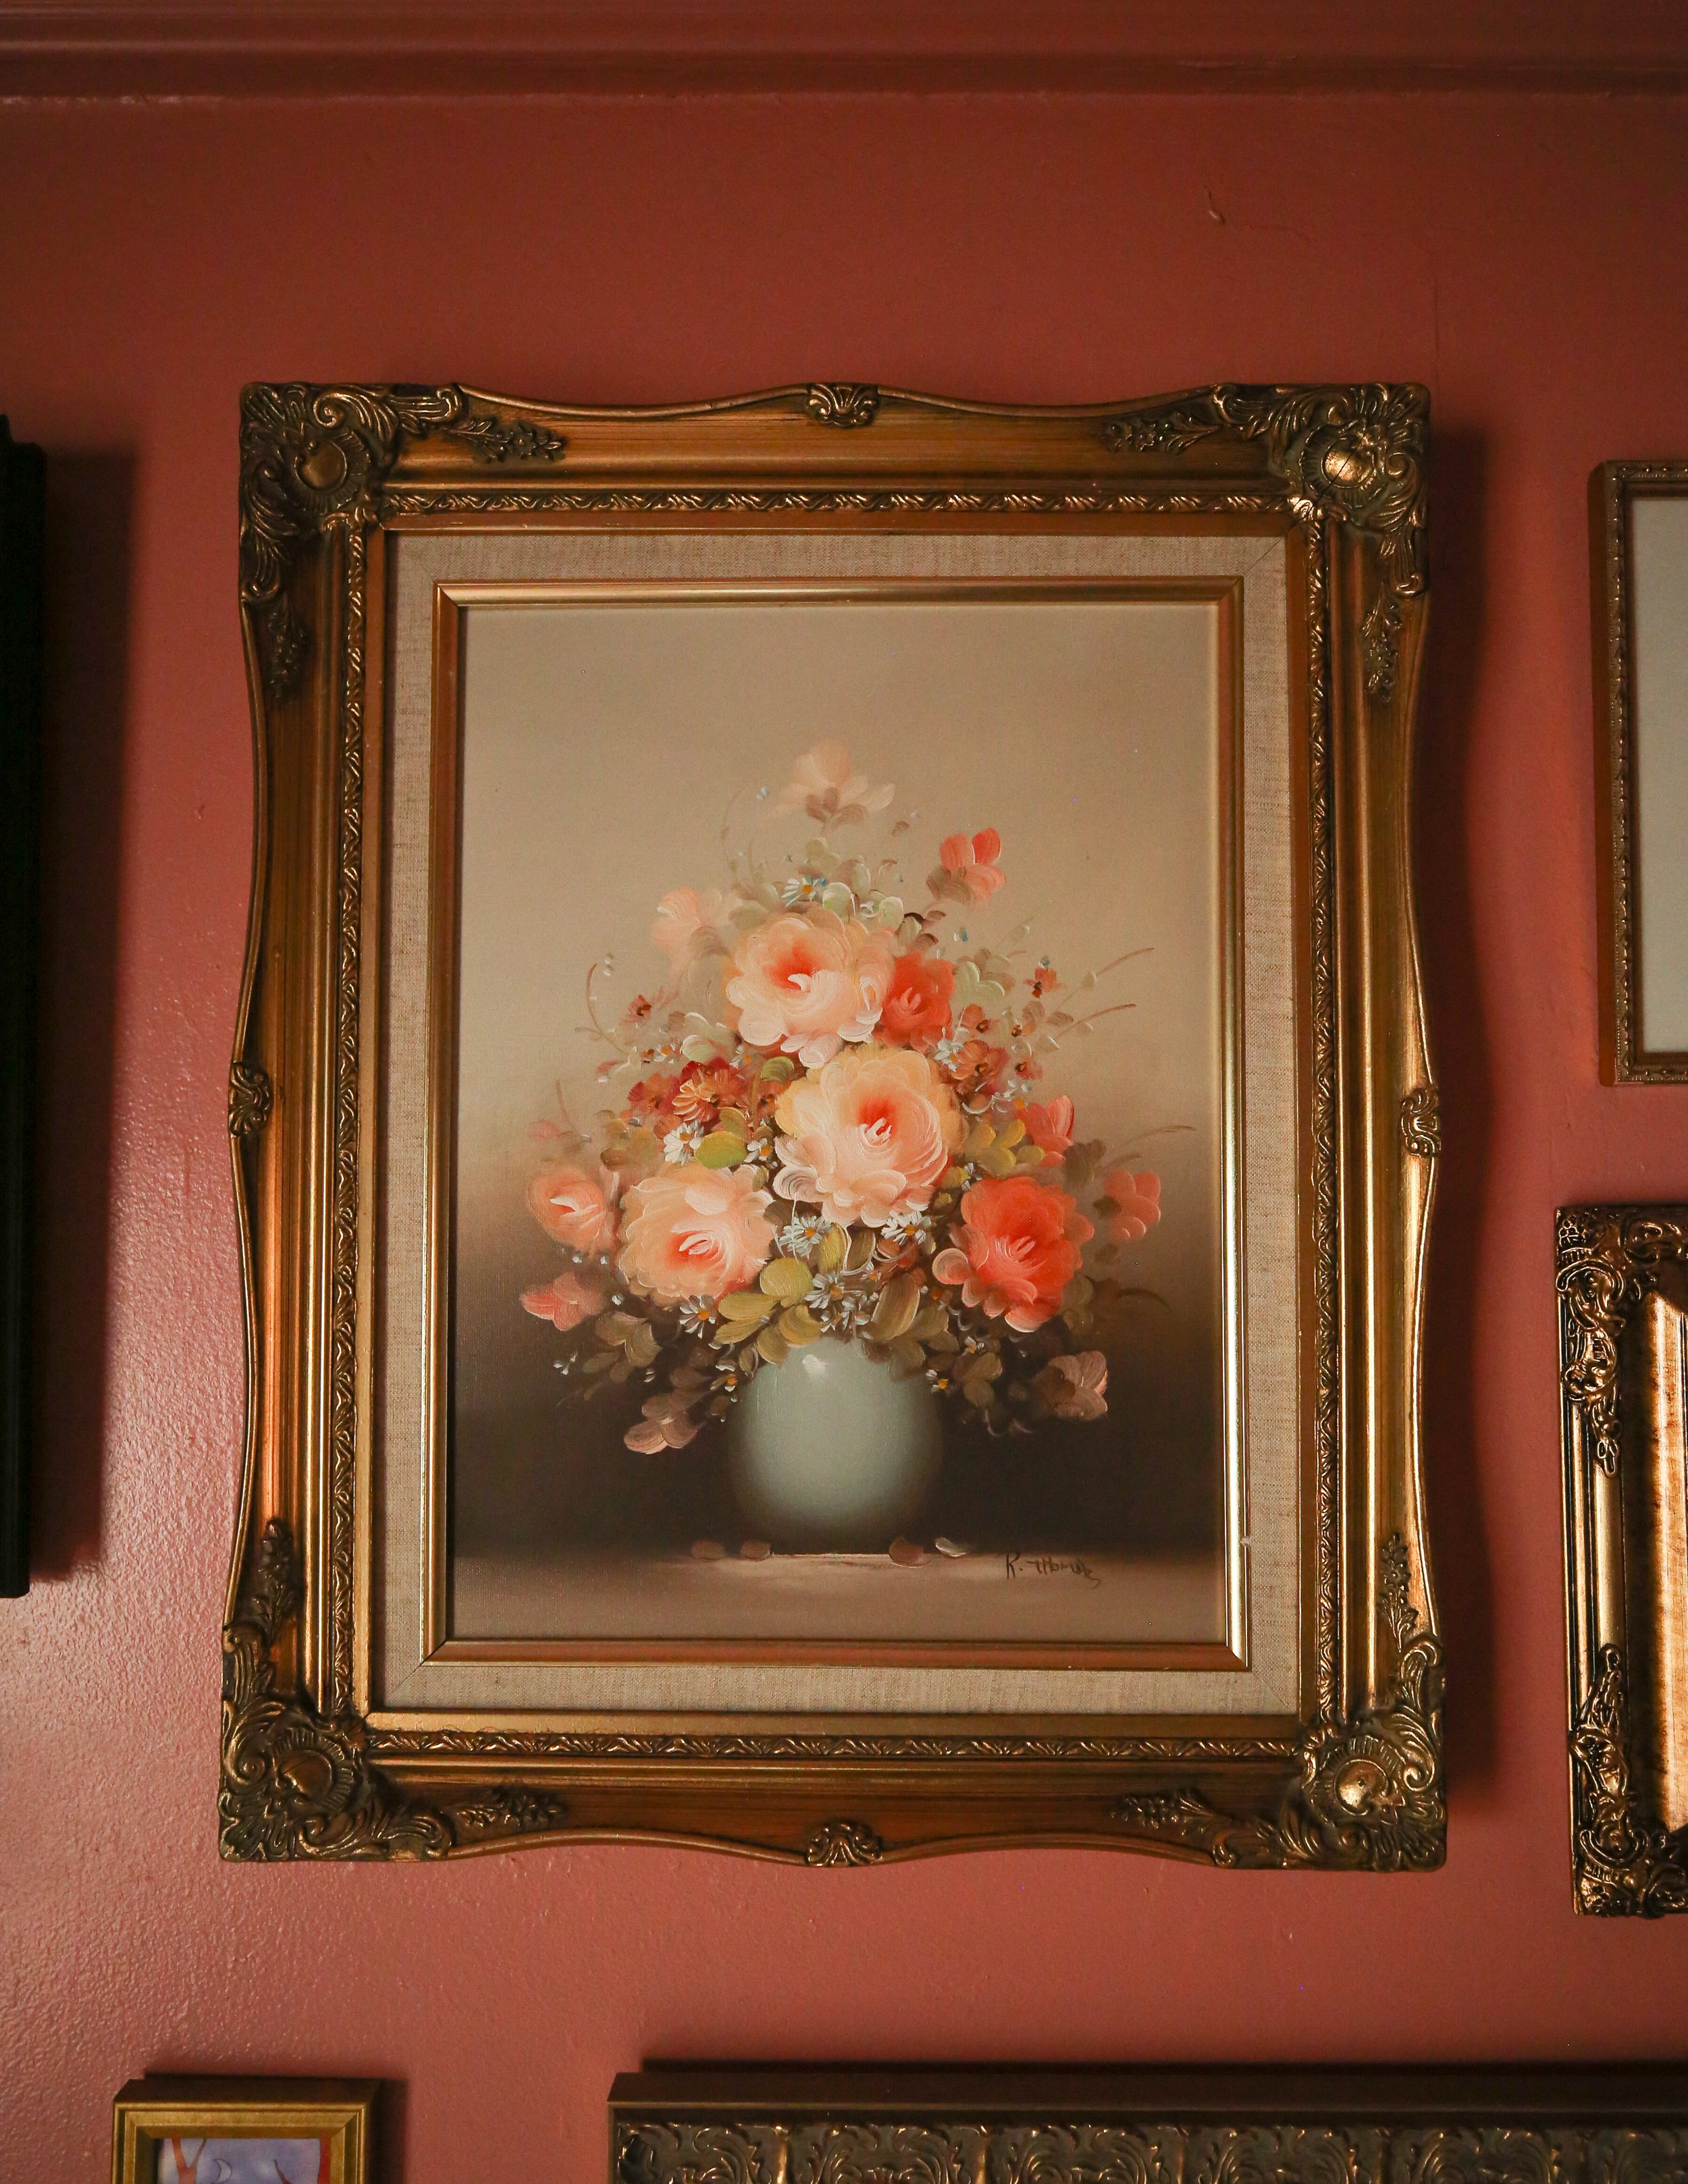
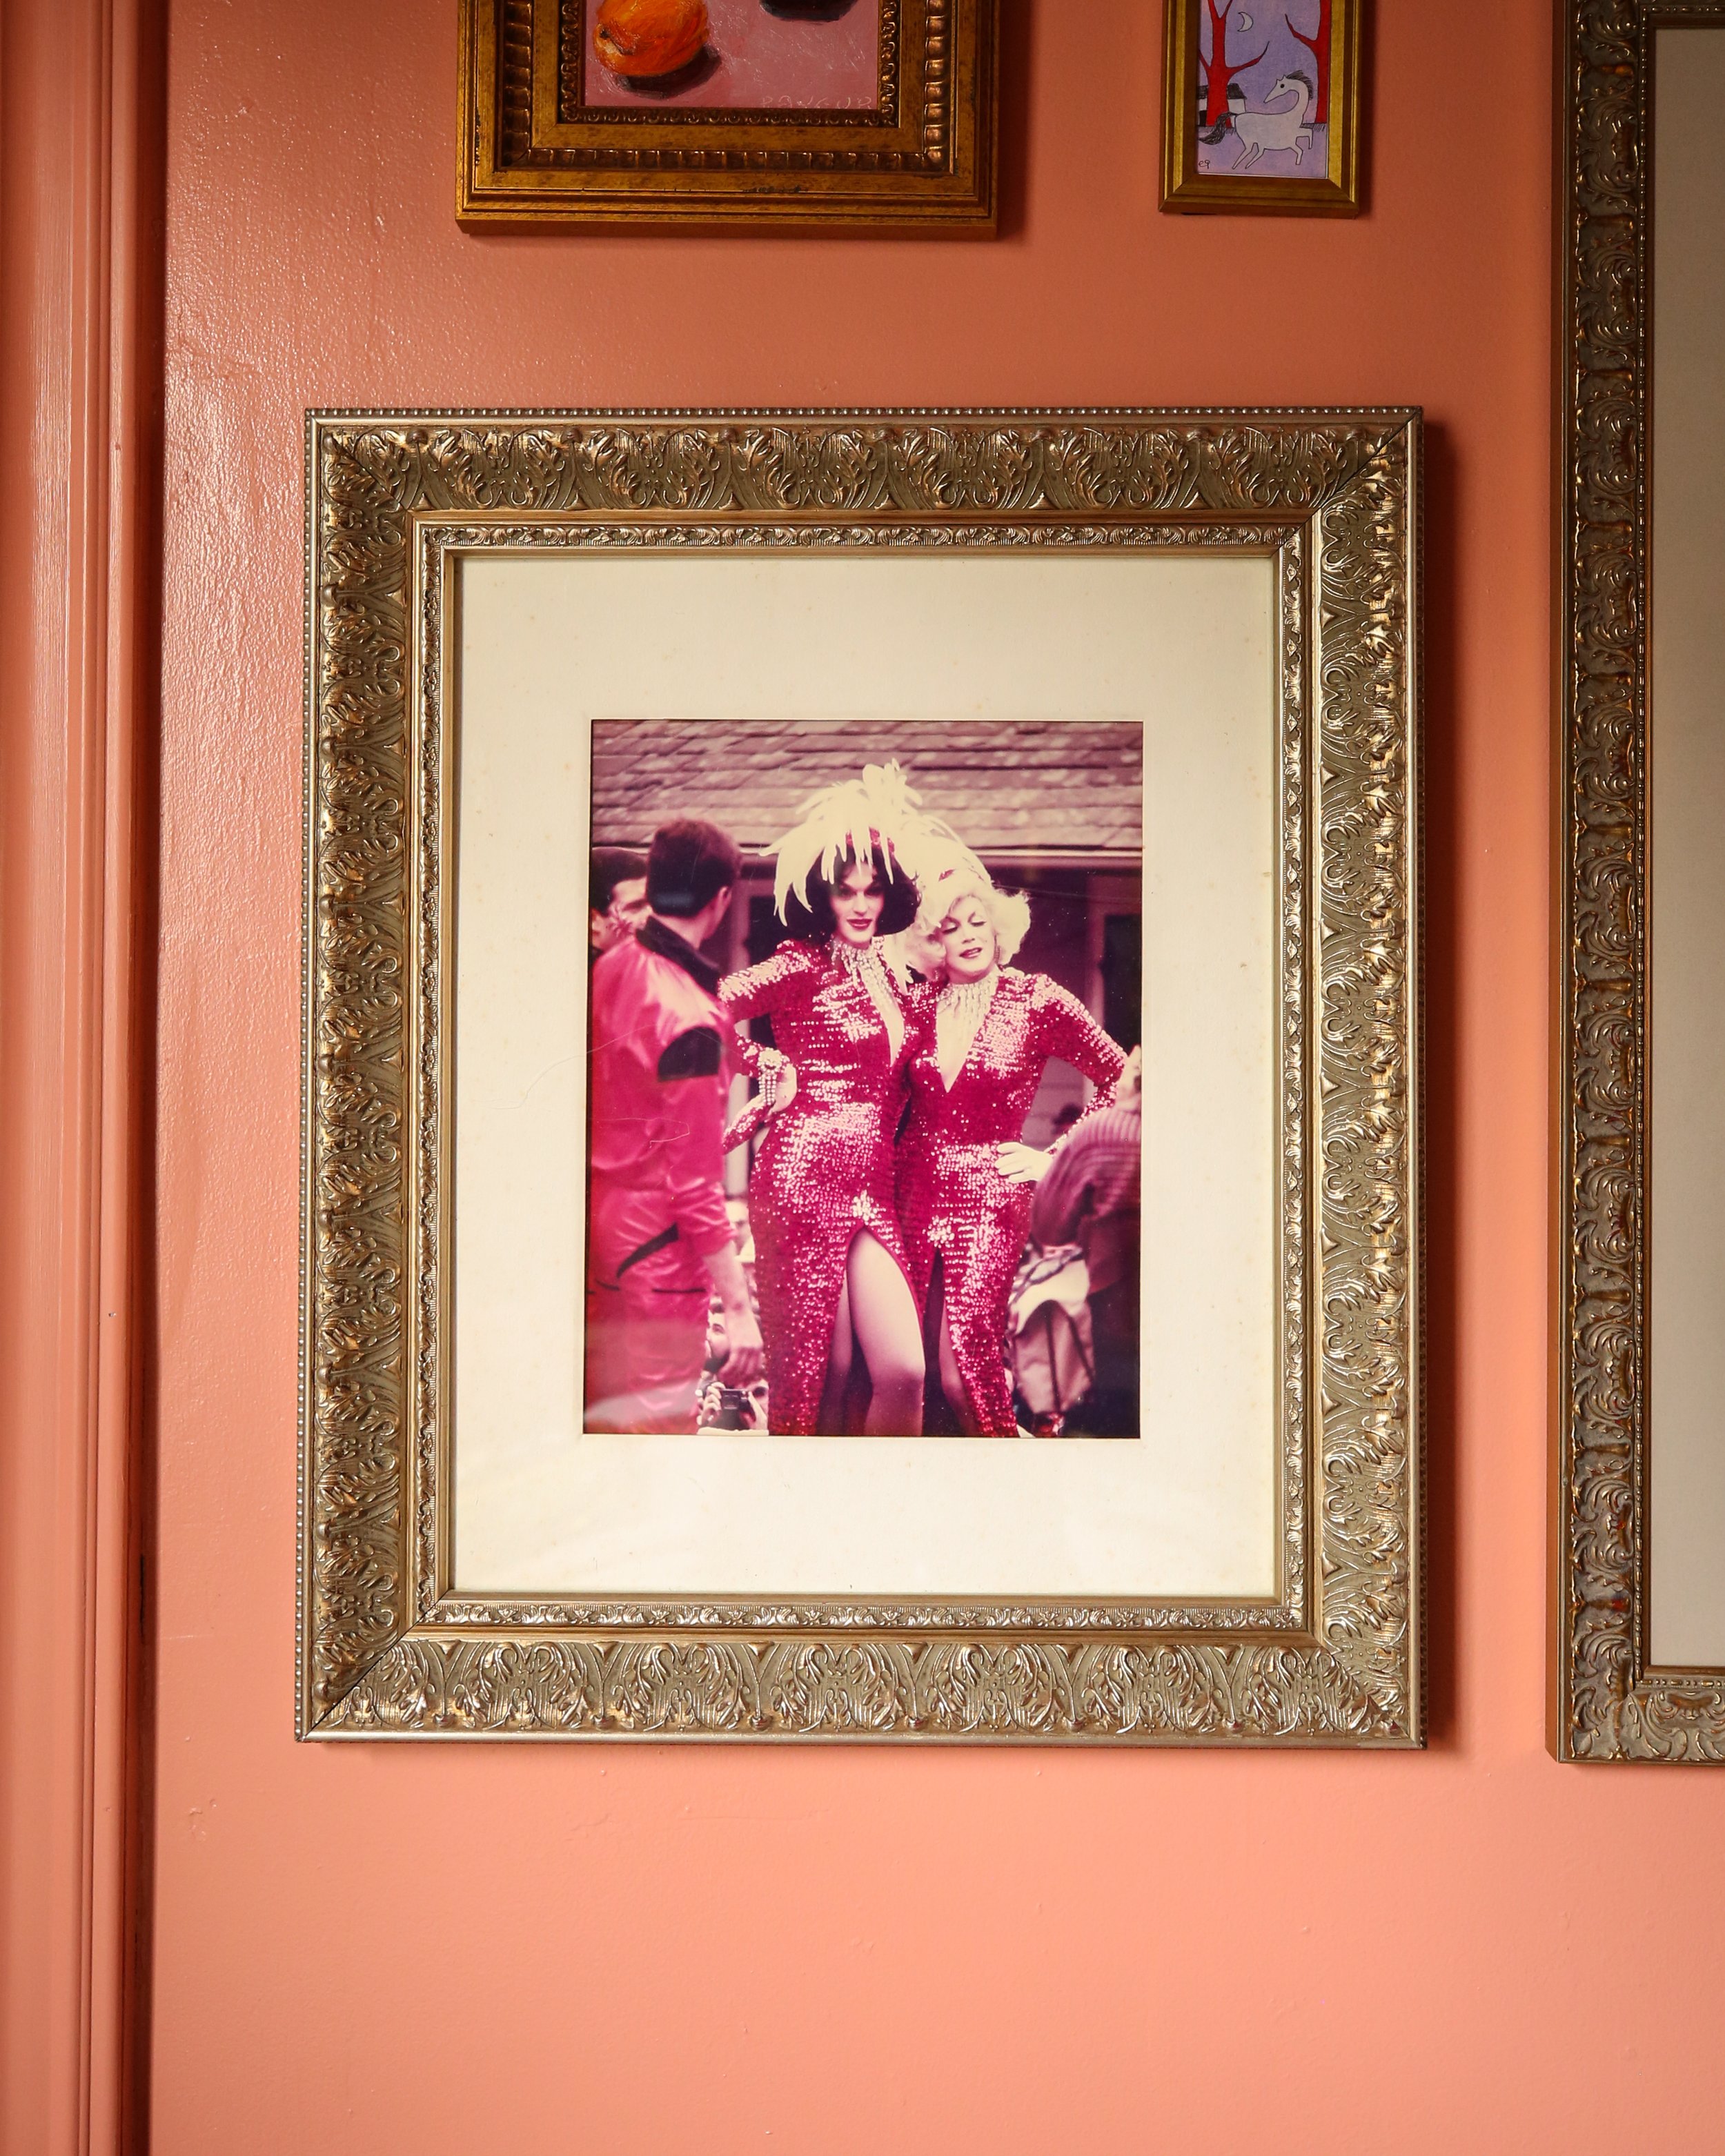
As far as sources for the artwork and frames, our first stop was to shop secondhand pieces that came already framed from our local consignment stores like Consign Consign and Heirloom Furnishings. I love buying art from antique and consignment shops because you can find unique and original works that most often include the frame. We found several original works of art in ornate metallic frames in person and on eBay for pretty reasonable prices.
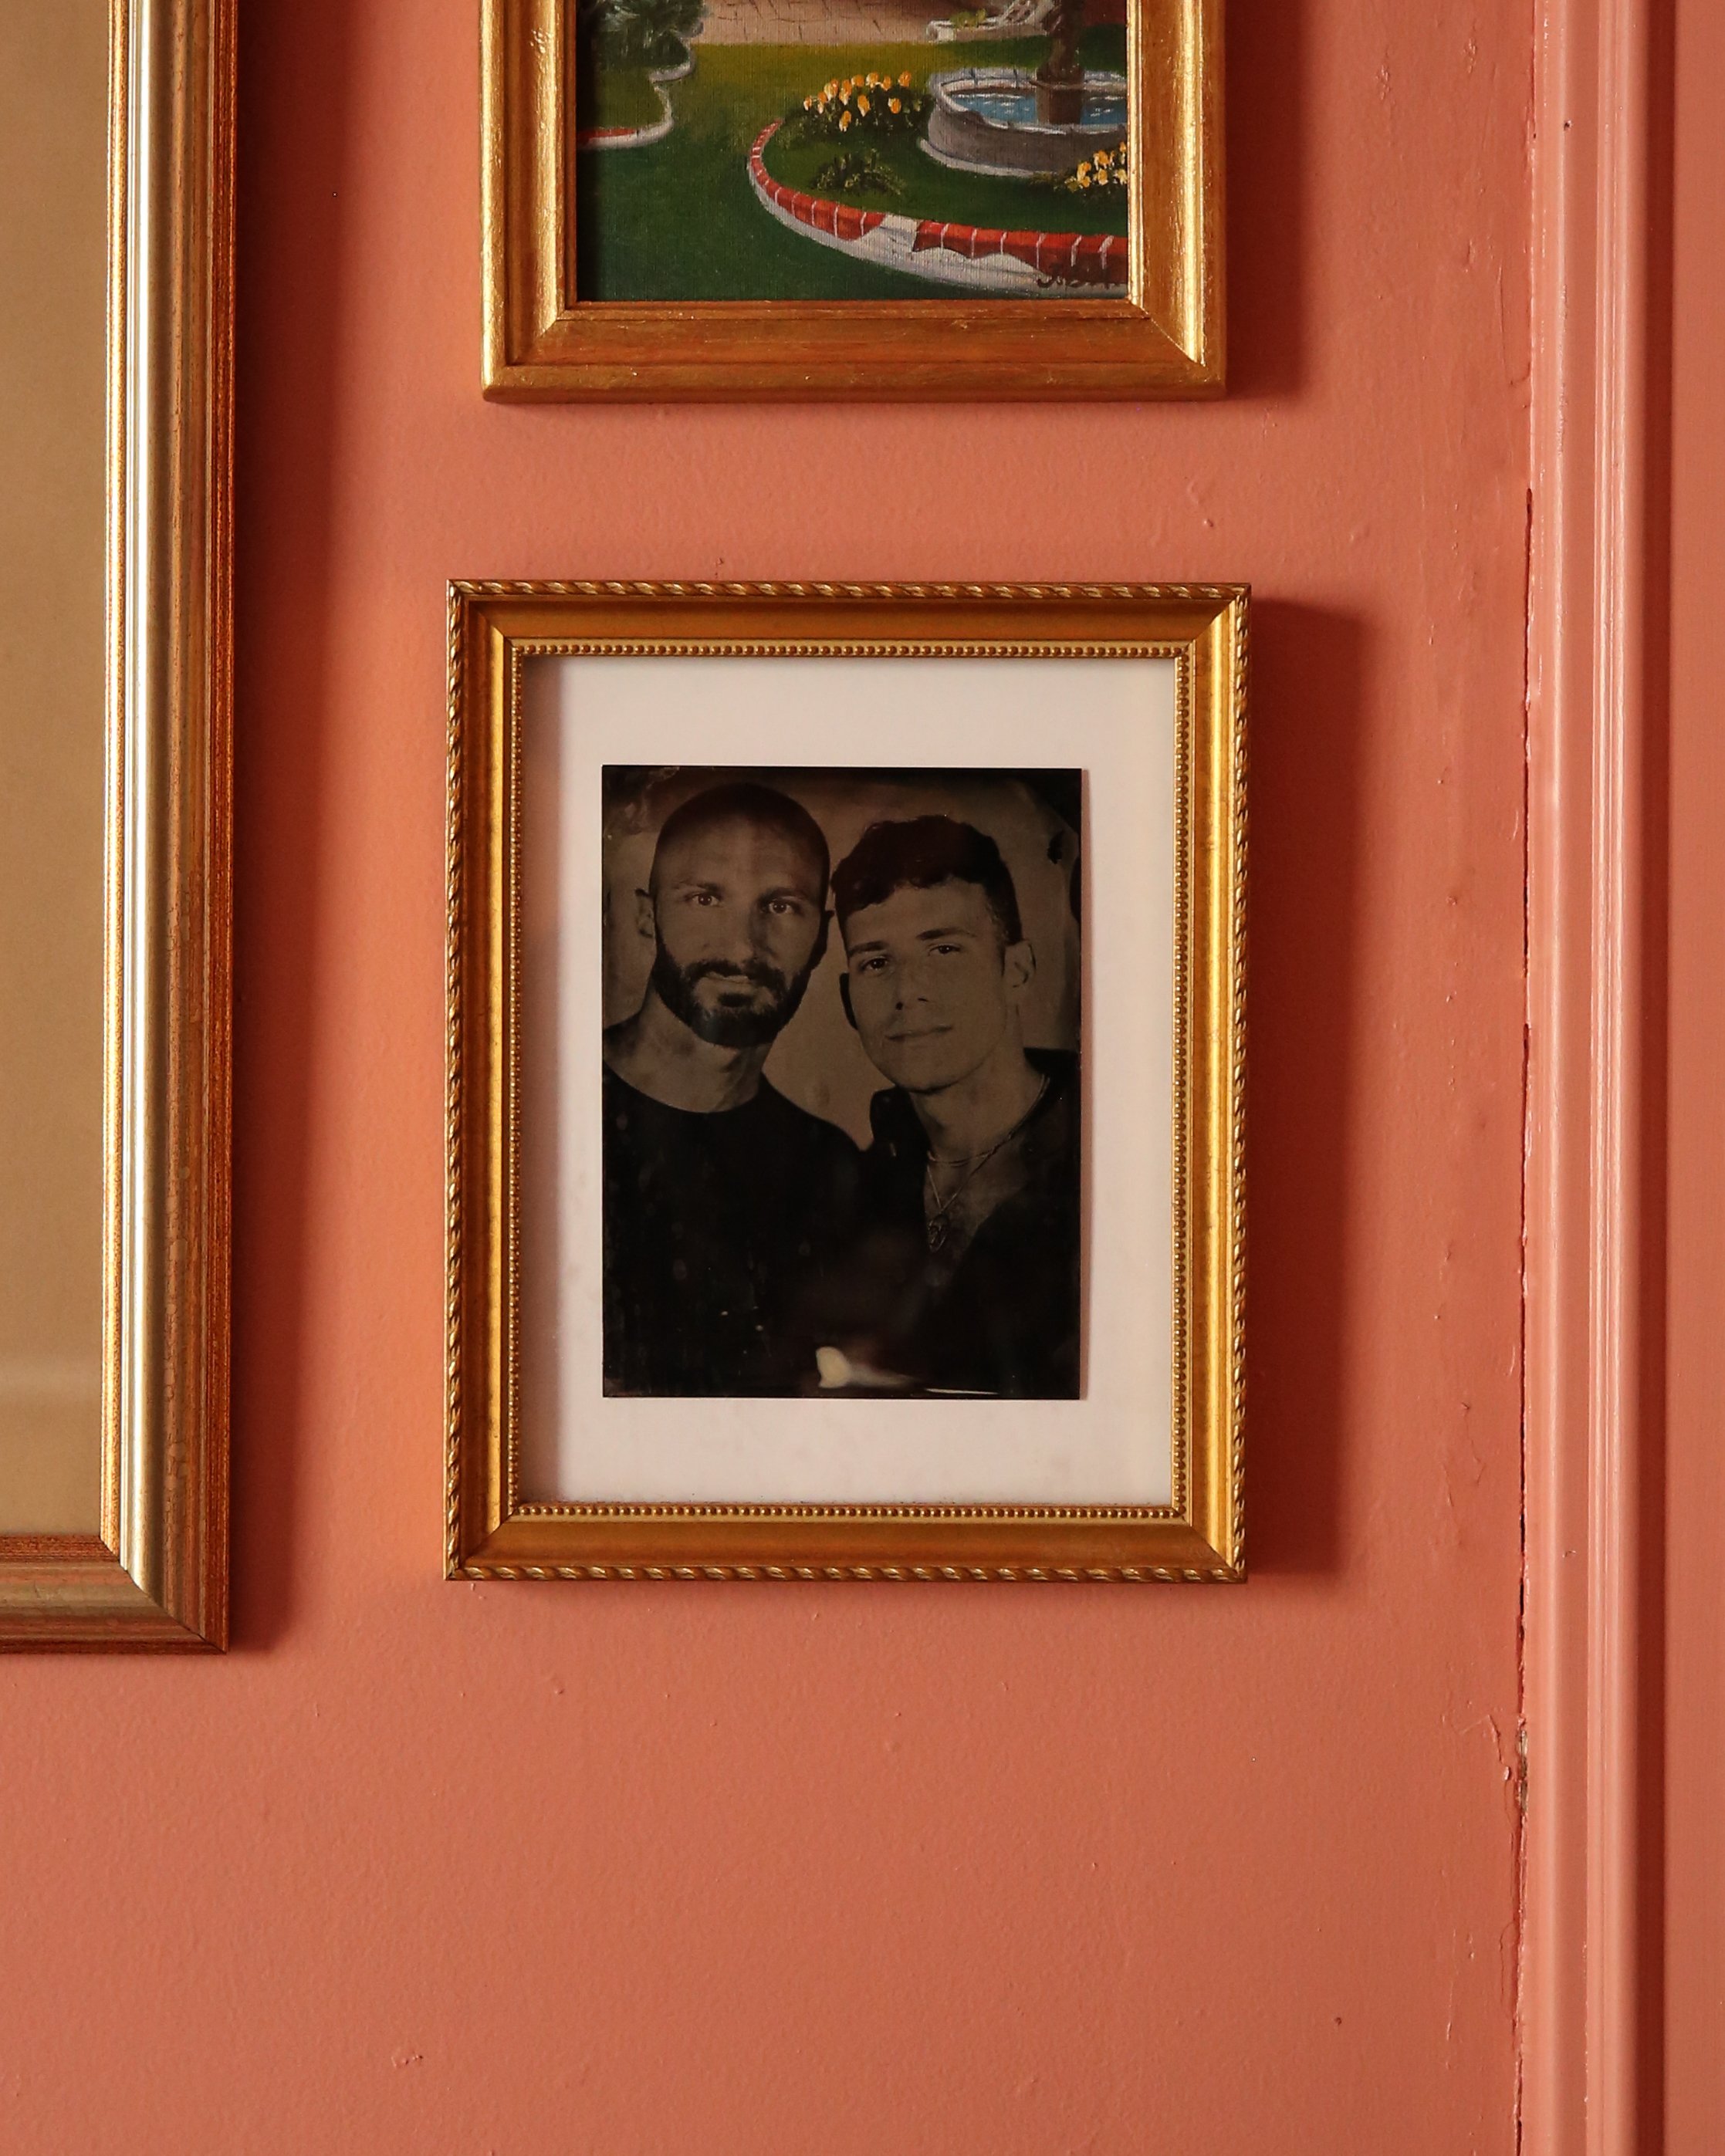
That freed up some budget for us to also invest in direct purchases from artists that we could have custom framed at our local framing shop, Creative Framing. Since we wanted to make this gallery fairly eclectic as far as style, with everything from tin type photography to oil paintings to digital collage, we knew the framing needed to be cohesive. Not matchy! But cohesive. So every frame used in this room is metallic, and most of them have ornate detailing. Framing is definitely not cheap, but when we decide to frame a piece we love we always stay small and local; the prices are usually similar to framing jobs from big art supply stores but the quality and range of options is typically no comparison.
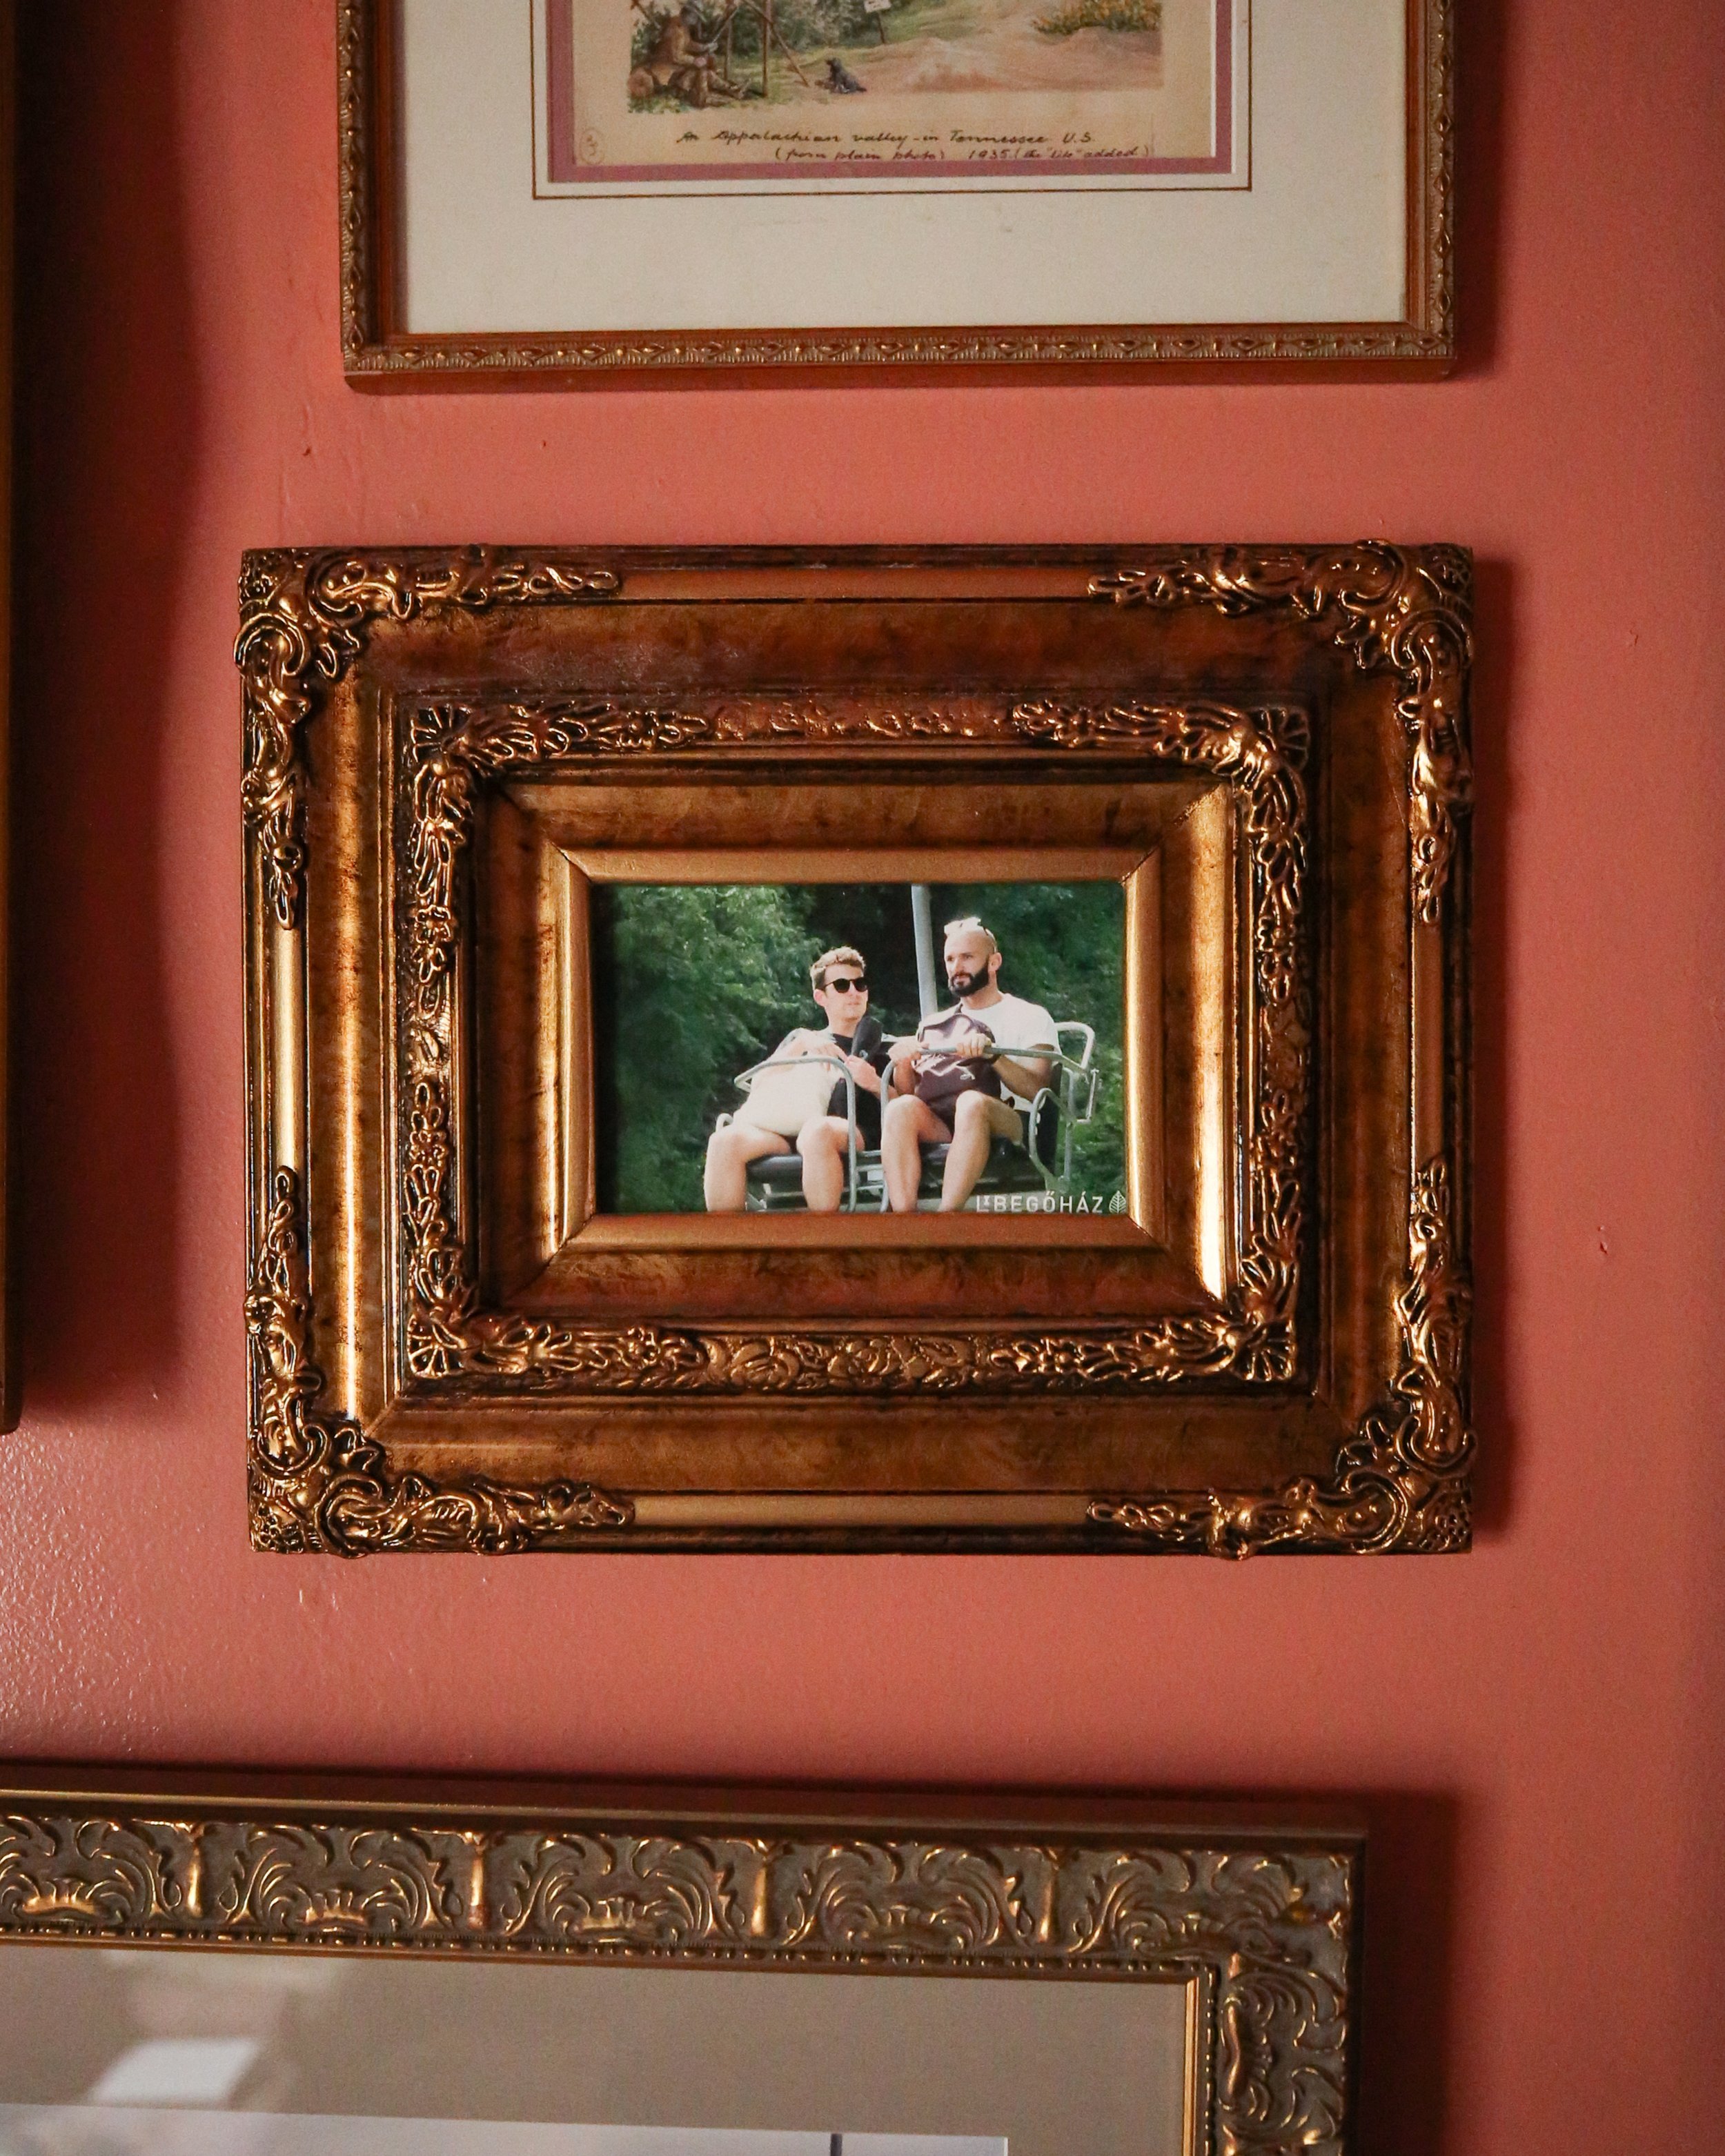
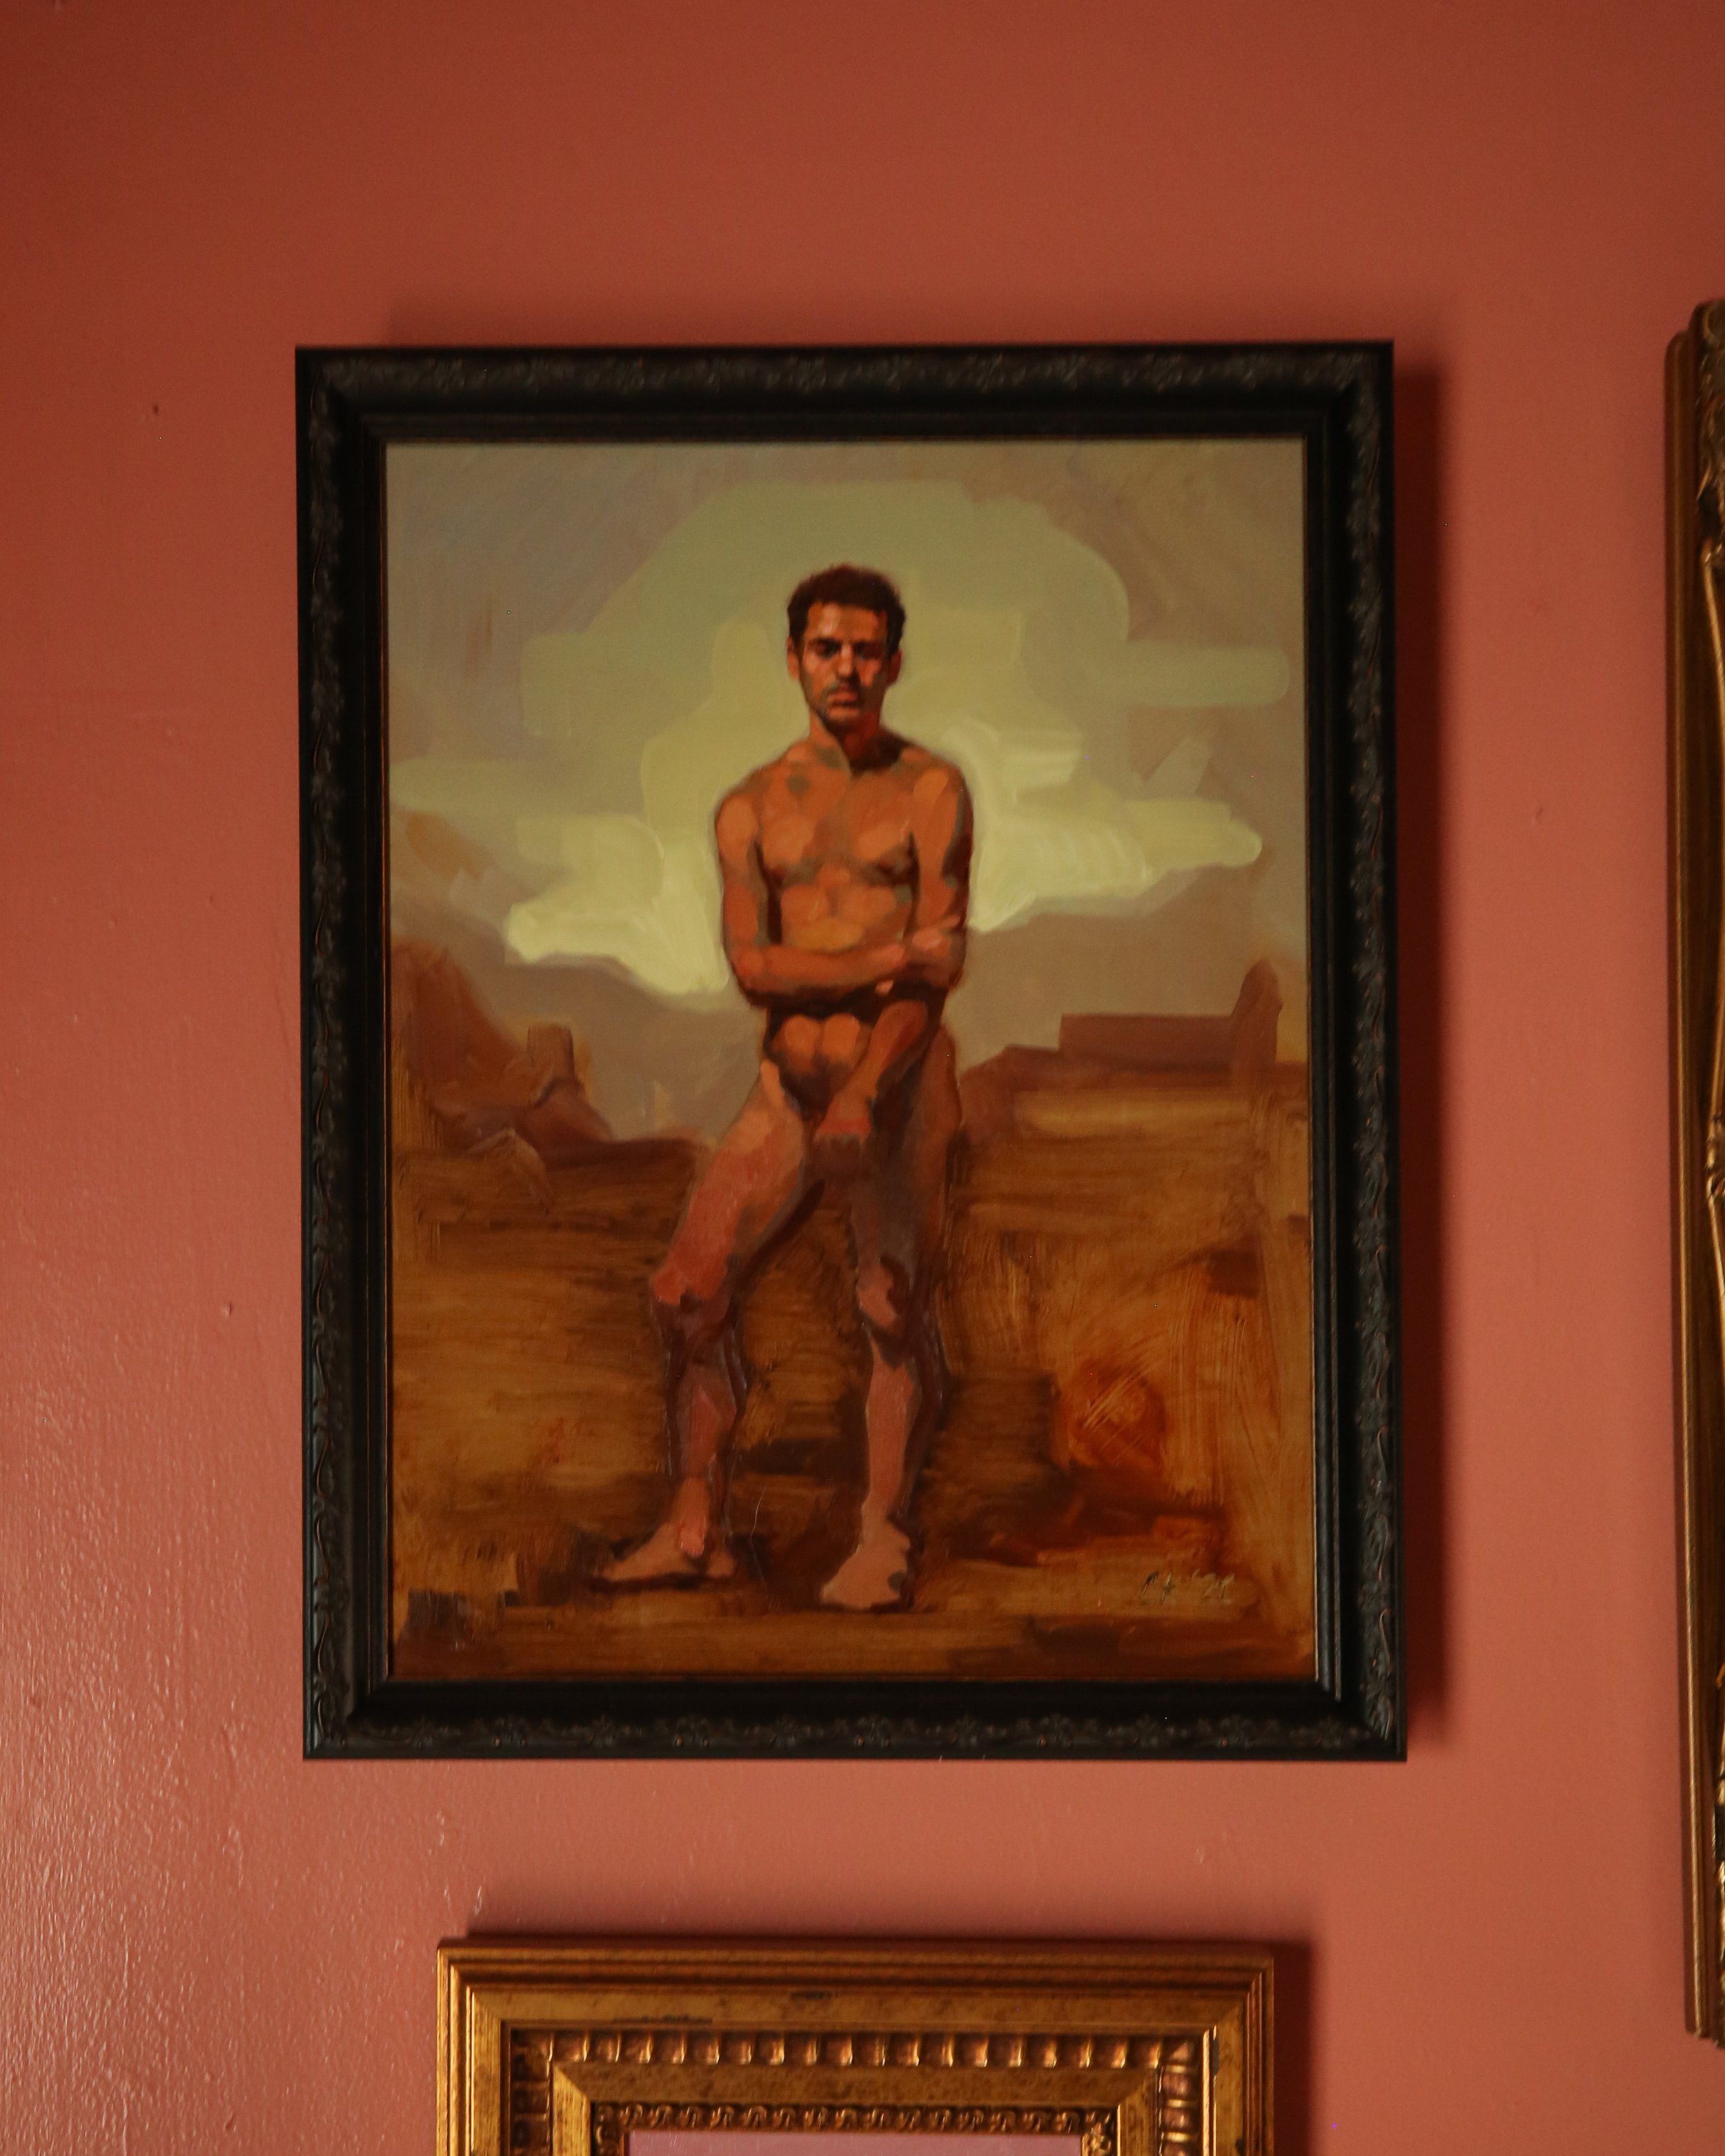
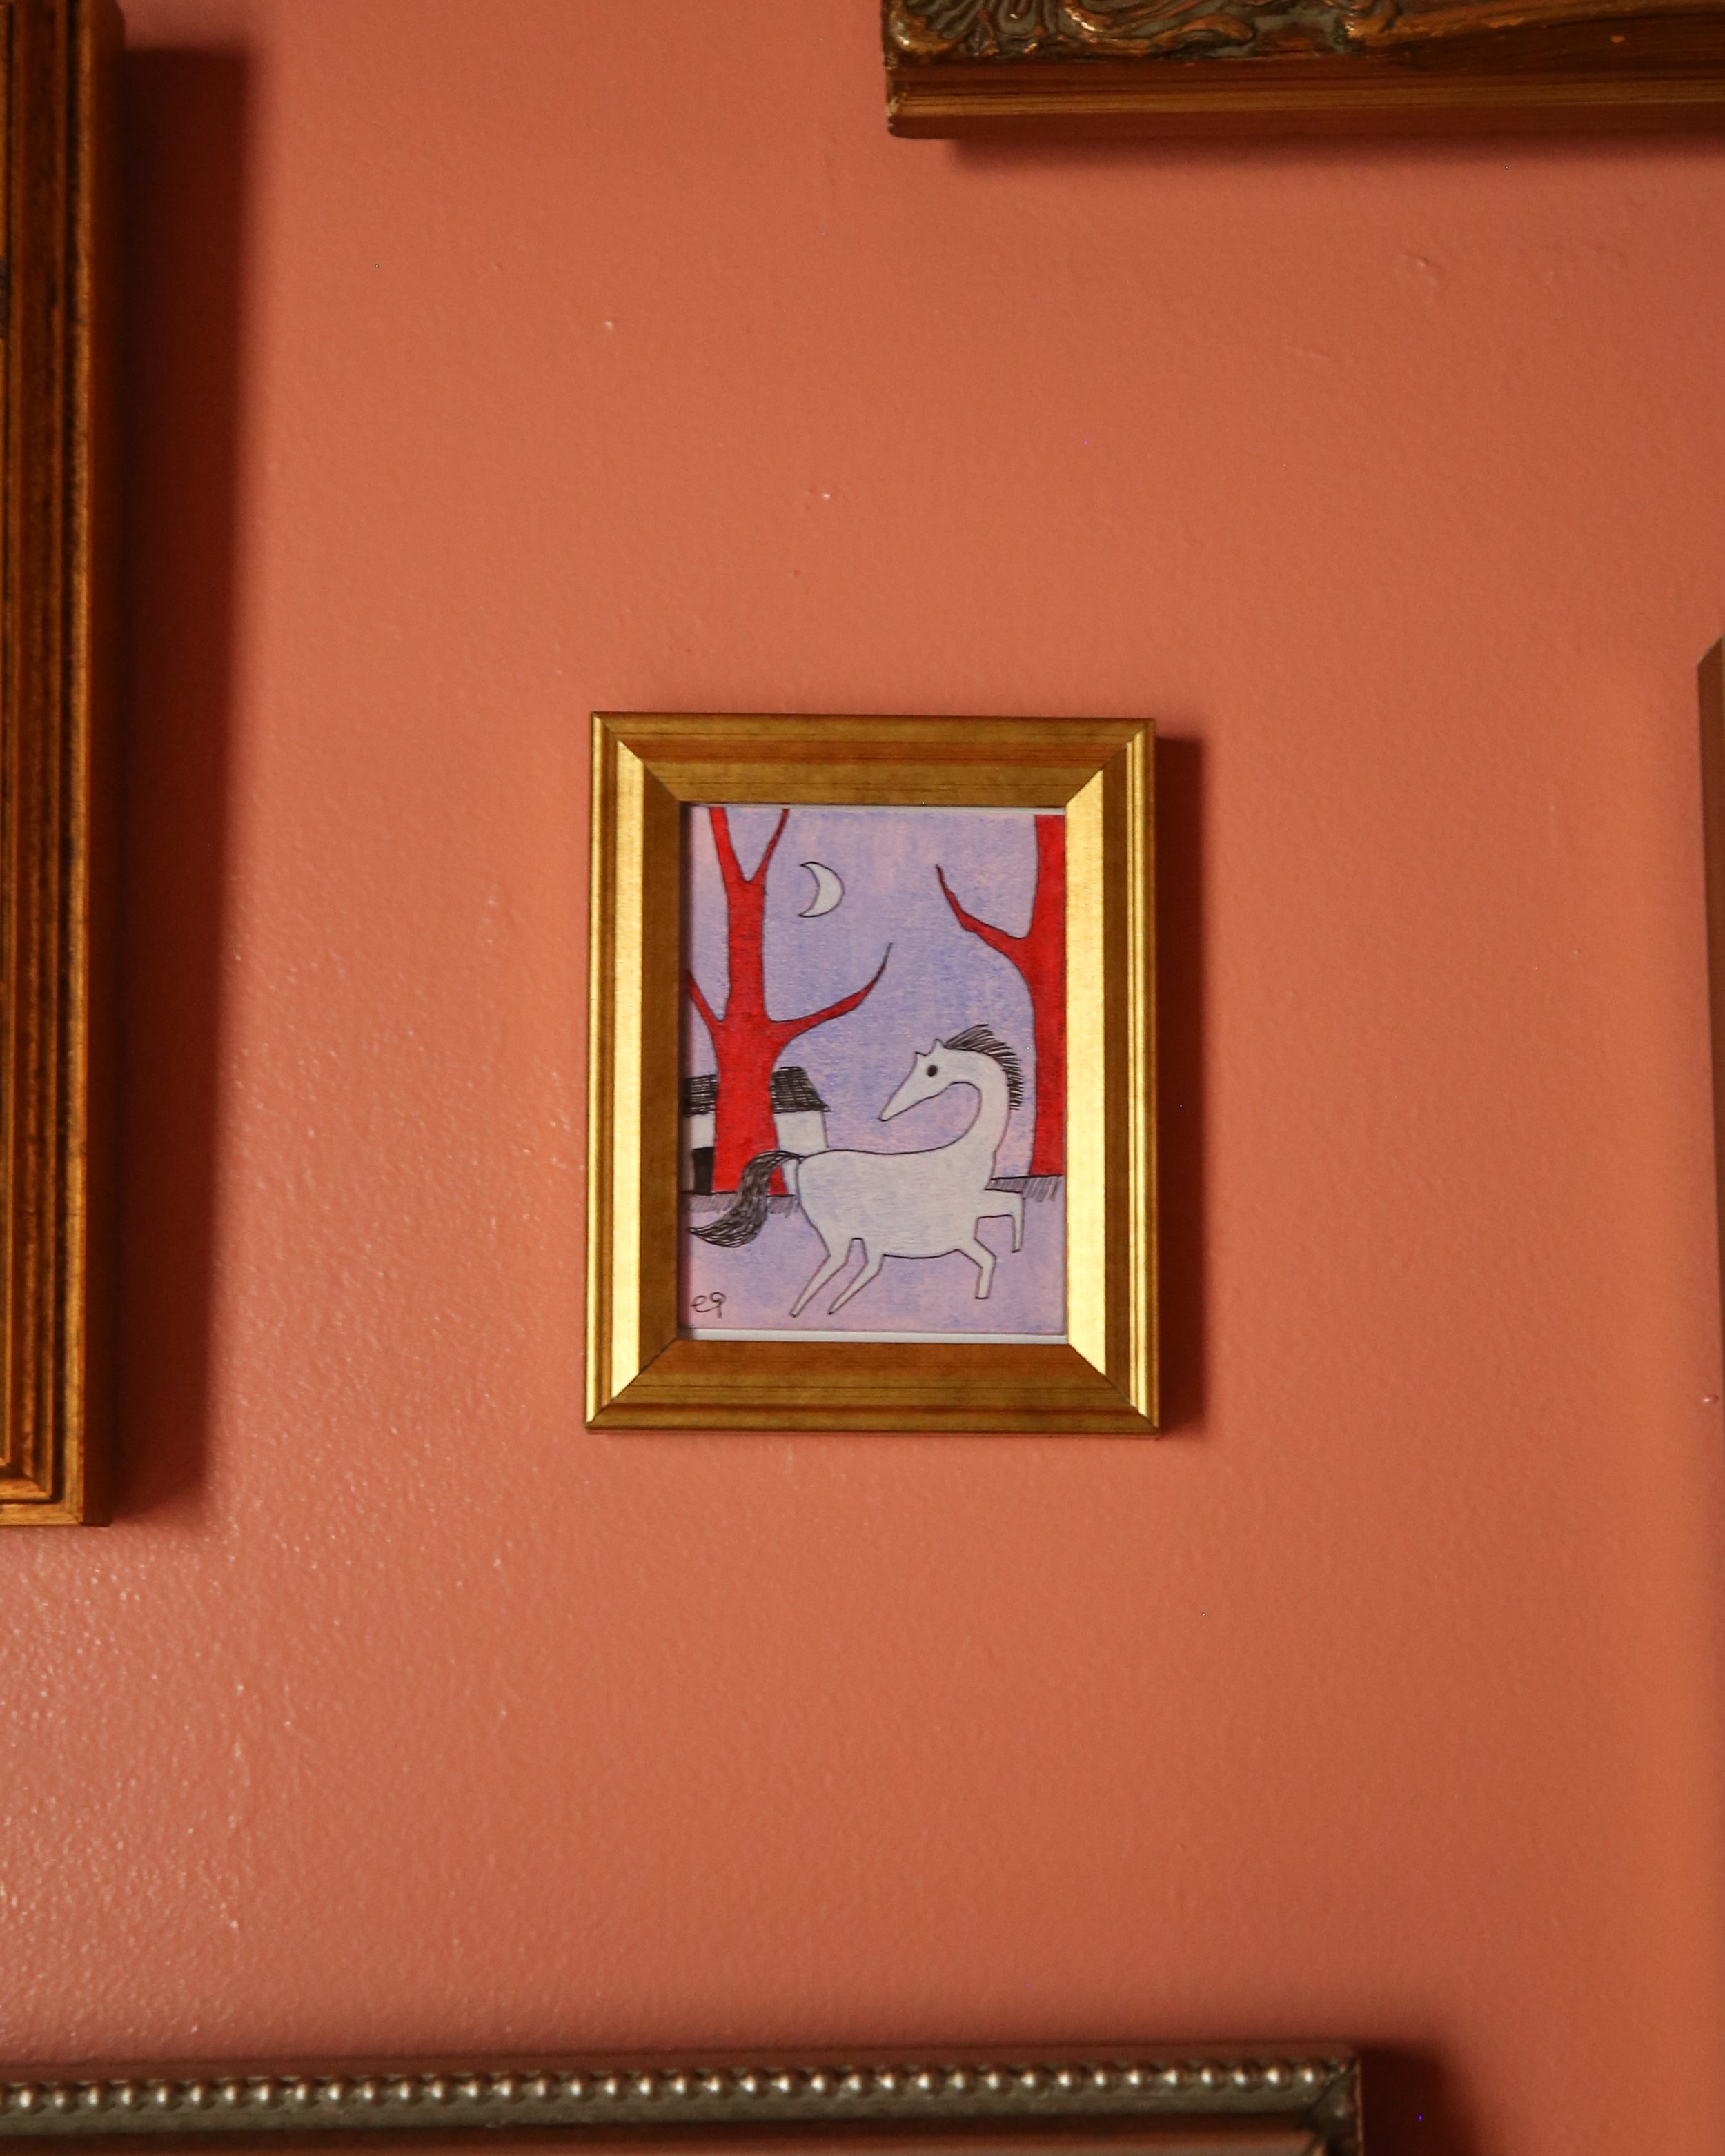
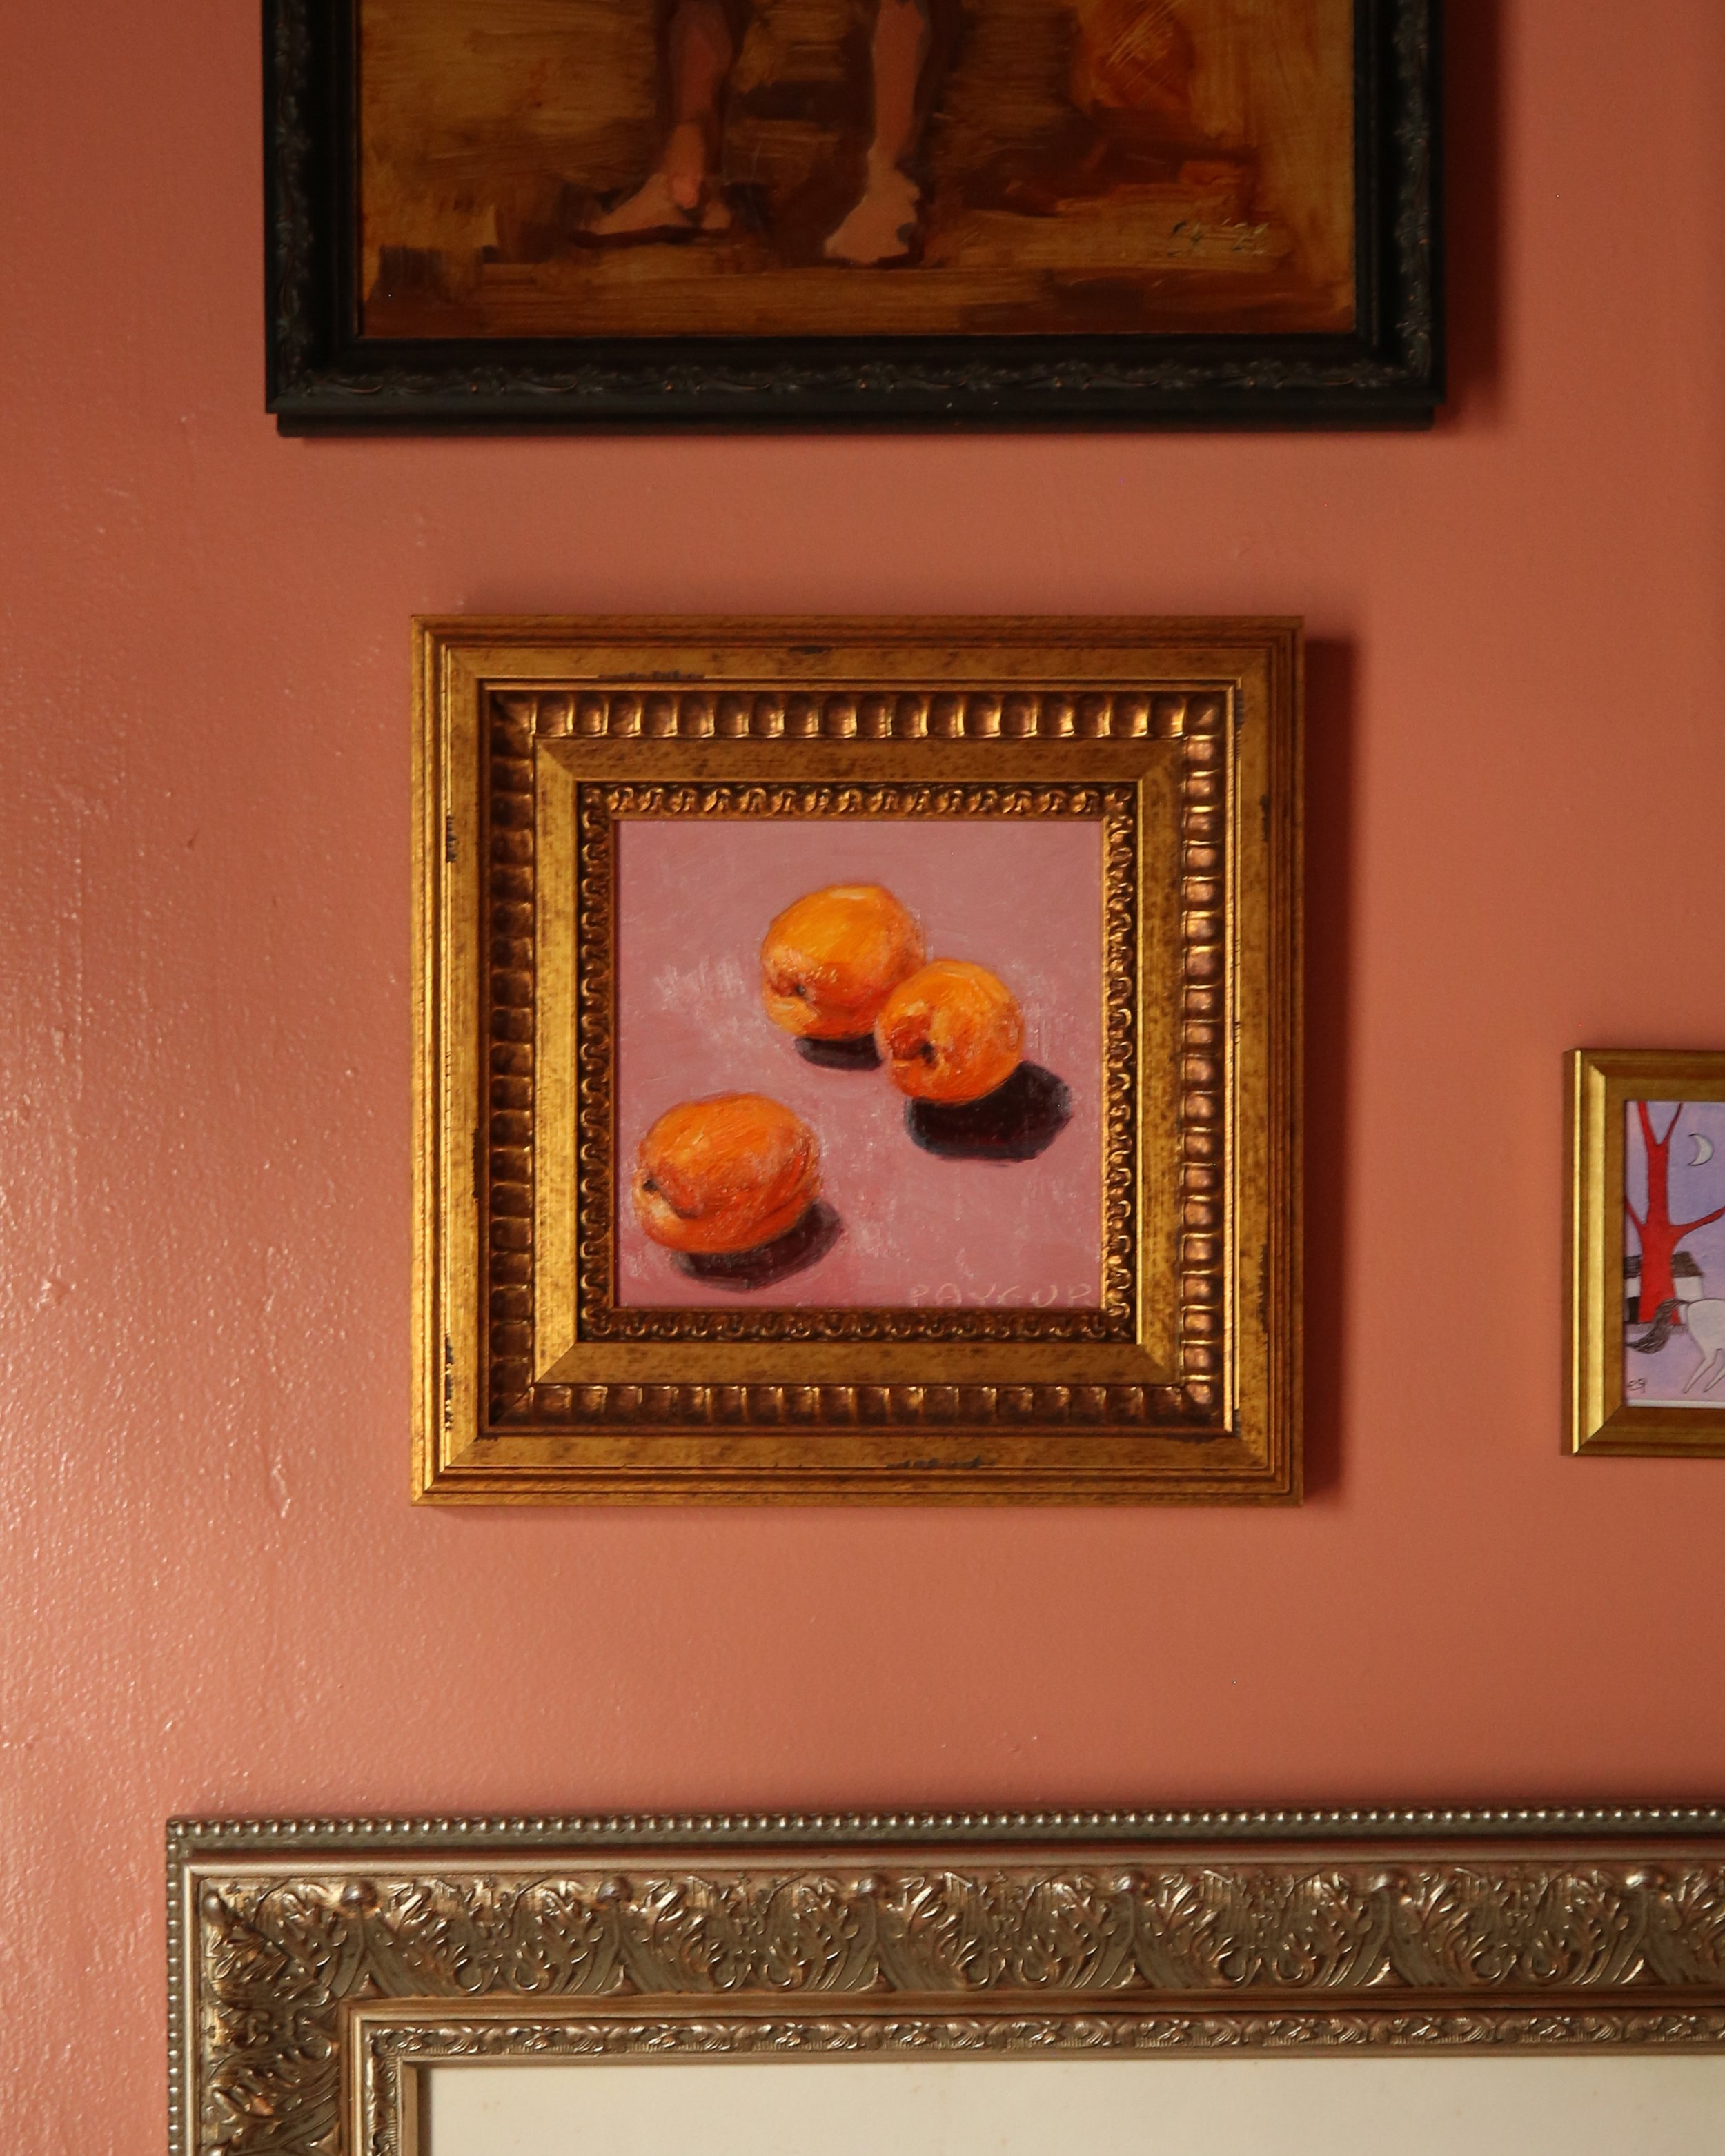
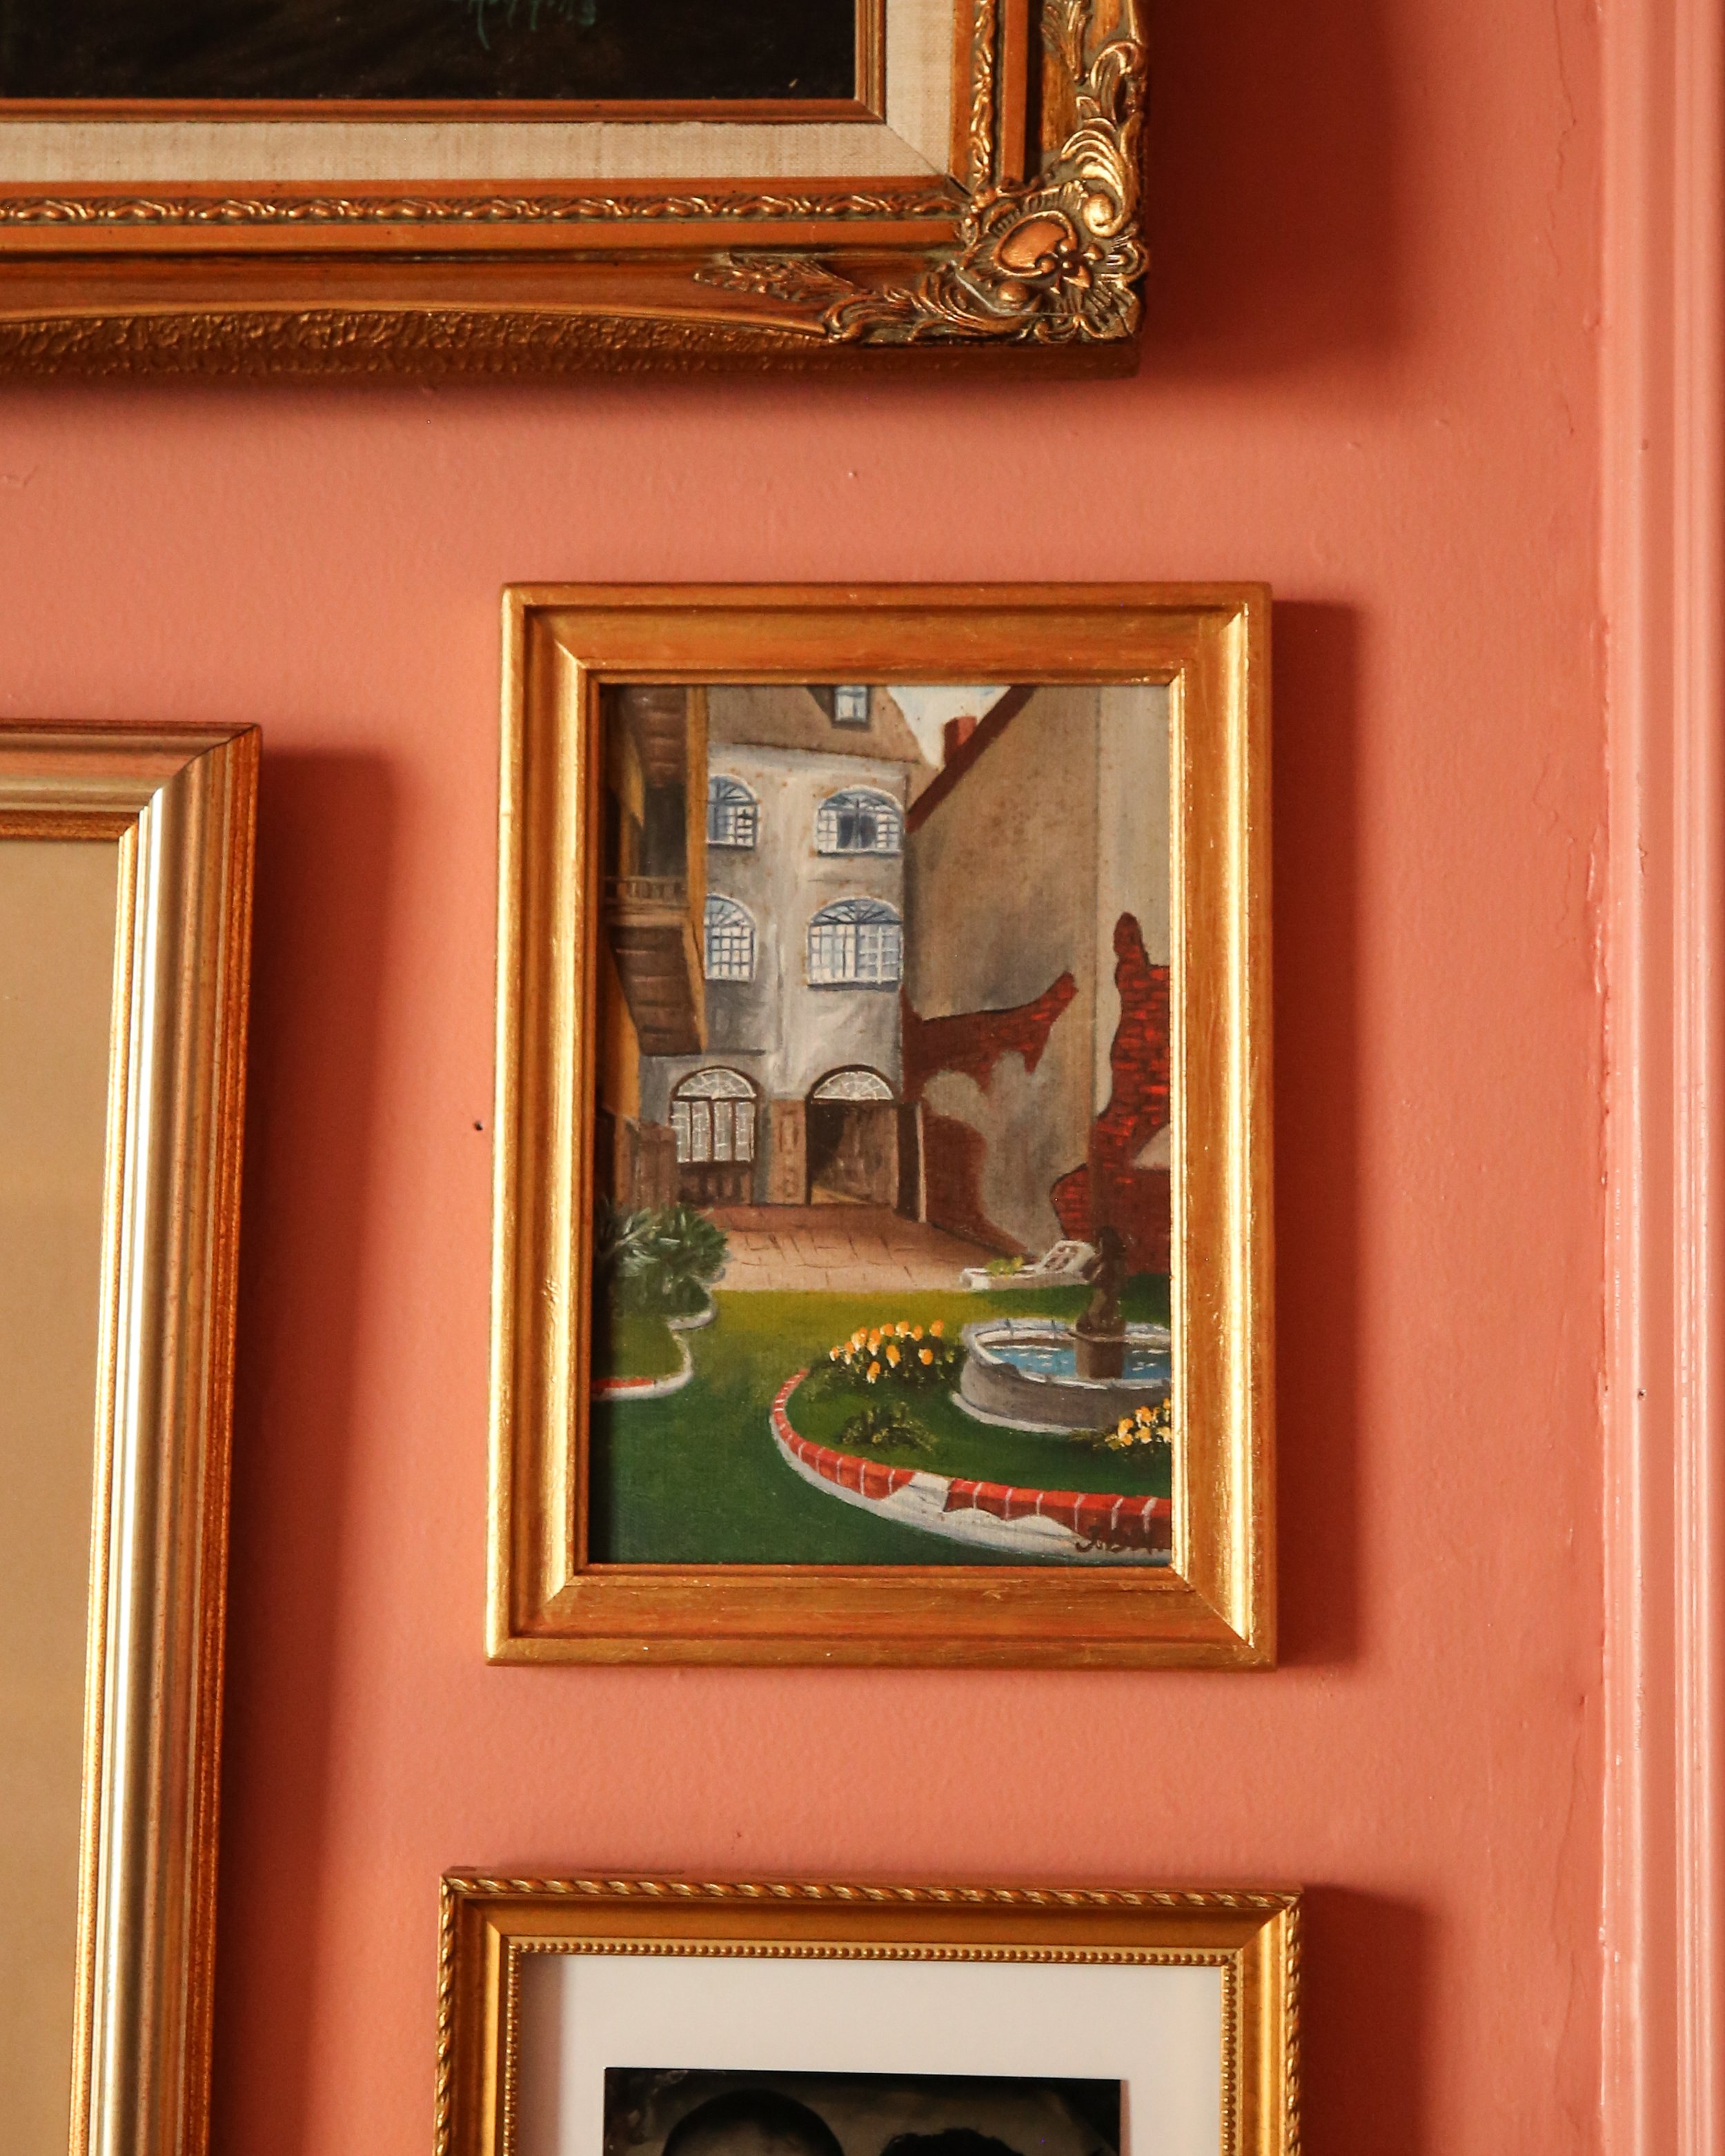
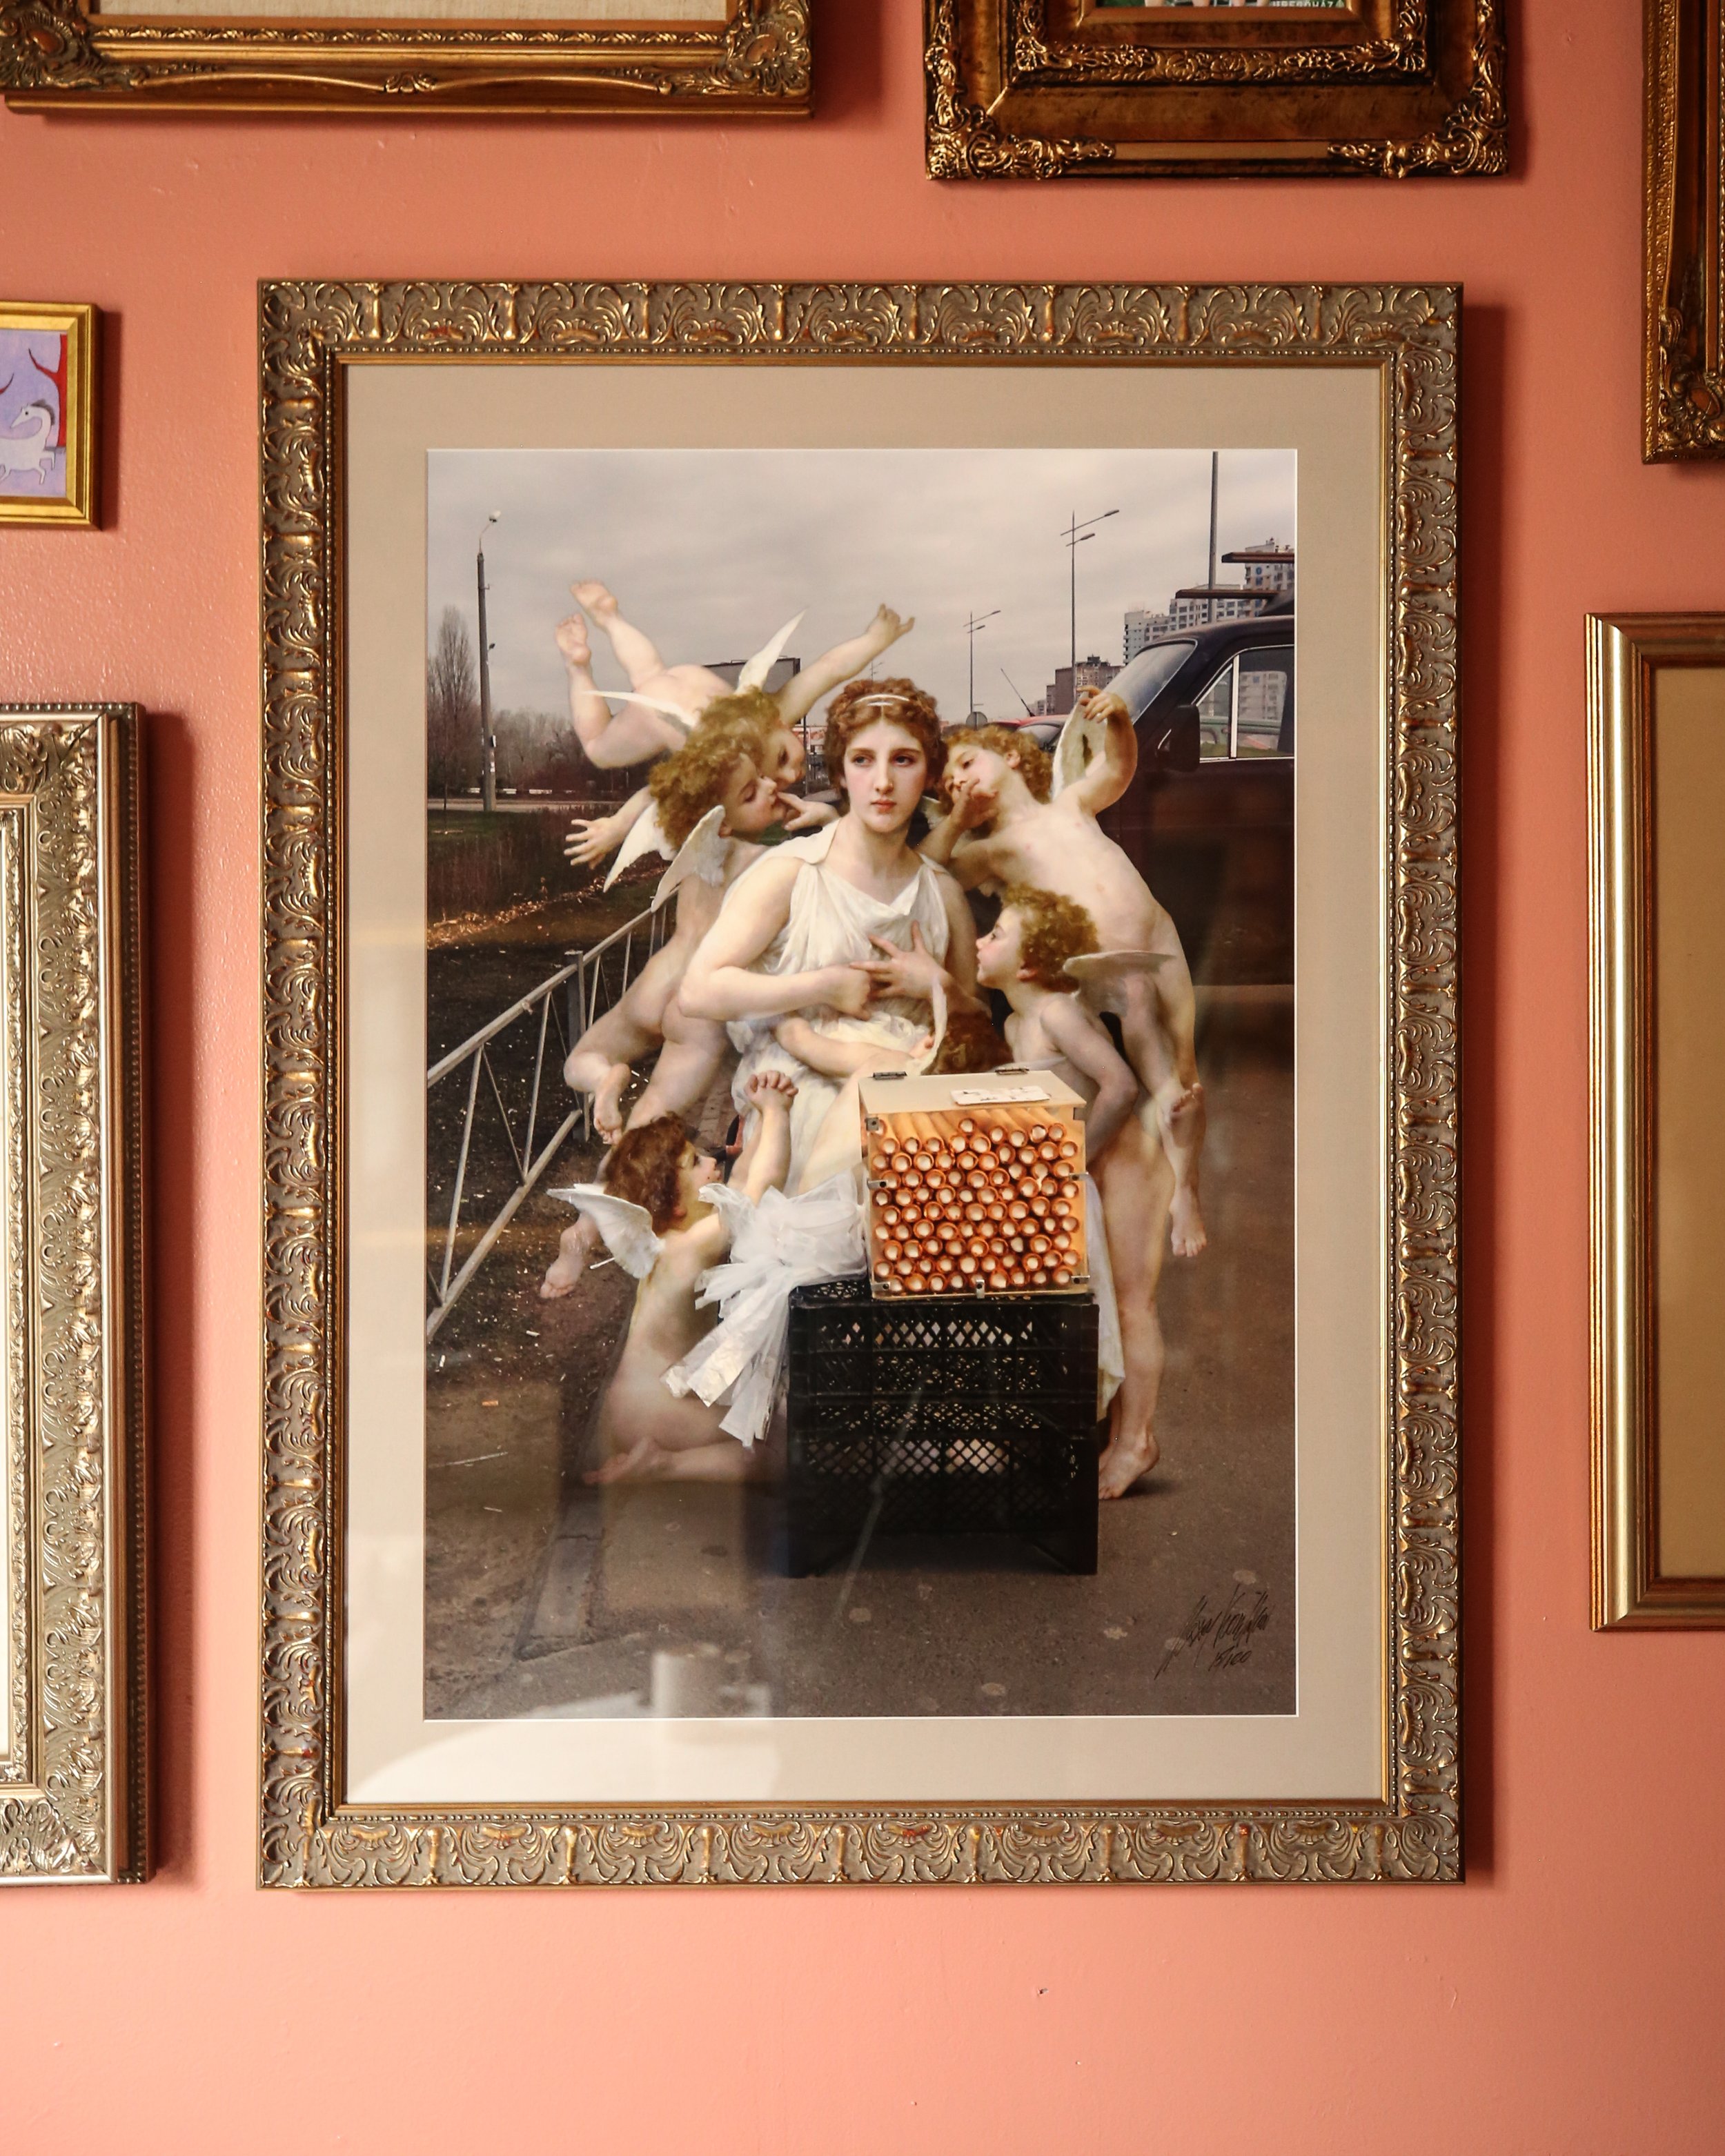
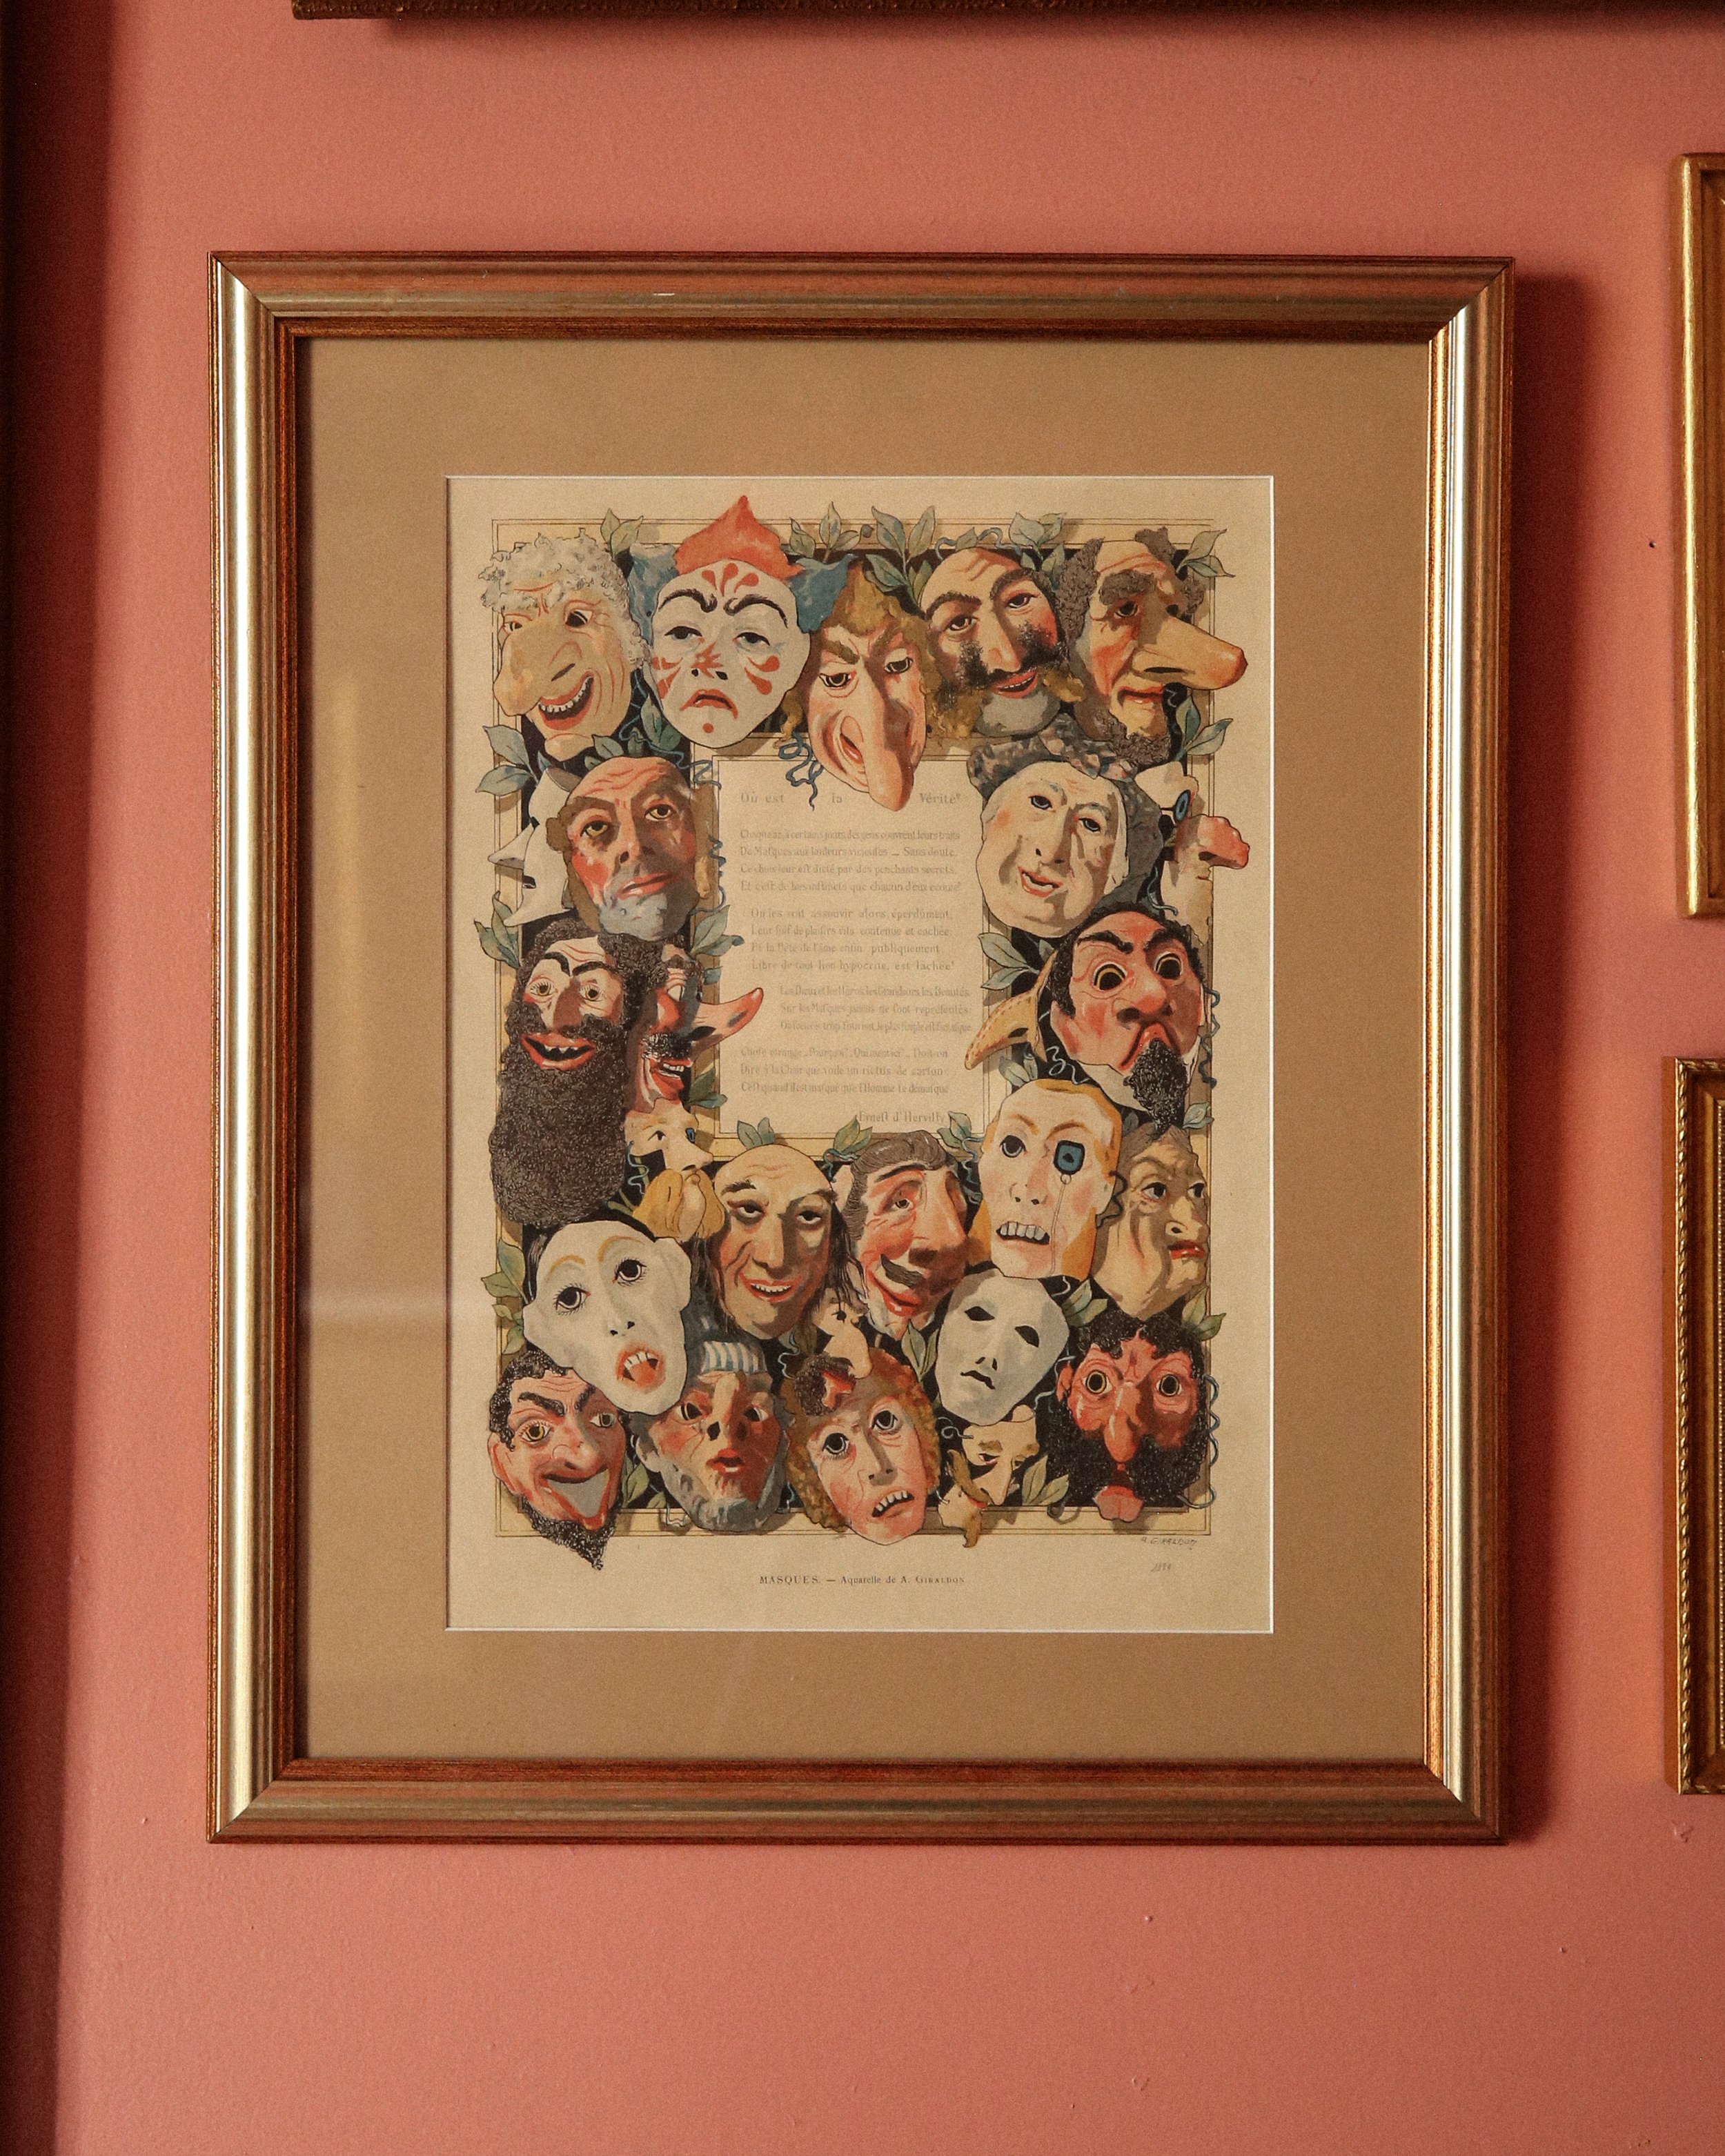
Below you’ll find close-ups of a few of the pieces we used as well as links to four of the artists.
And here are the shops of the artists that we know of!
Paintings by Chris Kelly, who did the male nude oil painting
e9art’s Tumblr, who did the horse sketch
Olivier Payeur on ArtFinder, who did the apricots oil painting
Alexey Kondakov’s website, who did the surrealistic photo/classical art collage “Sweets”
Let us know if you have any further questions on this project, and thanks for stopping by the blog!
xoxoxo
Beau & Matt


