
DIY Outdoor Storage Banquette

When we started designing the backyard (which is about 70% done!) we knew we wanted it to be our Preferred Entertaining Area, at least for October through April when it’s not seven hundred degrees in New Orleans. There’s a gorgeous centuries-old oak tree that provides lovely dappled light and shade, and the neighborhood is so quiet that being out there really feels like we could be anywhere in the world, so we wanted to make sure we transformed it into somewhere we could use and share with our favorite people.
When we first renovated the back of the home, we actually tore off (like, quite literally) the lean-to addition that was falling apart. It gave us a whole lot of extra backyard space and got our minds thinking about what we really needed in a backyard. Yes we needed garden beds. Yes we needed a fire pit hang out spot. No we didn’t need a hot tub (or at least, we didn’t need the responsibility of maintaining one). Yes we absolutely 100% needed a dining table that would be our place to have big meals with a whole lotta people.

The back of the house when we bought it! Yikes!

After tearing off the lean-to shed and creating a new back exterior.
And the dining table was actually one of the first things we did—right after the garden beds were done! After Beau built the table from our wall (you read that right—click here to see it), it lived for almost a year in the center of the “garden bed courtyard” where it mostly sat unused except for occasional meals by us and as the lunch spot for any construction workers who were busy tearing our house to shreds and putting it back together.
Once we were able to have the backyard flagstone and fencing done, we turned our attention to creating the different areas around the yard that would be our entertaining spots. We decided the best location for dining area would be between the two exterior entrances to the home—once of which leads into our main house and the other into the Garden Apartment. It’s a space-efficient way to house such a large banquette, and we think it looks absolutely gorgeous.
But, given that we have limited storage space in our house, gorgeous alone wasn’t gonna cut it. We needed this space to be able to store a whole lot of stuff—everything from tools to outdoor decor to garden supplies, all in weather-tight bins.
So. We got to building! Below we’ll walk you through what we used to make our plans come to life.

The new back exterior was our blank slate for this project! The area between these two sets of stairs was the perfect spot for our dining banquette.
Planning: Measurements, Wood Selection, Color Scheme

Picking out dimensions for us was kind of easy given that it was entirely determined by the space we had between the two sets of stairs—which turned out to be the perfect size for a deep banquette that would fit our table and, like, ten to twelve people. You could do this project as a single rectangle, but we wanted to use the additional space we had by giving it two wings for a bracket shape. The total measurements ended up being 120” along the back, and 90” on both the left and right side.
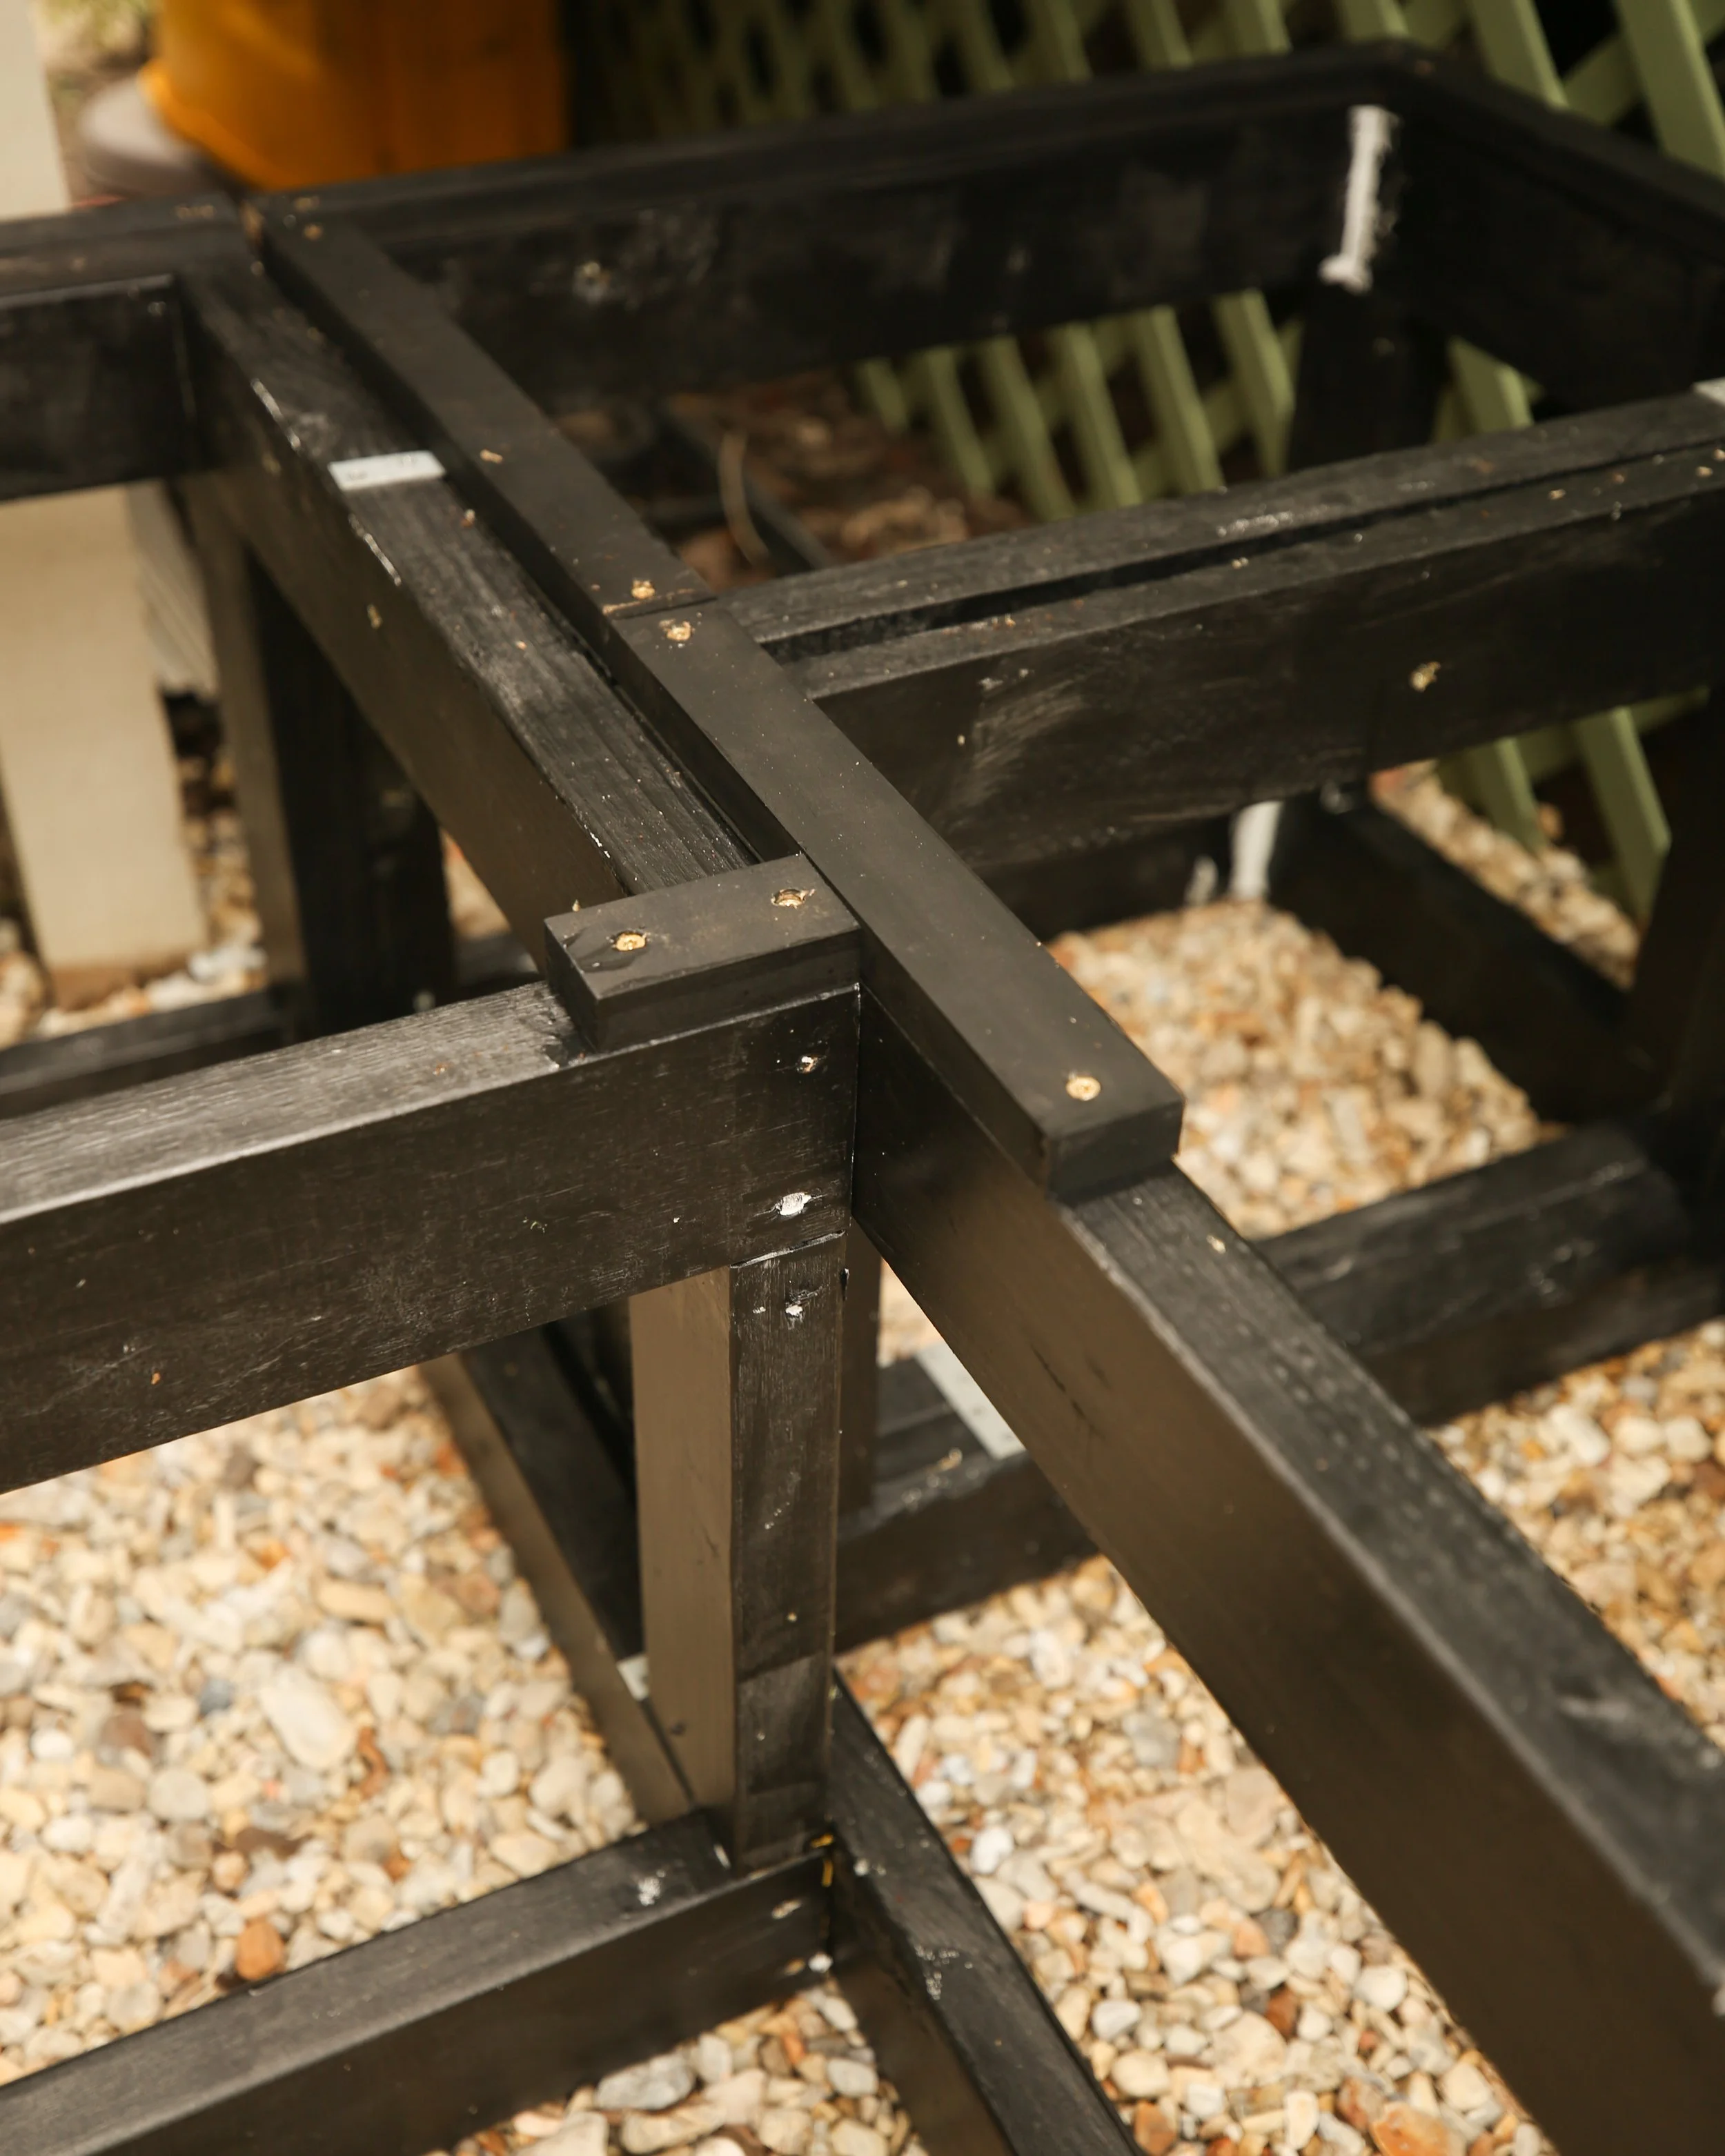
We built the whole piece in five sections—one rectangular center section along the back, two square corners, and two rectangular pieces on the left and right side. The pieces were then all connected with brackets, which allows us to take the banquette apart should we ever need to move it out of the way for a project or maintenance under the back of the house.
We wanted the seating to feel like a cozy curl-up spot, so settled on a seat height of 19”, which is pretty high when you consider we were adding 5” thick cushions on top. But we love the effect! When everyone is seated around it it feels like we’re at one big community coffee table just lounging about, exactly as we hoped. If you want a more traditional height, aim for closer to 14” for the seat (assuming you’re using a 5” thick seat cushion on top of that).
Wood selection was another easy choice for us—we used ground contact treated lumber for the frame and then appearance-grade pressure treated boards for the facade. We added additional trim along the top to give it a finished look, but it’s all pretty cut and dry.
As for color scheme, we knew we wanted it to match our tall black fence, so we used our most favorite black, Tricorn Black by Sherwin-Williams. It’s a deep rich black that is so pure and modern, which feels nice and clean in an outdoor setting.
Building: Cutting, Assembly, Staining

The frame for the banquette—you can see each of the four storage areas here, with two in the back and one on either side. We stained these before moving on so that you wouldn’t see any of the bare wood peaking through the slats.
Once we had our measurements decided on, we got to purchasing our wood from Lowe’s and only need a miter saw to get our cuts done. As mentioned above, we worked in sections, and that made this feel much more manageable. We built each of the five boxes using our pressure treated 2x4s and secured them to one another with construction screws driven at angles for strong butt joints.
And now the tedious part: cutting all of the planks for the facade on the front, the seat, and the back. That got repetitive but given it was only three measurements, it was pretty easy and mostly just boring. Once all of our planks were cut we stained each individual board—this was another time-consuming step, and turned out to be kind of unnecessary. We thought staining the whole thing after assembling the banquette would inevitably result in some missed nooks and crannies, but half way through we decided it was taking too long so we stopped and just stained it after assembly, and it worked just fine. Use a high-nap roller that’ll get into those crevices, and follow up any missed spots with a brush and you’re golden..
We assembled the individual planks onto the seat and bottom front of the frames we had built. For the seat to have doors that opened for storage, we added thin 1x2 strips to the front and back of the structure; these were attached to the frames where there would be no door, and attached to the seat boards that would become the hinging storage doors. a simple pair of hinges at the back of these sections allow them to be opened easily for us to store gardening tools, firewood, and anything else we want to hide from the police.
The pieces for the back went on last and were screwed directly into the rectangular frames. While attaching the backs we noticed that the tops of the planks appeared uneven due to natural bowing, but don’t let that discourage you; it will be easily fixed by attaching a thin 1x2 trim up top for a clean, finished look.
1x2 strips were added where the doors wouldn’t be. The empty spaces are filled in by adjacent 1x2’s that form a lift for the seat “doors”.

Beau creating the back of the banquette—screwing the back planks directly into the frame.
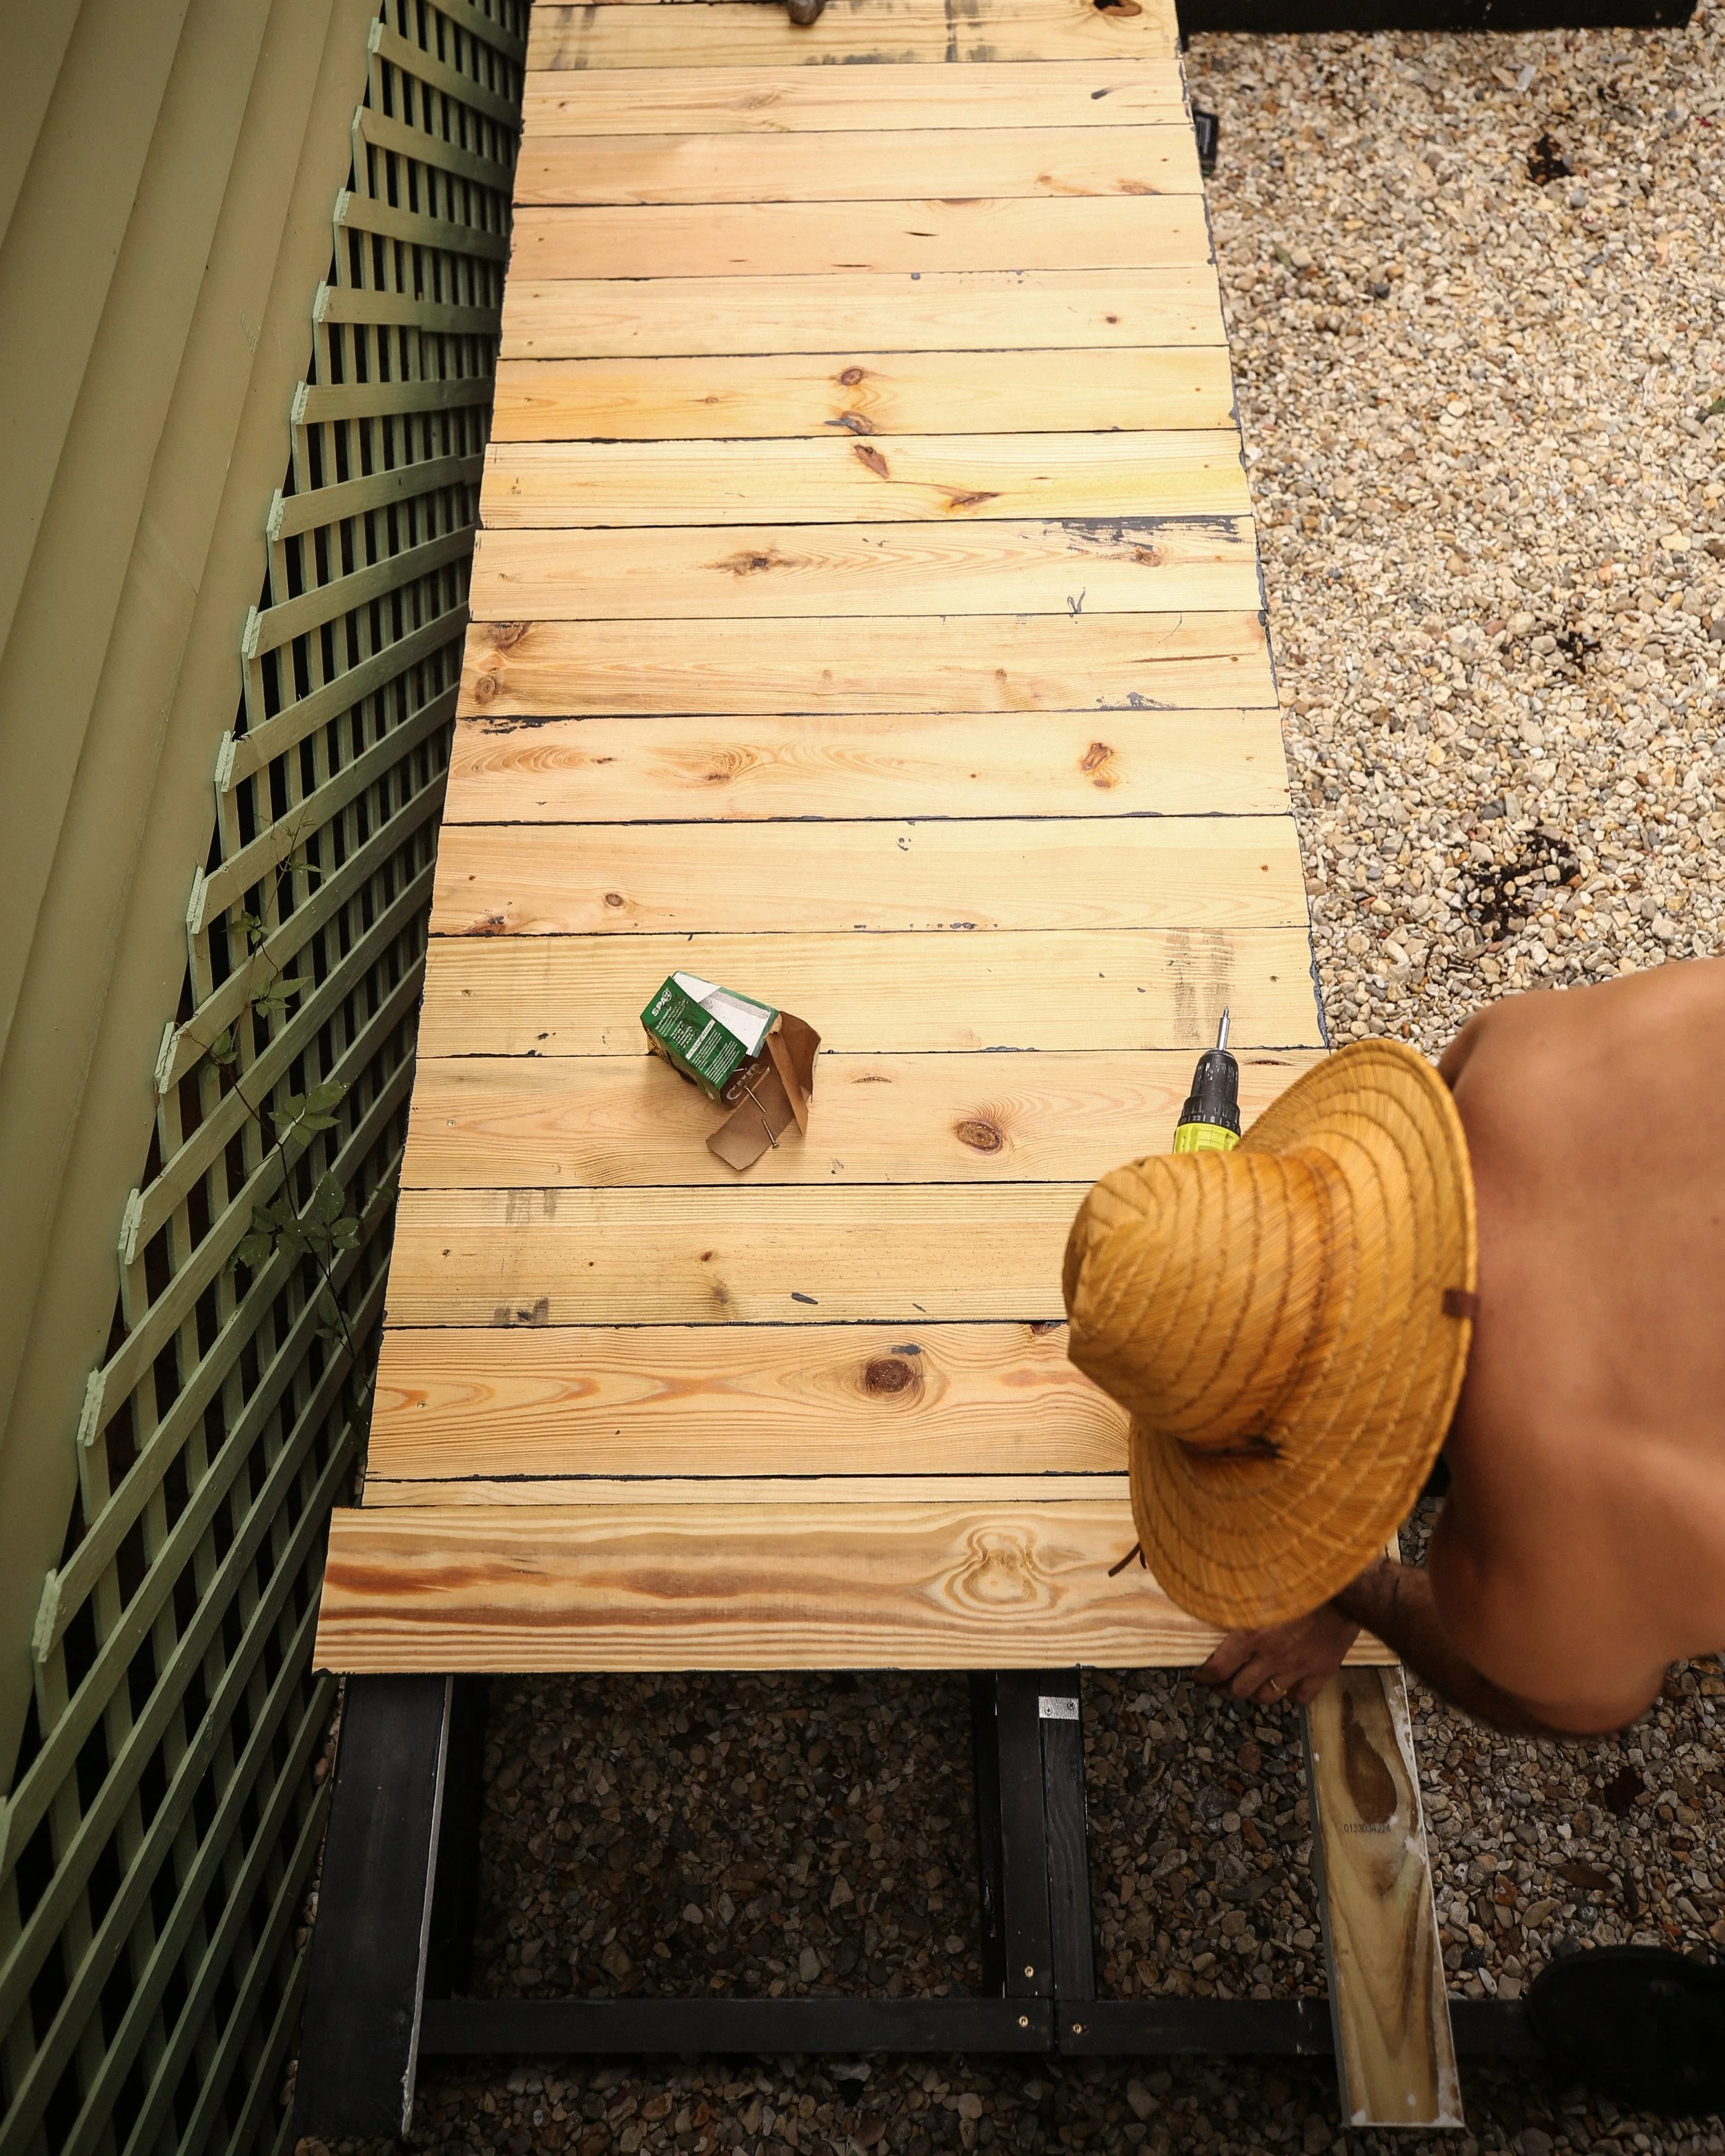
Matt screwing the seat planks onto the frame.
The structure all finished up! It needed some touch ups but it was looking good!
Finishing Up: Seat Cushion Fabric Selection, Back Cushions


As for the seating and fabrics—we knew we wanted to use Sunbrella. There’s no true competitor on the market when it comes to quality and price, so it was an easy choice! We’ve seen how well Sunbrella fabrics hold up to the elements, and given we have some truly distressful heat and humidity down here in New Orleans it was super important we had fabric we could rely on.
We had the seat cushions custom made to the dimensions of the banquette. We ordered 5” thick seating foam and had our local upholsterer tell us how much fabric to get. We ended up ordering 12 yards of the Sunbrella Sailcloth Fabric and she was able to knock out the upholstering in just about a week. She gave us her seal of approval on the fabric color and quality, too!
For the backs we knew we wanted a bunch of pillows to help create a cozy, kind of boho feel—but kept it all in the same color scheme as the seat cushions for a more minimal and modern look. We used outdoor pillows from West Elm in Sunbrella Piazza fabric and love how they go with the seats.

What’s next for the backyard?
We’re so thrilled with how our backyard is looking so far, but we’re not quite done yet! After finishing the first two sections (the raised-bed-contained firepit courtyard and this cozy banquette dining area), we’ve got one final section to tackle in the back quadrant of the yard: the potting shed. We had the landscapers who laid our flagstone also lay a nice little square slab foundation for us, and that’s where we’ll be constructing a (hopefully) adorable shack made from salvaged windows that will be a place for pots and soil and plants that need a warm place to nap in the winter. It’s even wired for electric, so a space heater could easily make it serve as a miniature greenhouse! Stay tuned because we’ll absolutely be documenting that cute little project over here.
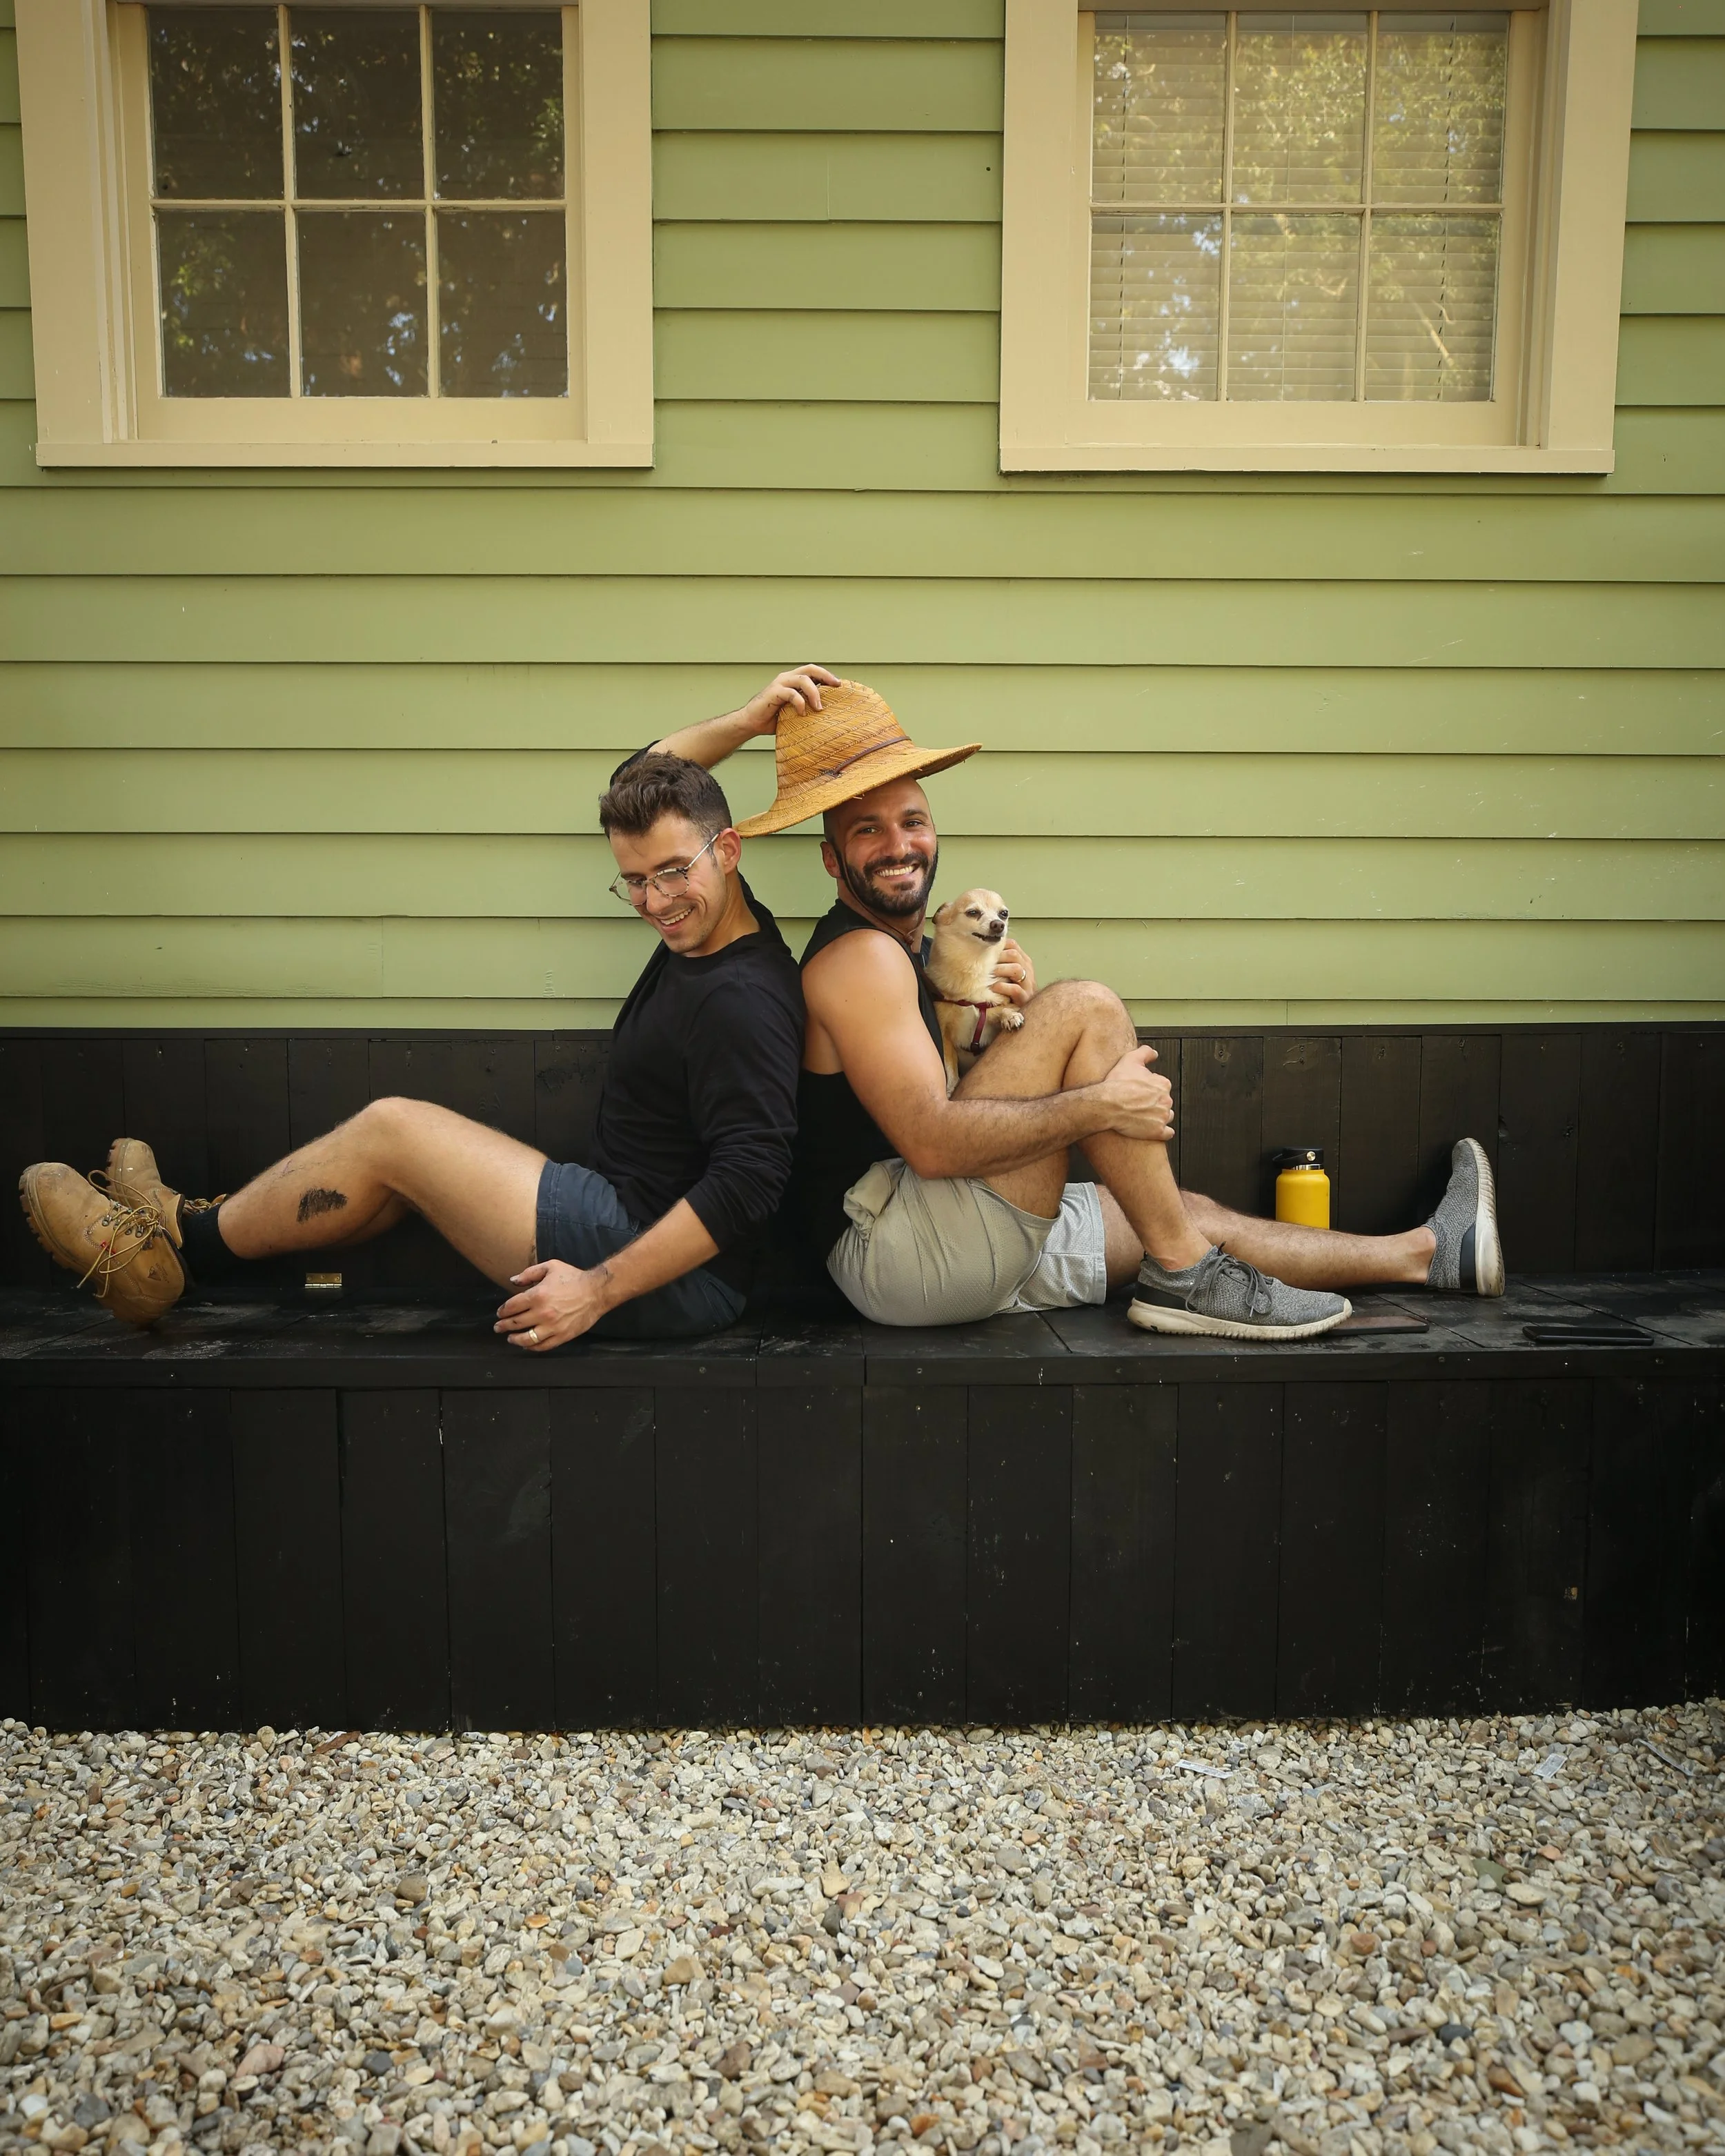
xoxo Beau & Matt

