Vintage Camper Renovation: Rosie Reveal
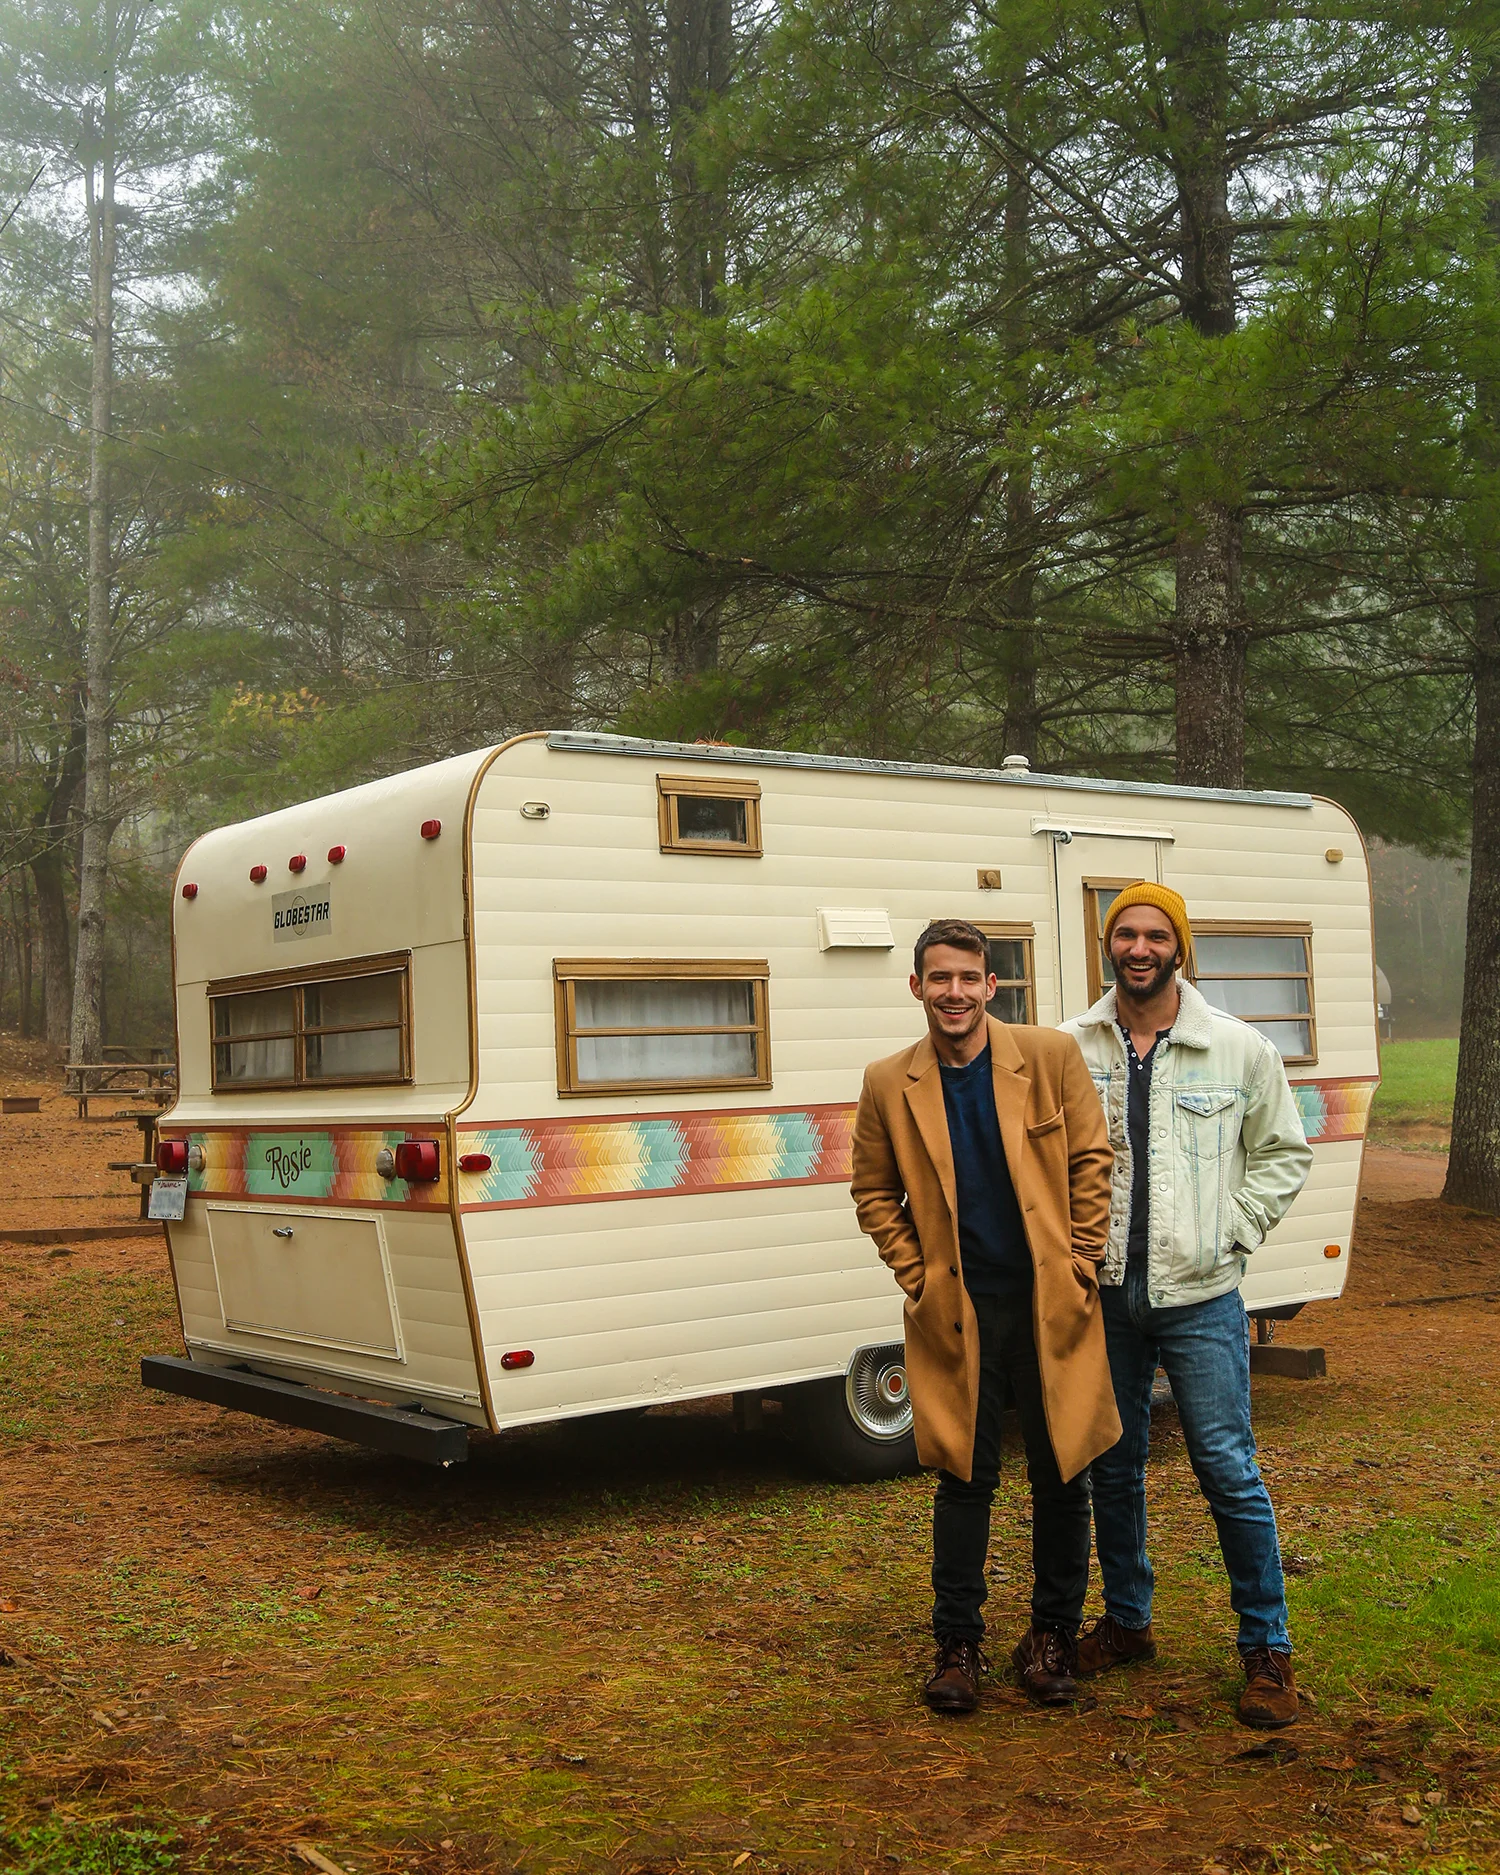
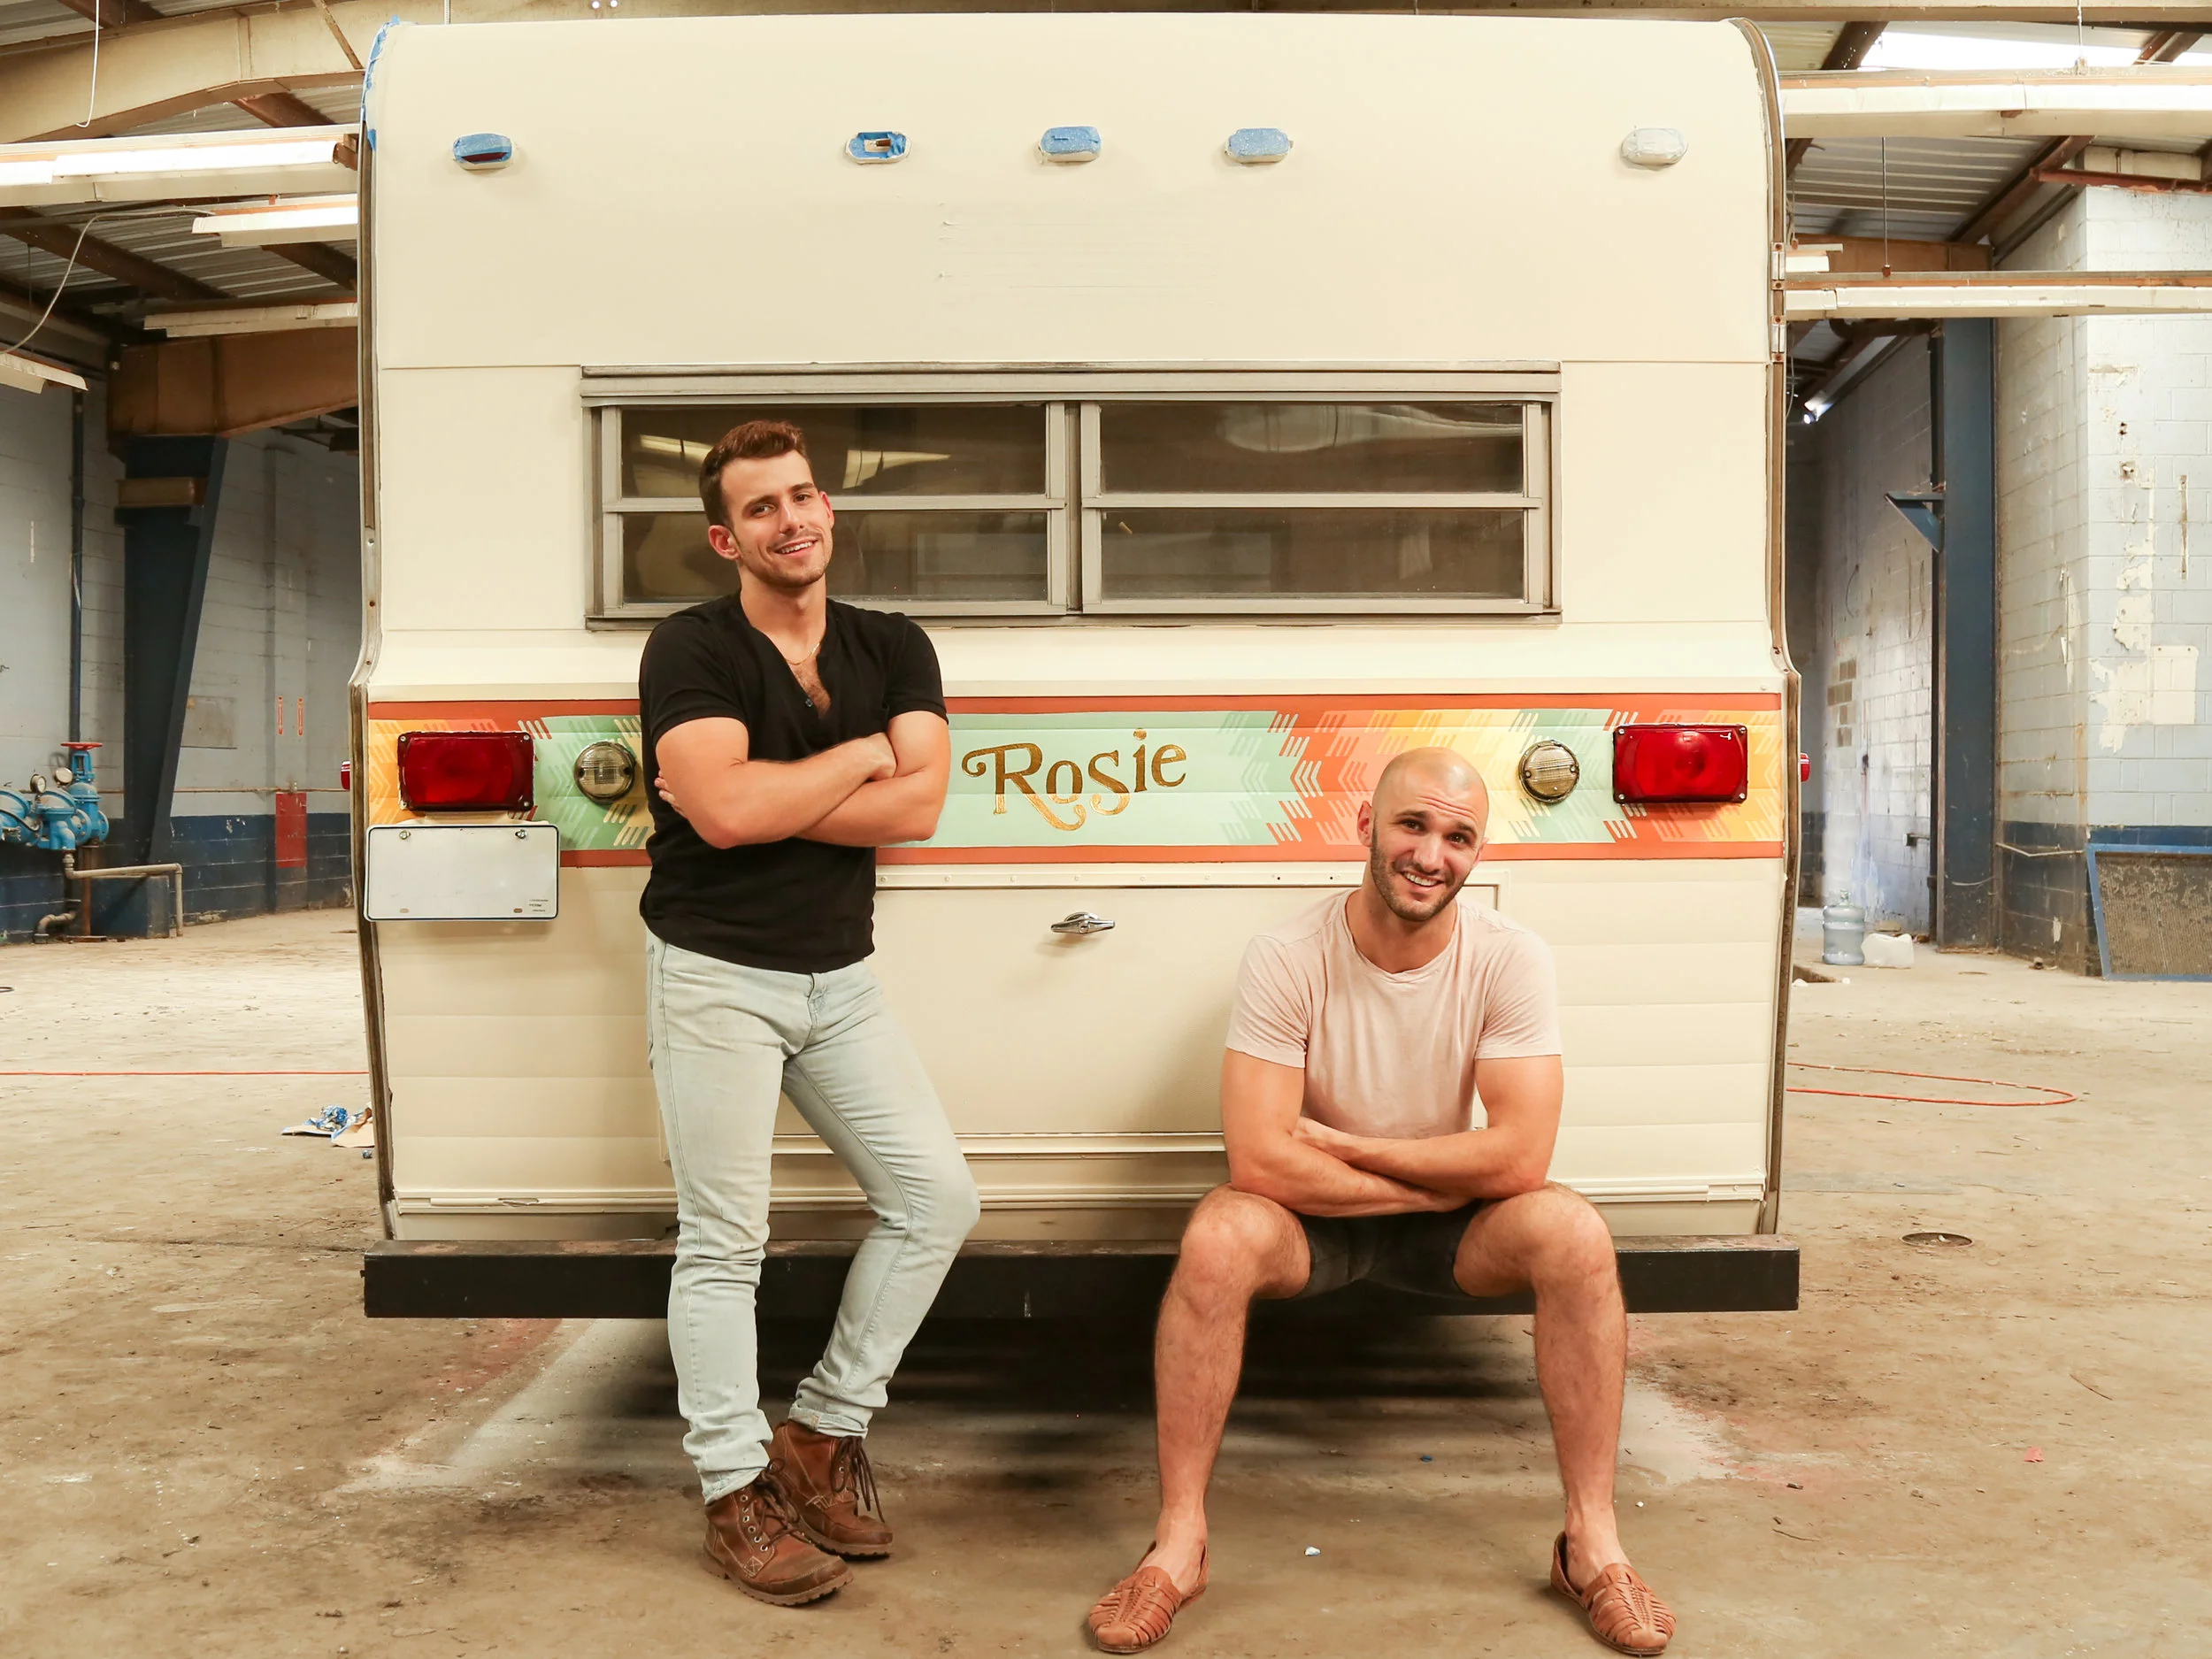
It took 3 months, 2 boys, a Fox, and a handful of super talented local artists and craftspeople to turn this 1969 vintage Globestar camper trailer from endearing but outdated to modern and remarkably cozy. Check out what we had planned from day 1 if you wanna go back allll the way to the beginning!
We learned more than we thought we could ever know about 60's era automobile construction, concrete mixing, bed-building, light hardwiring, shelving, painting-sealing-and-re-sealing, and appropriate methods of begging friends and family for help.
It took us about 10 weeks (but could've been 6 if we'd had more time to work on her from the start) and $8,000 including the original purchase price of $4,000 and the cost of $1,000 to ship her from her previous home in West Virginia.
We've taken her on her inaugural trip from our New Orleans home to the hills of Western North Carolina and we've been rocking out camper life in Rosie for the past few days - Instagramming it all of course. To our astonishment, 100 square feet is not a small enough space to drive us to murder one another. Who knew?
And now we're ready to give y'all the *full reveal.* Consider this Rosie's debutante ball, except she's not looking for a spouse to take her away because she's ours and she's never ever leaving us.
You can click here to check out the full list of posts on this process and how we used our project partner, eBay, to get it all done!
We wanted to take her slightly worn exterior and kick it up a notch with a hand-painted stripe by our friend, artist Faye Kaucher Bell. We knew we loved the idea of a Southwest inspired color palette, but Faye took our ideas and turned them into something that we think is so beyond mesmerizing.
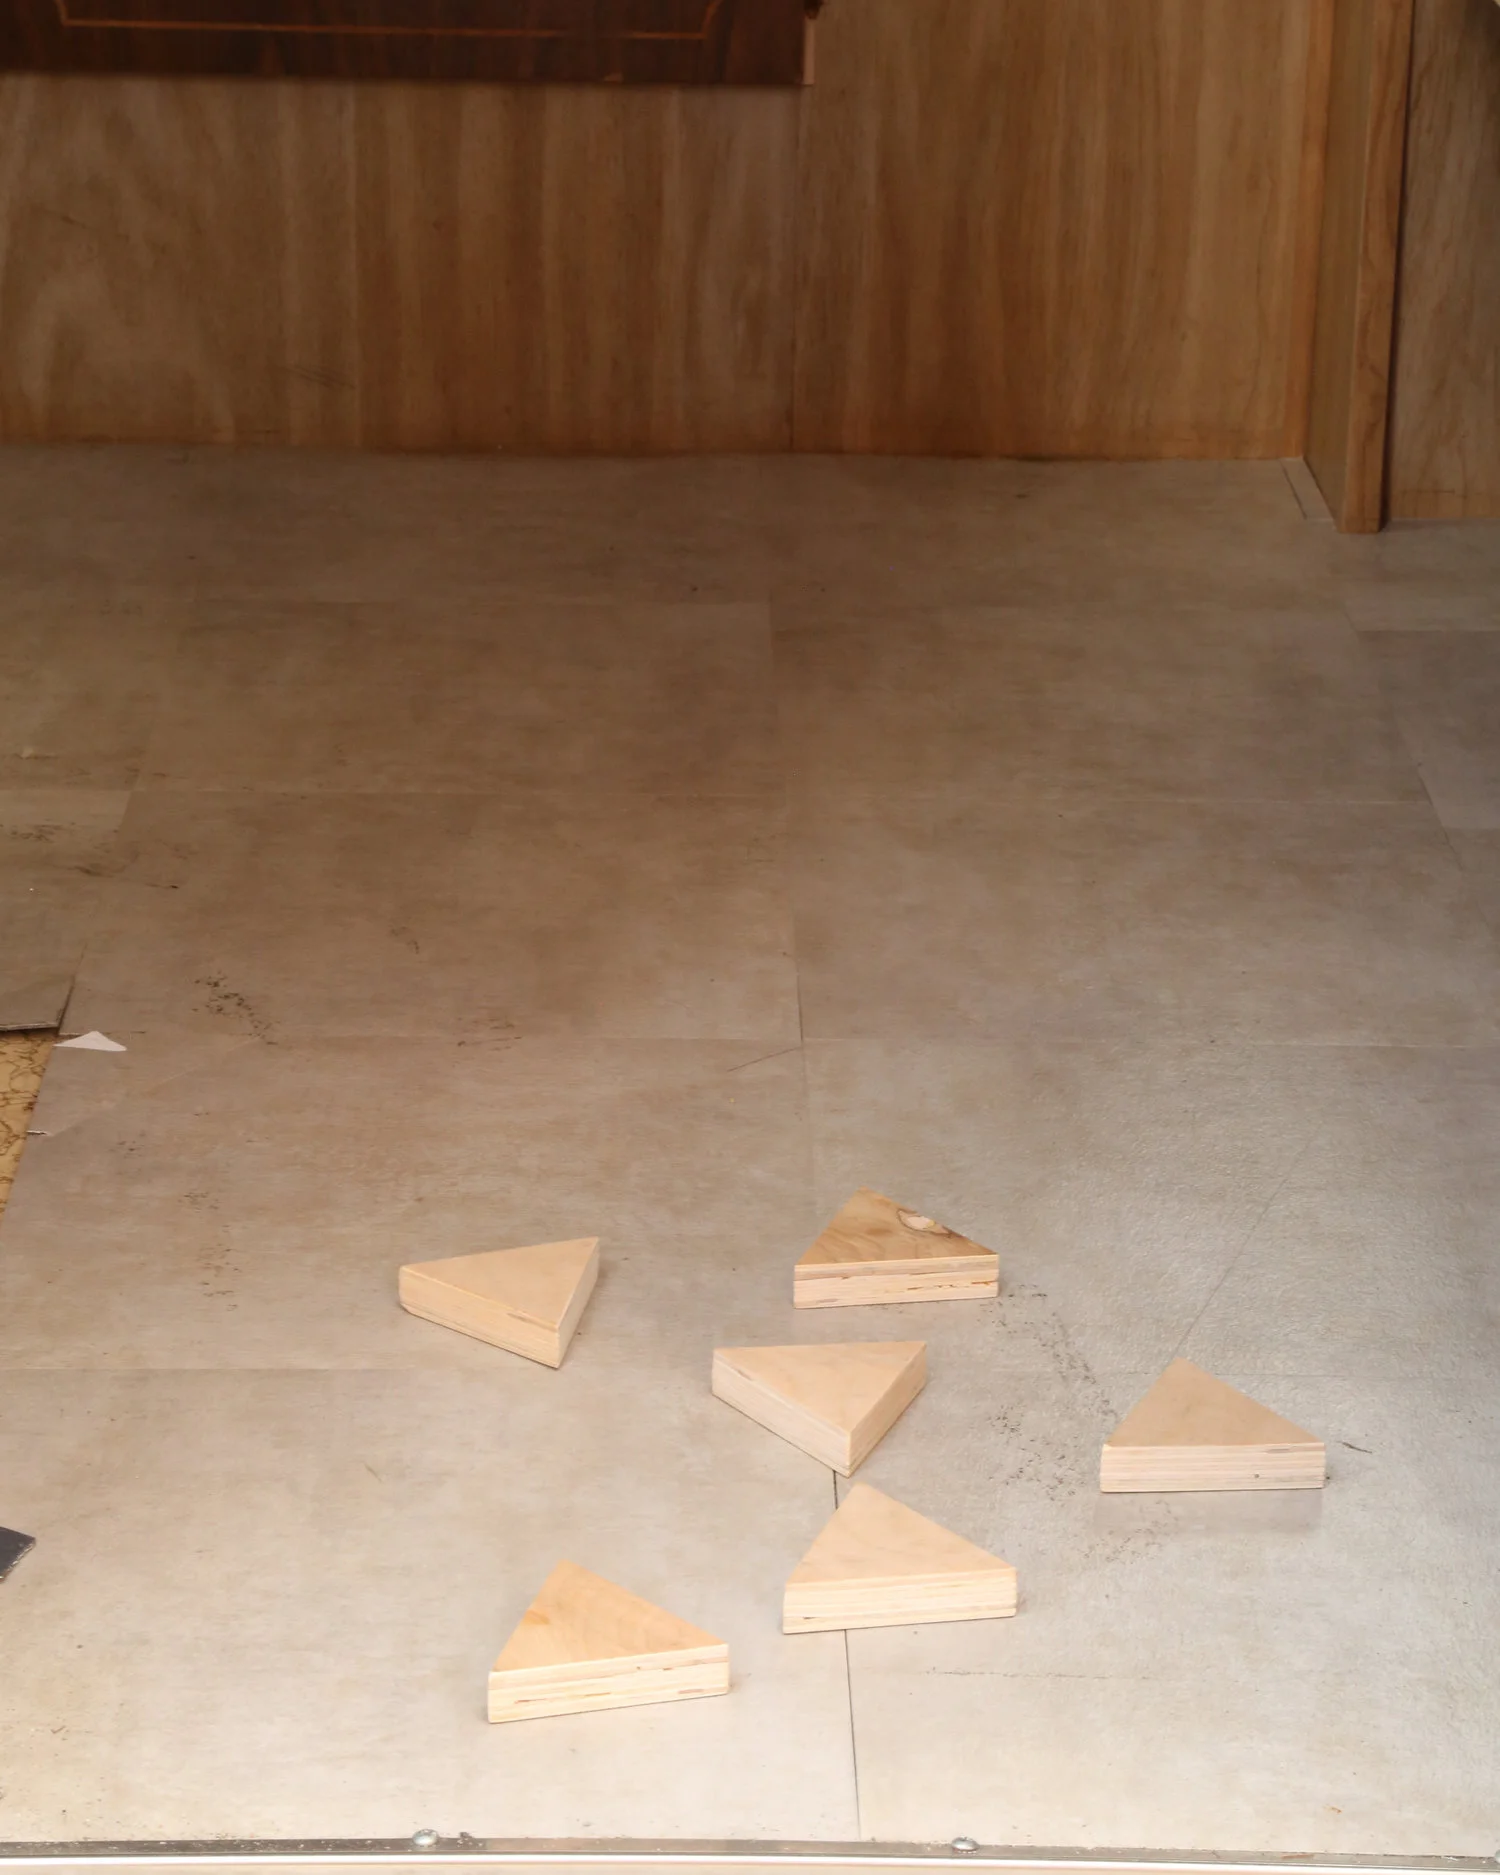
Next up were the floors. Oh, the floors. When we got her, Rosie's floors were a stick and peel tile and it's really unclear to us whether that is what she came with way back in 1969 or if someone had taken out the original flooring and put these things on there. Either way it had to go. We knew we were going for a geometric motif throughout the design, so we wanted to really drive that home with the floors. We worked with local carpenter Chad Robin to get these little tiny triangle hard wood floors made of reclaimed cypress. It's stunning. Every morning when the light hits them we have a literal spiritual experience. We've actually got a whole DIY for these floors if you wanna try it yourself!
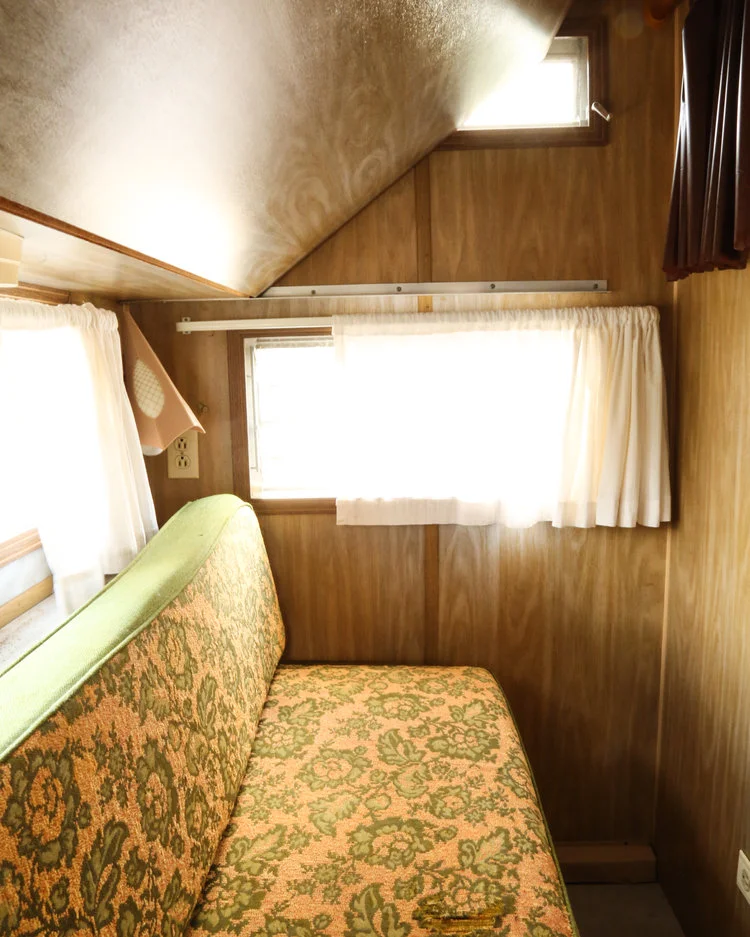
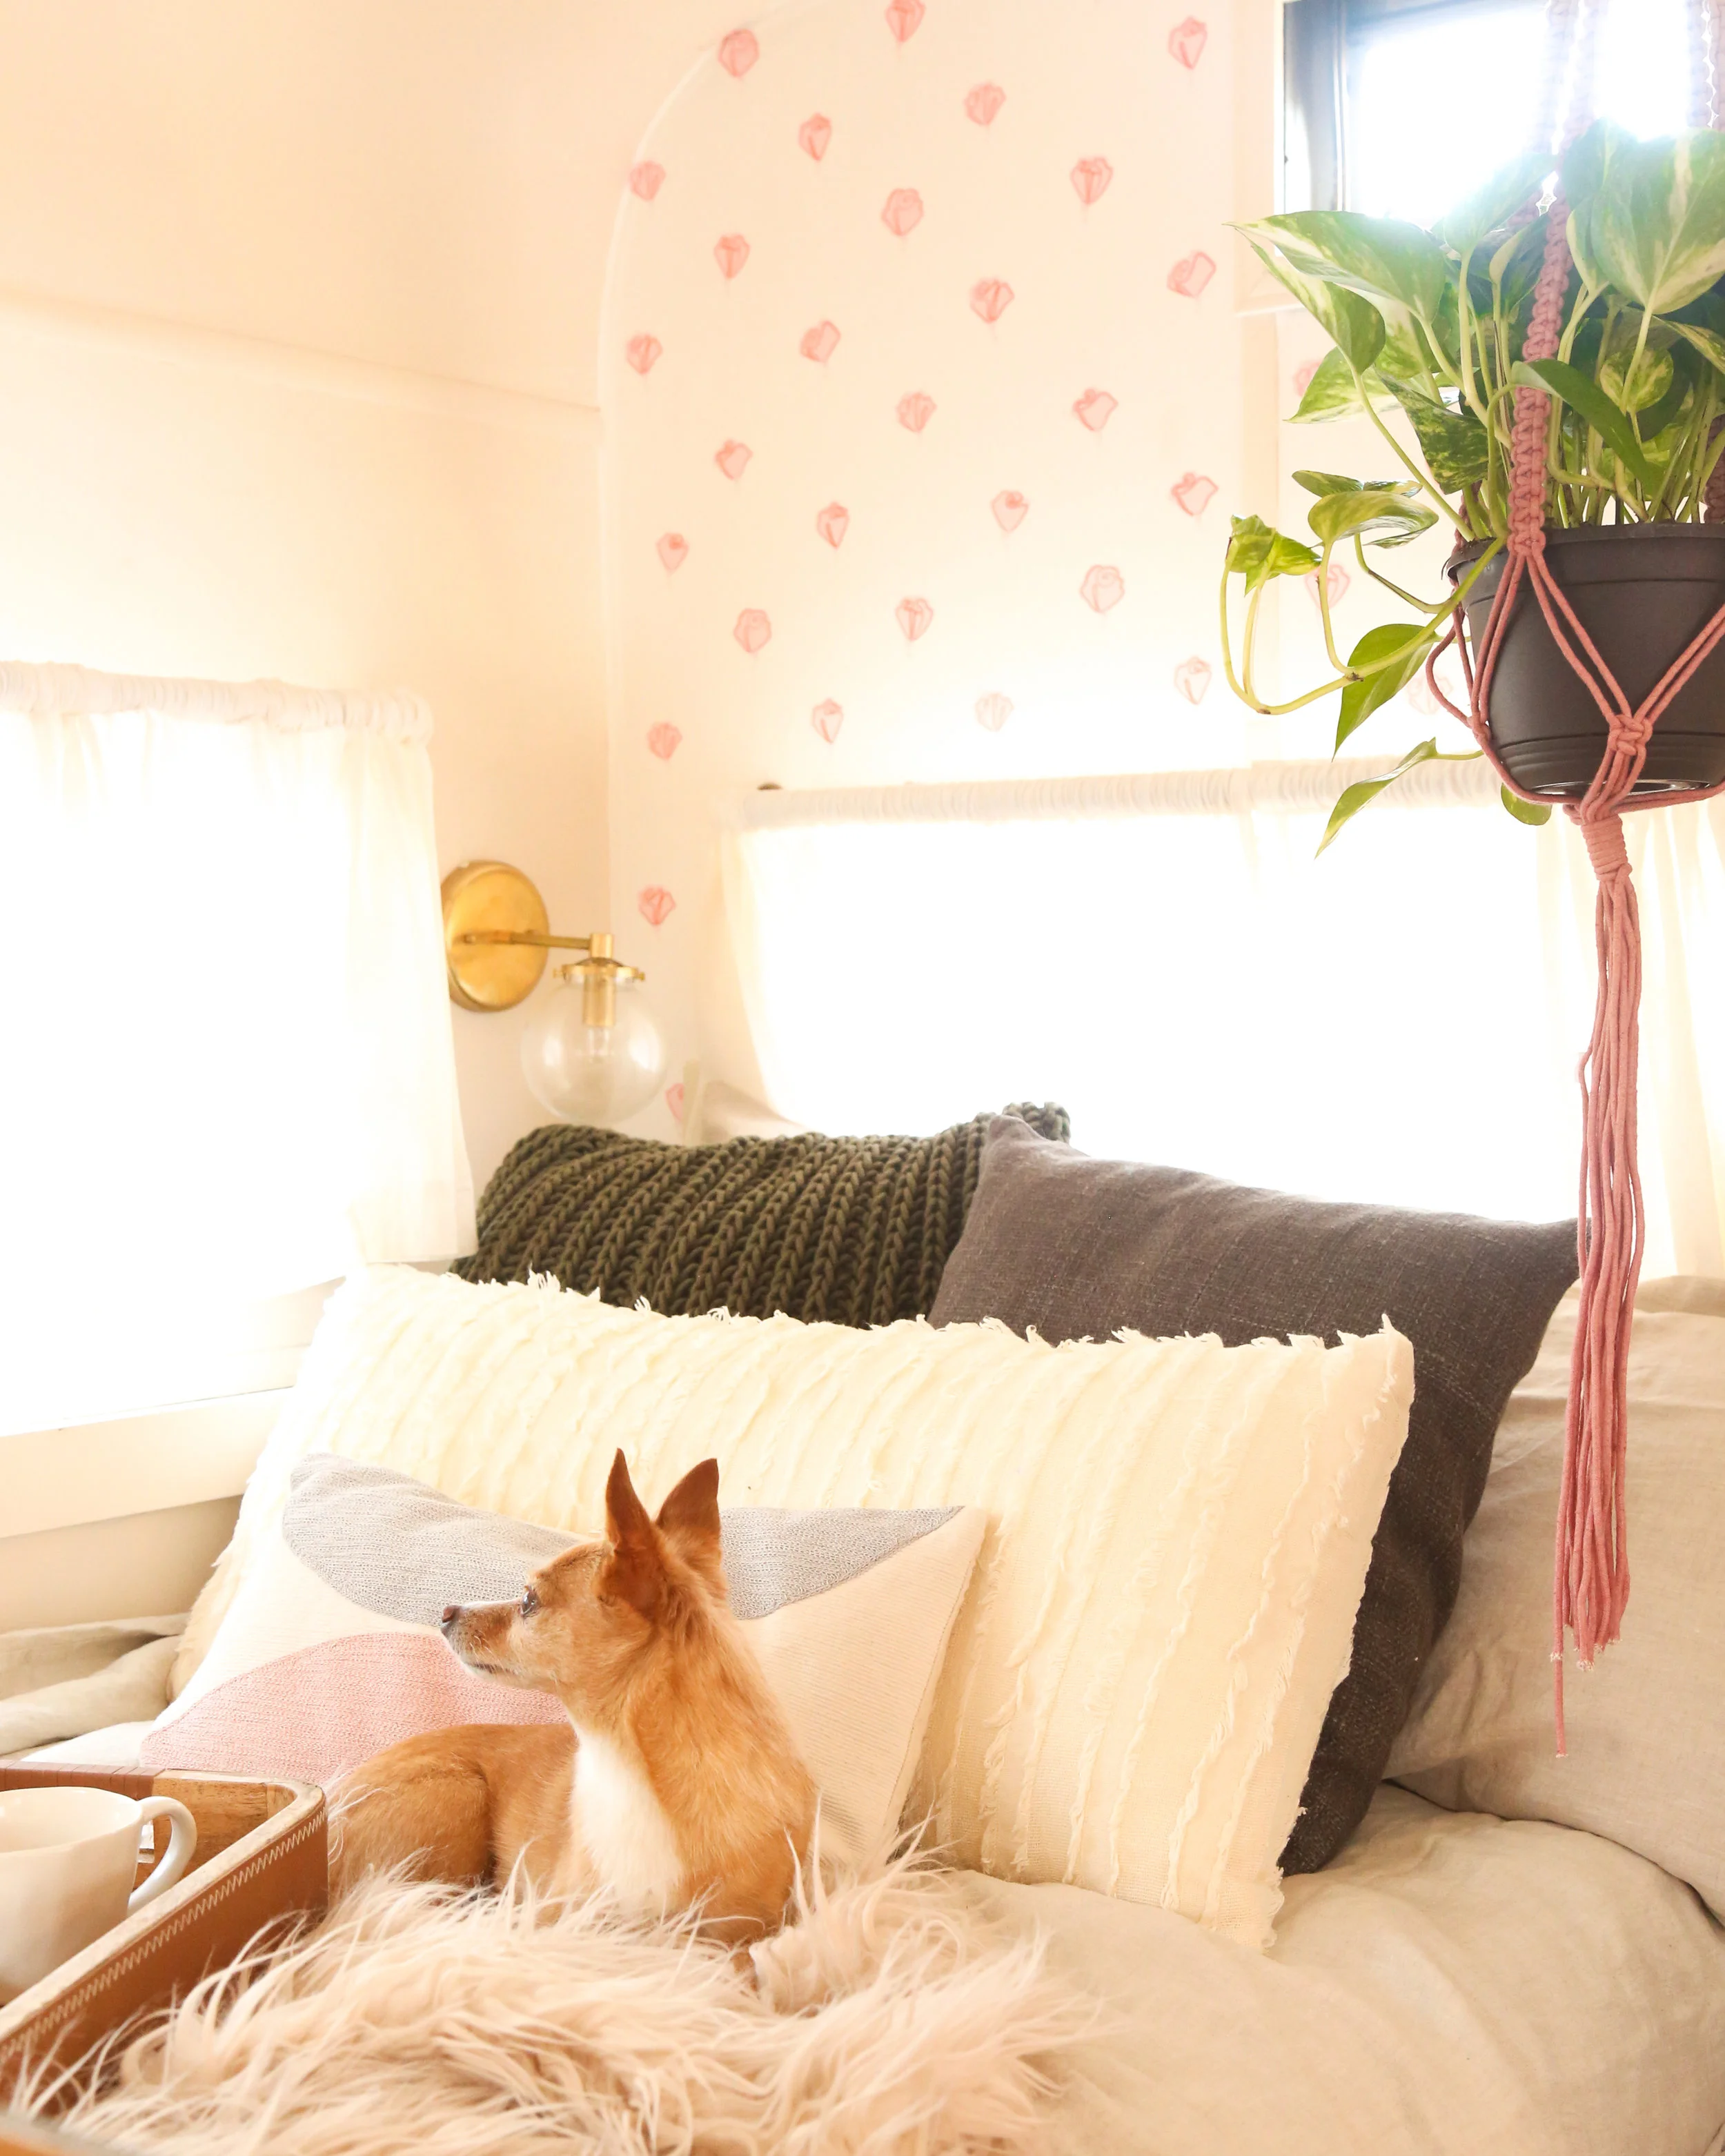
The bedroom underwent the biggest structural change of the entire project. Rosie originally came with a bunk bed situation where the bottom bunk pulled out from a sofa and the top bunk folded down from the ceiling. There was also a small closet. We tore all that out. Where the closet used to be is now a built-in night stand. We left the top bunk space open (the dinette on the other end of the camper turns into a bed, and we really didn't feel like we needed three beds in this tiny space). And where the bottom bunk pull-out bed set up used to be, we built a complete twin-size bed frame so that we could use an actual mattress instead of two sofa cushions that would need to be pushed together. Finally, as an homage to Rosie's name, we added a subtle rose print wallpaper to make an accent headboard. You can check out our post on her bedroom makeover if you're looking for sources for any of the decor we used!
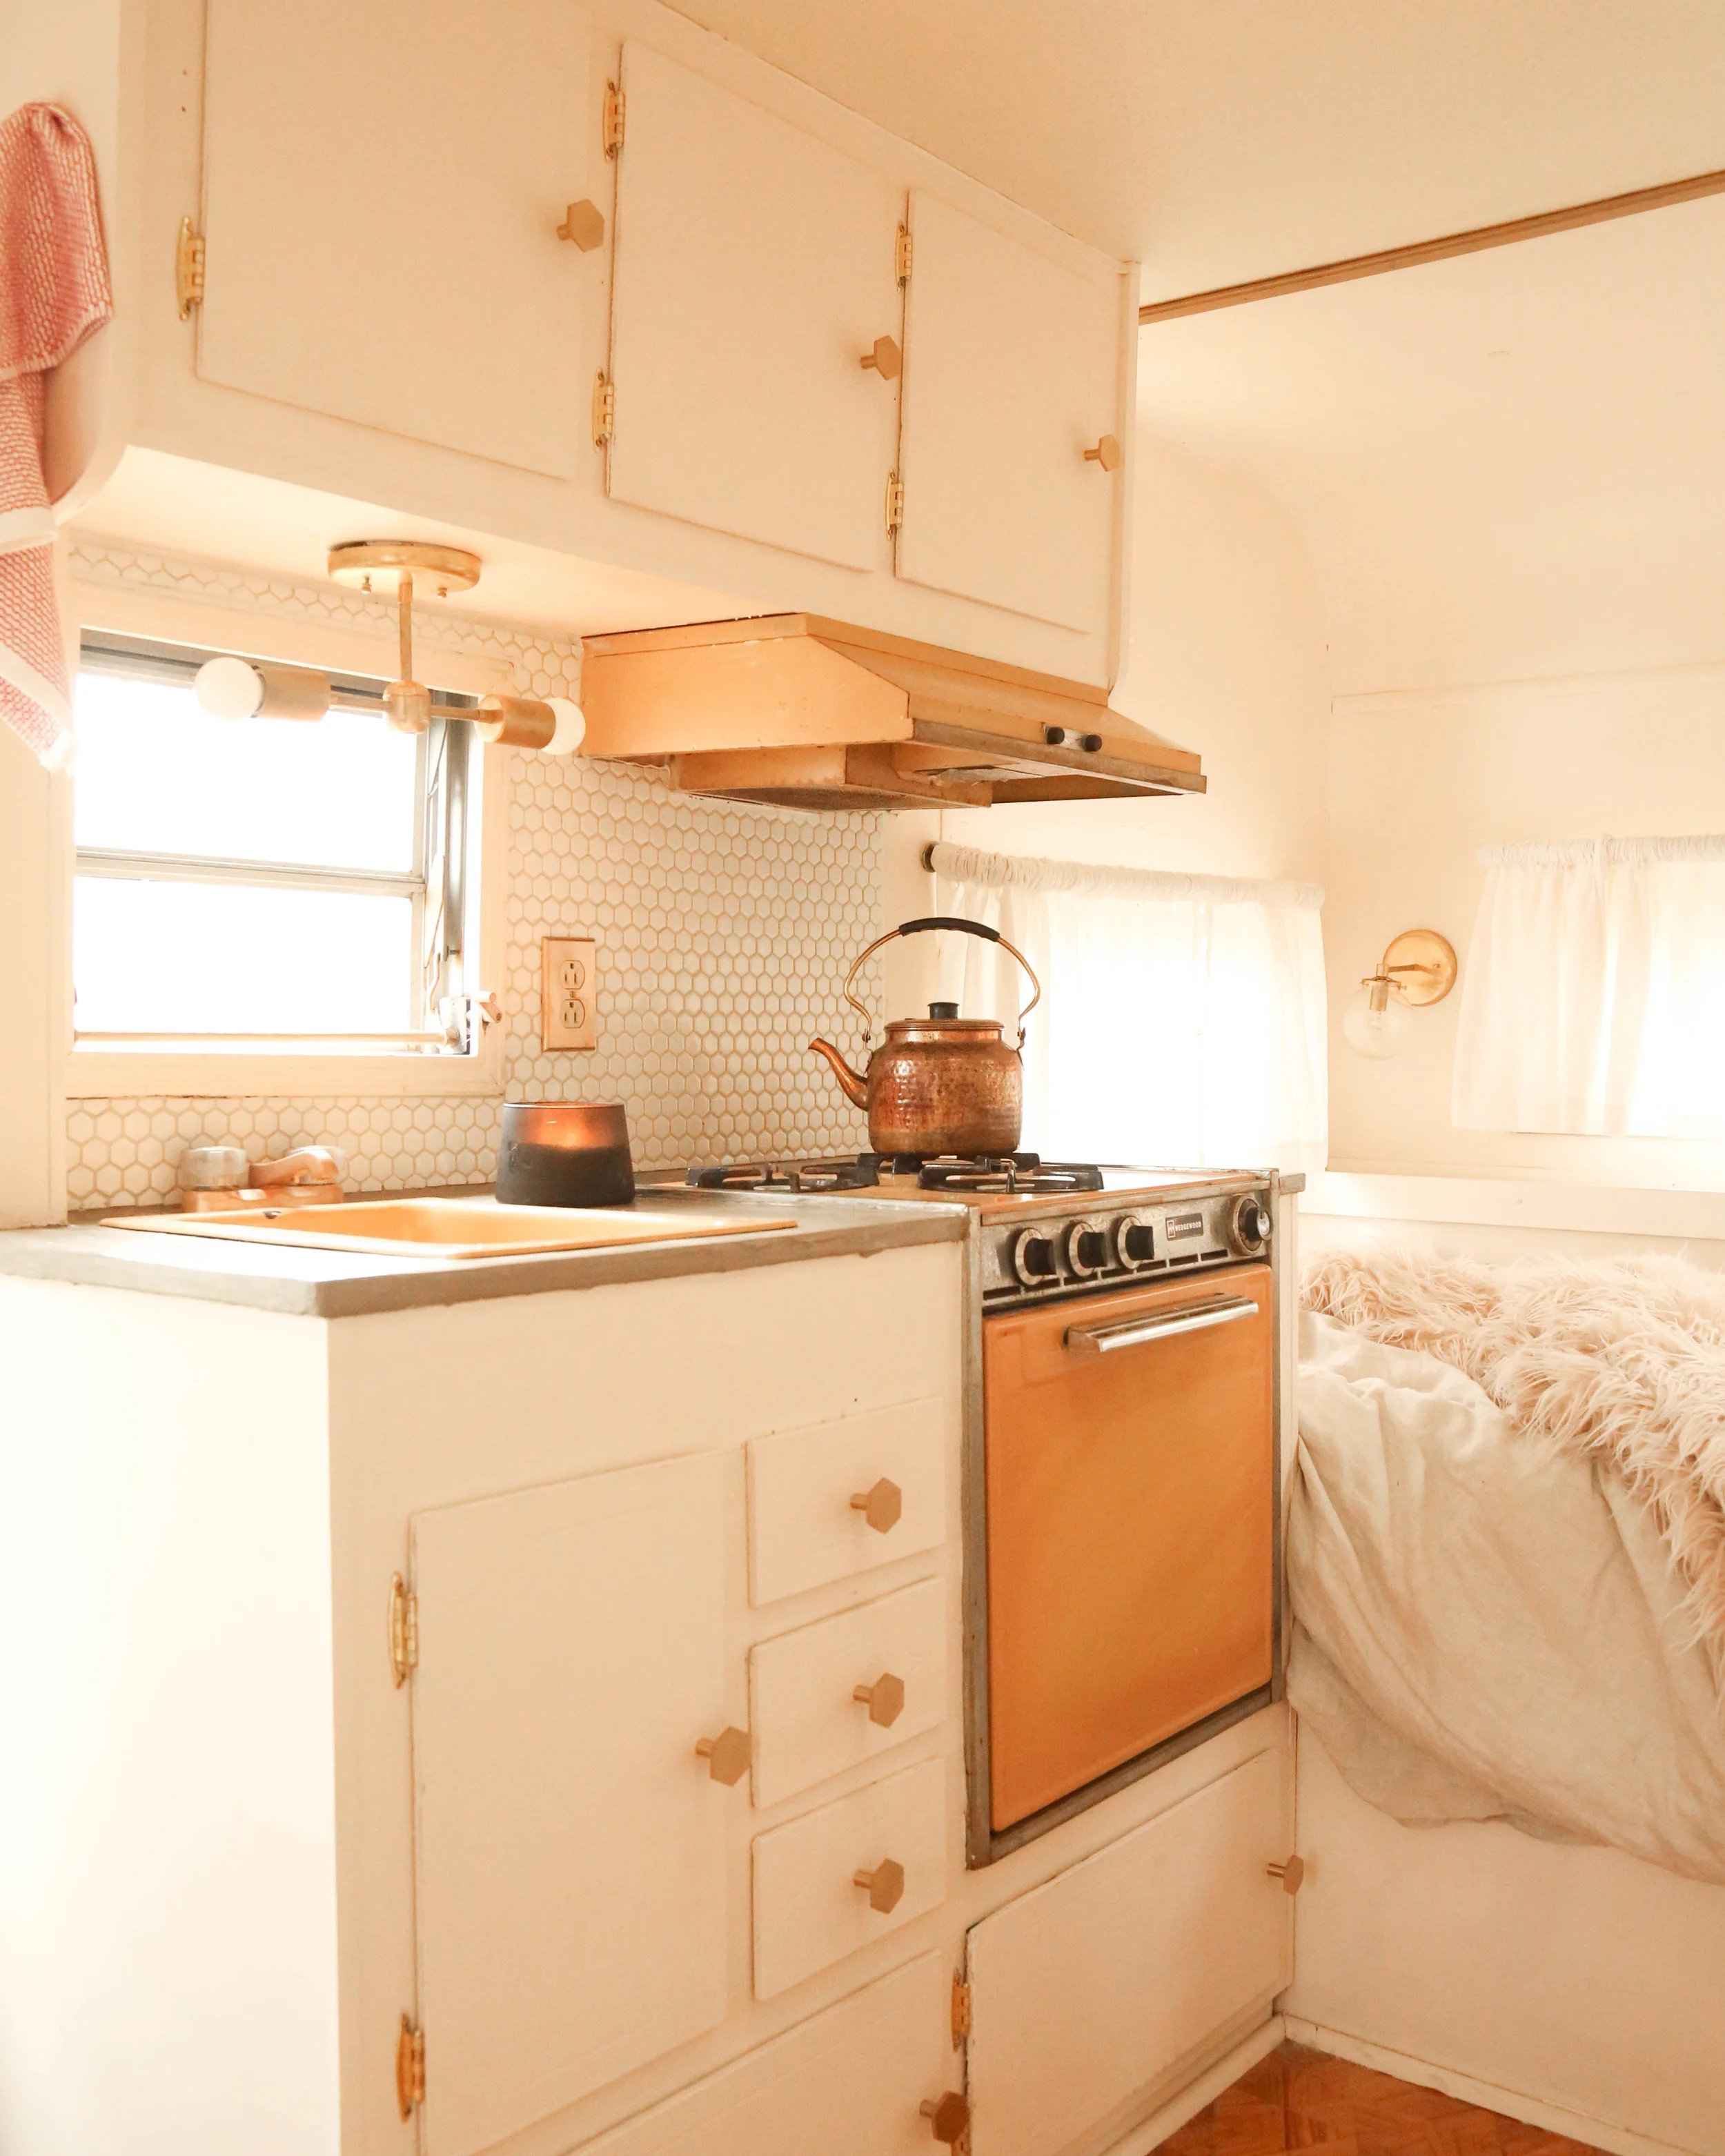
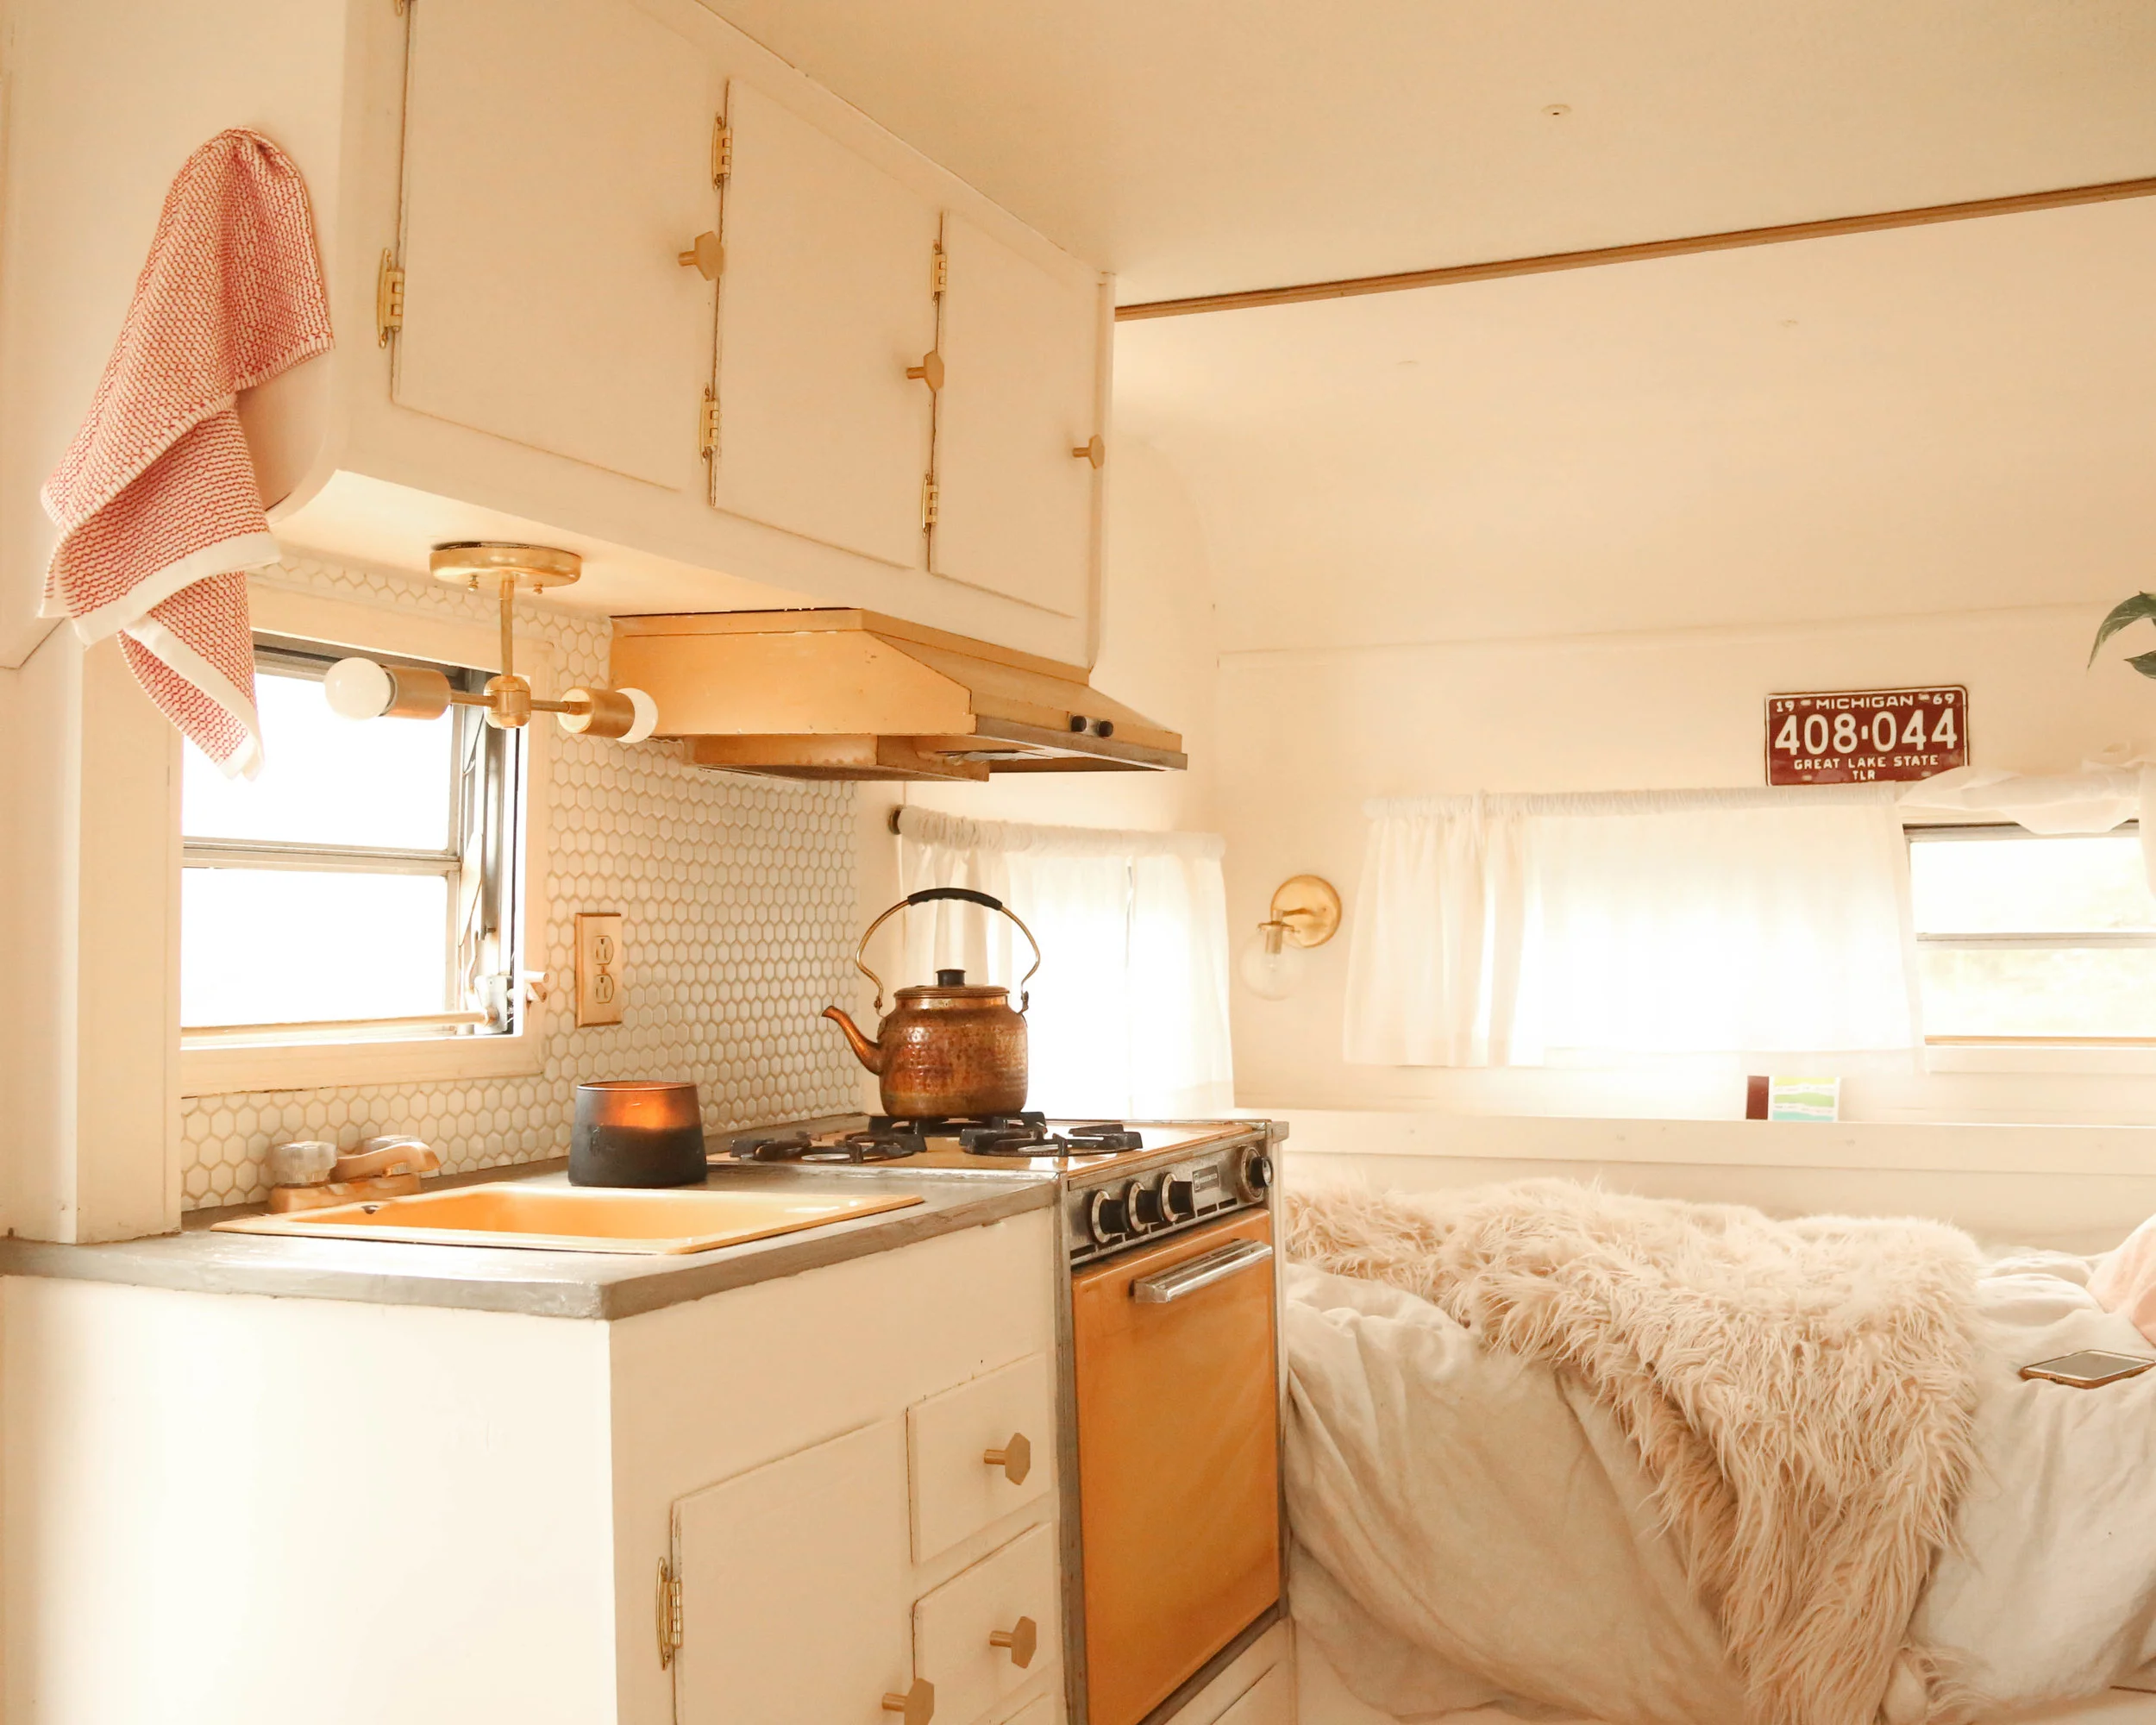
The kitchen is the most shocking before and after given that we didn't really change anything structurally about it other than removing the small protective barrier on the far right side. Everything else was done using what was already there and adding on. That brass light is from Sazerac Stiches, a local New Orleans husband and wife duo that make remarkable light fixtures ranging from chandeliers to sconces (they made all of the lights in Rosie!).
We've got a whole post on the cabinet refresh alone, but basically we just painted the original cabinets and switched out the hardware. Then we did a concrete overlay on the existing countertop, and finally we used hexagon tiles to do a major backsplash upgrade. The result is a kitchen so bright and clean that we literally don't want to even cook anything in it.
Finally, the dinette end! We knew we wanted to keep the function of the table folding down and becoming a second bed (it sits on the lips on those dining benches and the cushions lay flat to make a mattress), so we asked our friend Chad Robin for help once again. He took the old table and covered it in a beautiful pattern with reclaimed cypress strips, leaving all the old functional pieces intact. Then we reupholstered the seat cushions in a clean light gray and knocked out the cabinets hanging above the table. In place of the cabinets, we opted for more open storage in the form of some simple wall-hanging shelves we made ourselves with some lumber, wood stain, and a few brass brackets we found online. The last touch in the dinette area was turning the storage space beneath one dining bench into Fox's brand new chic kennel, so he can have his own *private time* as well.
And that's it! Below are some more photos from around Rosie!
Let us know what you think and if you're going to take on a project like this one on your own! We've got quite a few trips planned for Rosie, and if you want to keep up you can follow along on our Instagram.


