
The Scoop On Our Pink Shower
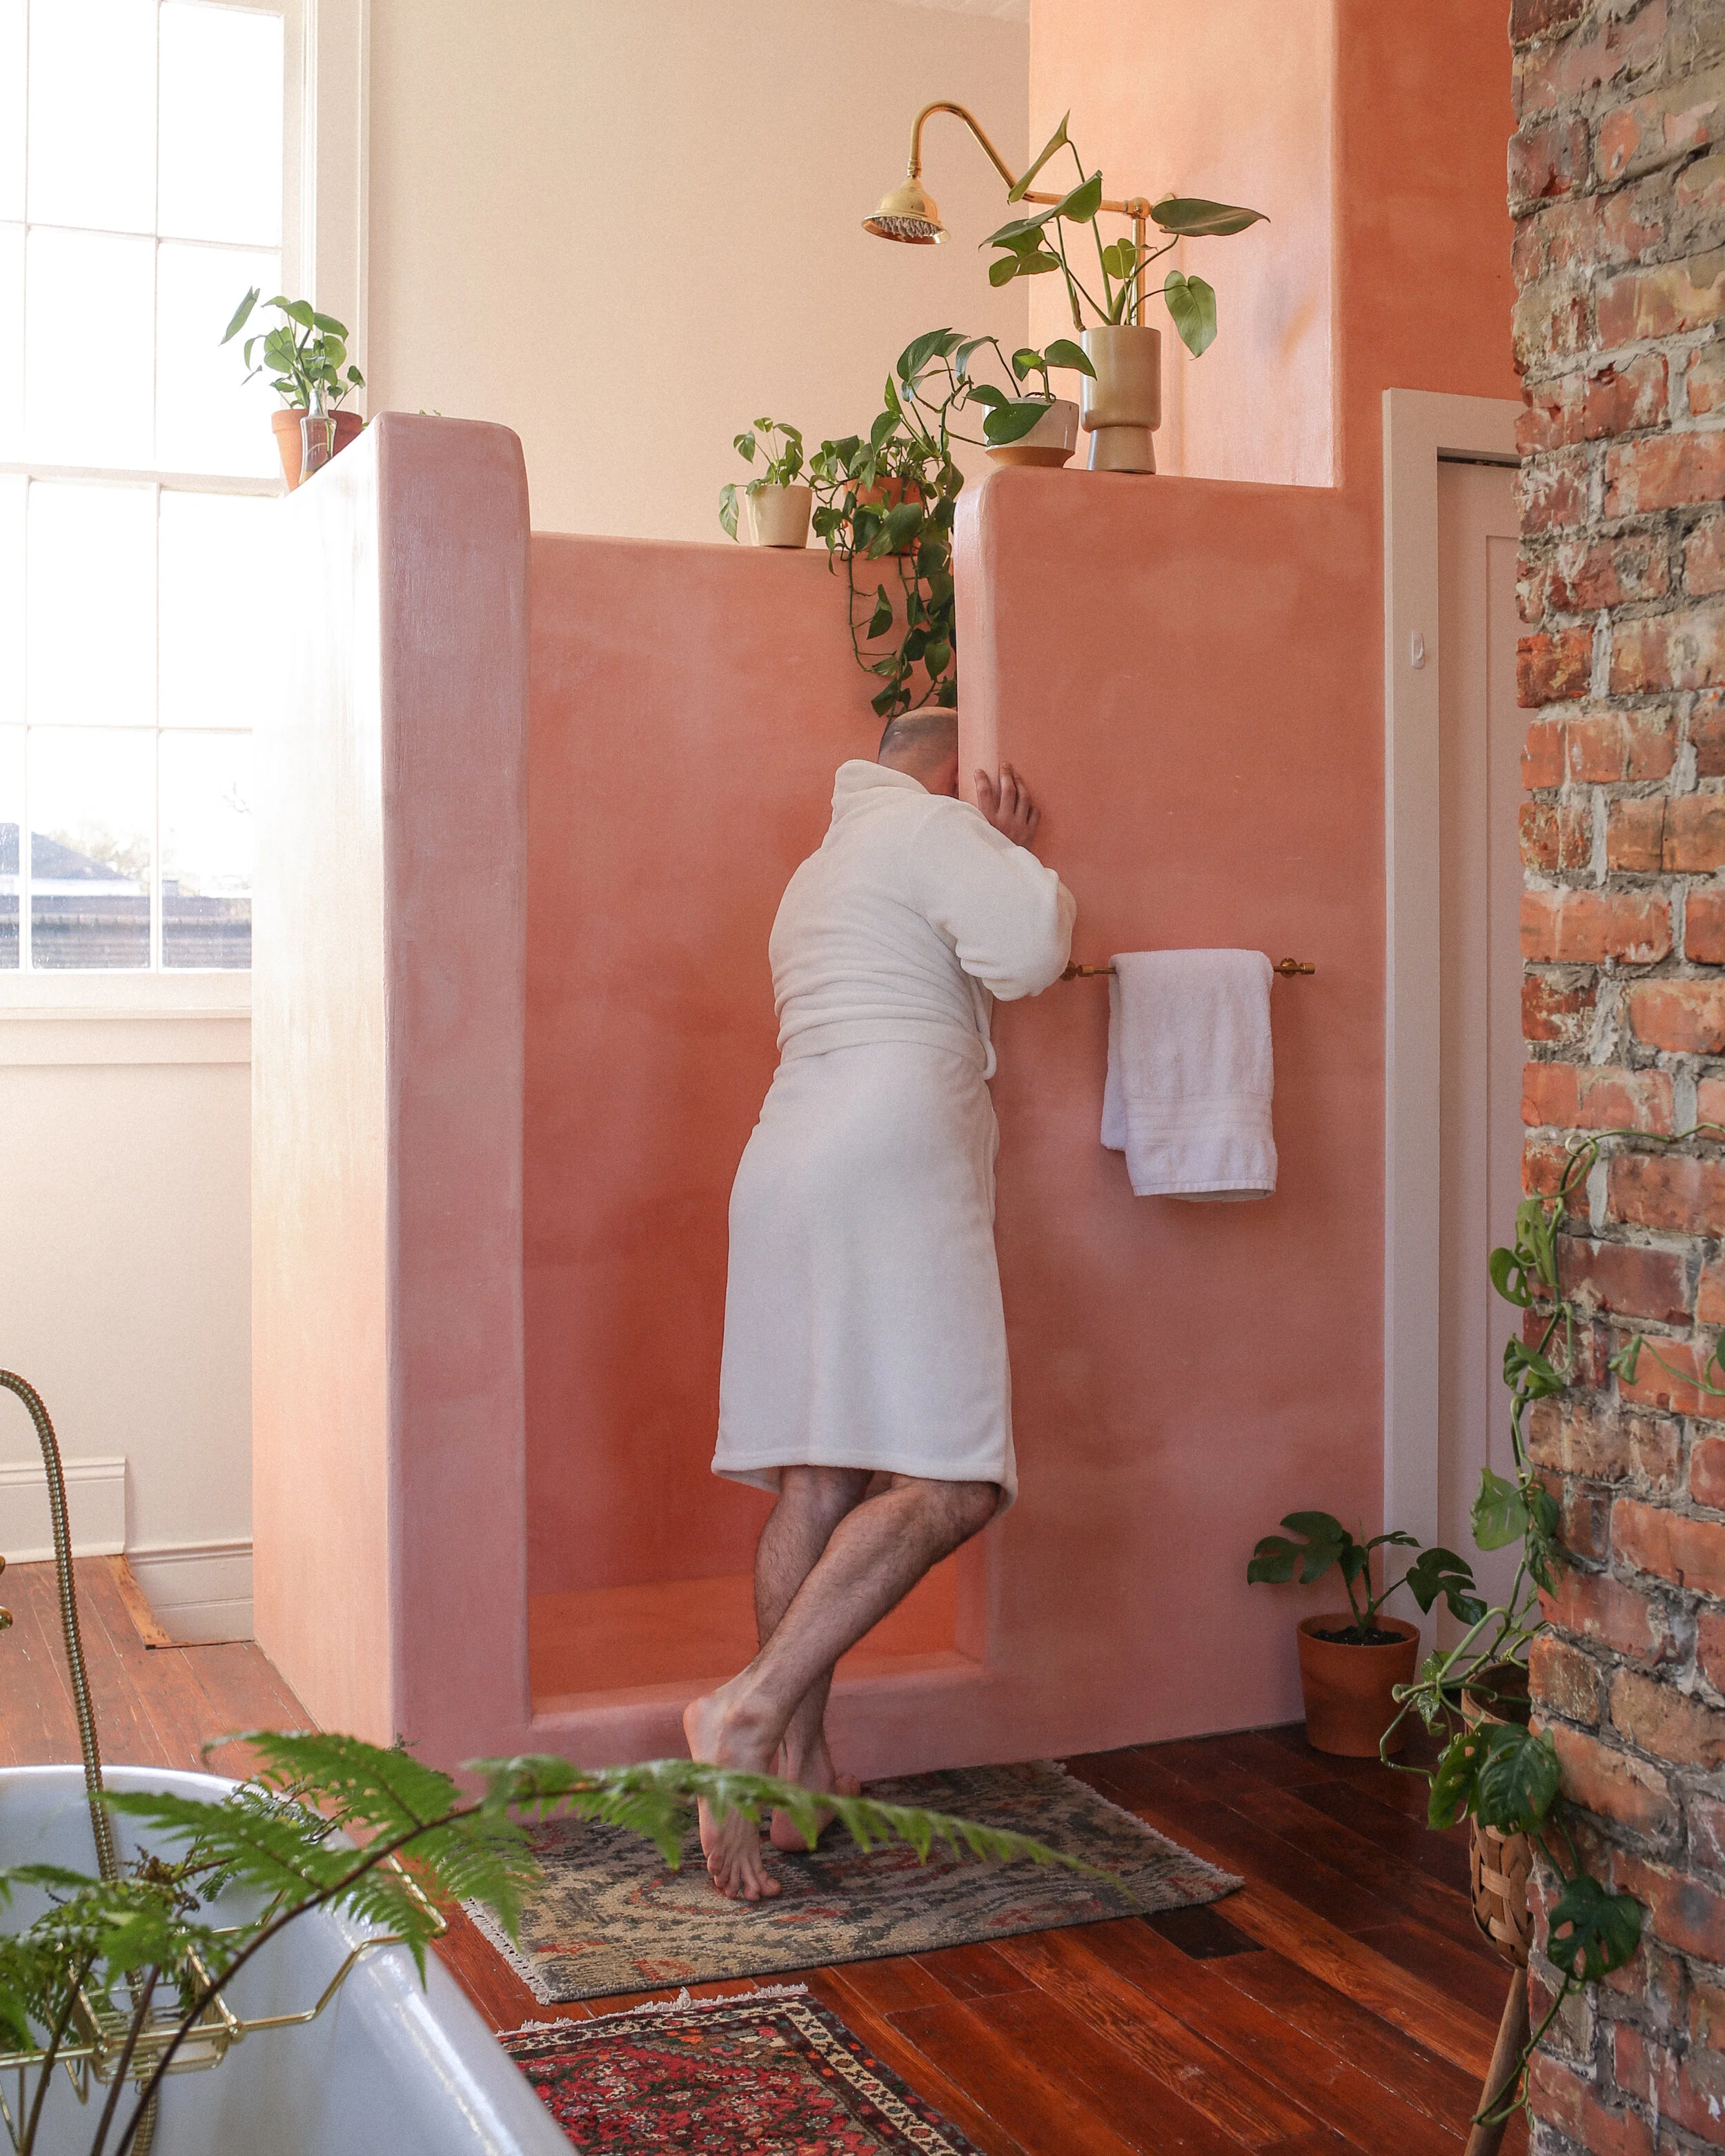
After we posted our bedroom suite reveal, we got so many questions about our pink shower!
So here’s the deal: I’m gonna give you the scoop on why we wanted a pink plaster shower, how we decided on the design of the shower, and what you need to make it happen in your own home. But first, if you haven’t seen the bedroom suite, check it out below to get your bearings on the space as a whole!


Why We Wanted A Plaster Shower
If you’ve been following our home renovation process on Instagram, you probably know we like to do some quirky stuff. When we started designing our bedroom suite—which was a full gut renovation—we landed on the idea of an “open concept” suite that would transform two bedrooms into one large bedroom / bath combo. It’s a setup that is absolutely not for everyone, but it’s exactly what we wanted. In our twisted little minds, it feels very luxe, and dare I say, sexy? Scandal!
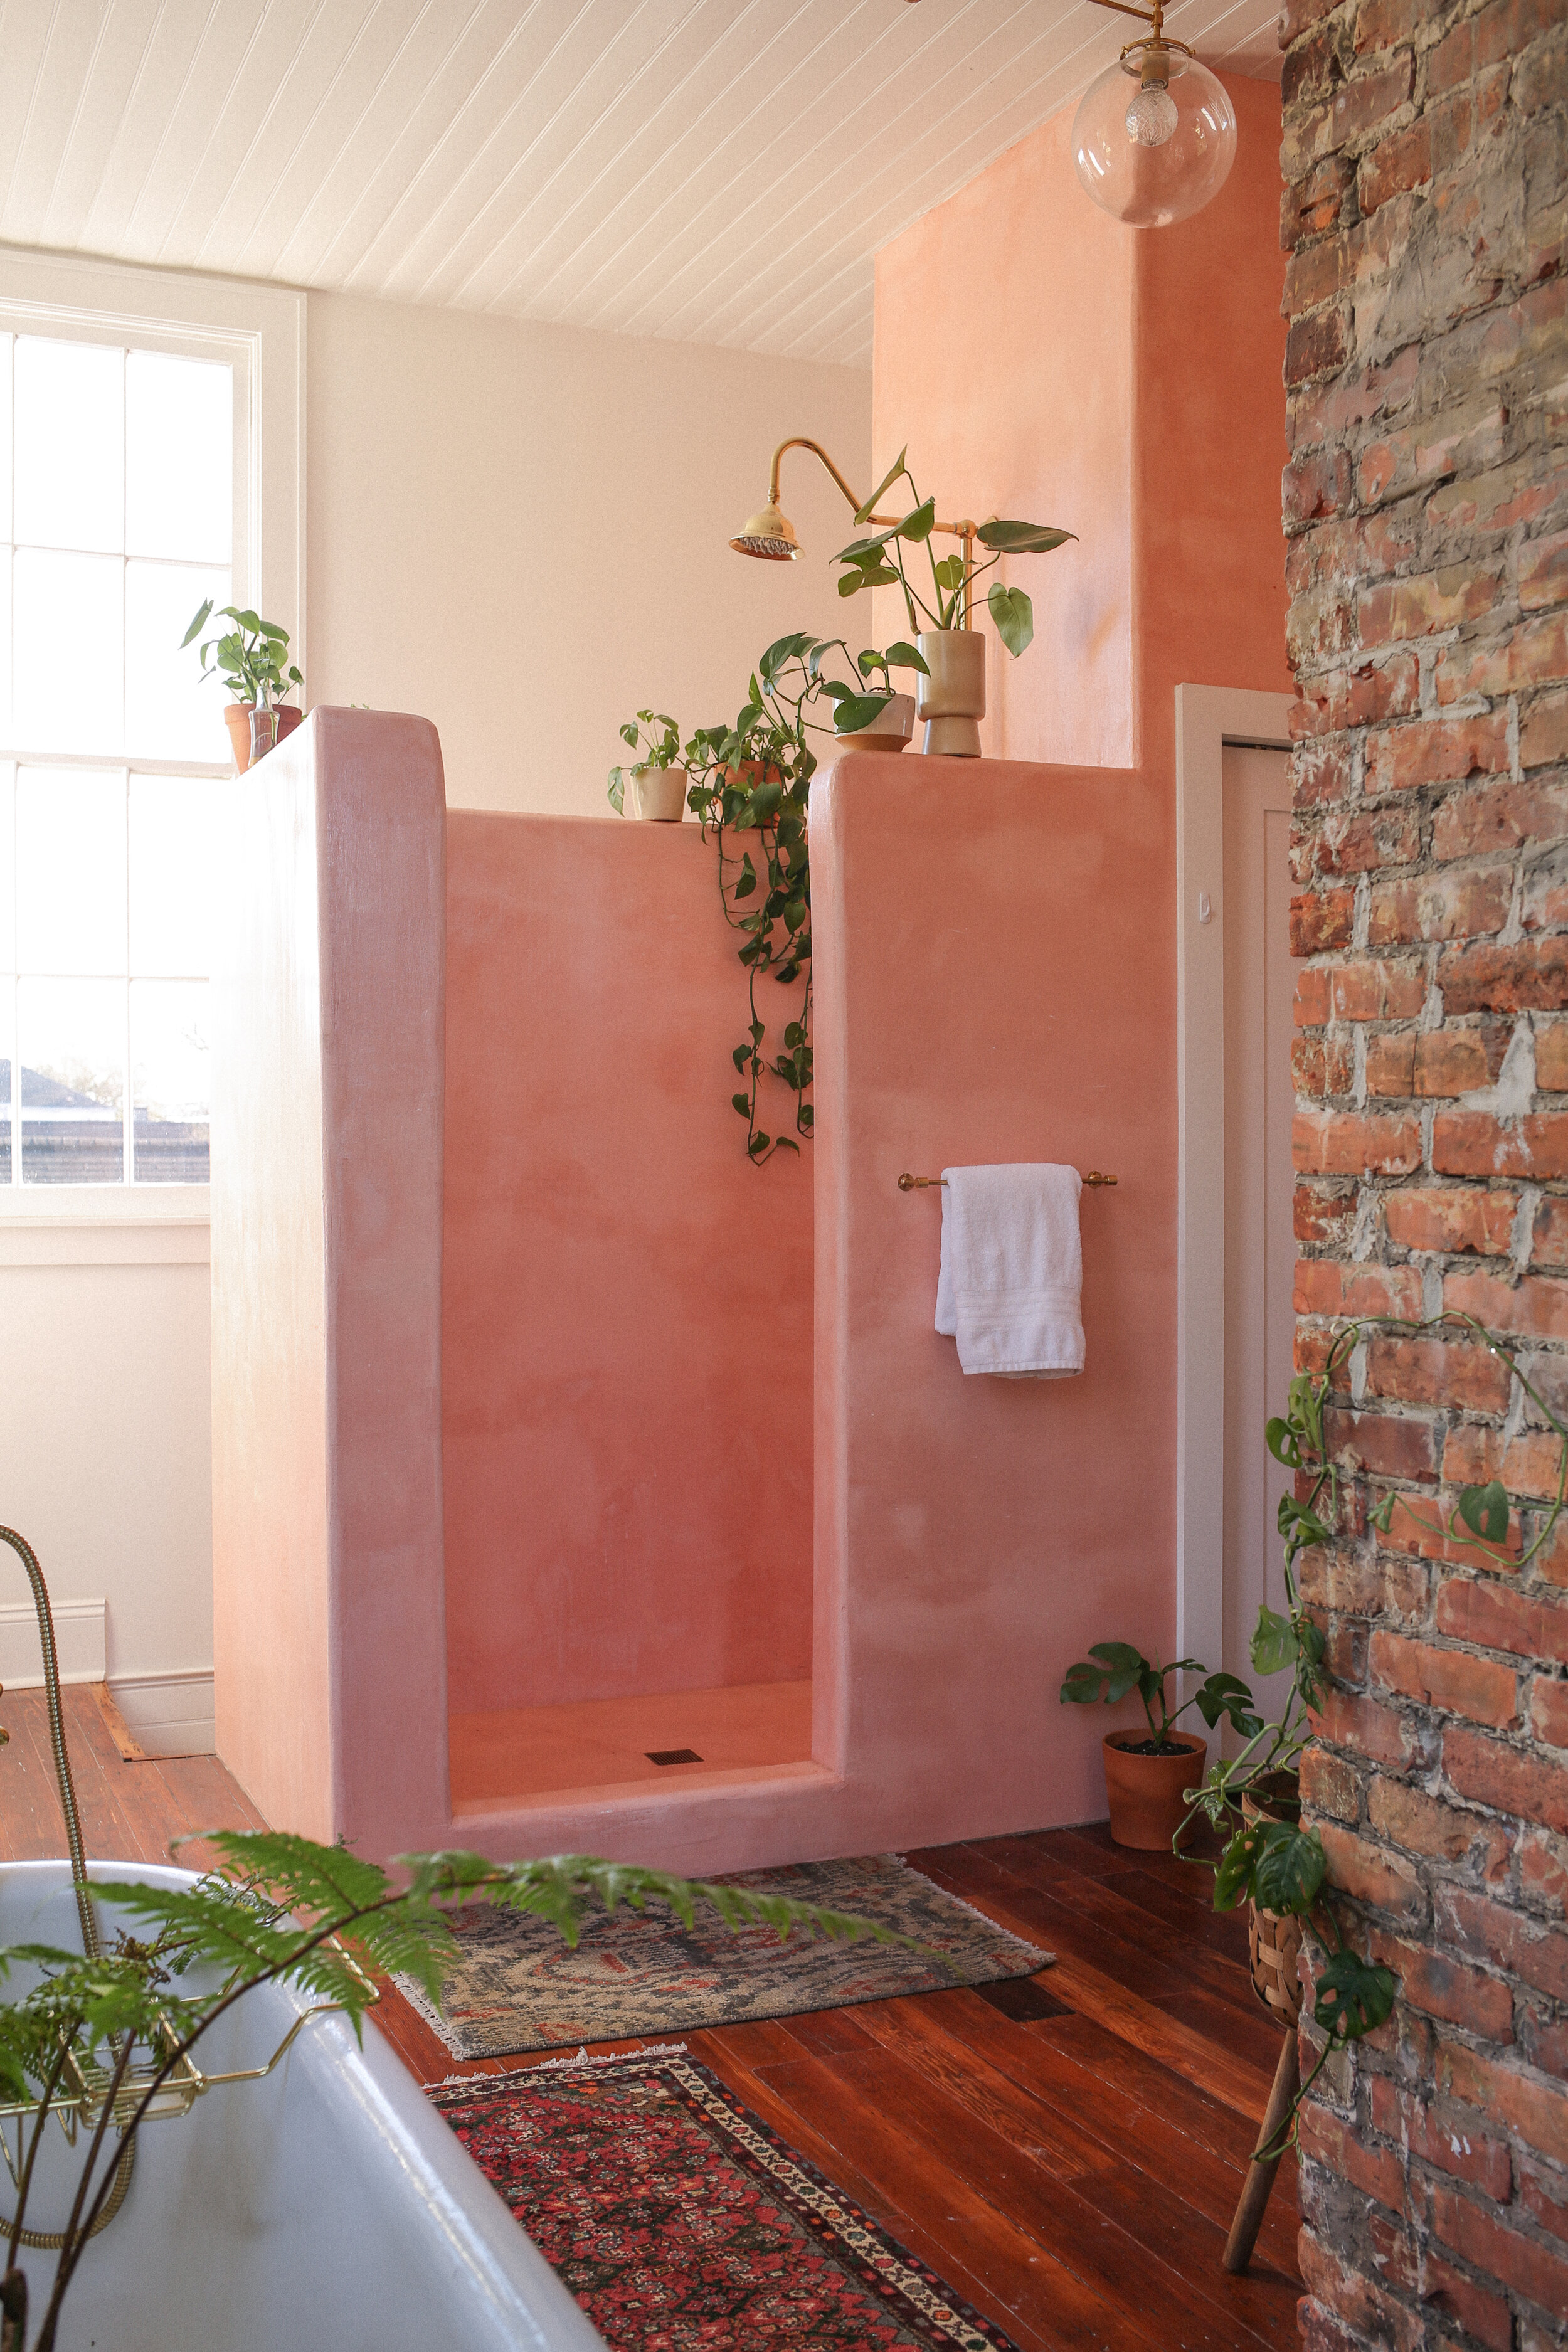
The idea was to have the two spaces (“bedroom” and “bathroom”) be mostly divided by the chimney that was already there and our walk-in closet build out, but open to each other through a pathway by our clawfoot tub. In order to make this space feel like one large ~loungey~ suite, we wanted to stay away from more traditional bathroom materials like tile and glass. That’s no insult to tile and glass—we just felt they’d feel somewhat sterile in a space that was also technically part of a bedroom.
We got to thinking and remembered a couple of hotels we’ve stayed in that had what appeared to be a concrete shower (hint: it was plaster). We’d always thought they were cool but never really considered them as something you’d do in a home. So we did some online sleuthing and found that yessss, plaster showers are an actual thing that real living people do in their own actual homes. Pinterest is kind of full of them, actually! We screamed in delight, did a high-five and a twirl, and decided this material would be the perfect solution to our no-tile-no-glass shower conundrum—after all, the brick fireplace that we exposed during the demo already had plaster patching it, so it kind of felt like a natural fit for the space. We took to the internet to find out who the hell would supply us with this sweet sweet shower material.
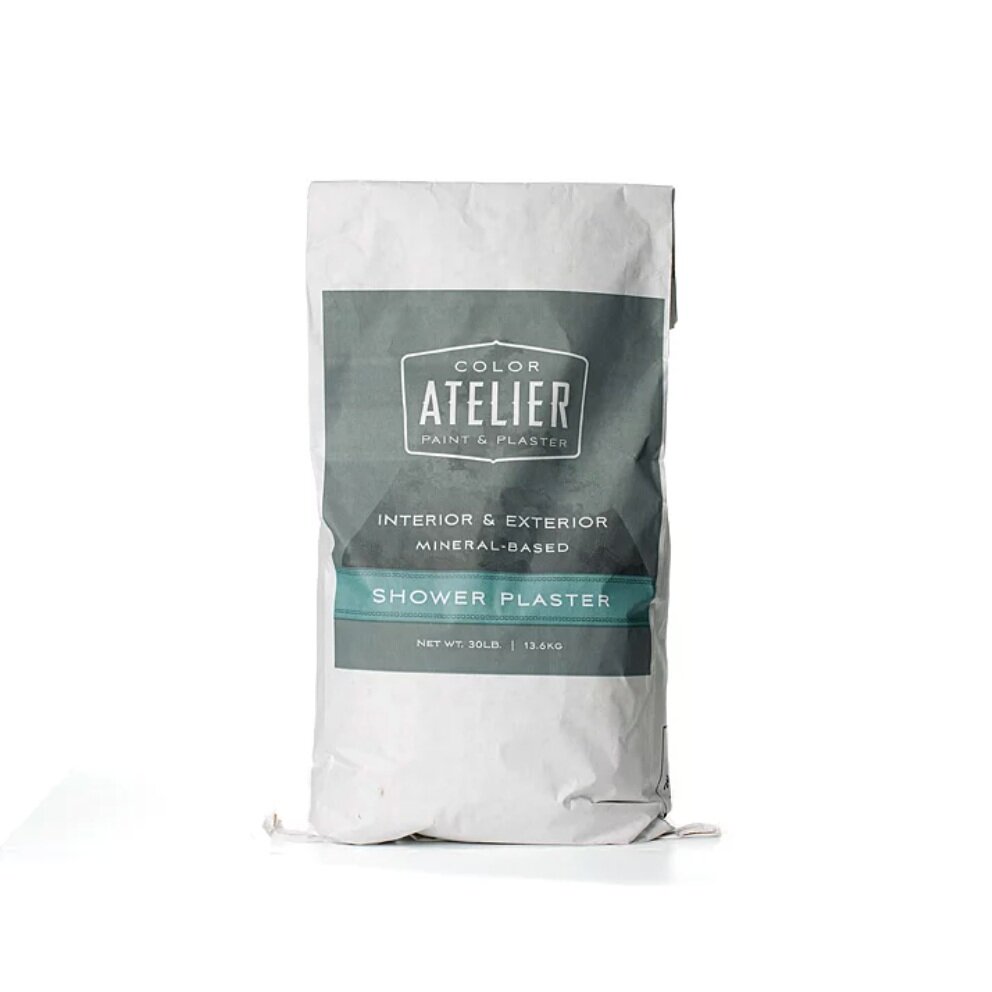
And that’s when we came across Color Atelier, a San Francisco-based plaster and limewash store. You may remember that we used their “Velvet Noir” limewash for our stone coffee table DIY! They carry tadelakt plaster, which is a water-safe plaster that has been used in Morocco for literally thousands of years in wet spaces like public baths and, now, residential bathrooms.
Color Atelier has got several color options for shower plaster, and, well, this is where I’ll dive into how we decided on the shower design.
How We Decided On The Shower Design
The whole idea for the bedroom suite was to be earthy and eccentric.
The bright natural light and big windows, combined with the original hardwood floors and exposed brick made for a space that was so earthy and full of texture. We had decided on a bright white paint for exactly this reason—we wanted to make sure all of those elements were highlighted at their fullest potential. The result is a space that feels like a grown-up treehouse, cause it’s literally nestled by an oak tree canopy. So we had the earthy element locked down real good.
But we needed something eccentric. When we started looking at Color Atelier’s color options for shower plaster, the first thing that jumped out at us was their rosé-colored plaster. Eccentric indeed. It was an immediate “dear god, yes!!!” Pink plaster was now the direction. It was something to add a bit of whimsy and inspiration and magic. It’s unexpected, it’s weird, and in this space we felt the lovely texture of the plaster would work well with all of the other natural textures going on.
And then we had to decide on the actual shape of the shower. Given that we didn’t want to have glass in this space, we knew we’d be doing a walk-in shower with no door. This seems to be how most plaster showers are designed, but if you’re terrified of the occasional draft, don’t fear, I’ve seen a few folks add a glass door. We did a bit of measuring to figure out the ideal size of an open entryway that would allow comfortable entry into the shower while still keeping the space enclosed enough to not have water splatter everywhere.
We also decided to have the shower framed just six and a half feet high. We could’ve done the walls all the way up to the ceiling, but it felt intense to do that in a space with 11.5’ ceilings, and we didn’t want to block the flow of light from the windows into the rest of the room. Six and a half feet also happens to be a lovely height for storing adorable plants that will thrive in the heat and humidity of a shower area.
So, material, color, and general shape were all decided on! Now onto the what-you-need section!

Shower framed out and getting concrete backboard!


What You Need To Make This Happen
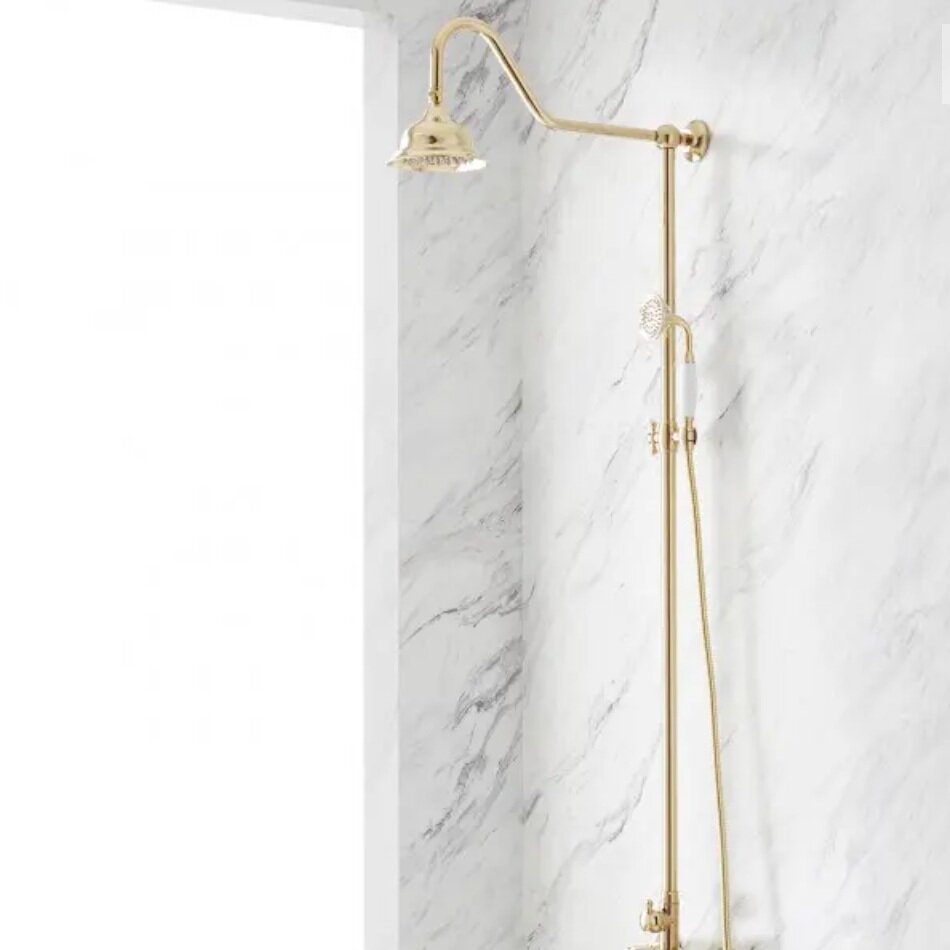
Construction of a new tadelakt plaster shower is actually pretty much incredibly simple tbh. The shower is framed with wood, concrete backerboard is applied (like sheetrock, but stronger and made for wet areas), then goes on the plaster, and it’s sealed and waxed for waterproofing. All plumbing needs to be roughed in prior to the plaster being applied, and you even need to drill holes for anything like a towel bar before applying the plaster and water seal, because creating holes in the plaster afterwards would break the water seal—so make sure you know what you want and where you want it before starting the process!
Color Atelier recommends having a tadelakt plaster pro handle install, but that doesn’t exist in New Orleans so we had to rely on our contractor’s plaster experience, and they did a pretty great job! It’s recommended to use three coats of plaster prior to applying the sealant, which just gets brushed on. All in all it took about four days from the first layer of plaster to having the sealant applied. Plumbing fixtures get put into place where the piping was roughed in, and the shower is ready!
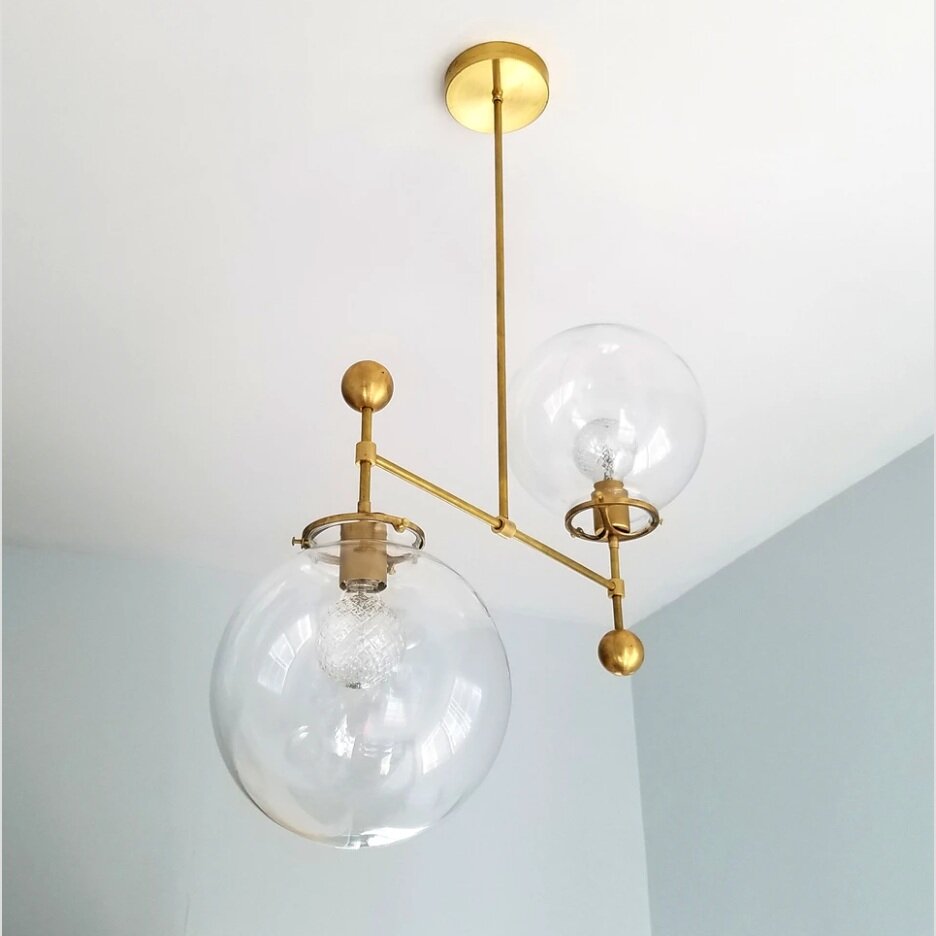
As for cost, this actually ended up being cheaper than using a mid-range tile. We plastered not only the shower but also the entire vanity area above the wainscoting. Had we just done the shower interior and exterior, the material cost would have been around $700. We’re so happy with how it all came together and highly recommend looking into plaster if you too have an aversion to tile and glass for whatever shower space you’re designing. To us, it somehow feels both timeless and super modern, and would be an amazing addition to pretty much any bathroom space. Below I’m linking some of the products we used for shower hardware and lighting in case you want to recreate! Let us know if you’ve got any questions about the process, or if you try this out in your own home :)
xoxo Beau & Matt

More in Design


![The Best Hudson Valley Cottage Stay [Upstate New York Travel]](https://images.squarespace-cdn.com/content/v1/5451b54de4b0d0c075728ccb/1690378254614-DFO3V1TFOY571DIHUNRL/hudson+valley+trip+cottage-4.jpg)
