Refurbishing A Disgusting Old Clawfoot Tub
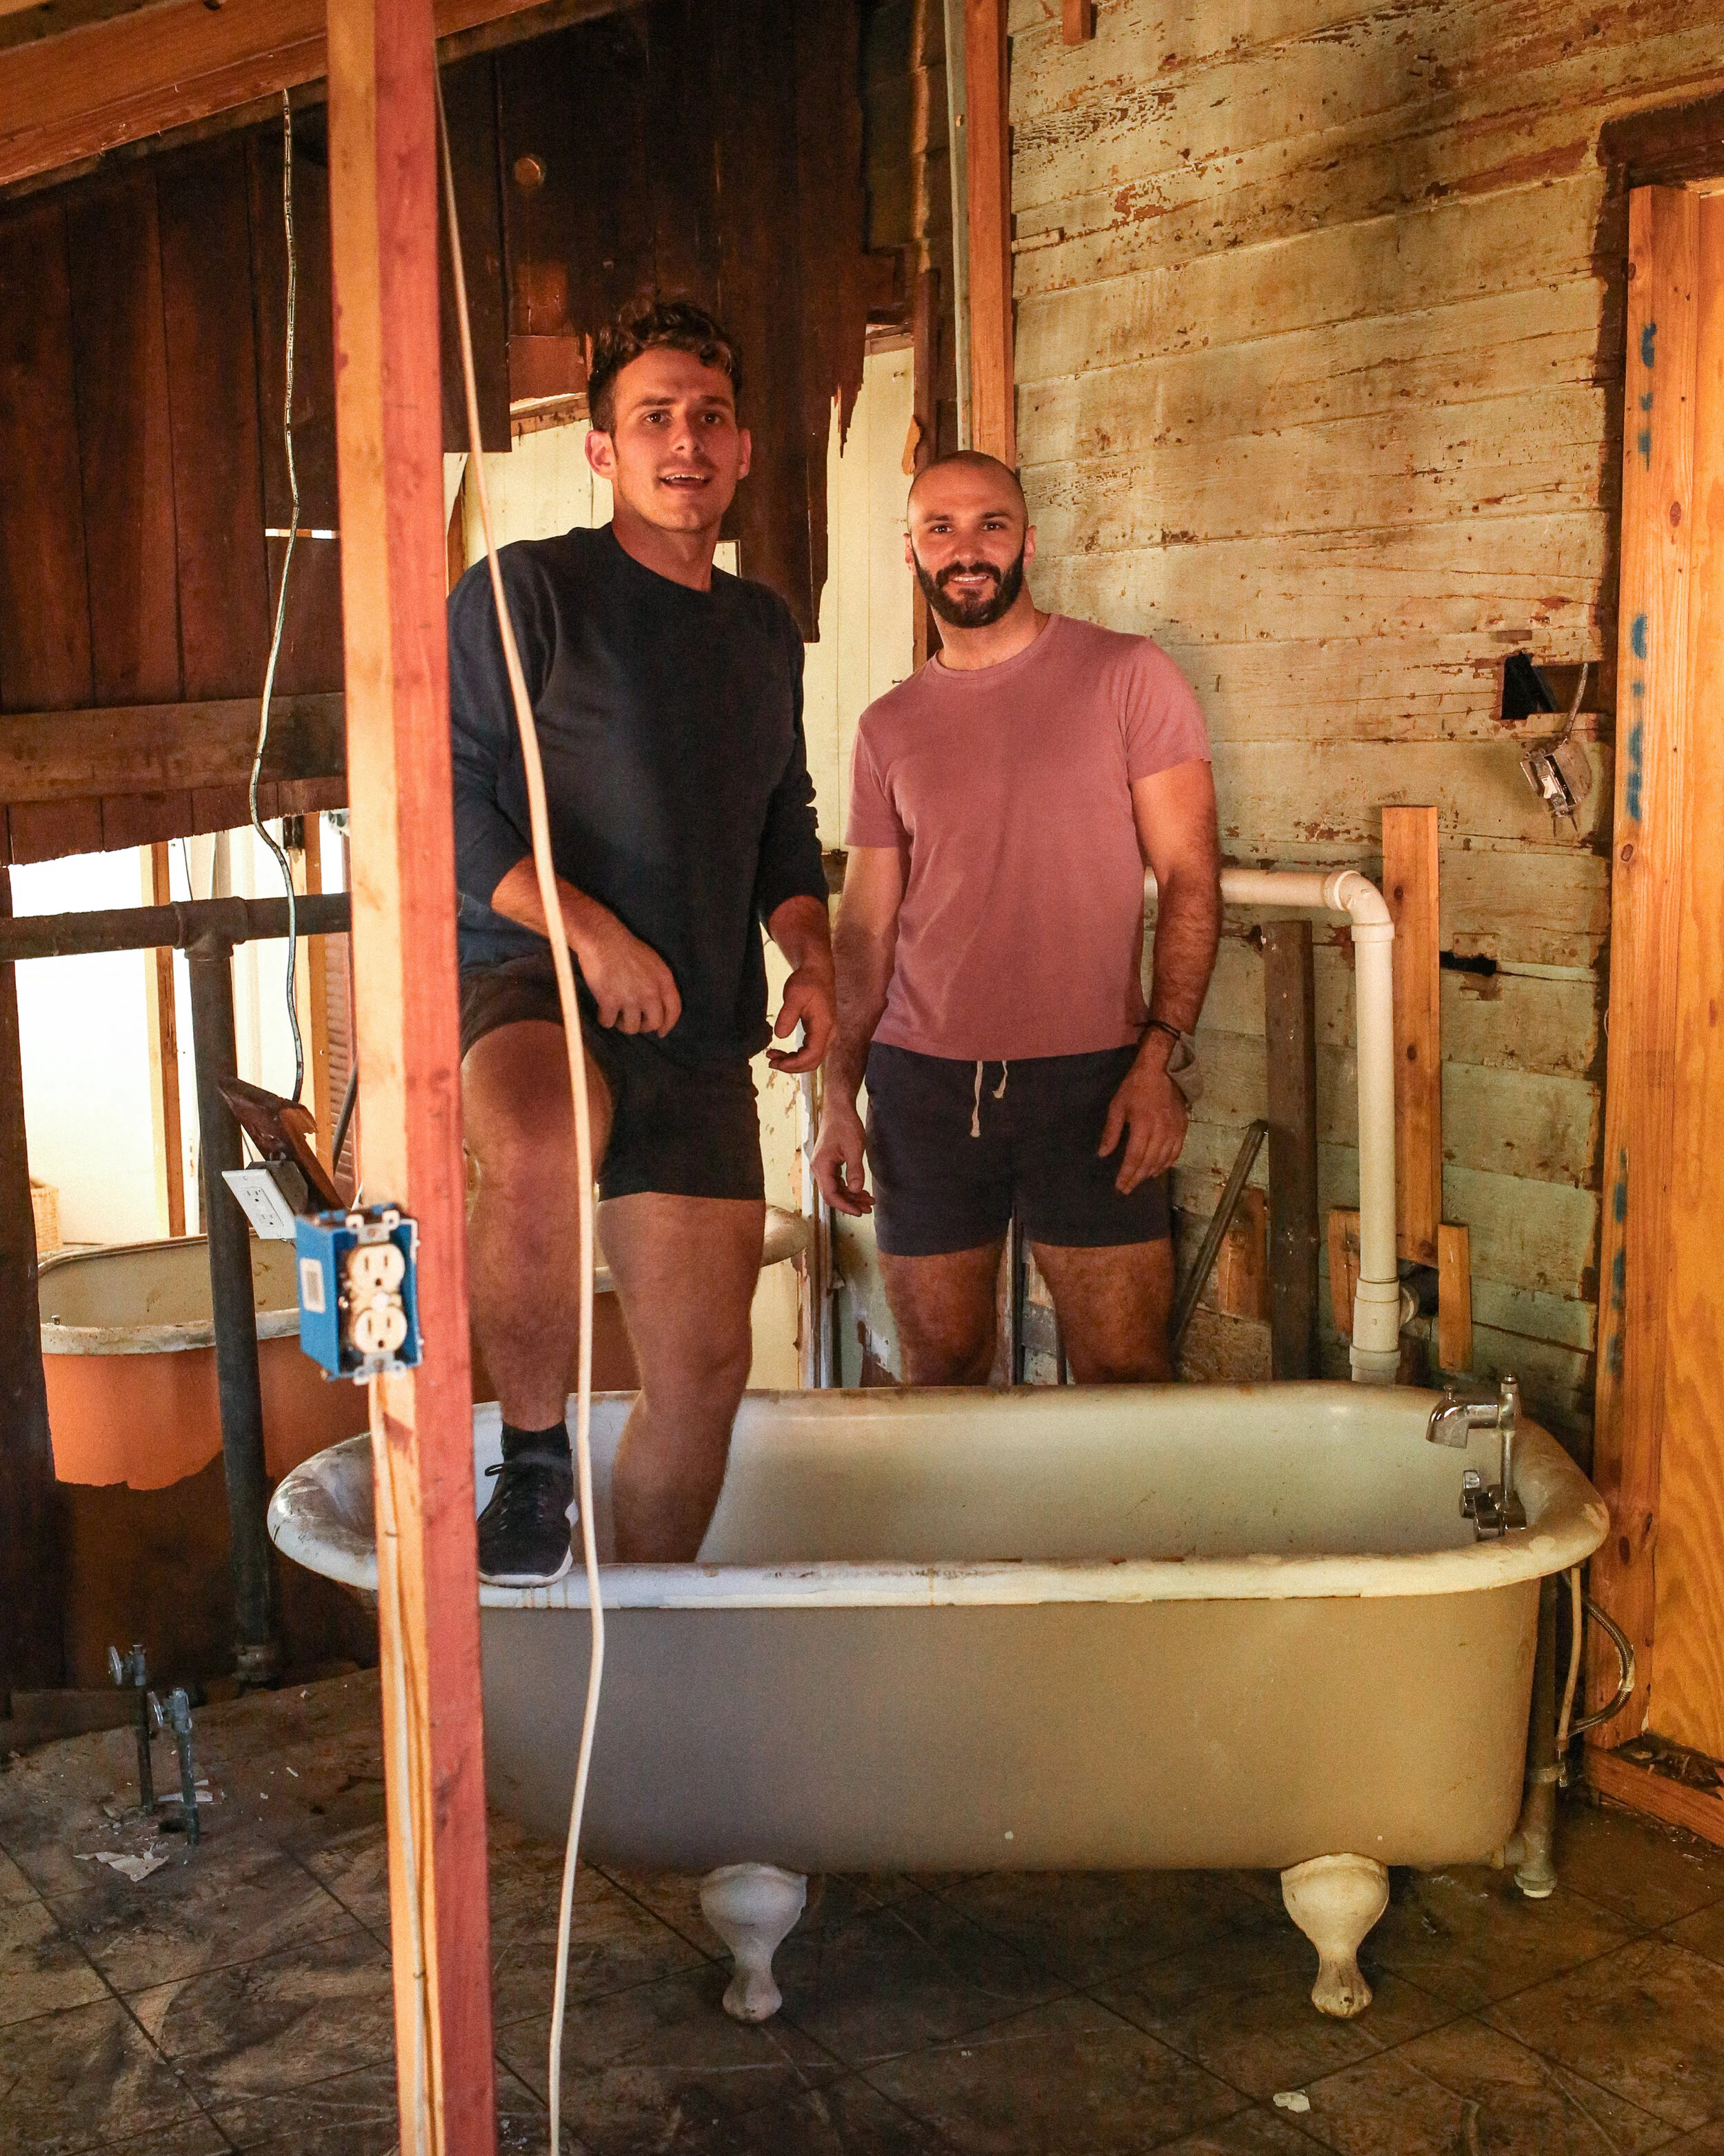
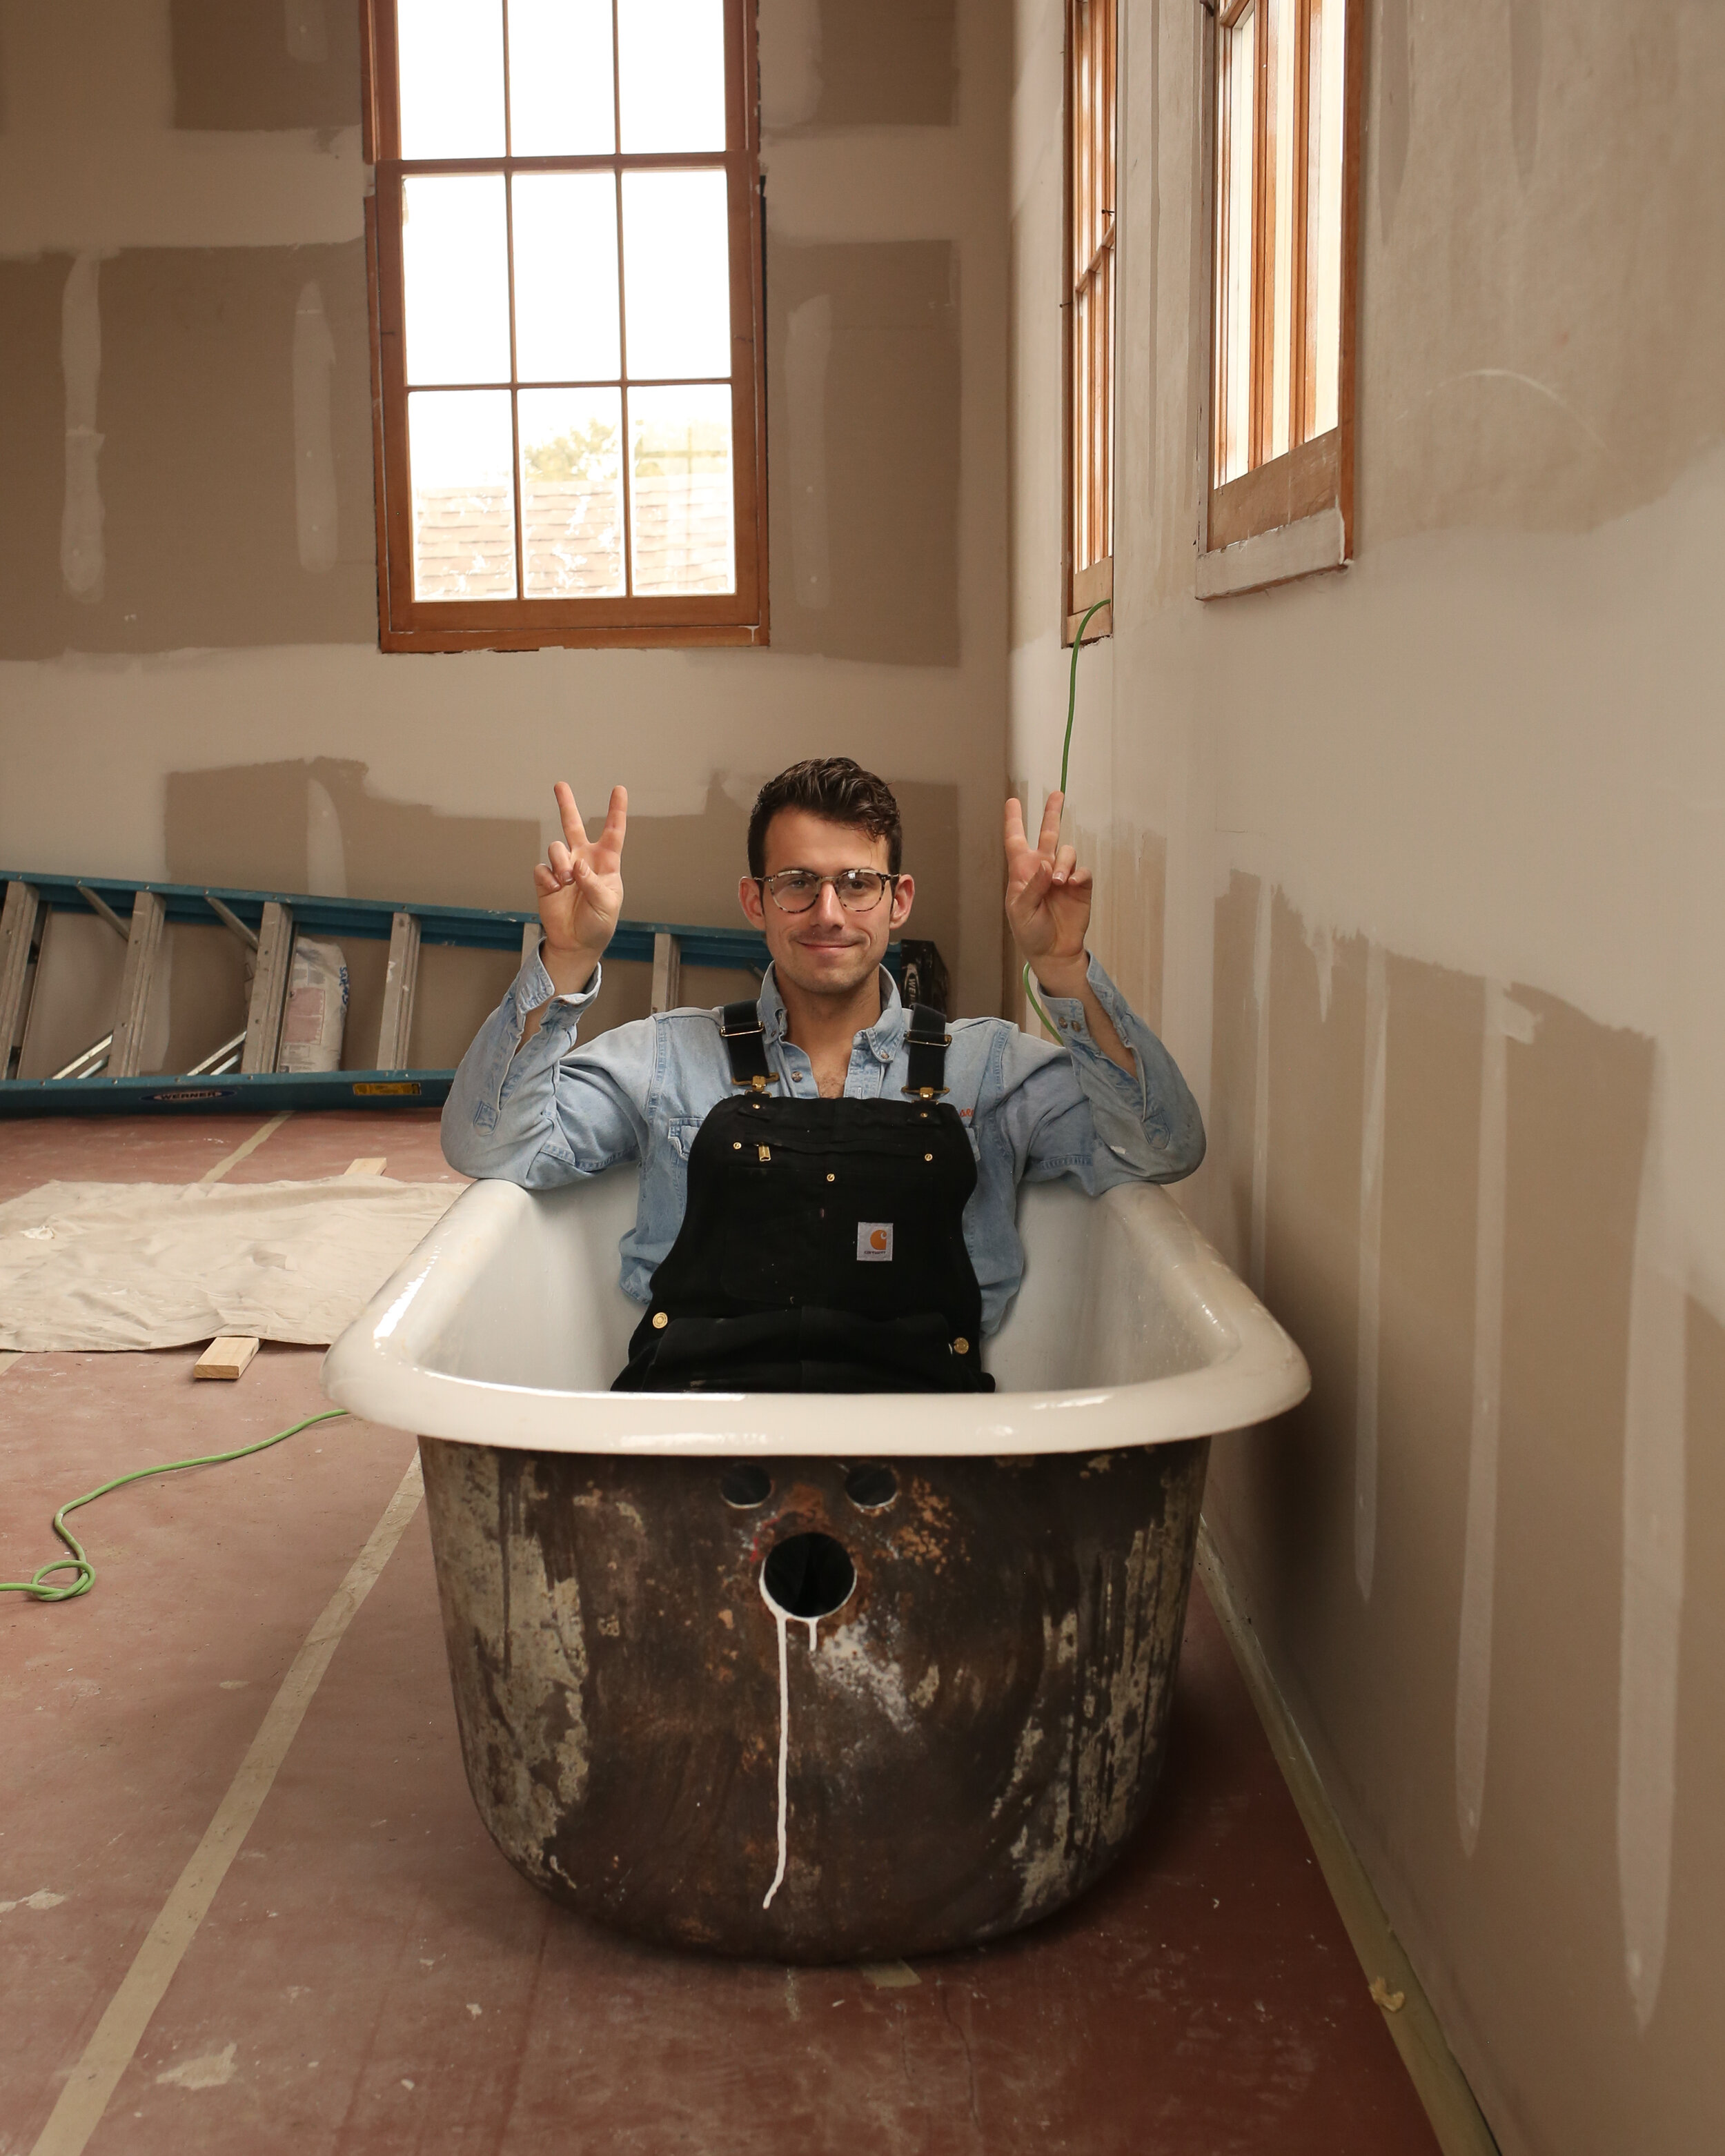
Back bathroom during demo. Talk about spa day am I right!!!
Remember that super problematic plastic surgery show called The Swan? This project is kinda like that!!
When we first toured our home, one of the things that made us immediately say “yes god thank u king” was the three clawfoot tubs scattered throughout the house—one in each of the bathrooms at the back of the home, and one in the backyard. The bathrooms in the back of the home mirrored each other as part of a lean-to addition, meaning the ceilings were like seven feet high and severely sloped, and the entire space just felt like the bathroom of a grunge concert venue. But the tubs! The tubs were great.
Well, I mean they were okay. They were old and caked with layers of fugly paint, sure, but we love a low bar for a starting point, and we’re active enough on Pinterest to know that these cast iron treasures can be stripped down and dolled back up. But there were some major things missing from all of the clawfoot tub DIYs I’d seen, like an easy way to fix any damage on the interior, what to do about wonky legs, and how to retro-fit a tub that has predrilled plumbing holes with new plumbing fixtures that don’t match.
If you’ve seen our bathroom suite reveal, you know we eventually figured it all out! Let’s do it, angel.
Check out more from this renovation, or keep scrolling for the DIY!


DIY Clawfoot Tub Refurbishing
Cost: $100 - $300 / Total time: 1 week / Active time: 6 hours
Notes before we get started
Safety! Before stripping the exterior paint, do a lead test! These tests give you an immediate answer as to whether or not lead is present. We’re not sanding the tub (we use a liquid paint stripper) so the presence of lead doesn’t stop you from doing this project, but if lead is present you should wear a respirator and follow local protocols for removal and disposal, and like don’t eat it.
Mess! Stripping the exterior of the tub with Citri-Strip is a disgustingly messy process. Lay down a tarp or painters cloth, wear overalls or clothes you don’t mind destroying, and be prepared to spend a good chunk of time on clean-up. Brushes you use with the Citri-Strip will need to be cleaned with Goo Gone adhesive stripper or mineral spirits.
Ventilation! The product we’re using to refinish the interior of the tub is pretty much super toxic. You’ll want to make sure you follow the instructions on the package extremely carefully, and most importantly, this needs to be done in a well ventilated area! If the tub you’re working on is in a bathroom without a window, you need to bring it outside or to a room that is well ventilated. The fumes are strong and will linger for over 24 hours.
Time Needed! This isn’t a project you rush. While there isn’t a ton of active work time, there is a lot of overnight curing and drying, so expect to spend an entire week between starting this project and taking your first bath in your new gorgeous tub.
Normally we’d list the tools you’ll need in the order you’d use them, but given that you may not require the exact items we needed—for instance, if your tub doesn’t need interior repair or if it’s already bare on the exterior—we’ve listed the big ticket items in the first grouping and the accessory items like cleaners and safety gear in the second grouping.
Main Stuff
An old cast iron tub in need of some love
3-4 quarts Citri-Strip Paint & Varnish Removal Gel + brush for application (for exterior paint removal). There are other potentially more effective paint removers, but Citri-Strip works well and its fumes are not toxic, so we prefer it.
2 bottles Goo Gone Adhesive Removal Spray (this removes any adhesive residue left from the Citri-Strip)
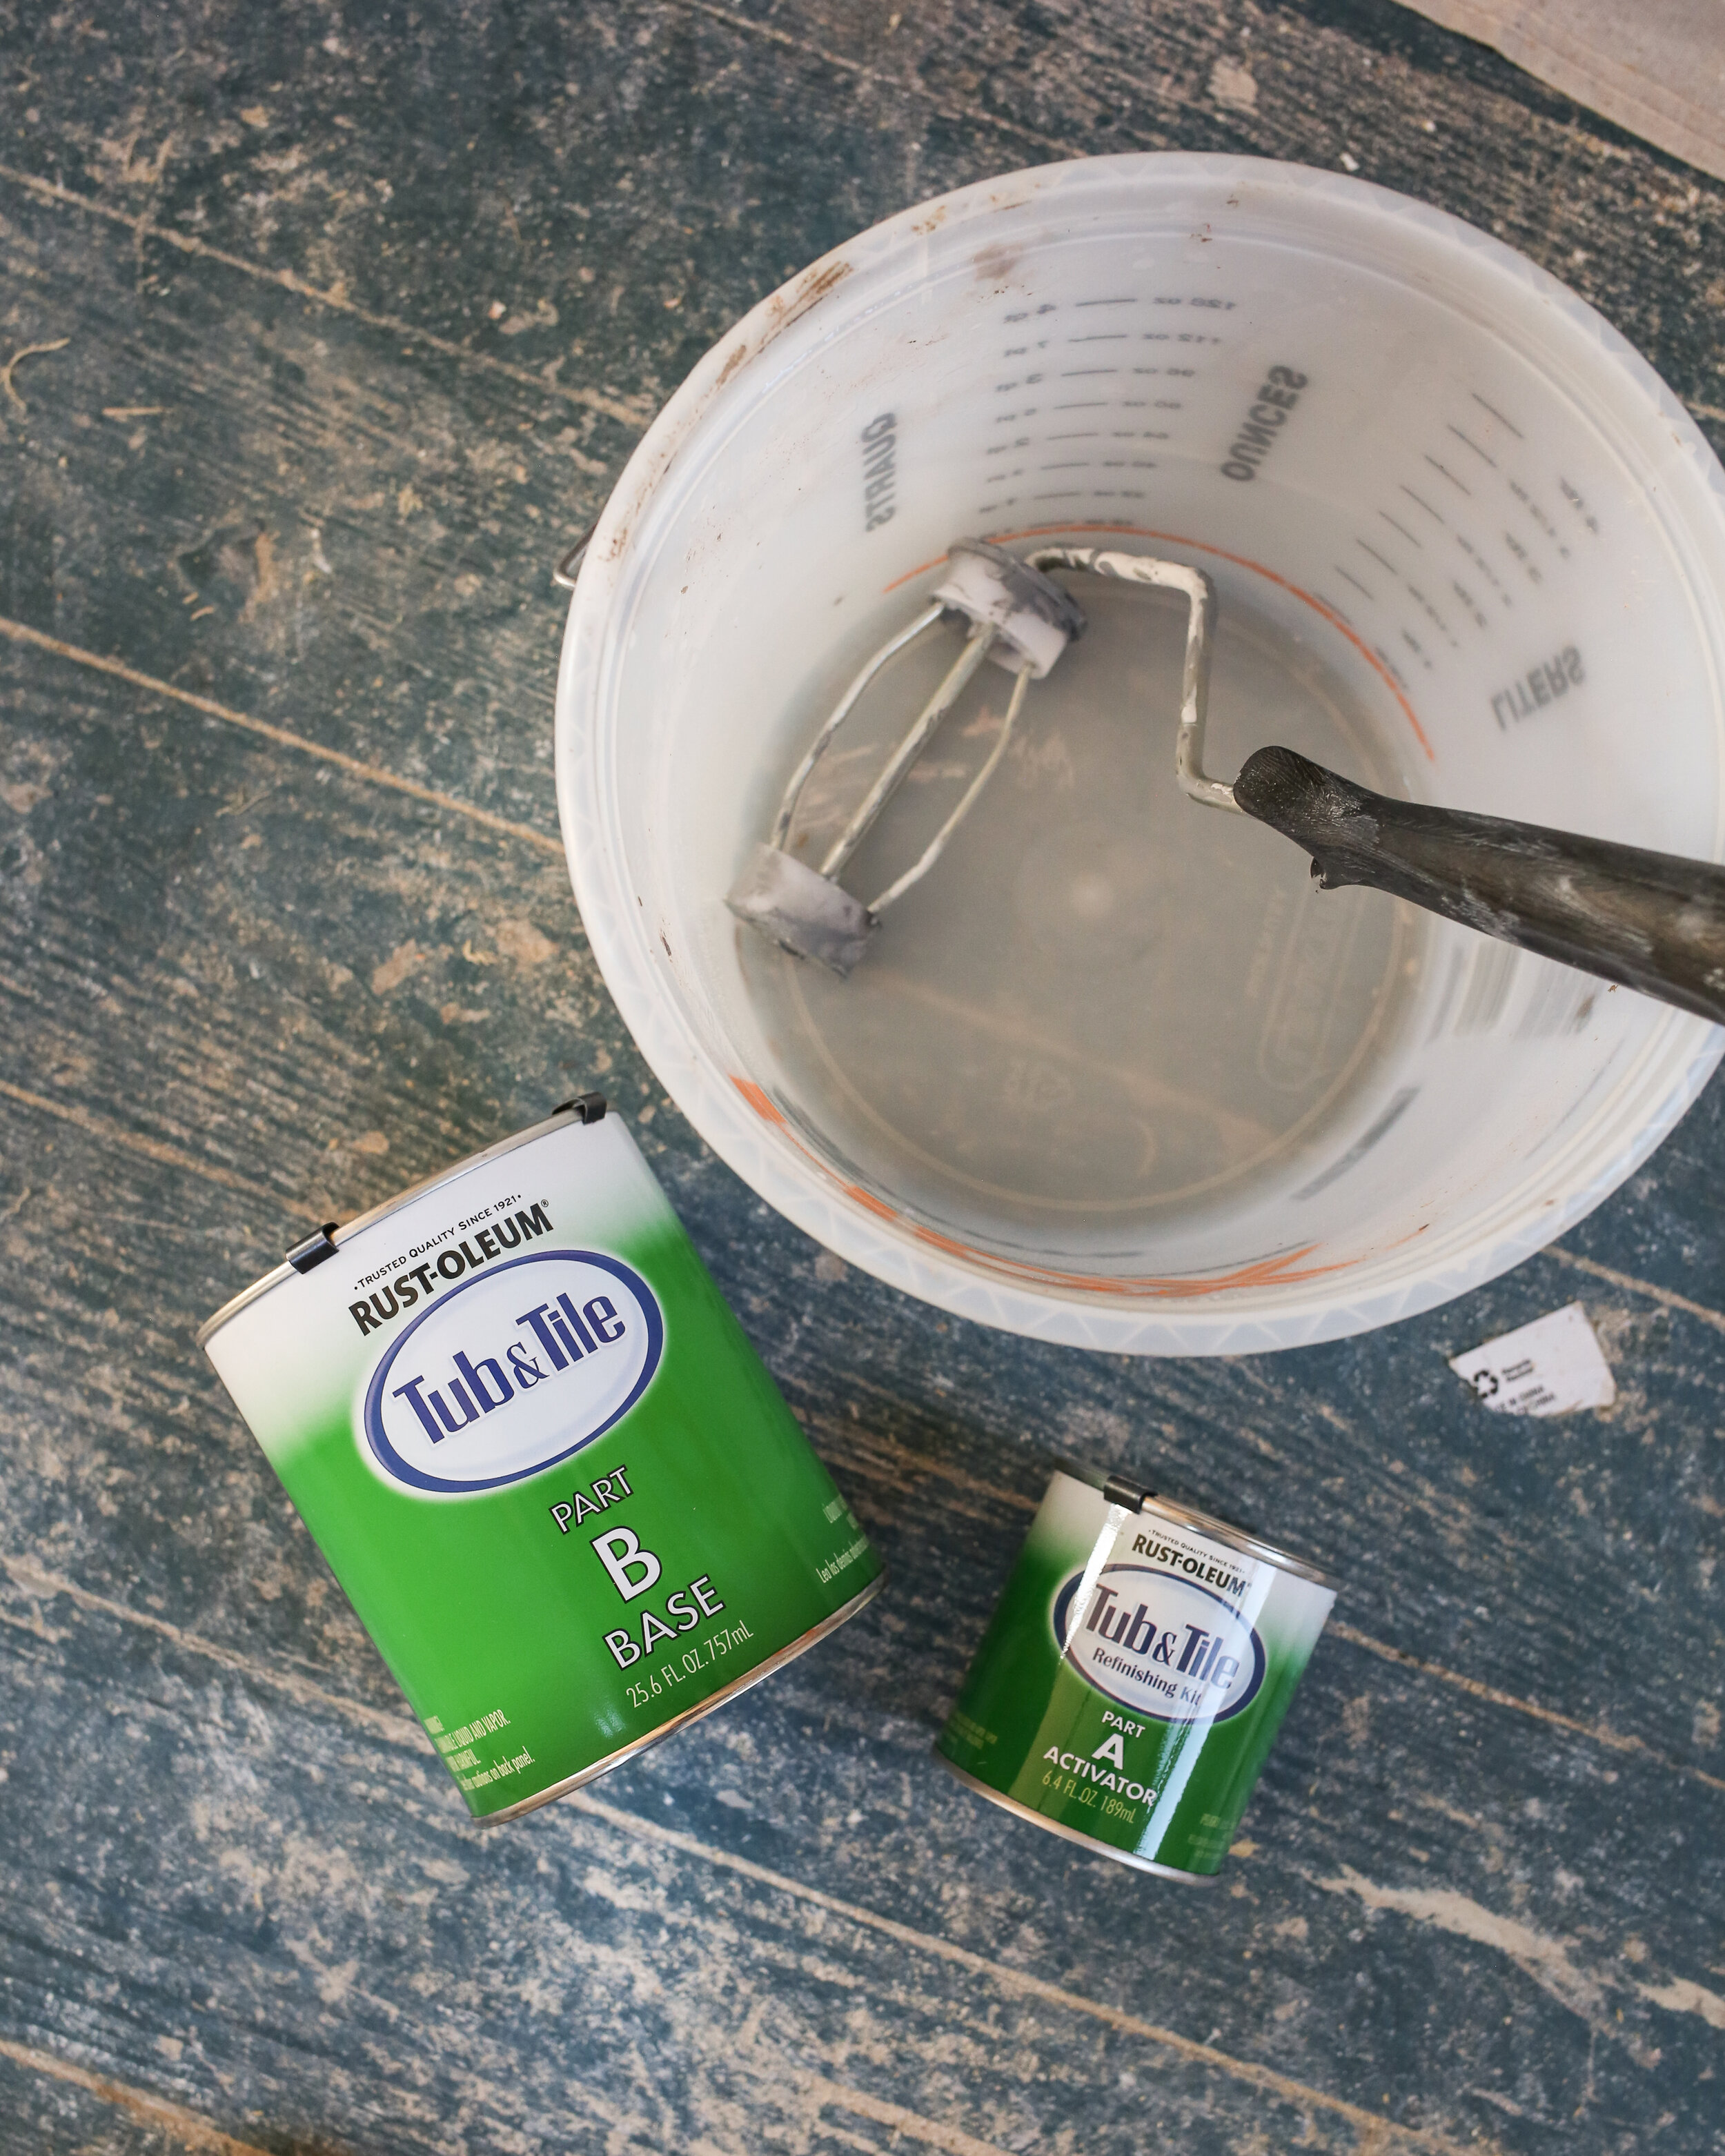
Rust-Oleum Tub & Tile Refinishing Kit + brush or roller for application (for interior refinishing)
JB Weld Marine Weld (for extra security on any wobbly legs, optional)
Rust preventing metal primer (old standby Rust-Oleum Clean Metal Primer works perfectly fine here)
Exterior paint in the color of your choice + paint brush, roller, or sprayer for application (we used Pure White SW 7005)
Safety gear: safety goggles, cleaning gloves, dust mask
Accessory Items
PREP YOUR WORKSPACE & TUB
Remove all existing plumbing fixtures and (if they’re not welded on) clawfoot legs from your tub. Use your Simple Green, steel wool, and terry cloths to wipe down your tub’s interior and exterior to free it of loose grit or gunk. You don’t need to go in hard here, we’ll be doing that later. Just give it a good thorough wipe down.
Lay down your tarp or work cloth and place your tub upside down. In the industry, we just call this “face down ass up” (no we don’t). Use painters tape to tape off the lip of the tub where the interior enamel meets the exterior paint. Repeat anywhere that the stripper may touch the interior, like the pre-drilled plumbing holes, to protect your interior enamel from the damaging effects of the paint stripper. We knew we’d be refinishing the interior so weren’t super concerned with it, but if you don’t plan to refinish the interior this step is critical for protecting the enamel!

Legs removed, horror movie vibes activated.
STRIP THE EXTERIOR
Put on your gloves, and use a varnish brush to glob the Citri-Strip onto your tub and tub legs. Go on extraaaa heavy. Like, it should look like the tub is melting when you’re done. Make sure to cover every single bit of the surface with this stuff, then allow it to sit for 24 hours.
Time to get gross. After 24 hours, set up a trash bin lined with a trash bag. Use your paint scraper to take off any of the easy-to-remove chunks of paint and excess Citri-Strip. Some bits will come right off while others may require a little extra effort. Then, go in with your Goo Gone adhesive remover and wire brushes for the hard-to-get spots. You may need to also bring in your steel wool as well. It’s messy and it takes a while, but eventually all of the paint and paint stripper will be removed. If the stripper wasn’t able to take off all the paint, you can repeat this process or try your hand at sanding with a 40 or 60 grit sandpaper, assuming there is no lead present (sanding lead based paint can produce toxic paint dust which is about as horrible for you as it sounds. Check out HUD’s guidelines for more info).
When all the Citri-Strip residue and old paint is removed, you can give your new bare cast iron tub a thorough wipe down with Simple Green cleaner.

Globbing on the Citri-Strip.

24 hours later, removing the Citri-Strip.

Yum! (obligatory /sarcasm)
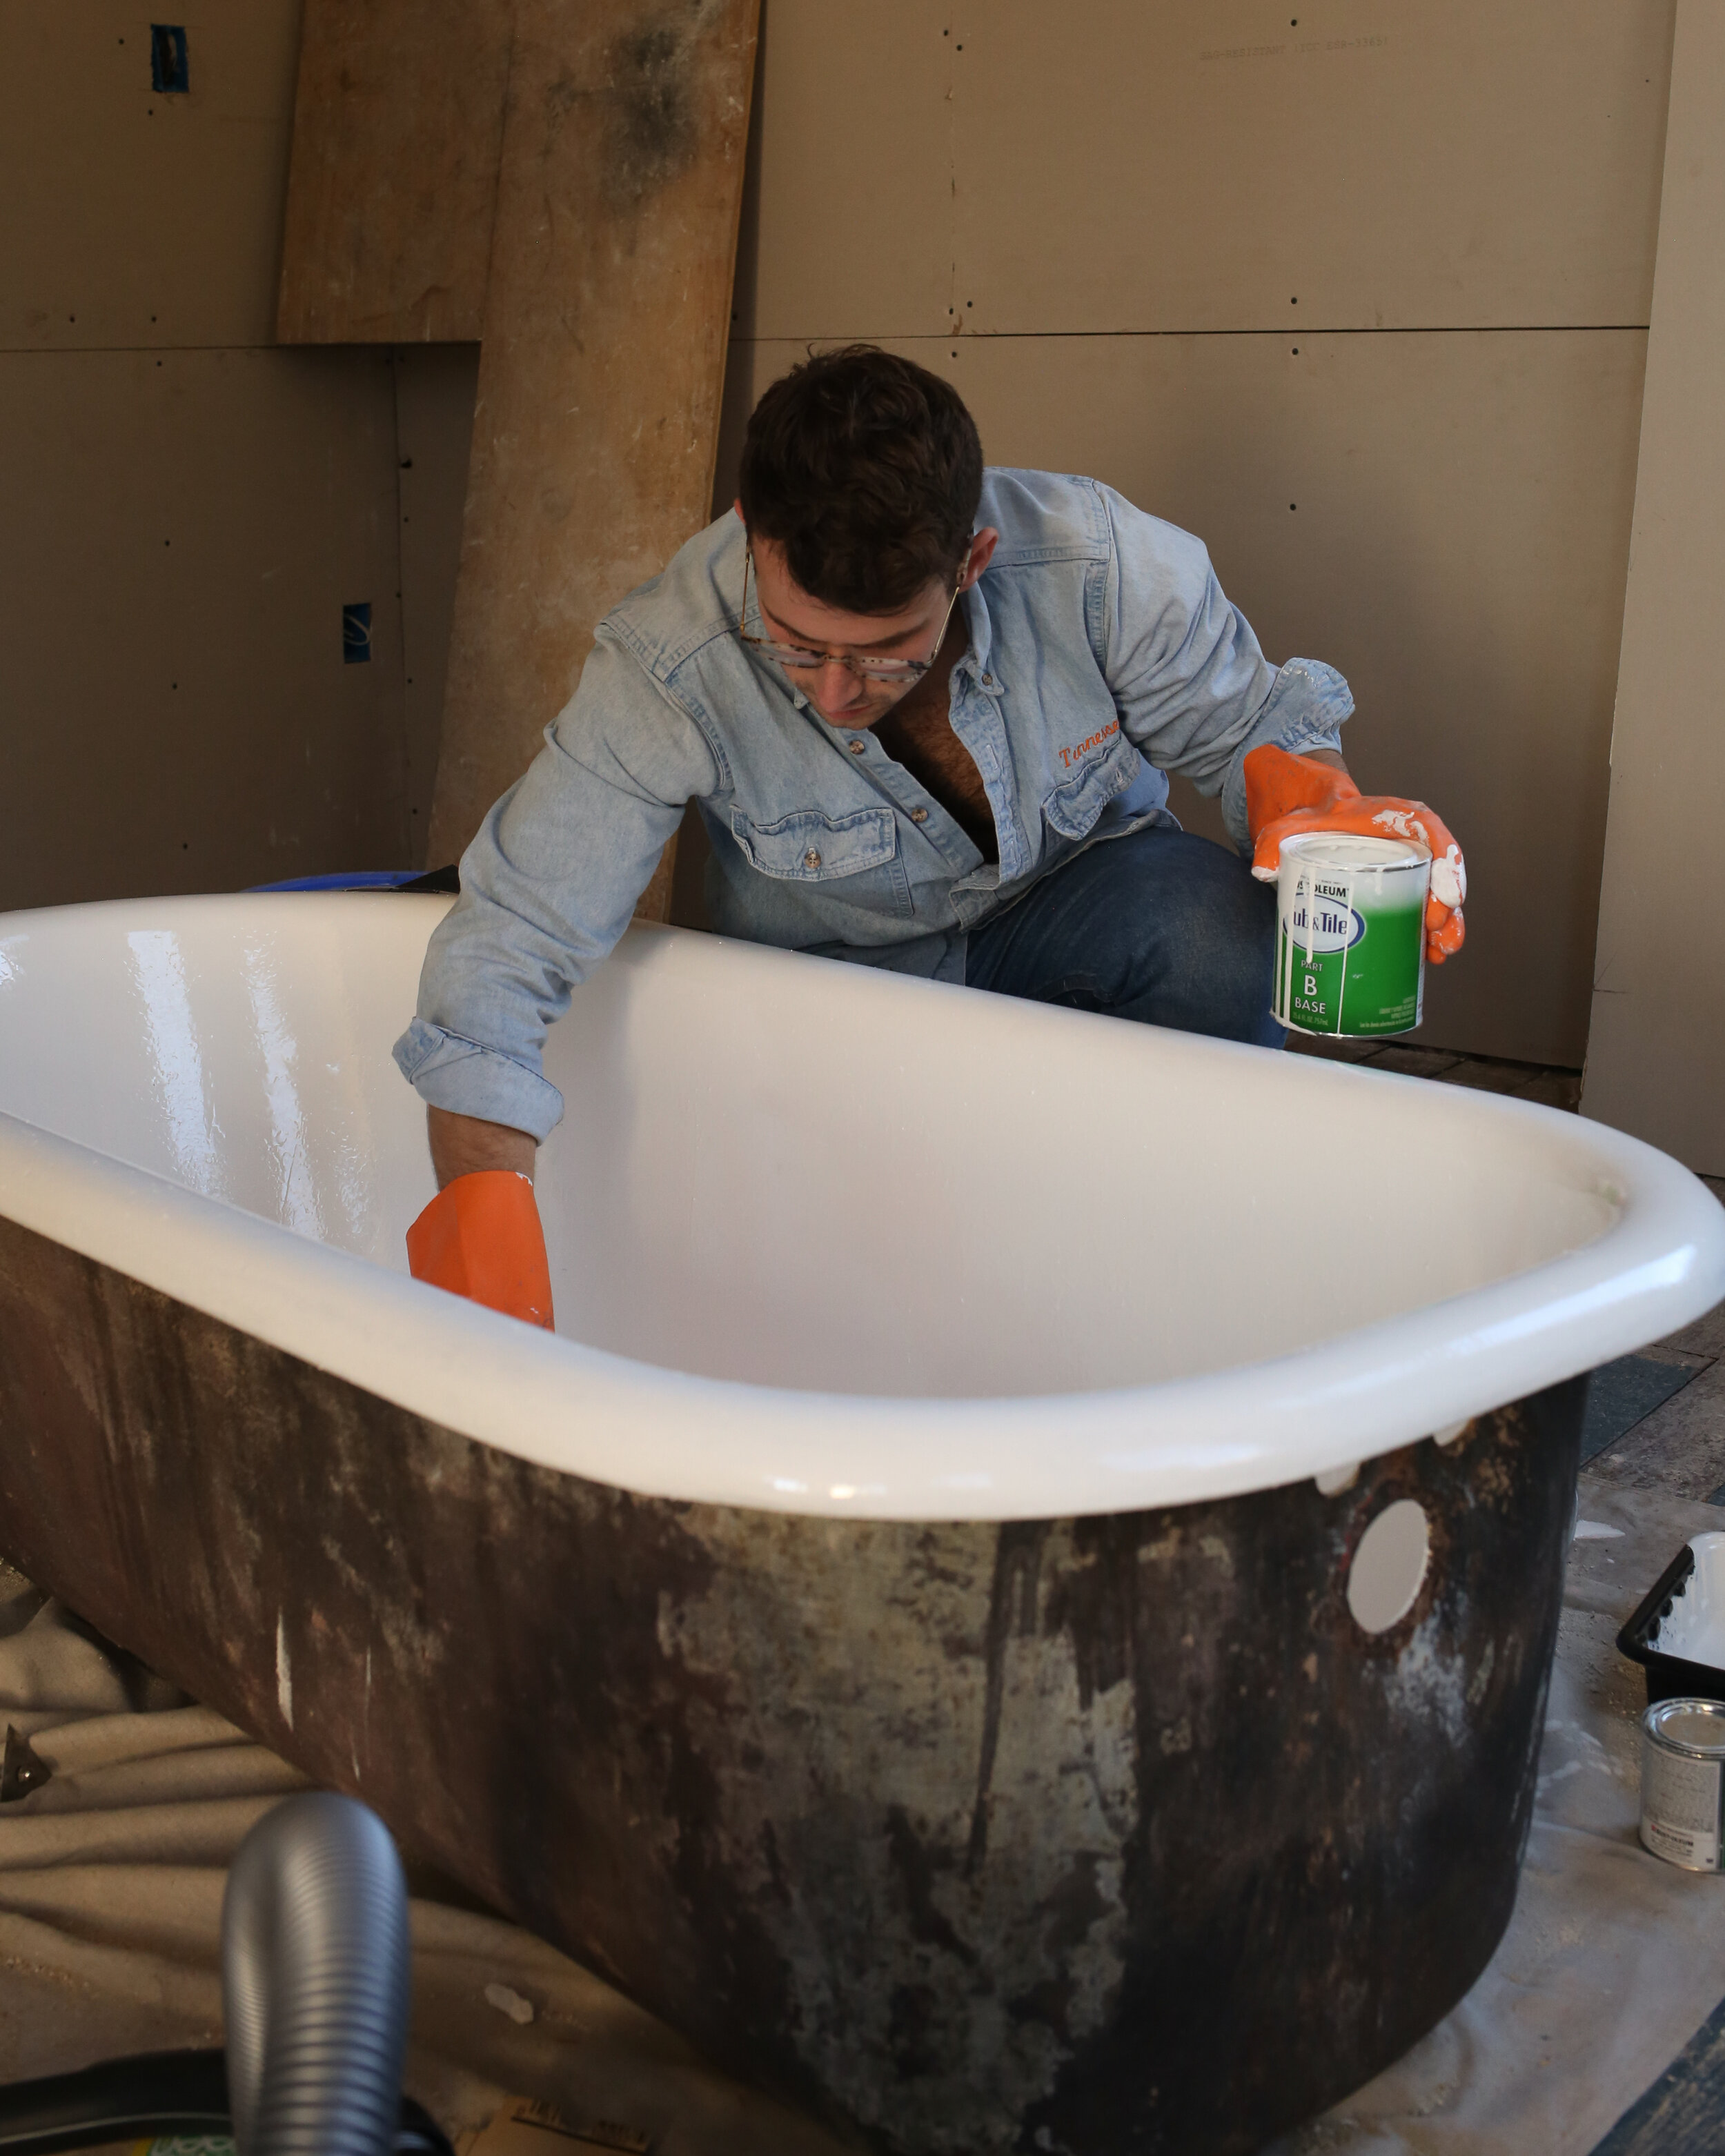
REFINISH THE INTERIOR
If your tub interior has just minor stains, try steel wool and different cleaning solutions to see if anything works (some folks just need white vinegar and baking soda, others may need heavy duty tub cleaners). If this does the trick, lucky you, leave it at that and move on to painting the exterior!
If nothing gets those stains out, or if your tub has visible damage like peeling enamel, we’re diving in with a tub & tile refinishing kit. It’s very smelly and kind of annoying, but the result is a pearly white tub interior that looks good as new. I’m not going to just read the package instructions to you because that would be a waste of all our time, so follow the Rust-Oleum Tub & Tile Refinishing Kit package instructions exactly. It’s not complicated but it’s a multi-step process and you don’t wanna mess this up!
Some tips on using this product:
You do not want to have your workspace anywhere near where you’ll be sleeping (like in an ensuite bathroom) because the smell permeates for over a full day following use. A garage, or workshop with good ventilation would be ideal.
If there are any large chips of previous enamel, carefully remove them and sand down to smooth with a block sander. This product gives a good-as-new-look but it’s not going to conceal sharp breaks or big lumps.
Make sure you thoroughly sand the entire interior surface with 400 grit sandpaper, which will allow the product to adhere. If there is any spot along the tub where the product doesn’t adhere correctly, water could get into the seal and result in peeling over time.
After all of your sanding down, give the tub a super thorough wipe down to remove any dust, which would prevent proper adhesion.
You can use a brush or roller for application. We tried both and prefer a brush because the angles of a tub’s interior make using a roller unwieldy. If you are using a roller though, make sure it’s low-nap and free of lint or fuzzies that are bound to absolutely ruin your application. Roll the roller around on painters tape until you no longer see fuzzy stuff coming off. Then you’re good to go. If using a brush, work in strokes going entirely the same direction.
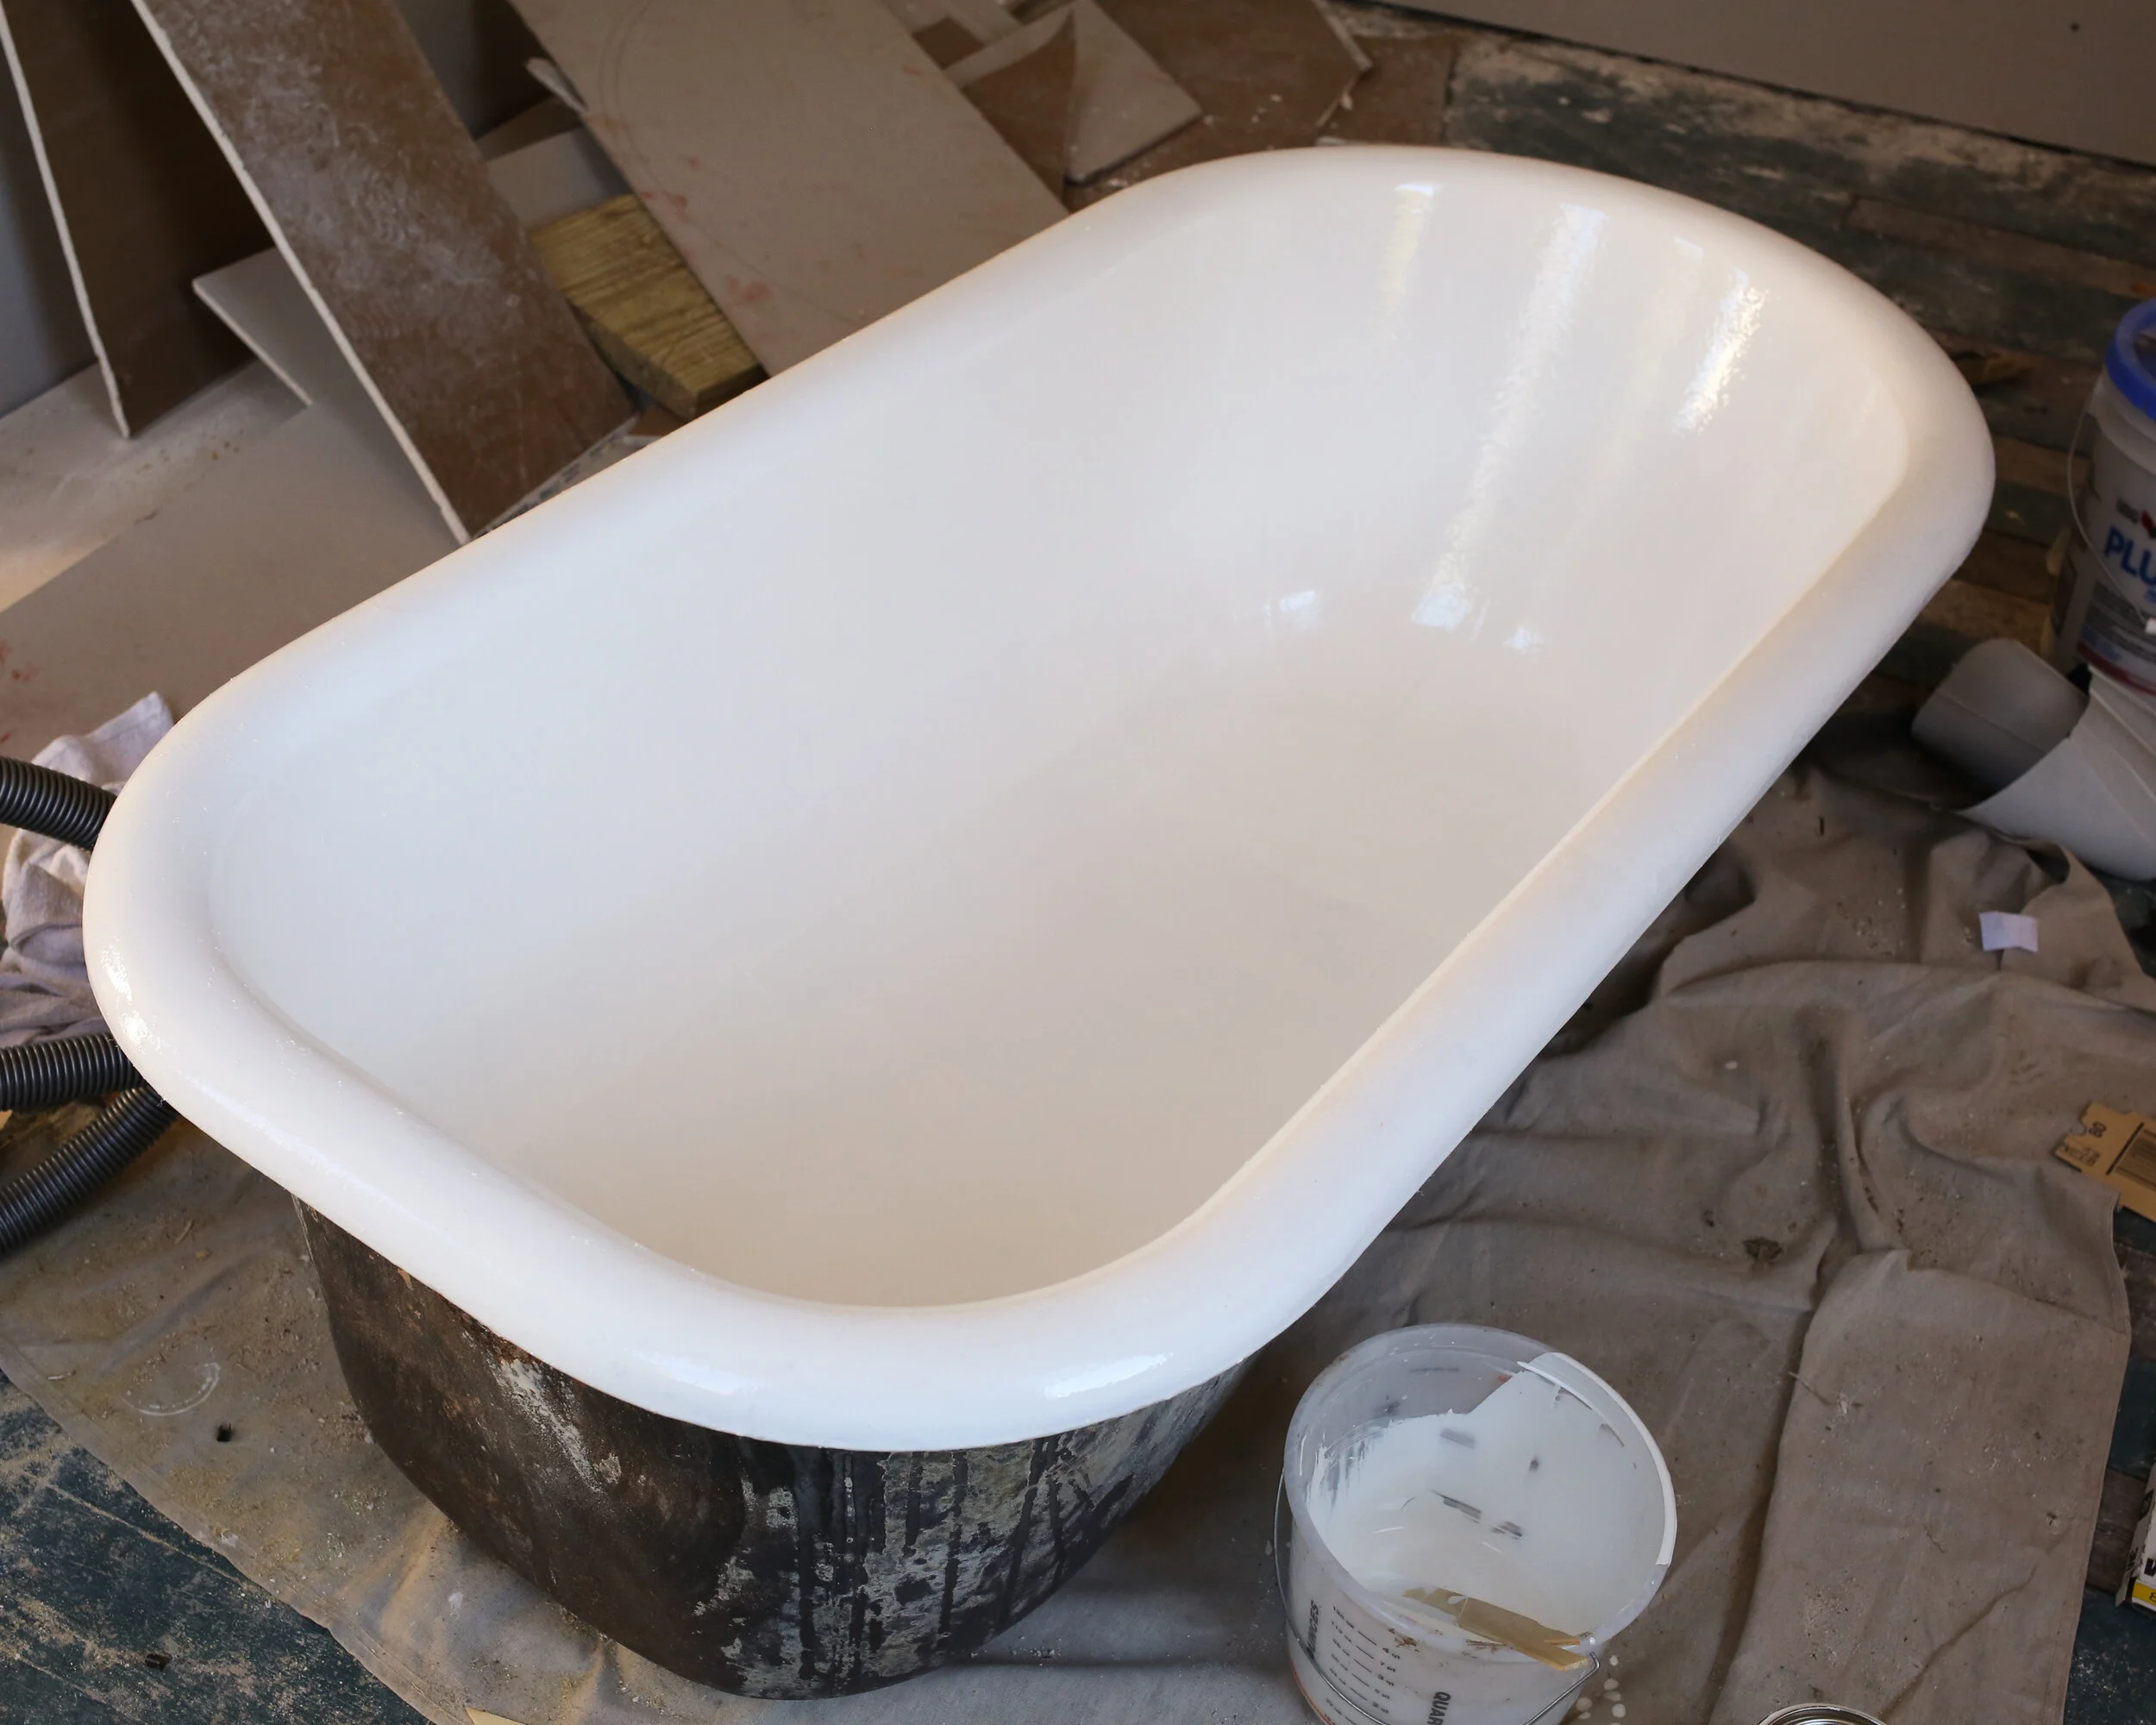
The product is pretty easy to work with and more or less acts like paint, but it will bubble and look gross at first before settling into its new smooth finish.
We did three coats and recommend you plan to do the same, though assess as you go; you may just need two. After the second coat look carefully with a flashlight to see if you can spot any imperfections or spots where the coating is thin. If necessary, follow up with a third coat.
After your last coat, your tub needs 24 hours to dry before you can handle the enamel surface, and 72 hours to fully cure before it can come in contact with water (So no premature bubble baths! Promise it’s worth the wait.)

PRIME & PAINT THE EXTERIOR
Once you’ve stripped and cleaned the exterior and refinished the interior, it’s time to prime and paint the exterior! The fun part! We chose to do this after refinishing the interior, but this step could technically be done beforehand once you’ve stripped the previous paint job. Prime the tub and legs with a rust-preventing metal primer, and then paint with an exterior paint or an enamel paint. You can use a roller, brush, or paint sprayer. The sprayer will give you the most professional finish, but we used a roller and are very happy with the result. If you removed the legs in the previous step, put them back in place once your paint has dried. For any legs that seem wonky, give them added security by applying JB Weld Marine Welder where the legs meet the tub, and then follow up with another coat of primer and paint in this area.

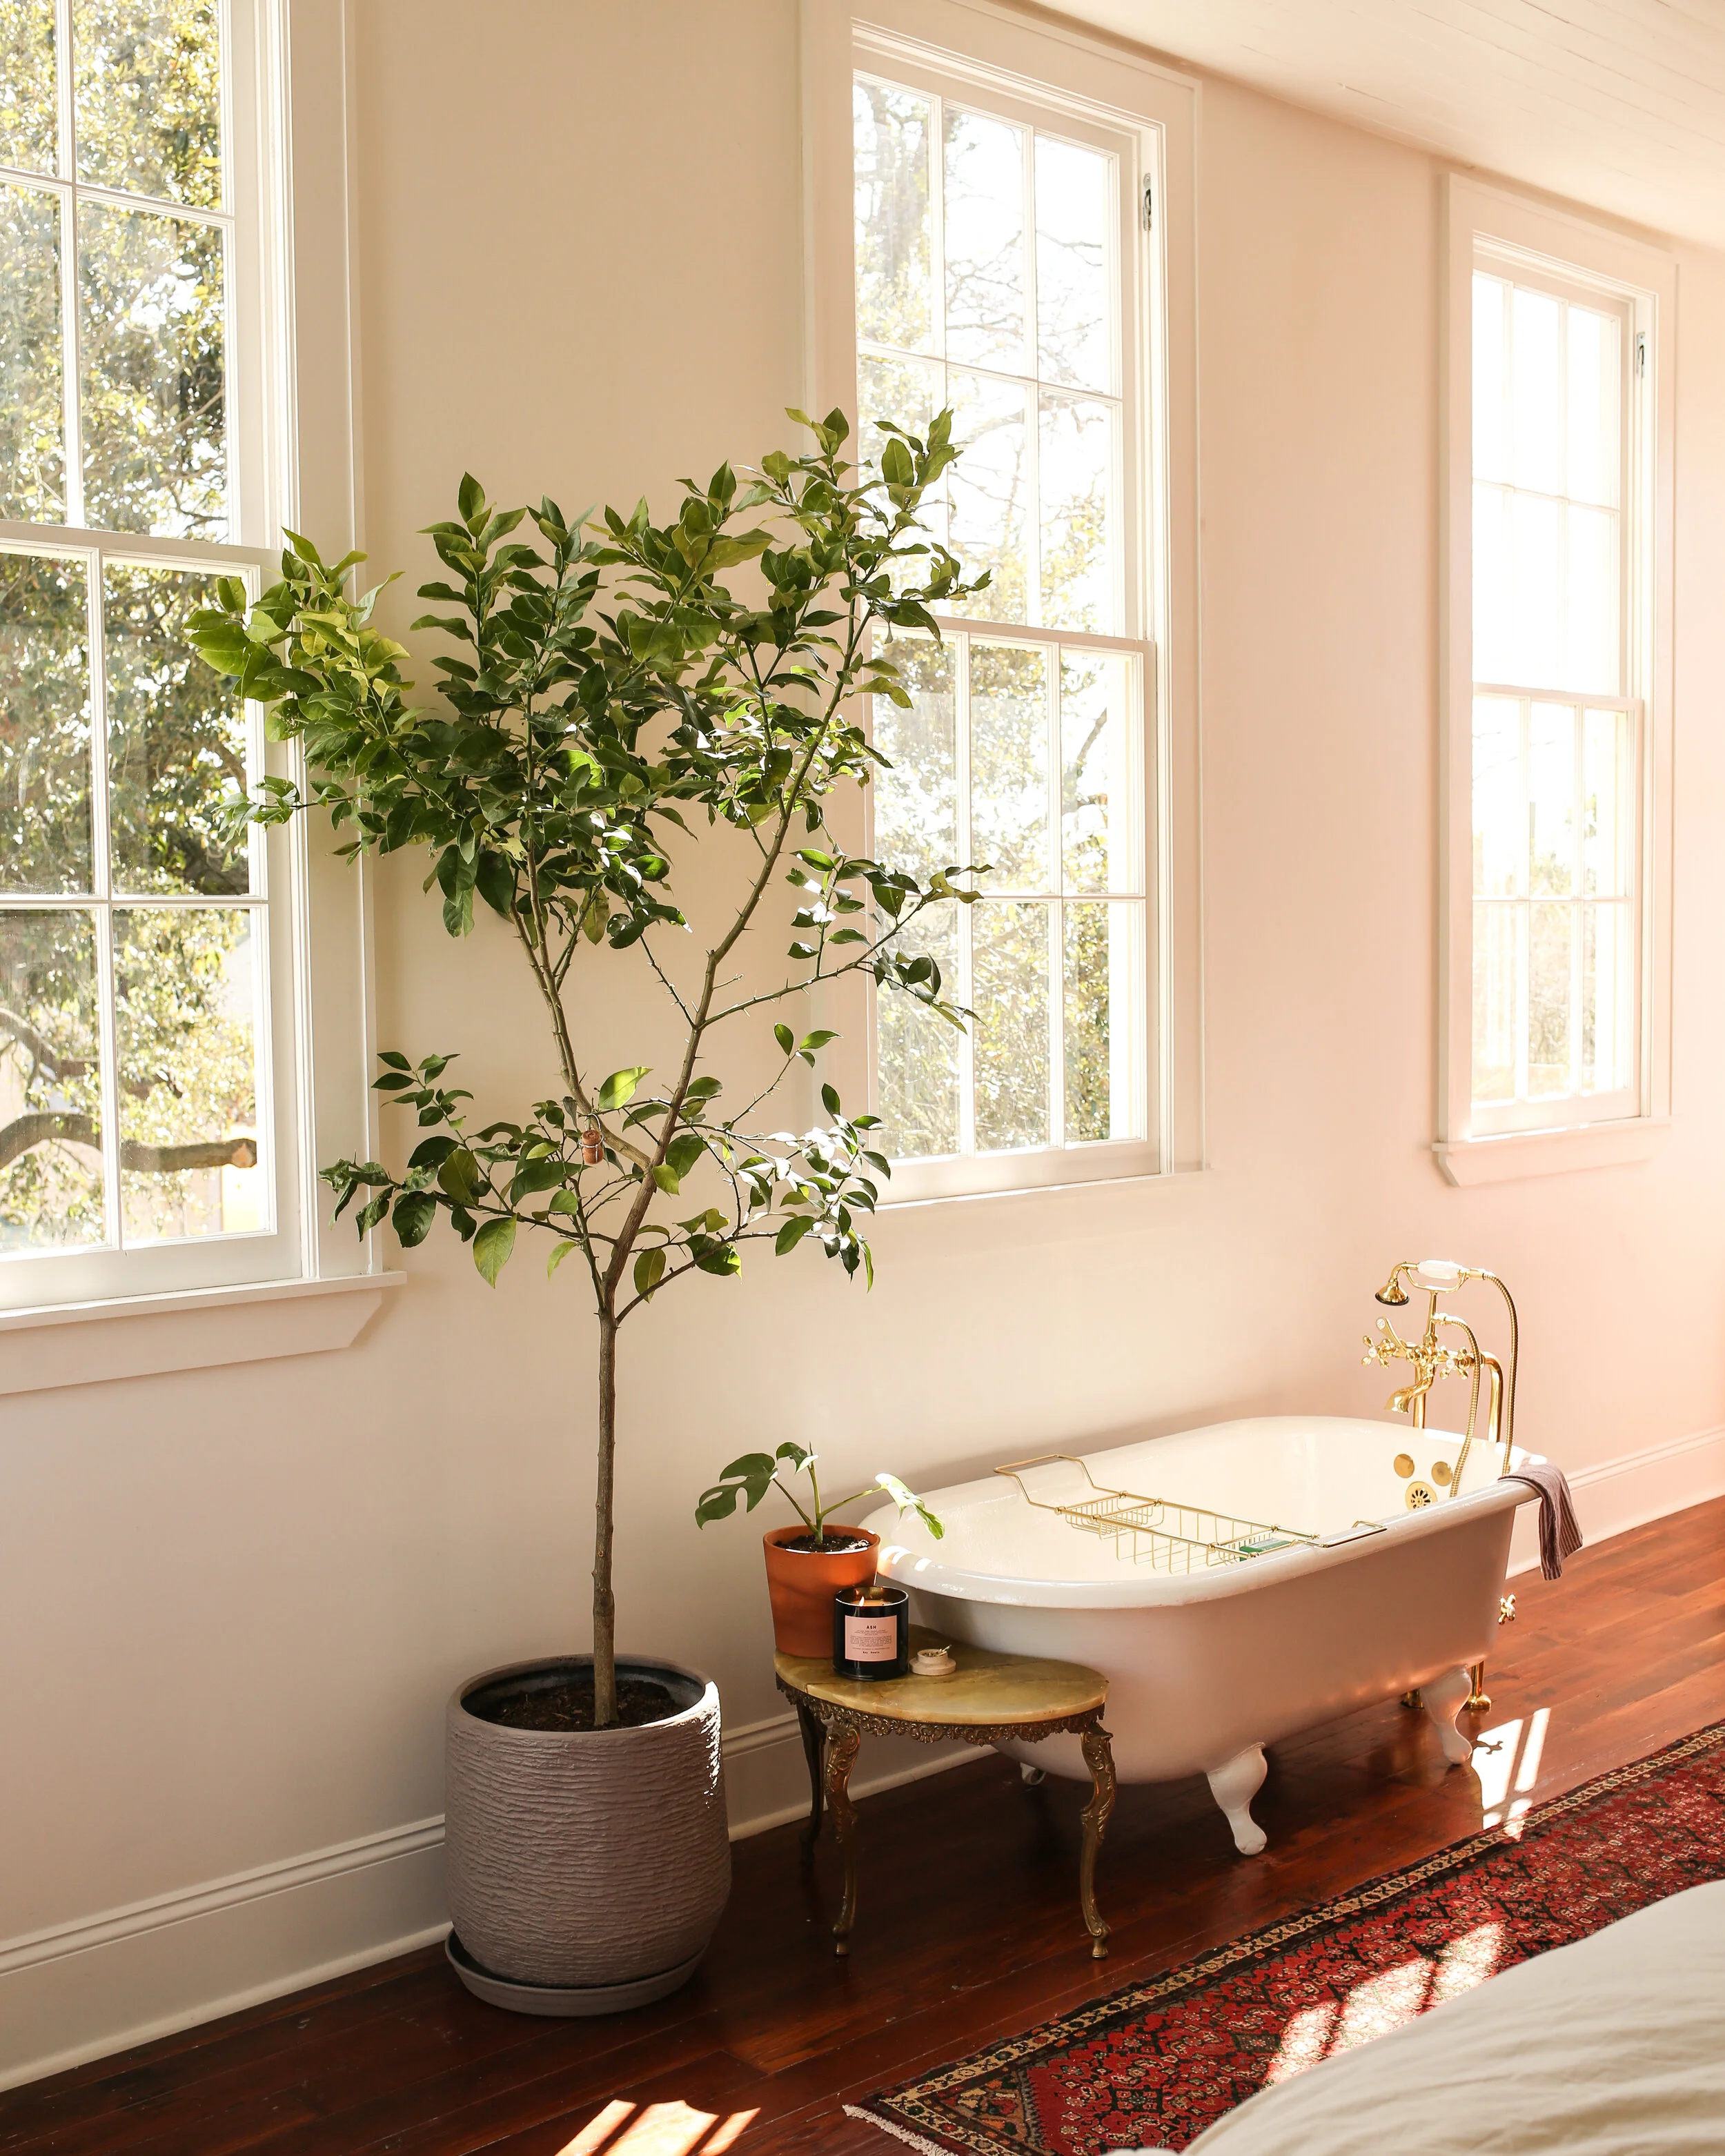
And now you have a new pretty tub ready to be installed!
Troubleshooting Questions
My tub has pre-drilled holes from previous plumbing but the plumbing fixture I want doesn’t match up with them!!
A swing arm coupler will do the trick! These allow you to match new fixtures to previously drilled plumbing holes if they don’t line up. If you want to go with a freestanding tub faucet like we did, the coupler is unnecessary, but see the next question!
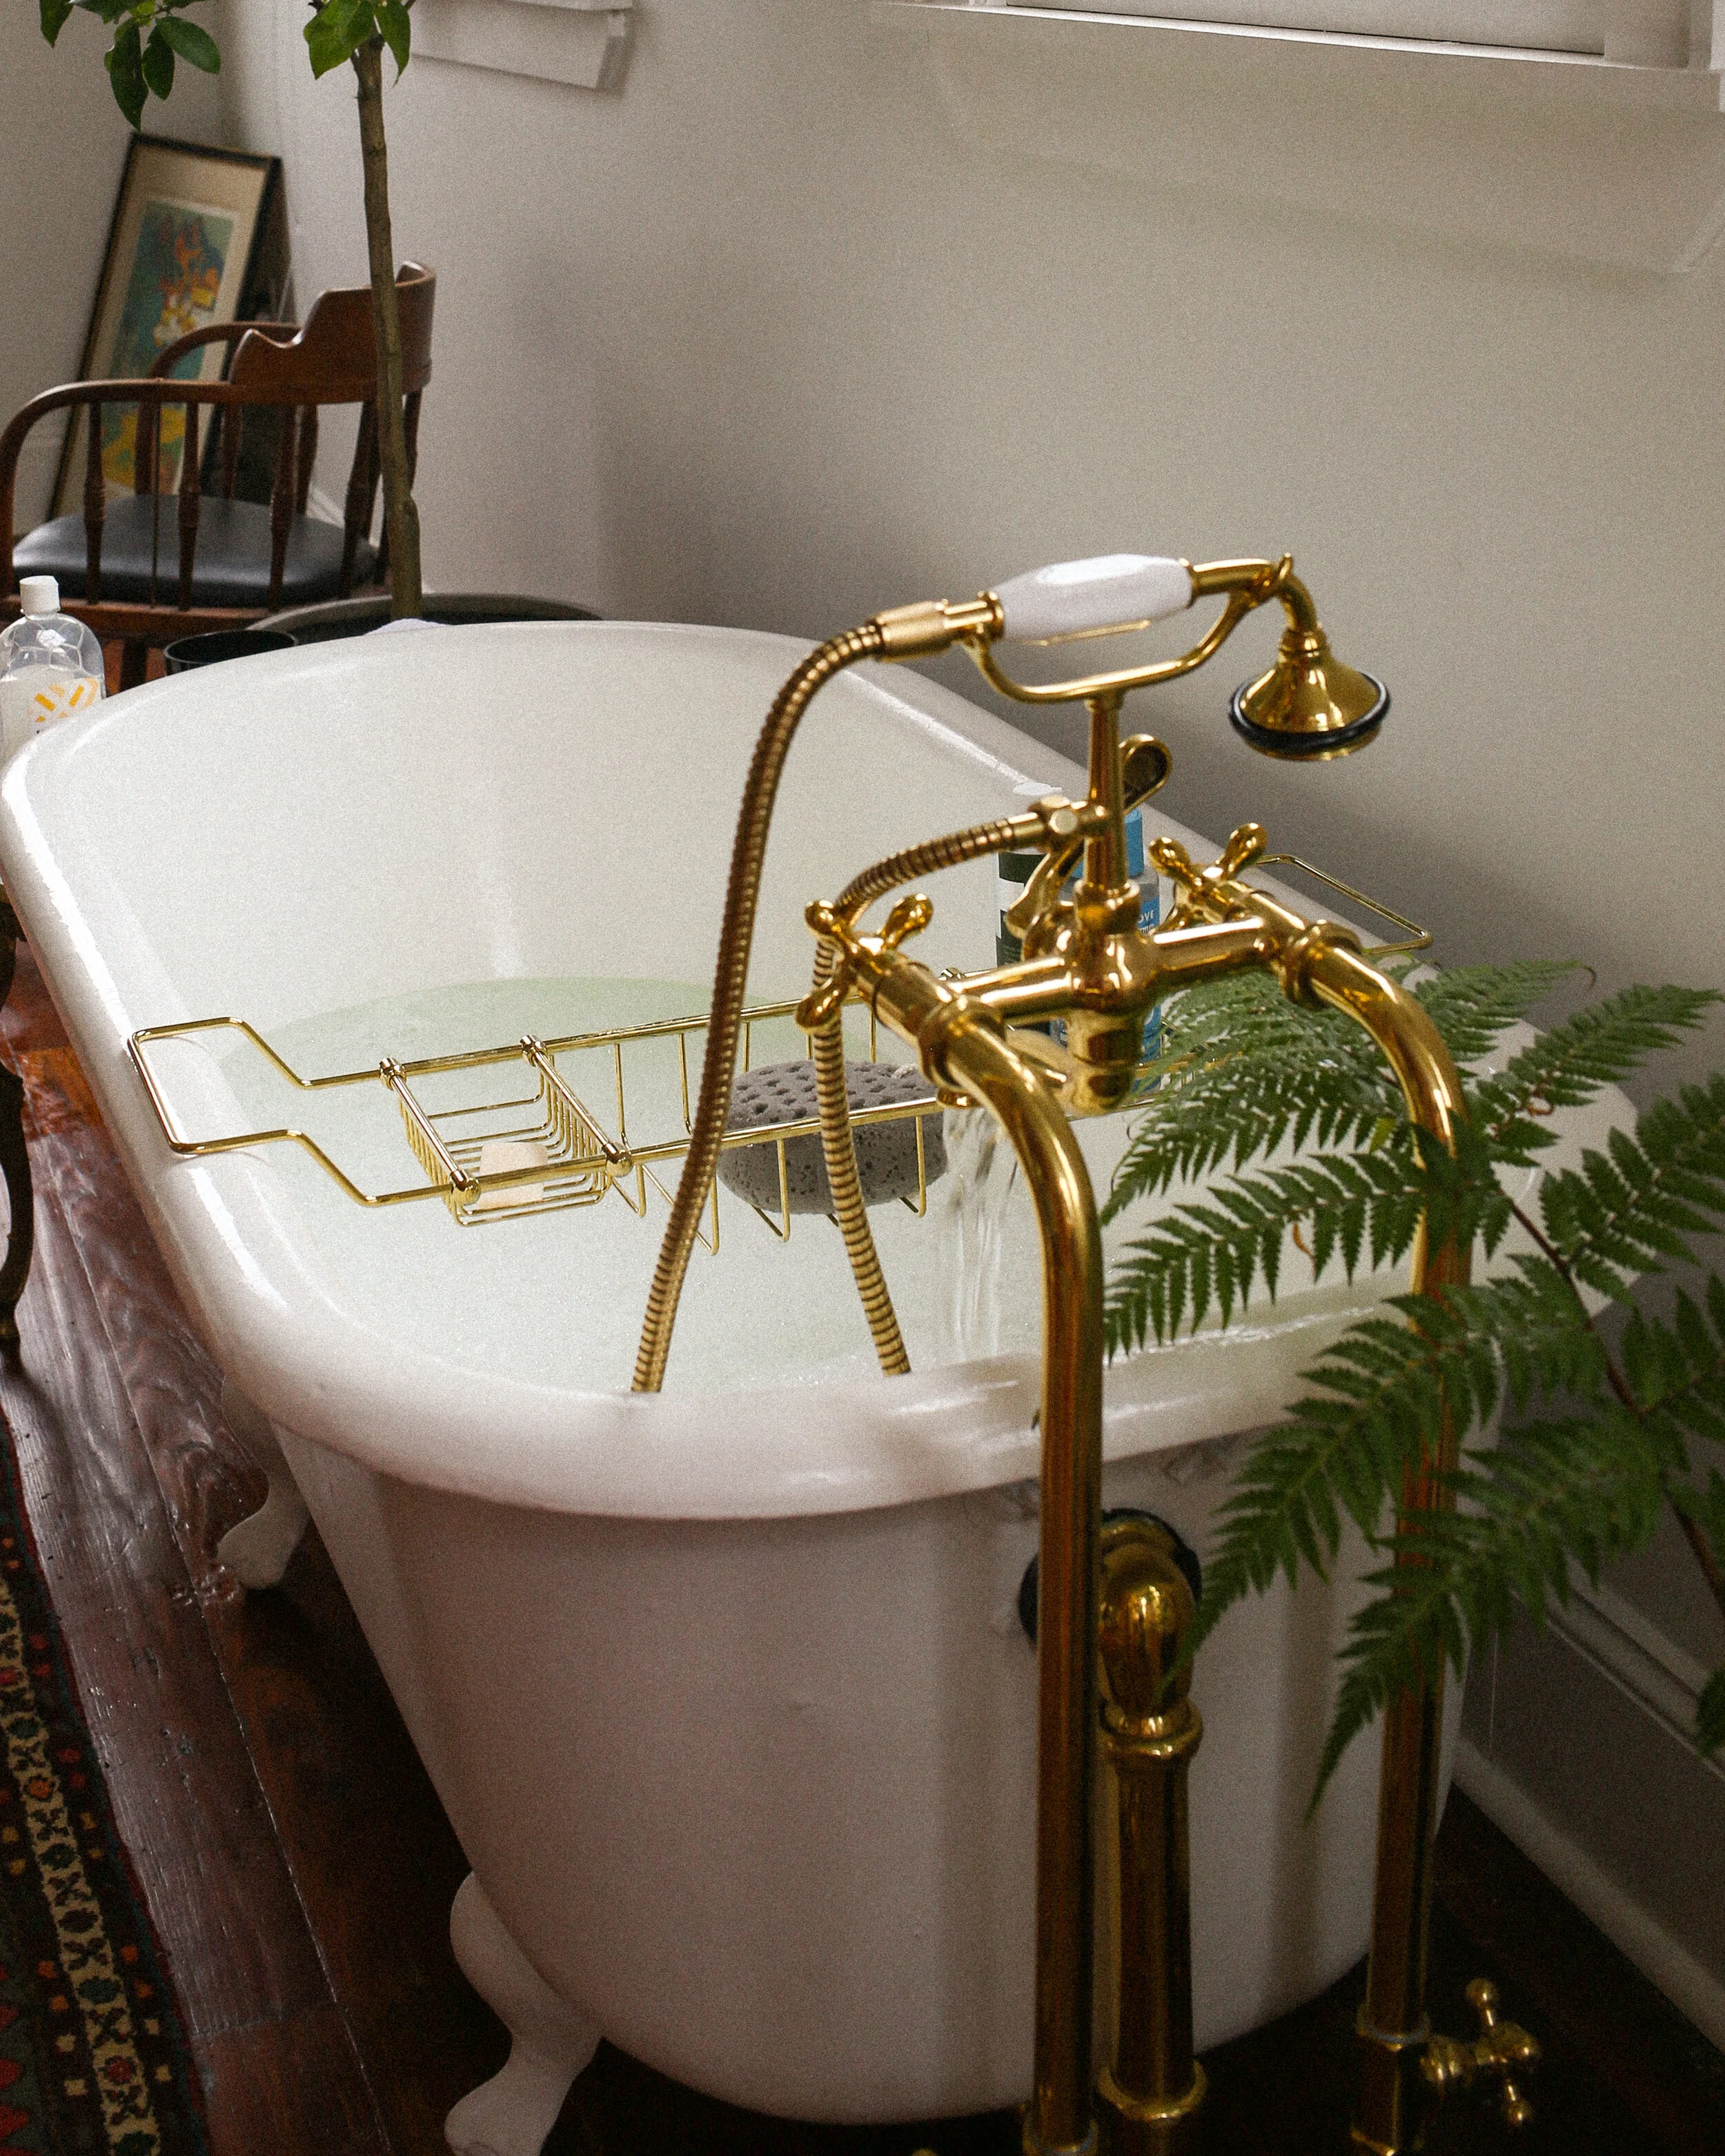
My tub has pre-drilled holes from previous plumbing, but I want a freestanding faucet, damn it!! What do I do about the holes in the side?
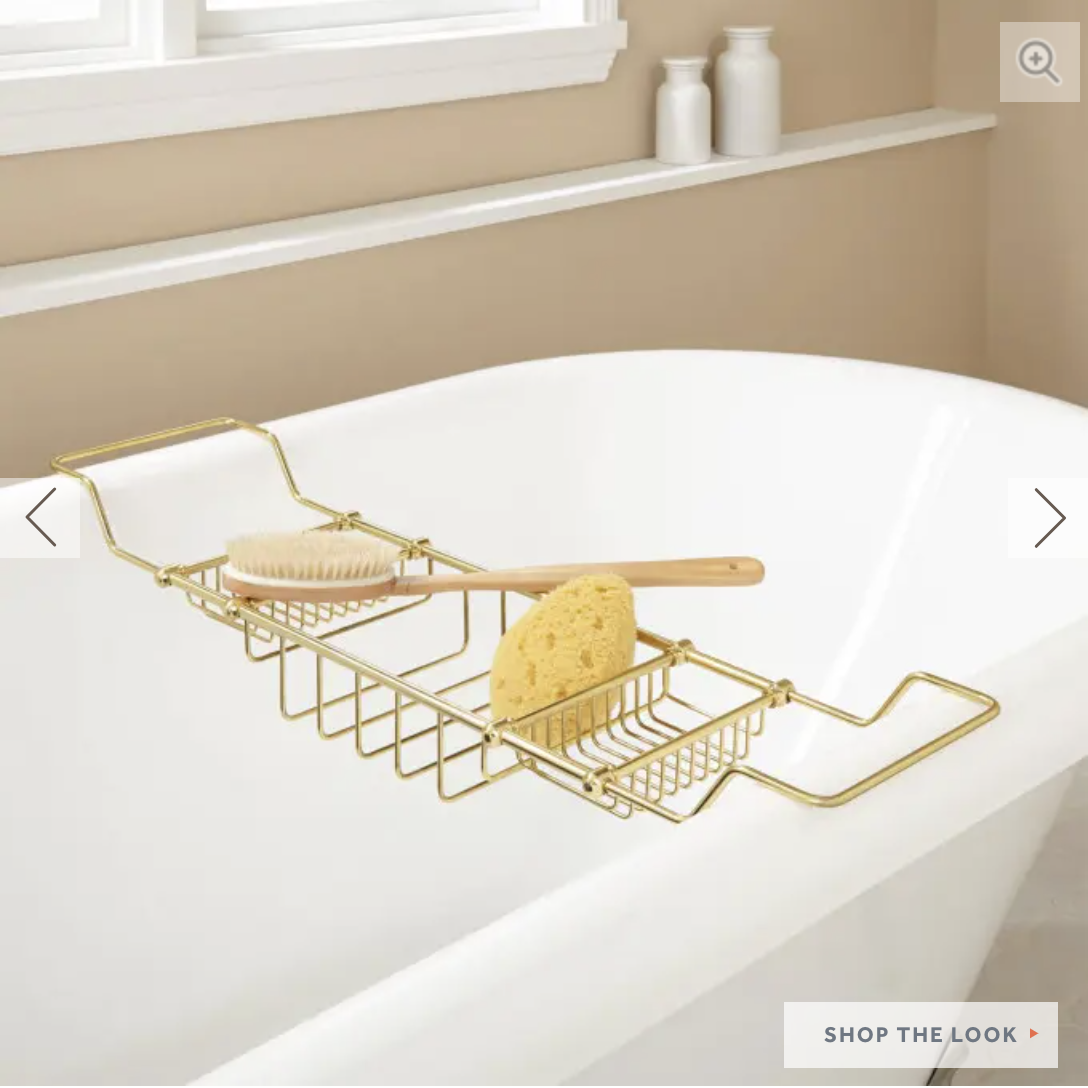
Woah chill baby, we got you! You can just buy a freestanding faucet (we have ours linked below), and then use these little hole covers to cover the holes! It’s a funky little look that isn’t for everybody, but we like funky :) The hole covers themselves aren’t water-tight, so you’ll want to put a sealant lining the interior of the cover as well for added leak-security. The back of the hole covers (which will be visible on the exterior of the tub) can be painted to match the exterior and blend right in. Look closely at the image above to see them.
Can I place a tub anywhere in my home? You guys put it on hardwood flooring on the second floor and aren’t you scared it’s gonna like fall straight through and then you die?
This is a question for a plumber, contractor, or architect, but in general: anywhere you want to put it in your home will likely be fine, so don’t cross anything off the list prematurely. We have super thick cross beams beneath our flooring which can handle the weight with ease, but always make sure you check with a pro.

Pretty Stuff We Used: