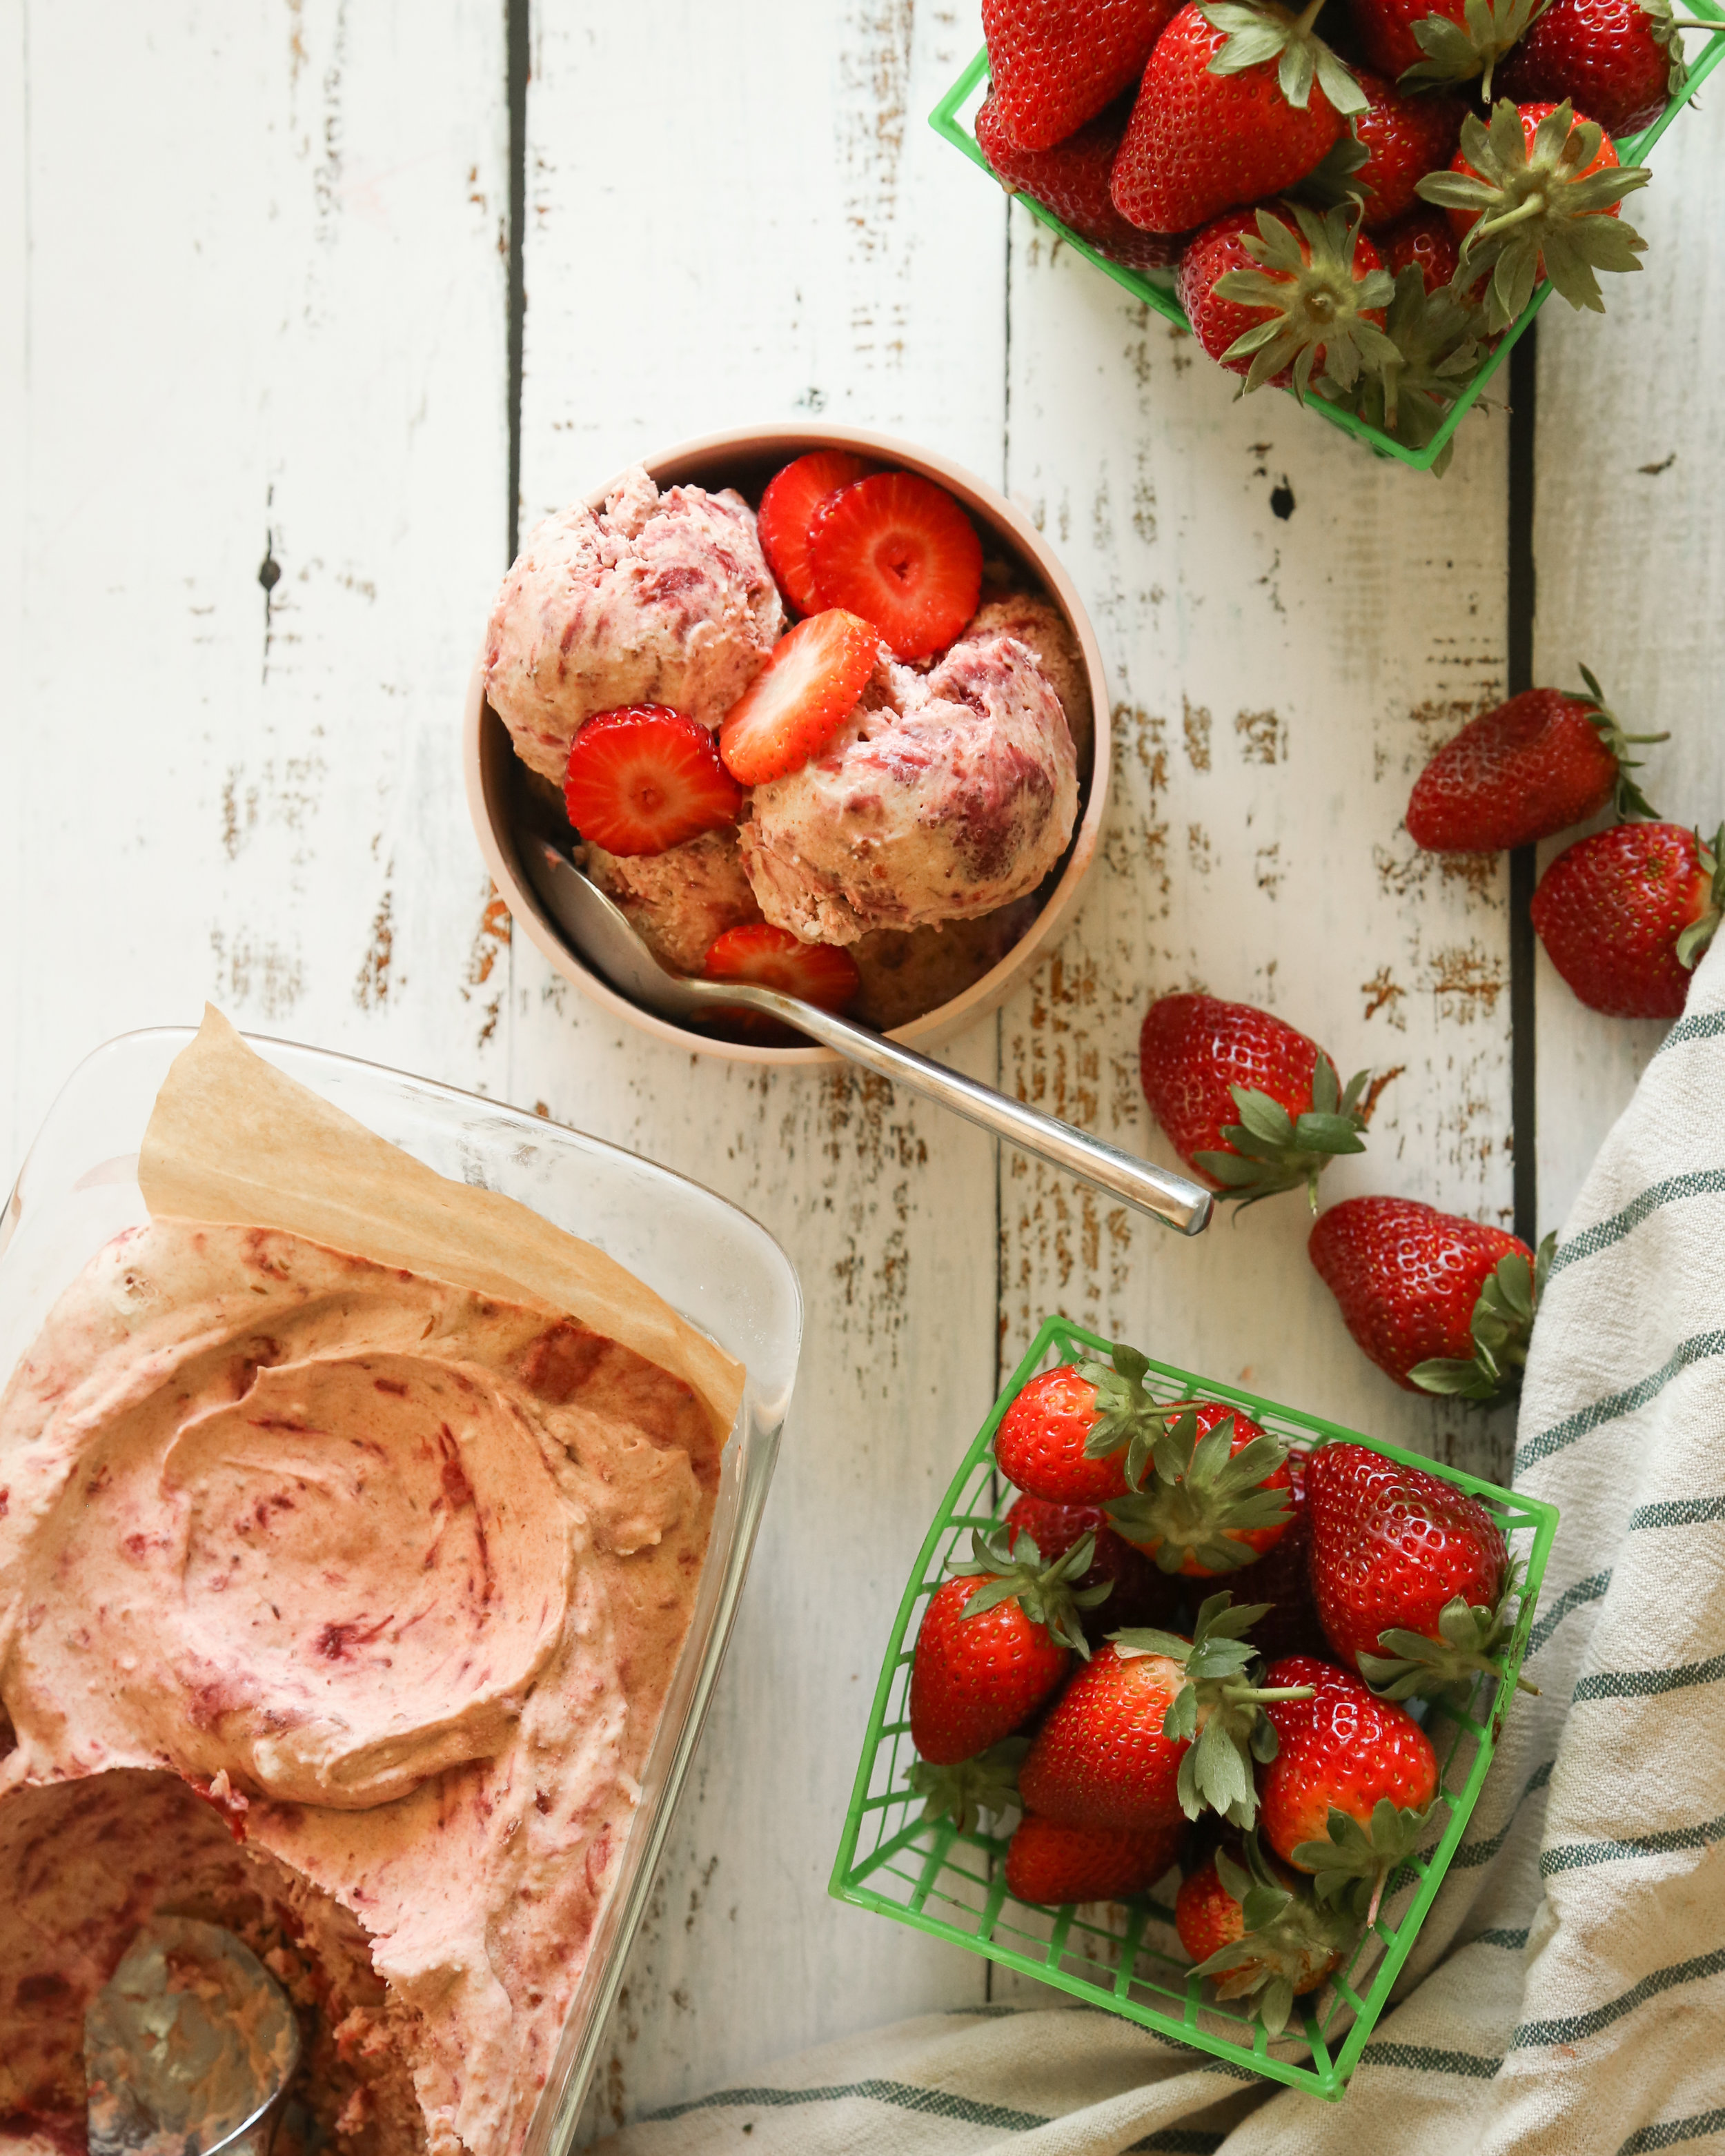
Strawberry Swirl Ice Cream (Dairy Free / Vegan /No-Churn)
Dairy free and creamy and sweet but not too sweet and full of strawberries. But enough about me, the ice cream is good, too!
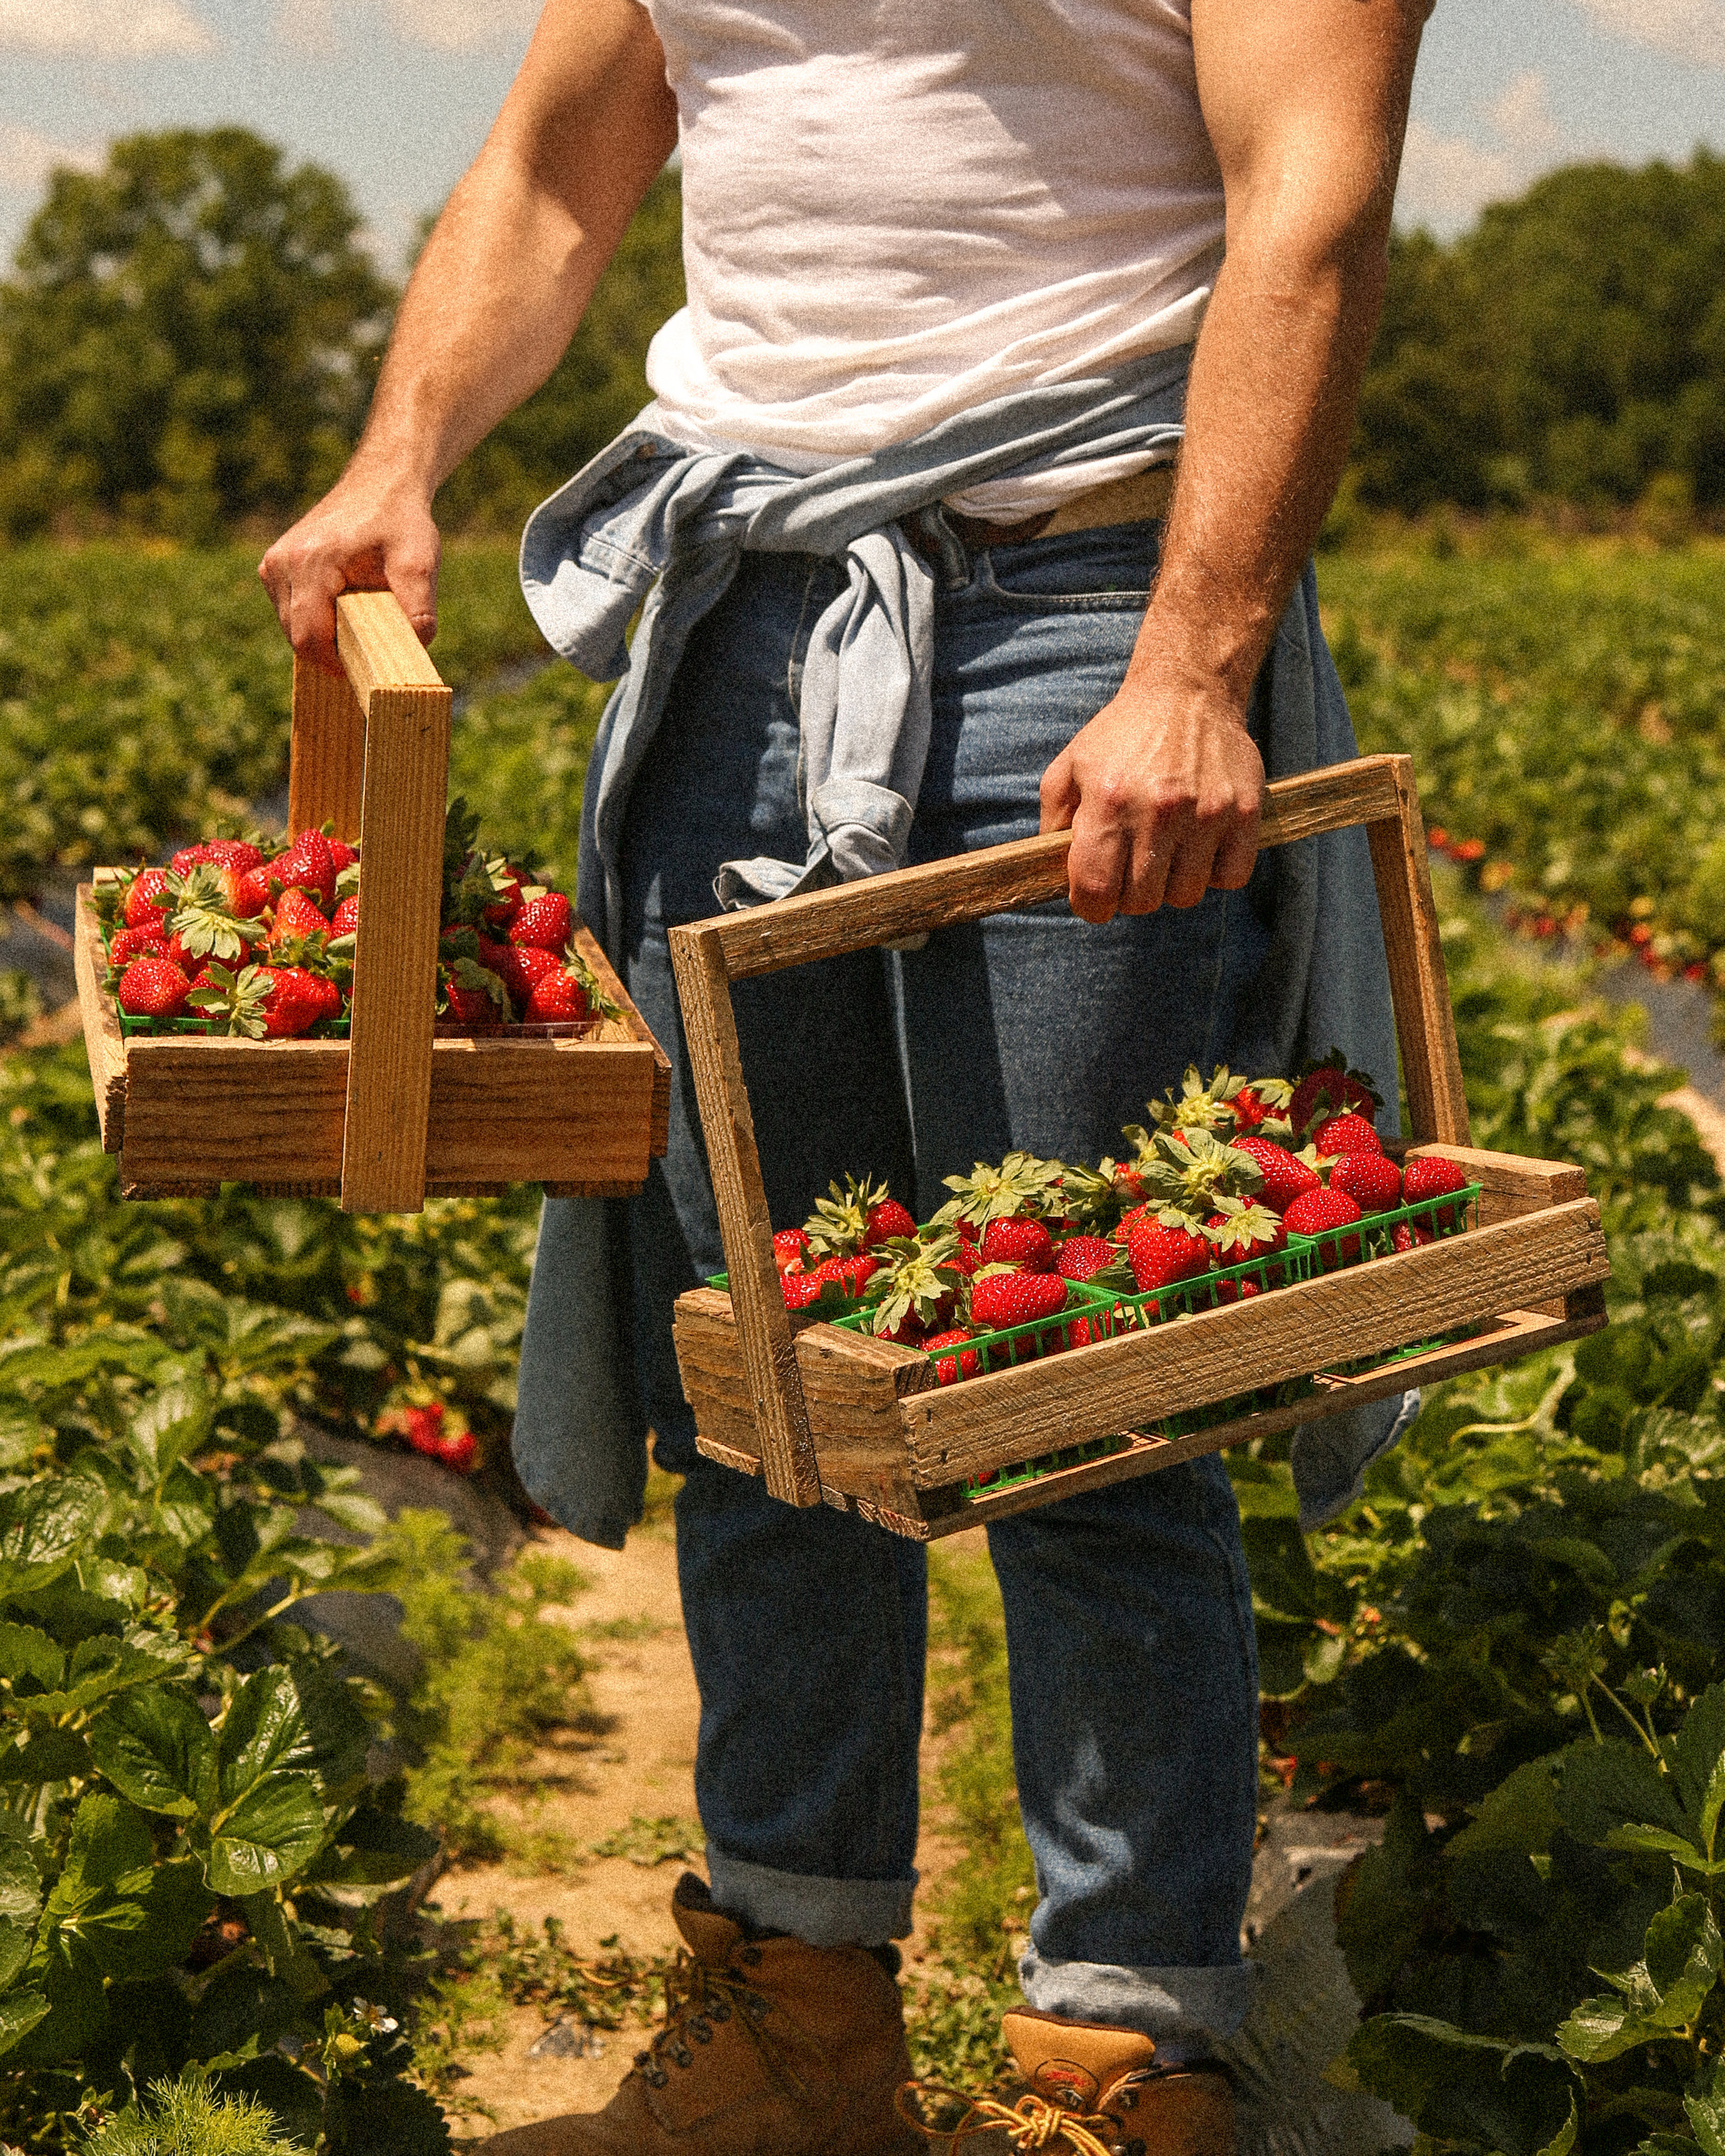
If you’ve been ignoring our social media for the last few weeks, 1.) I understand and I wish I could take a break from me too and 2.) you may have missed our strawberry farm fun times. We went on a little trip to a local strawberry farm and picked all the berries. We had a blast and then we had 12 pints of strawberries that needed to be used. Ice cream sounded like a good choice.
And here’s the deal booboo, we’re not really huge ice cream eaters anymore. Yes, we had our deeeelicious blueberry cheesecake ice cream and several other great recipes but it’s been literally two years since we made any ice cream. In that time, it appears our ice cream maker has either been thrown into storage, eaten by the babadook, or we simply gave it away. (If we gave you our ice cream maker we don’t need it back but could you please just let us know so we can solve the mystery?)
Anyhow, we’ve been sweating like pigs in a whorehouse church, or however that saying goes, so we’re making ice cream. It’s dairy free, no-churn (because where is our ice cream maker) and low in refined sugar. It is not, however, low calorie or low fat. We’re just using ingredients we prefer to eat (coconut milk, dates) in place of ingredients we try to have only in low quantities (dairy, refined sugar). We’re using dates to sweeten the base of the ice cream, and just 1/2 cup of brown sugar to sweeten the strawberry swirl. So it’s not entirely sugar free but there’s definitely less refined sugar than a standard ice cream recipe and also we would never want our ice cream to be entirely sugar free, we’re not monsters.
Here’s the tea on the no-churn situation. If you’re not familiar with the ice cream making process, an ice cream maker is basically just a churner, which means it adds air while freezing it to create that soft velvety texture. Without an ice cream maker, simply freezing ice cream ingredients can yield an ice cream that is dense and icy and hard to scoop, so in this recipe we’re taking several steps to get a product similar to what an ice cream maker would produce.
First we’re whipping the coconut cream to medium peaks to add some air. Next, we’re using dates to sweeten the coconut milk—and dates don’t really freeze which means they’ll help keep the ice cream from getting rock solid and hard to scoop. Finally, I found that adding a tablespoon of liquor further softens the ice cream and keep it from getting icy (obvi, because alcohol doesn’t freeze—thanks to Serious Eats for this tip!). All of that together yields and ice cream that is slightly fluffy, definitely creamy and scoopable, and not icy in the least.
It’s got beautiful caramel notes from the dates and vanilla and brown sugar and it’s…can I say it?….BURSTING… WITH STRAWBERRY FLAVOR. Wow that felt good. OK, let’s walk through the recipe below.
No-Churn Strawberry Swirl Ice Cream
takes 7 hours (must freeze at least 6 hours) & makes 6-8 servings (fills a 9” loaf pan)
Here’s the flow of this recipe: we’re starting by prepping our dates and strawberry mixtures, which takes about half an hour. Then we’re combining those mixtures with the coconut milk base, and then it all gets frozen. The recipe below is designed to be as time efficient as possible.
Ingredients
12 oz pitted Medjool dates (about 25 dates)
2 lemons, juiced
2 1/2 pounds fresh strawberries, chopped
1/2 cup brown sugar
1/4 teaspoon fine salt
1 teaspoon vanilla extract + 1 tablespoon vanilla extract
4 (13.5 oz) cans full-fat coconut milk, must be refrigerated for 24 hours before use—Do not shake or mix the cans, as we only want to use the solid cream that rises to the top and will discard the liquid. (see notes section)
1 tablespoon liquor (I recommend whiskey or brandy, though vodka can work here, too.) (see notes section)
Tools
Electric mixer
Food processor (a blender or Magic Bullet also works)
Medium saucepan
9” loaf pan
Phase 1—make the dates and strawberry mix
Place your dates in a large heat-proof bowl and cover them in boiling water. Let sit for 30 minutes, during which you can get started on the strawberry mix below. After 30 minutes, strain off all of the water and add the dates to a food processor with the juice of one lemon. Blend until completely smooth, about two minutes. Transfer to the refrigerator to cool.
Make the strawberry mix by combining the juice of one lemon, strawberries, brown sugar, salt and one teaspoon vanilla extract in a medium saucepan over medium-high heat. Set a timer for 30 minutes. Within ten minutes, you should see a large amount of juice getting released from the berries and bubbling up (if you don’t see this, raise the heat slightly). Stir often to avoid scorching. We’re looking for a steady, medium boil here as the liquid cooks off. At half an hour, the mixture should be quite thick (see photos above for reference). Transfer the strawberry mix to the refrigerator to cool.
At this point, you can keep the dates and strawberry mix in the refrigerator until you’re ready to make the ice cream (up to one week).
Phase 2—making the base and assembly
Note: in order to carry on with this step, your dates and strawberry mix must be cooled to at least room temperature, and your coconut milk must be very cold. See notes below for further instruction.
Line your loaf pan with parchment paper and set aside.
Be careful to not shake or mix your cans of coconut milk, as we’re looking to use only the top solidified coconut cream and discard the liquid. Scoop the cream into the bowl of your stand mixer (or a large mixing bowl if using a hand-held mixer) and whip for 6-8 minutes on high until you’ve got stiff peaks. If your coconut milk does not whip, it likely means it was not cold enough. Start over with properly refrigerated full-fat coconut milk.
After it’s been whipped, turn the speed to low and add the dates, vanilla, and liquor, and mix just to combine. Add half the strawberry mixture and mix to combine. Gently fold in the remaining strawberry mixture (this is where you’ll get a “swirl” from. Pour the mix into your loaf pan, make some swirly swirls on top with the back of a spoon if you’re fancy, and pop into the freezer, for at least 6 hours.
Once you’re ready to serve it, remove it from the fridge and let it sit for about ten minutes, and scoop! To get nice uniform scoops, I’d recommend letting your ice cream scooper sit in a bit of hot water for a few seconds before scooping. But like honestly who the fuck cares, it’s gonna taste good.
Enjoy!
Notes on this recipe
Coconut milk—this is just your standard culinary full-fat coconut milk you buy in a can from the international food aisle of the grocery store. As for which brand to get, I found the Whole Foods 365 brand and the Thai Kitchen brand to both work well. You will need to refrigerate the coconut milk for at least 24 hours before using it, and you’re going to want to keep it in the fridge until right before you whip it. Under-refrigerated coconut milk will not whip correctly. Do not shake or mix the cans—this recipe only uses the solid cream that separates to the top.
Liquor—like, yes technically there is alcohol in this and if you’re allergic to alcohol it can be excluded, but it will not yield as soft of an ice cream and the ice cream will be slightly icy. If you’re making this for children and afraid of using alcohol, it’s your call but the one tablespoon of liquor comes out to about 1/3 teaspoon per serving.
Chill everything—beyond refrigerating the coconut milk, I’d recommend freezing the whipping attachment to your mixer and the mixing bowl itself before whipping the coconut milk. It’s just extra precaution to make sure the coconut milk whips correctly.
xoxo Beau (& Matt!)


![Day 130 [05.10.2019]](https://images.squarespace-cdn.com/content/v1/5451b54de4b0d0c075728ccb/1557536262269-PQXCMOO5DJV8KNHTROLW/miamiselfie1+%281+of+1%29.JPG)
