
DIY Floating Planter Shelf

With all of the wall-tearing-down and bathroom-gutting and floor-repairing you’d think we wouldn’t spend our time, like, making cute little shelves for placing assorted pots, but you’d be wrong! Quick and easy DIYs like this baby are our bread and butter, our favorite projects to do. They’re rewarding because you can go to the store for the materials and have your new finished piece all in one afternoon, and they’re affordable as all get out so if you have a big oopsie and it all falls apart, you didn’t just blow all of your margarita money.
A DIY floating planter shelf you can make in just a couple of hours for about $15 in materials, or less if you happen to have scraps you can reuse! We love. Below we’ve got the full run-down for you along with some photos so you can tackle it yourself! Let us know if you give it a try sweet pea :)

We used a spare piece of wood to create a mold to make uniform sized holes

A jig saw makes for easy curved cuts

We used wood filler to fill the gaps in our brackets.
All we needed for this project was
1x8 pine board cut to your desired shelf length. We bought an eight foot 1x8 board and cut three 30” pieces to make our three shelves.
Shelf brackets, store bought or made by you! (see notes)
20 V Max Matrix Black & Decker 6-Tool Combo kit OR a drill/driver, jig saw, and 80 or 100 grit sand paper (see notes)
A spade bit (we used a 1/2” spade bit)
Wood primer and exterior wall paint—an enamel paint works well here for standing up to the wear and tear of clay pots and moisture!
Construction screws (and if needed, drywall screws, see notes)
Your pots! We used three 5" pots per shelf, but depending on the size of shelf or pot you have, this may vary
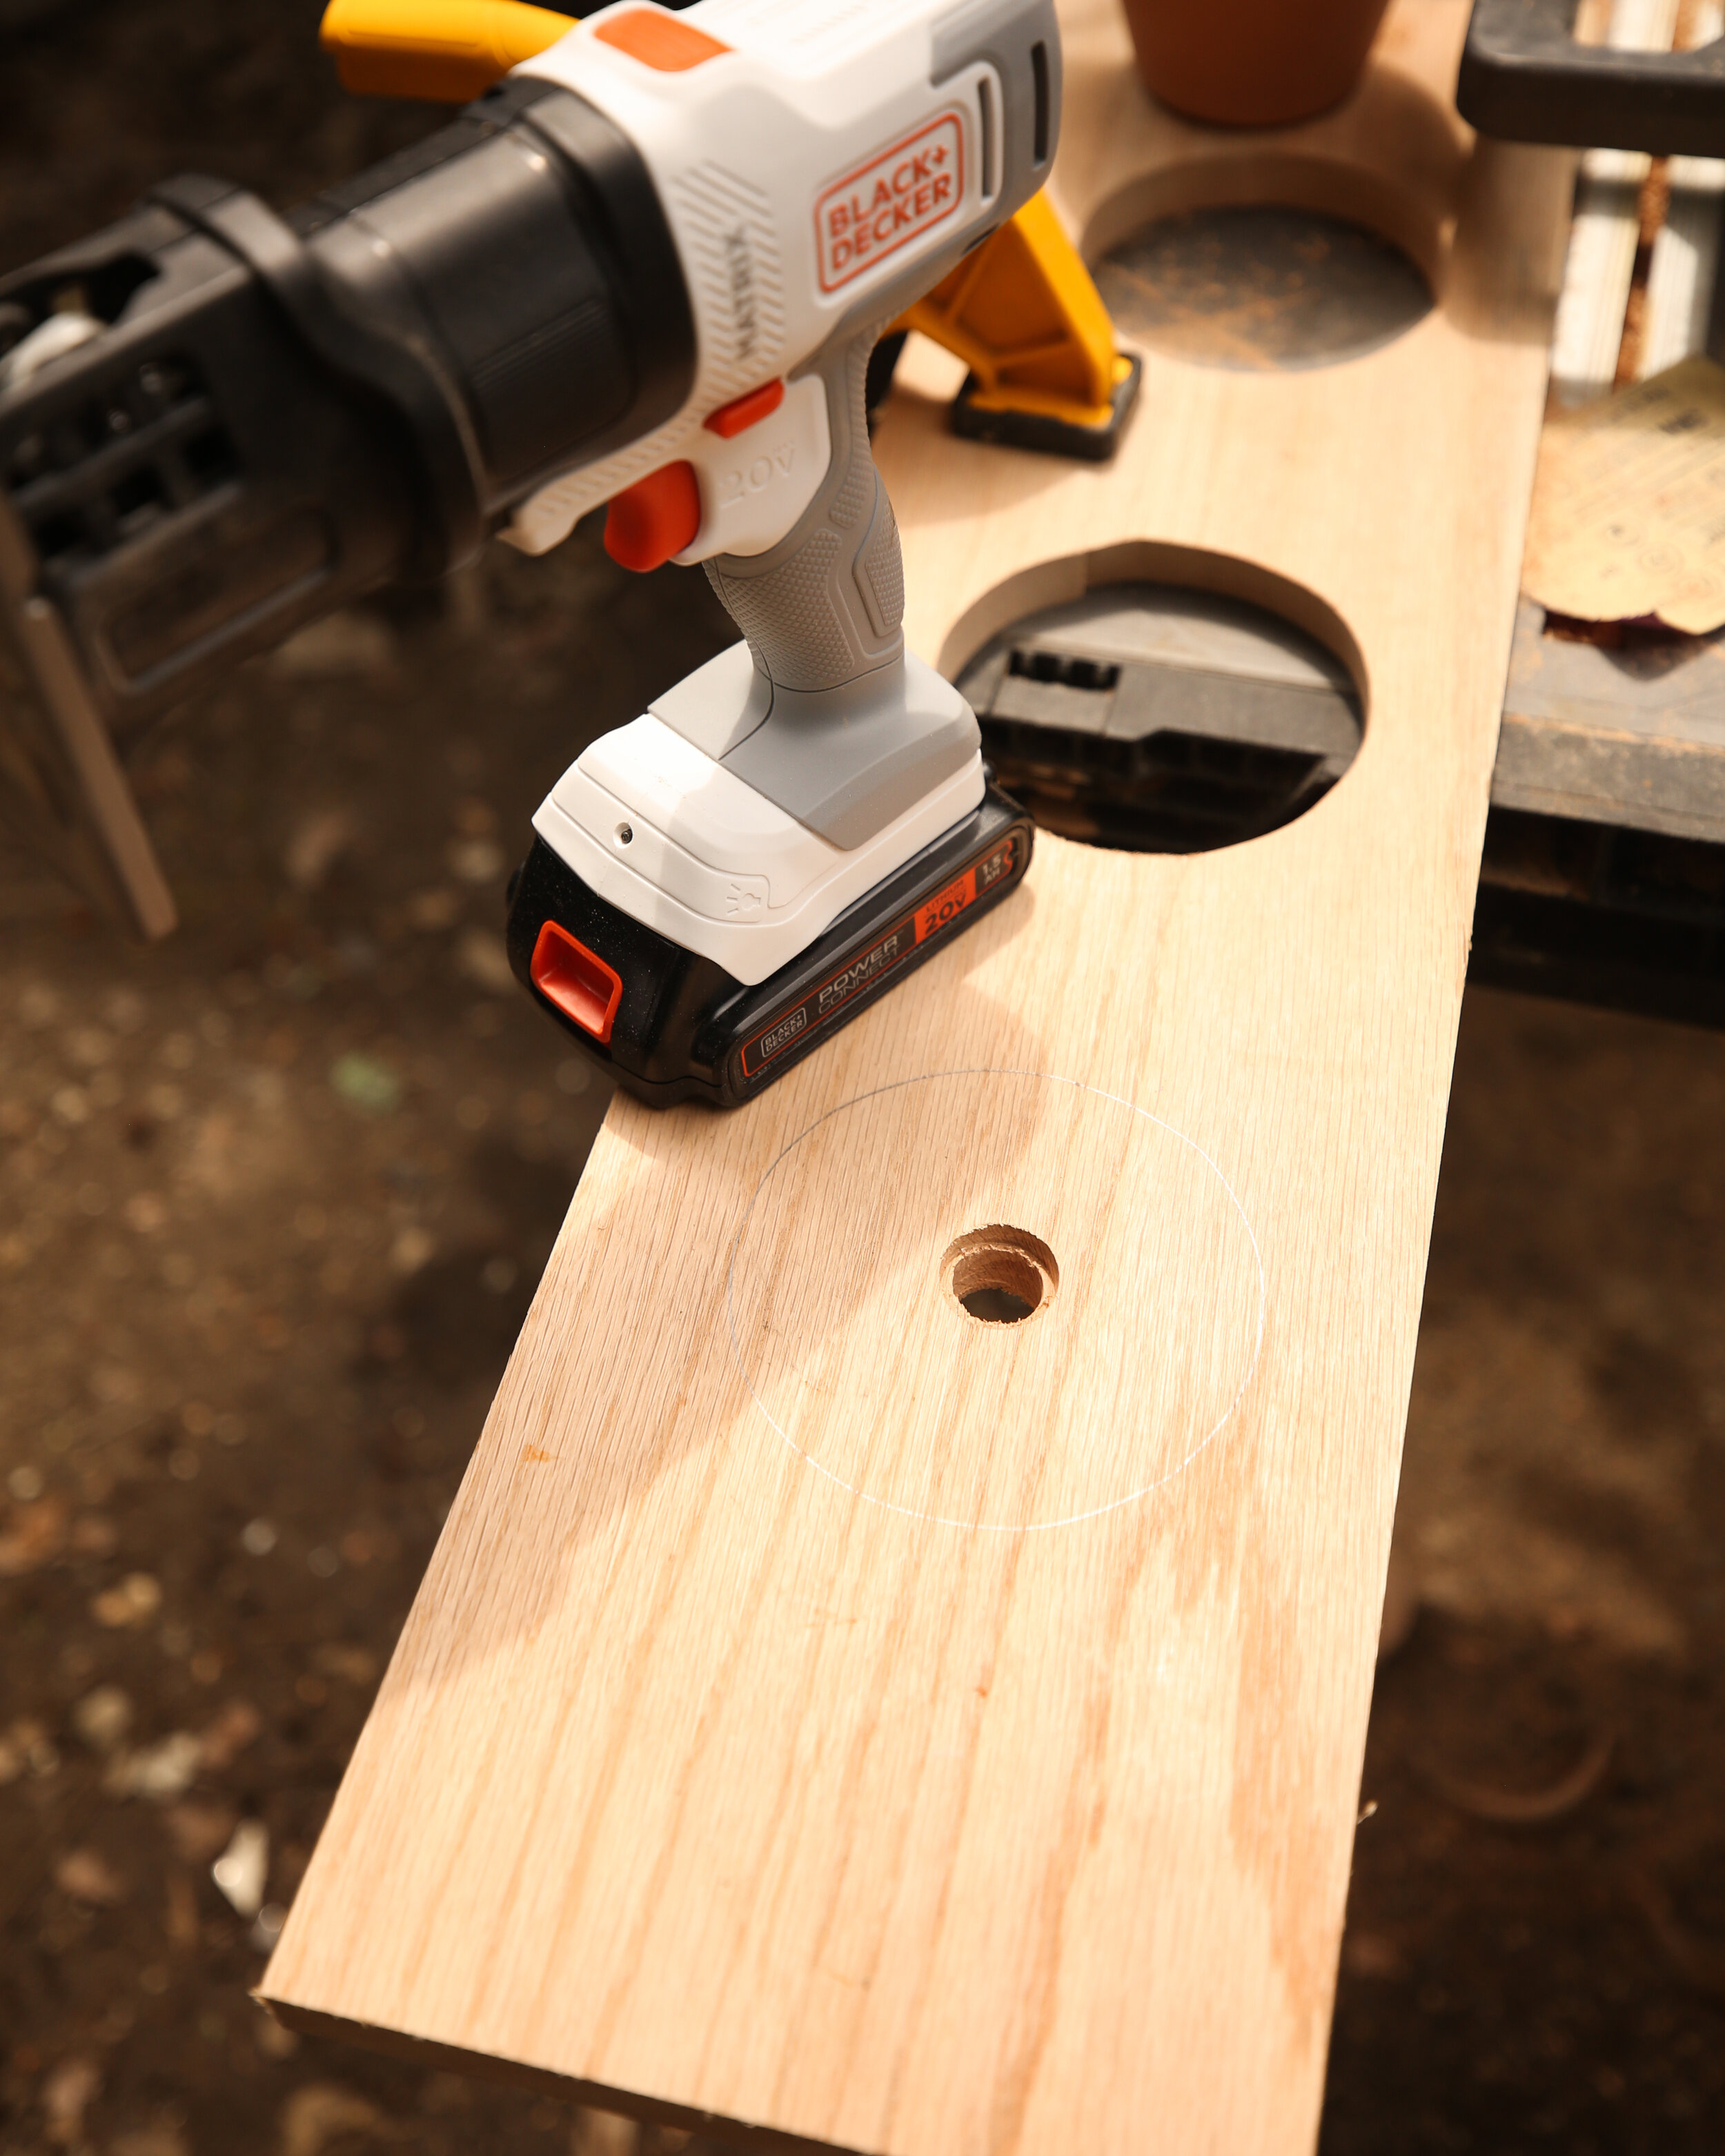
Trace the shape of the hole you’re creating onto your plank. We had 5” pots, so we traced 4.5” holes which would allow the pot to rest comfortably in the shelf. Obvi you wouldn’t trace a 5” hole for a 5” pot because * whoosh, smash, crying noises * (your pot would fall through). We used a scrap piece of wood to make a mold (pictured above) so that all of our holes were uniform.
Use your drill/driver fitted with a spade bit to drill a hole in the center of your circle; this is your entry point for your jigsaw.
Use your jigsaw to work your way out from the hole you created to follow the line of the circle you traced.
Sand down the hole to make it smooth and test to make sure it’s a good fit for your pot. Make any necessary adjustments—if your pot doesn’t fit quite perfectly you could use the jigsaw to widen the hole or just go at the edge of the hole with sand paper until it’s the right size.
Prime and paint your shelves as desired, following the instructions and dry times on the primer and paint you choose.
Screw your brackets onto your shelf, and then screw the brackets into the wall where a stud is present, or use drywall screws if no stud is present where you want to hang your shelf. (see notes)
NOTES
Selecting or creating wall brackets. We built our own brackets using 1x2 strips of pine using a couple miter cuts, a few screws, and some wood glue, but you can buy inexpensive wall brackets that’ll do the trick at your hardware store. If making your own brackets, you would attach them to the shelf prior to step 5 so that they are painted when you paint the shelf.
Black & Decker 20V 6-Tool Combo Kit. We got to try this tool out for a job with Black & Decker and honestly were so impressed with it. It’s a drill/driver that has six different tool attachments, like a sander and jigsaw, so it really is like the perfect tool for a DIY beginner. It retails for just under $200 and is a great investment for anyone looking to start off their tool collection or working with limited space.
Drywall screws. If you don’t have studs where want to hang your shelf, you’ll need drywall screws that can hold the weight of your shelf with the pots—and that’s gonna be kind of heavy. If using these screws, we recommend you don’t put freshly watered plants in them due to the weight.