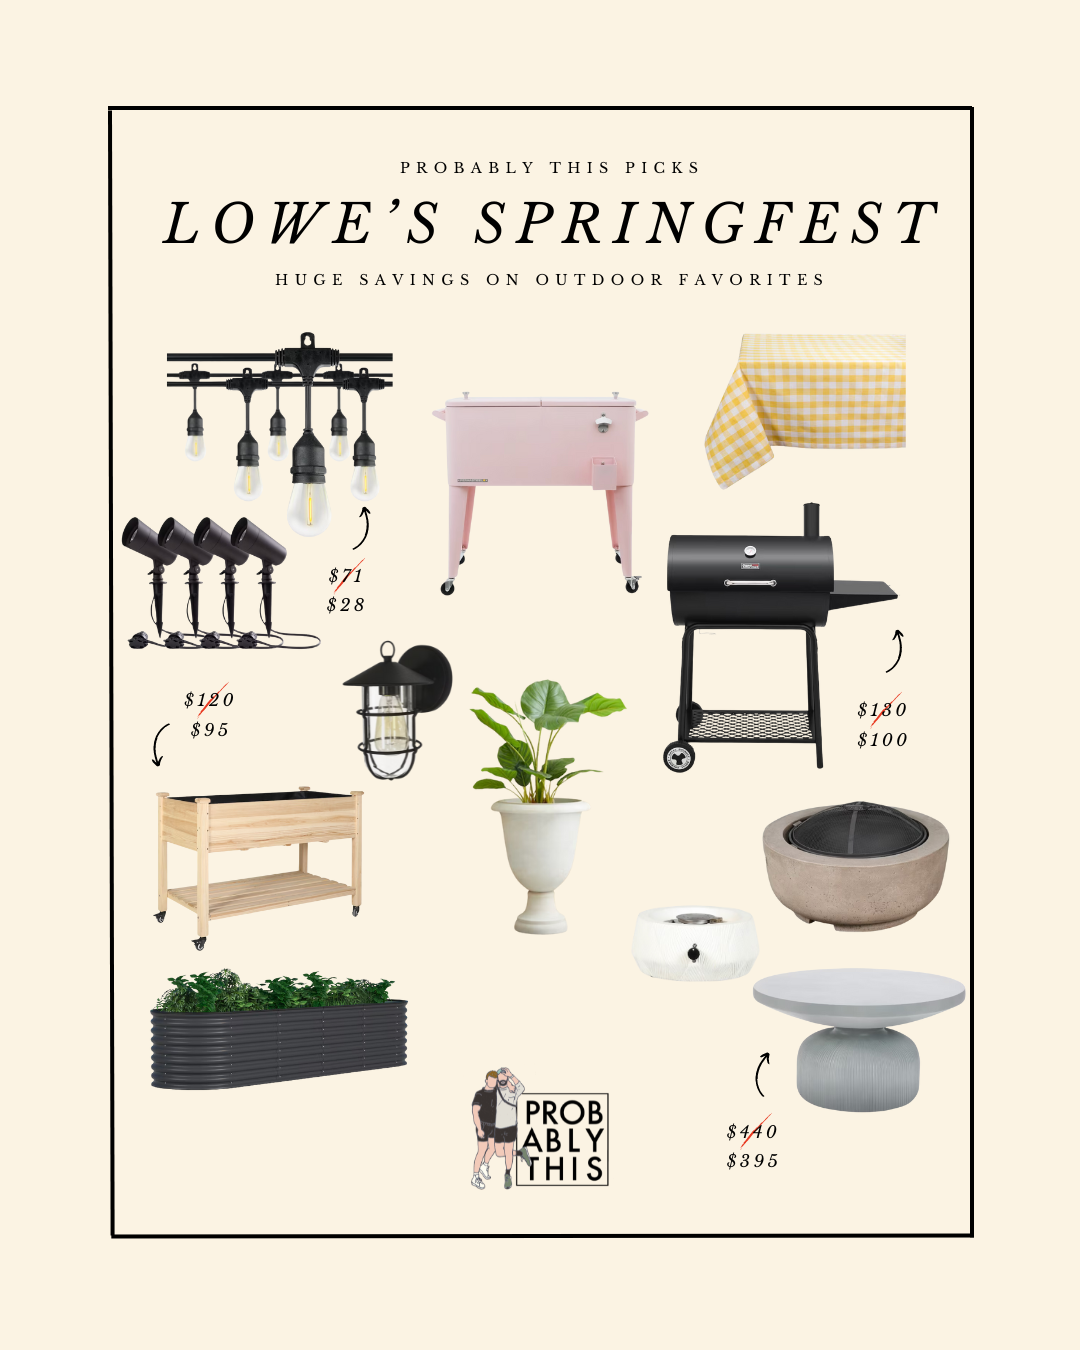
Easy DIY Blush Floating Planters


Spring is literally here right now and if you’re not happy about that, I’m not saying you’re a monster, but I’m not saying you’re not a monster. There are a lot of things I’m looking forward to, but I’m mostly excited because for the first time ever in our relationship, Matt and I have a nice outdoor space to enjoy together. Well, we had a backyard at that one really cute pink house we lived in in the Bywater but there really should’ve been a danger sign on that yard because it was overgrown and infested with murderous bugs, lost toys, needles, etc.
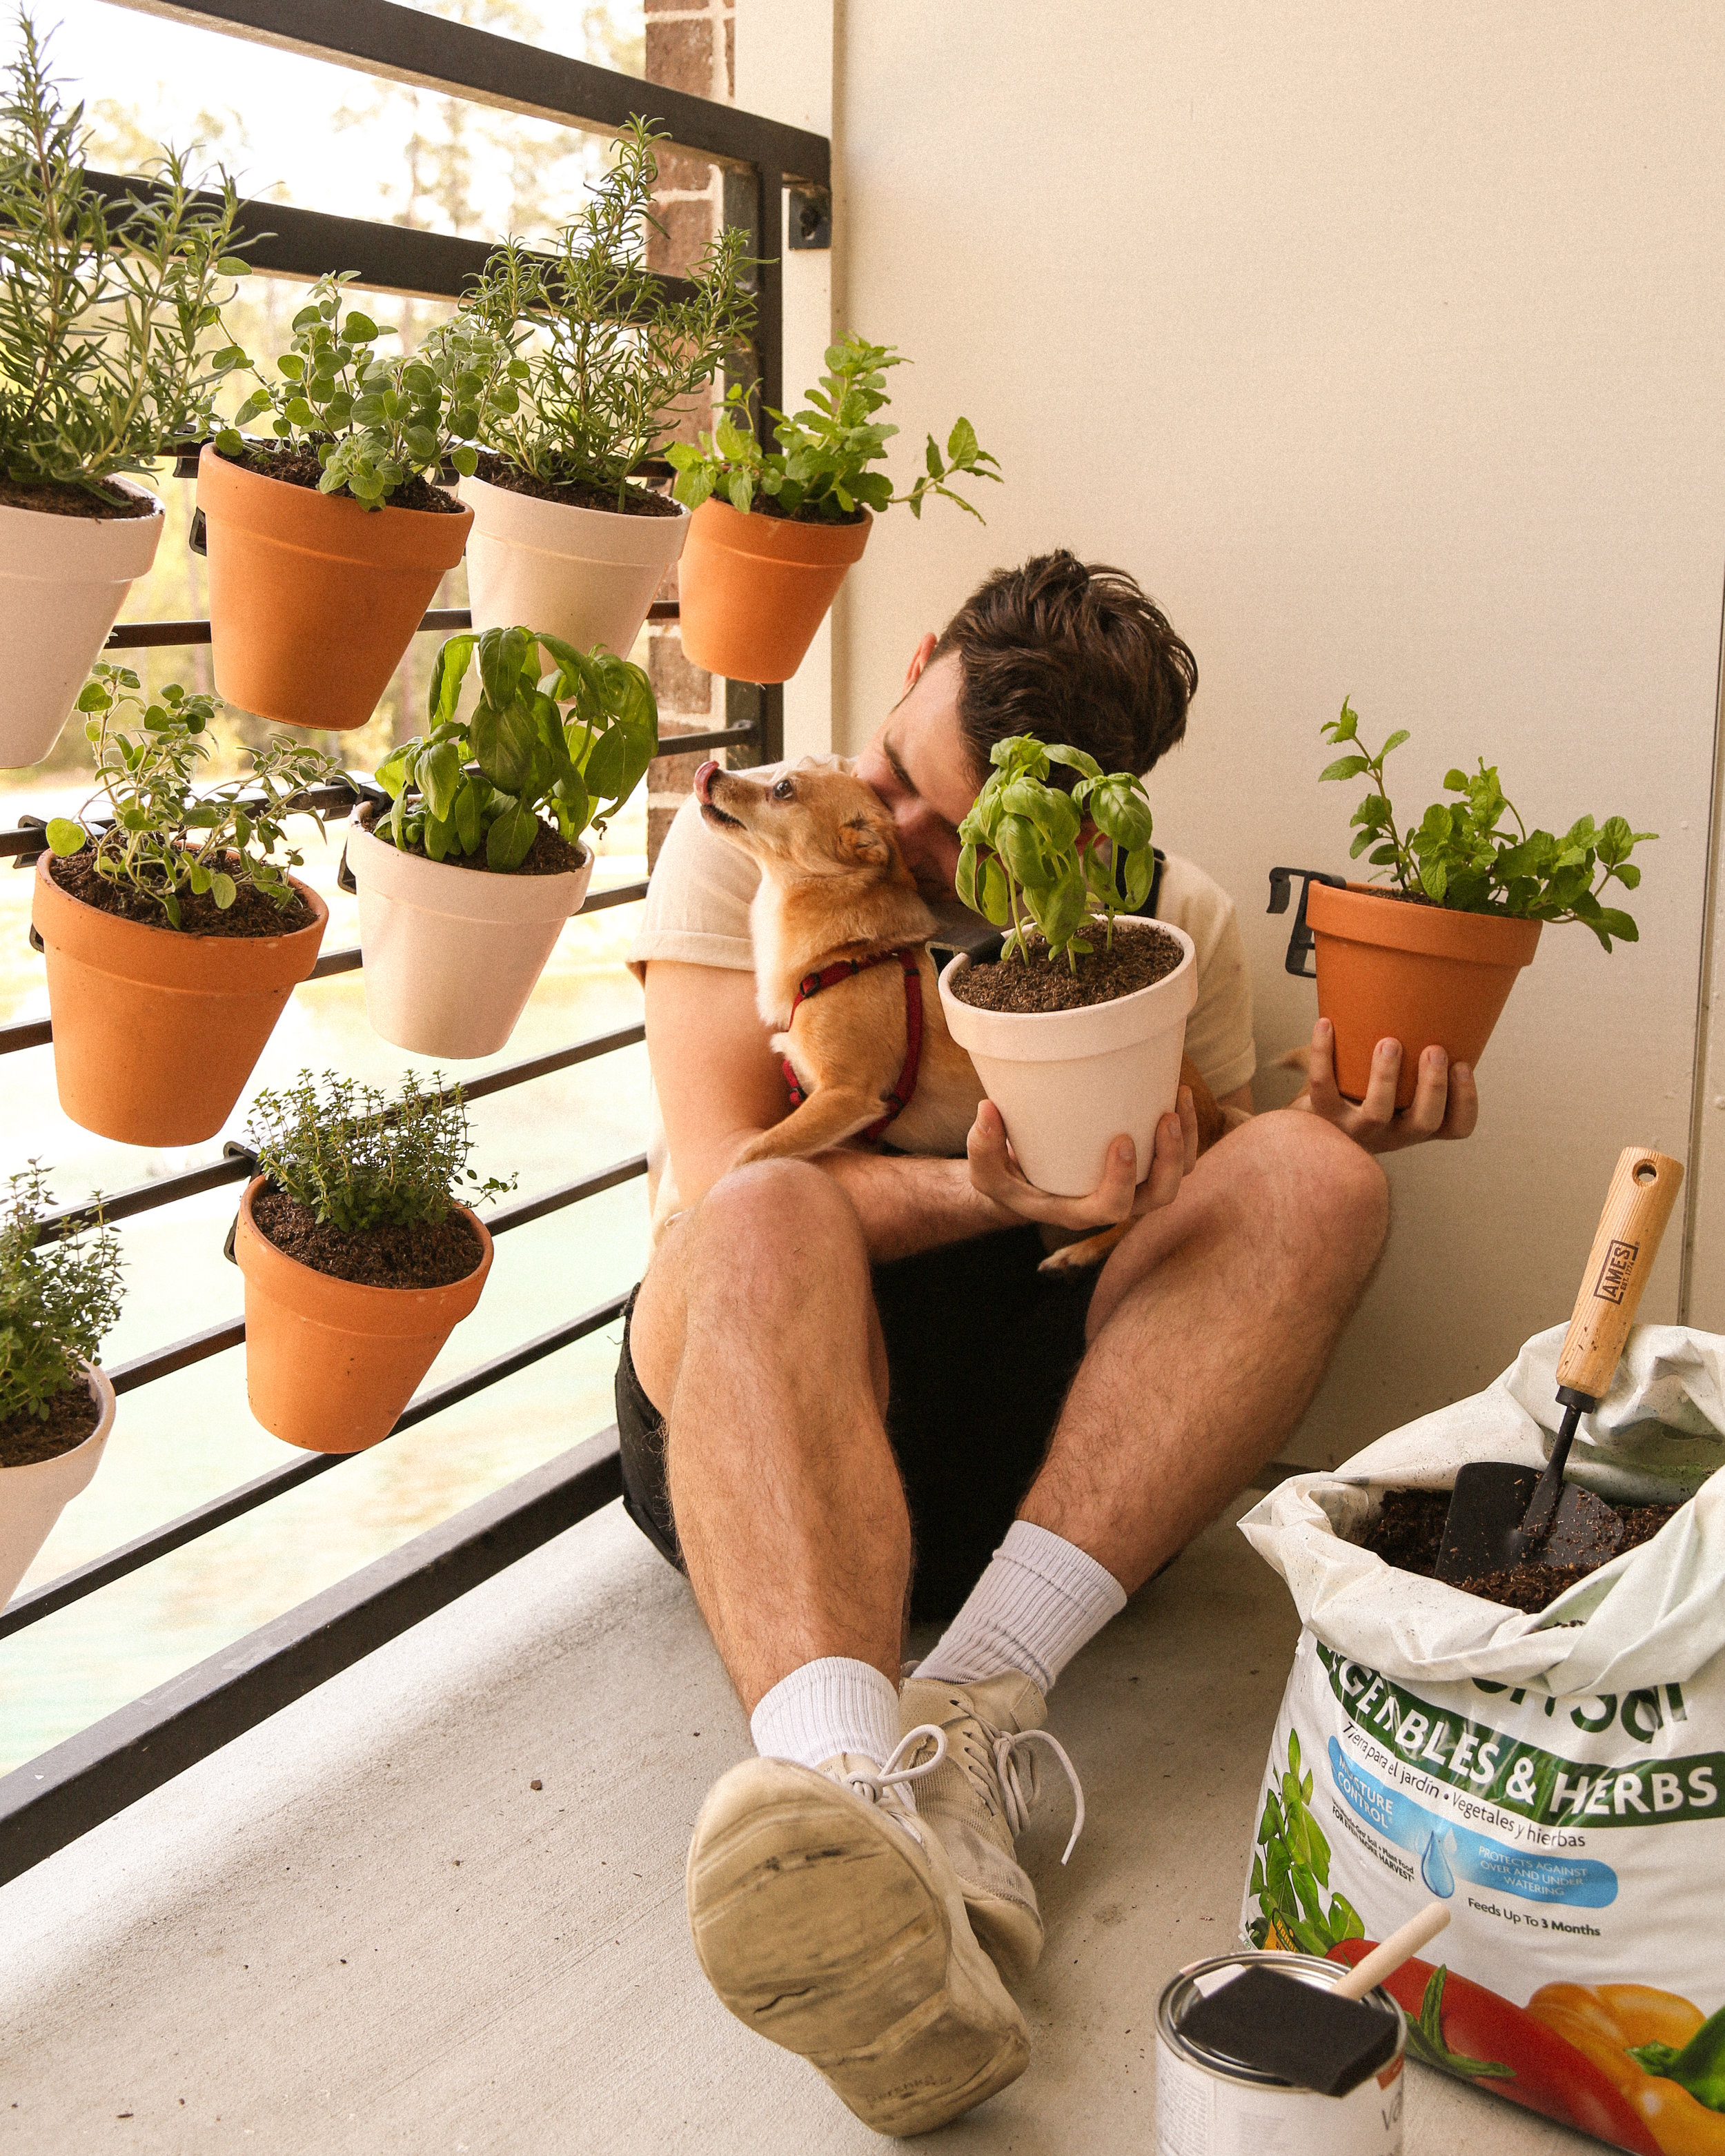
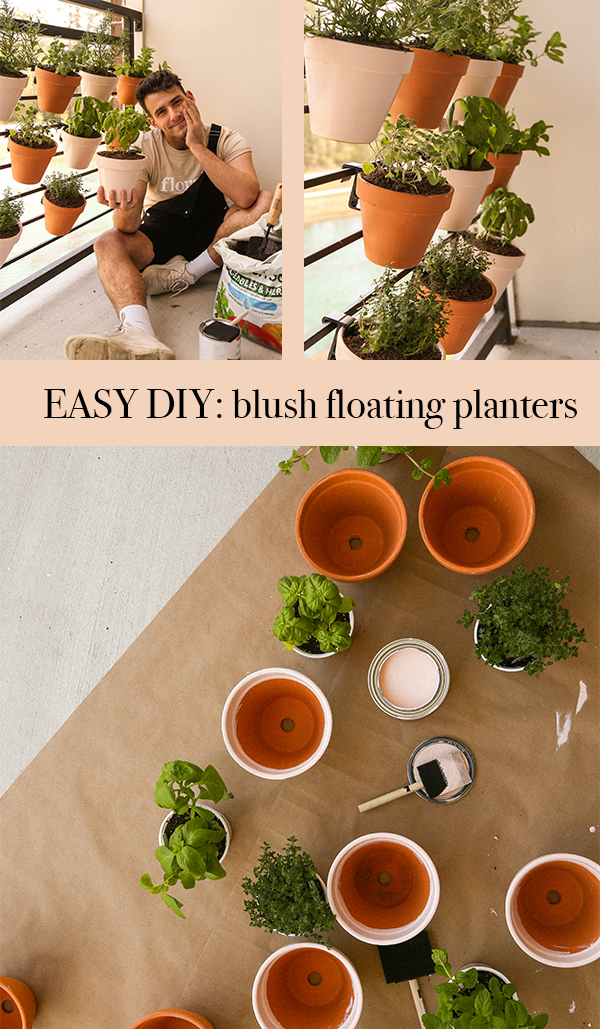
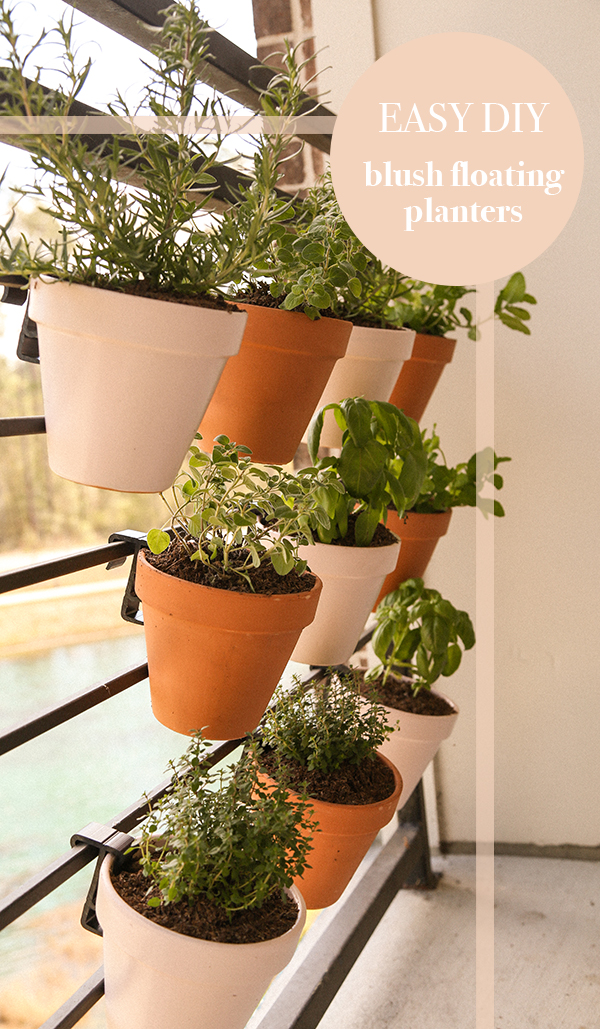
Anyhow, we now have a balcony that just looks out to a forest, which is weird and also ideal. It’s pretty tiny, so we’re taking extra care in how we decorate it. One of the first things we knew we wanted to do was have an herb garden, because that’s a requirement for boring gays. We toyed with the idea of doing a box planter (like the long rectangular ones) but they, in our opinion, aren’t as cute as a bunch of little hanging terra-cotta pots, so that’s what we’re gonna do!
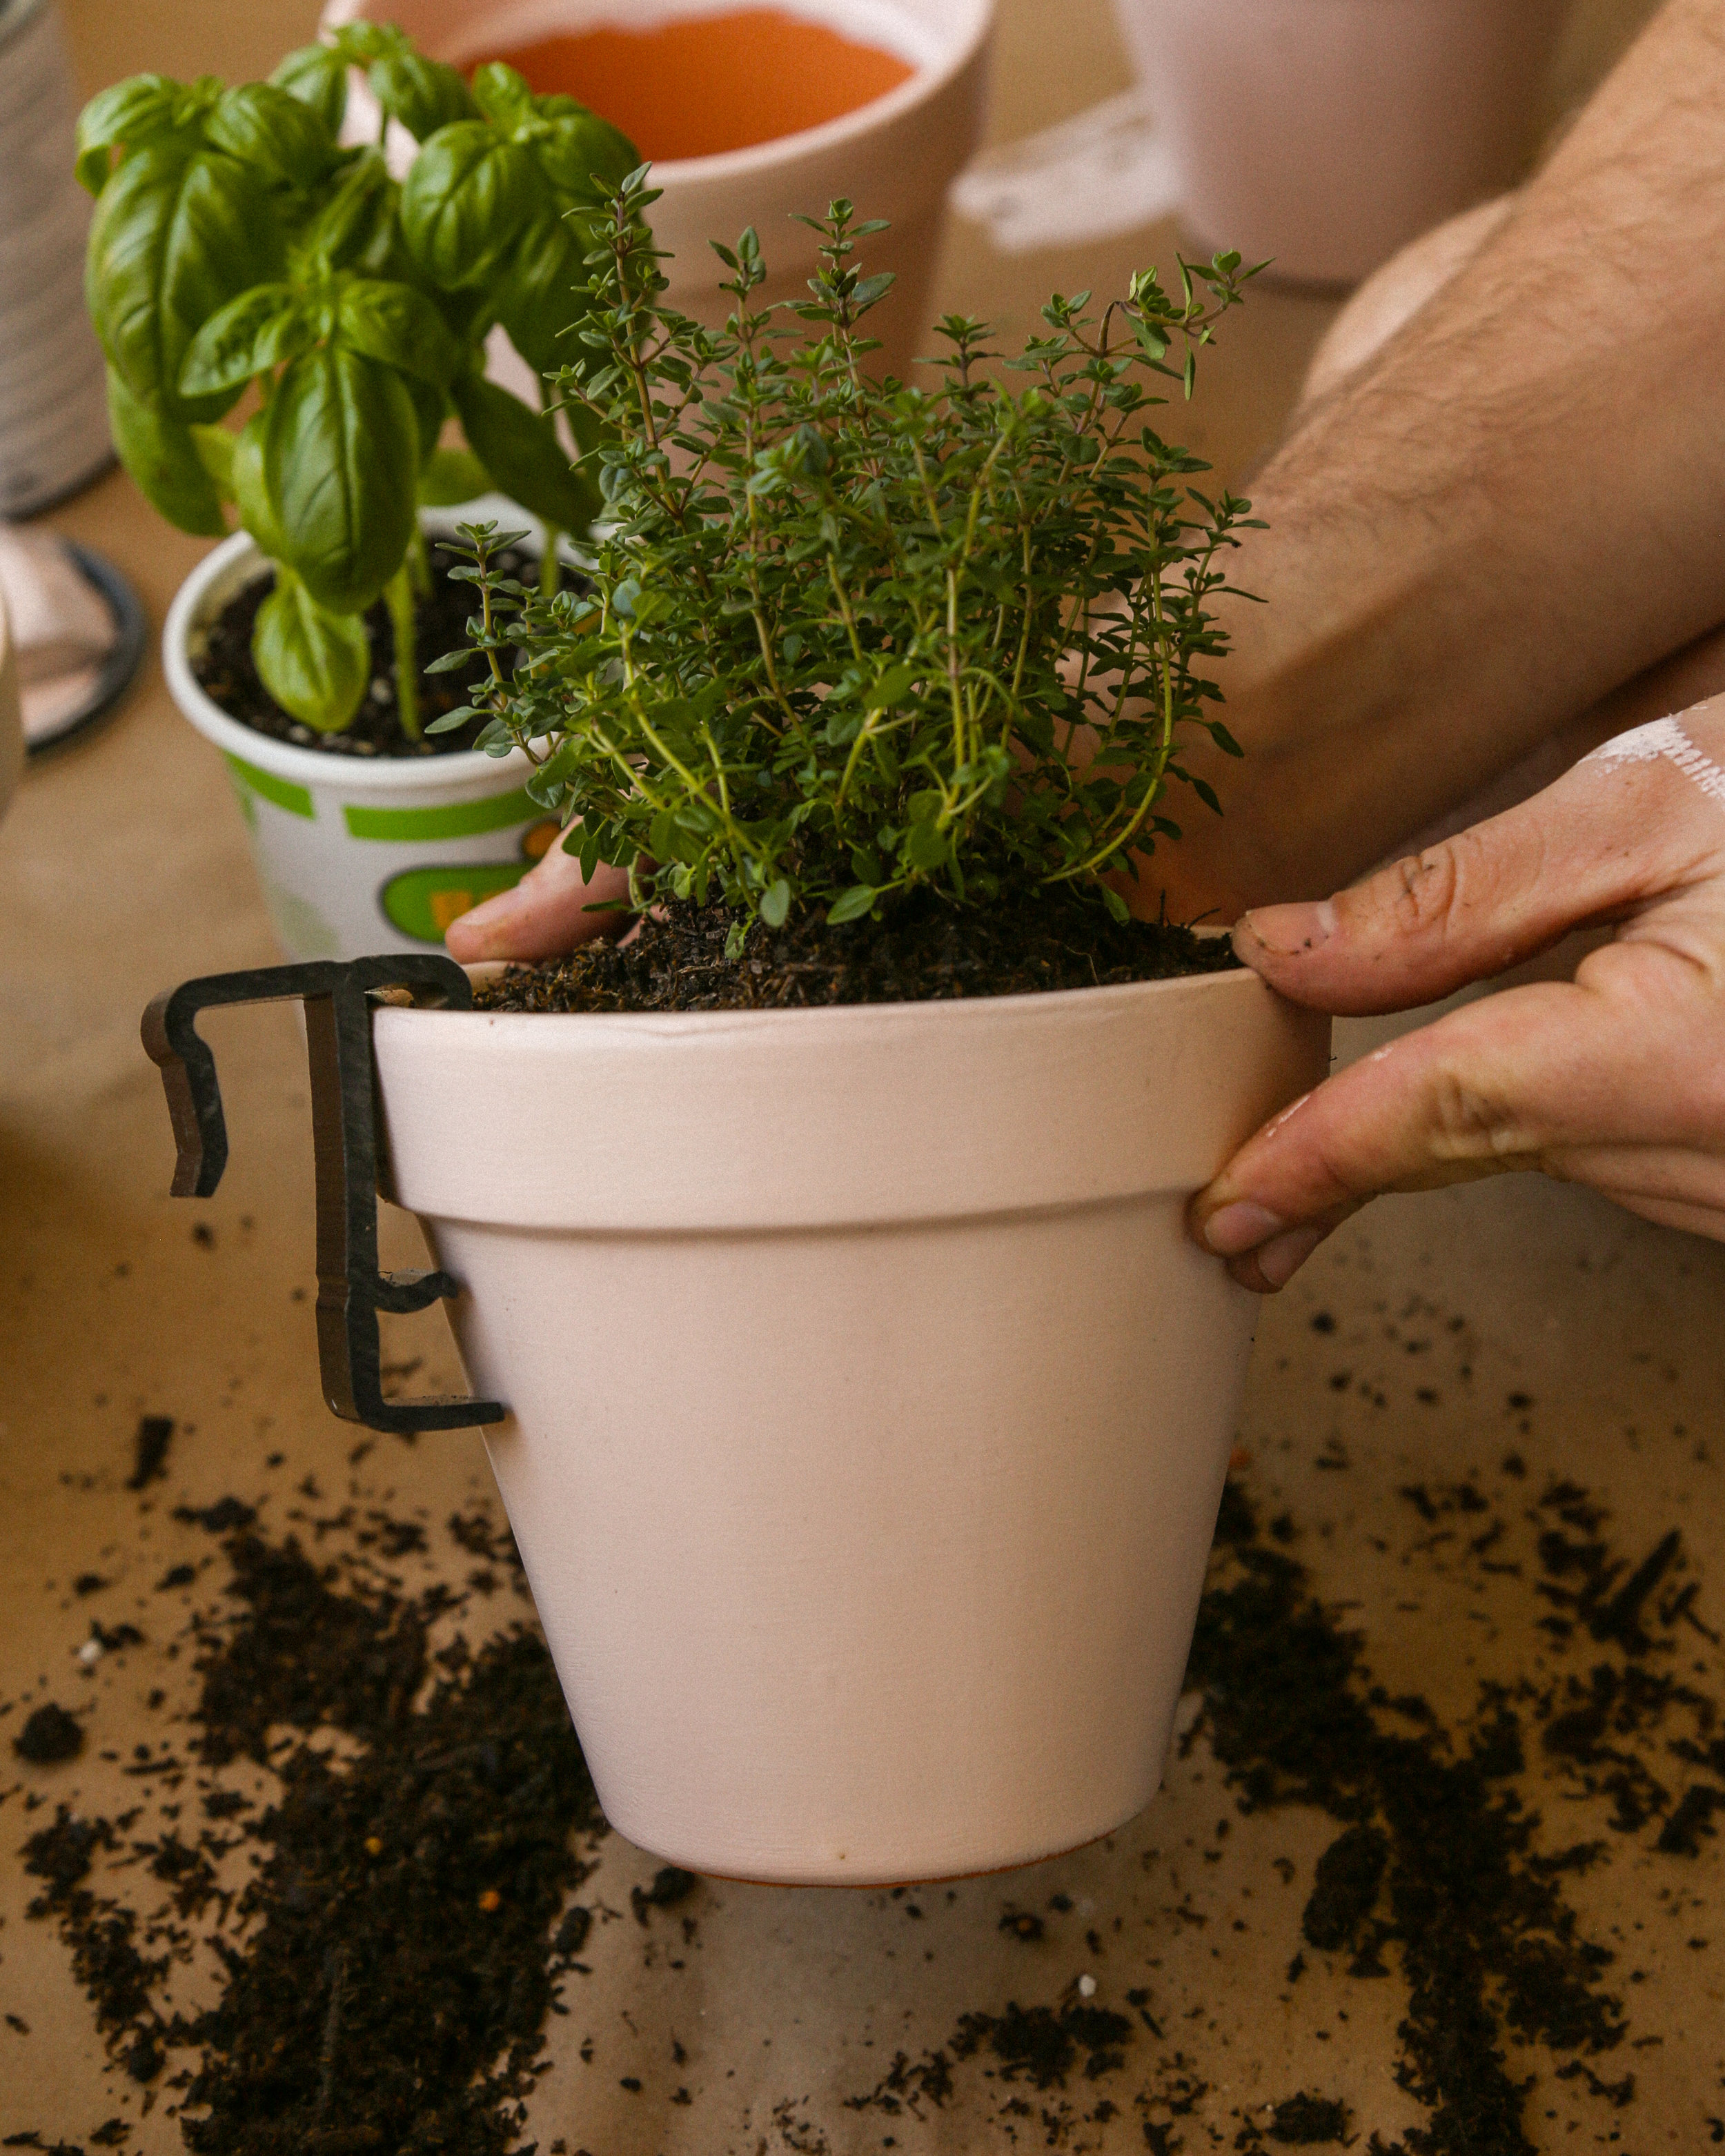
For the “floating” effect, we’re just using little clips we found online. They hook onto the pot’s upper edge and can be clipped to a rail or fence or whatever. The maker told us they would really only clip onto a surface that was 1” thick (and our rails are only about 1/2” thick) but they worked just fine for us, they just hang at an angle rather than tight and straight.
We decided to paint some of them blush to break up all the clay terra-cotta, and it was such a good decision. We used Sherwin Williams “Romance,” and it’s the perfect pale blush that isn’t super pink but just pink enough. Shoutout to one of our besties Morgan for introducing us to probably very obvious fact that you can just paint pots whatever color you want. And these people on Etsy charging like $40 for a blush pot! PSHHHH.
Anyway.

You’ll Need This:
clean terra-cotta pots of your choosing, we used ten 6” terra-cotta pots
1/4 gallon 100% acrylic exterior paint of your choosing (we used SW Romance)*
1 small or medium foam brush
drop clothe or newspapers or craft paper
railing planter clips and somewhere to hang them*
NOTES
Safety: If you are planting herbs or any edible plants, you need to ensure the paint you use is non-toxic. Most 100% acrylic paints are safe to use, but always check with the manufacturer before using. If you want to take extra precaution, avoid painting any of the interior of the pots. If you’re still not comfy with the idea, consider only planting things you don’t plan to eat.
Paint Color: SW Romance gave the exact shade of blush I was after—just a touch, but also just creamy white in certain lighting. If you want something a bit more “PINK!” I’d recommend one of our standby pinks, SW Mellow Coral. If you want something just off-white and creamy, I’d recommend Behr’s Almond Milk.
Pot clips: The railing pot clips that we bought work with 4” pots and bigger. Please read the notes on the maker’s page carefully before buying! Also, as mentioned our rails are not the recommended thickness for these clips. One of the reasons these clips worked for us is because we have rails clustered together just 4” or so apart, so that the rail below each clipped pot helps secure the pot itself. Use your judgement for your own rail situation to pick something safe and secure. If you can’t safely hang pots, just make em blush and keep them on the ground.
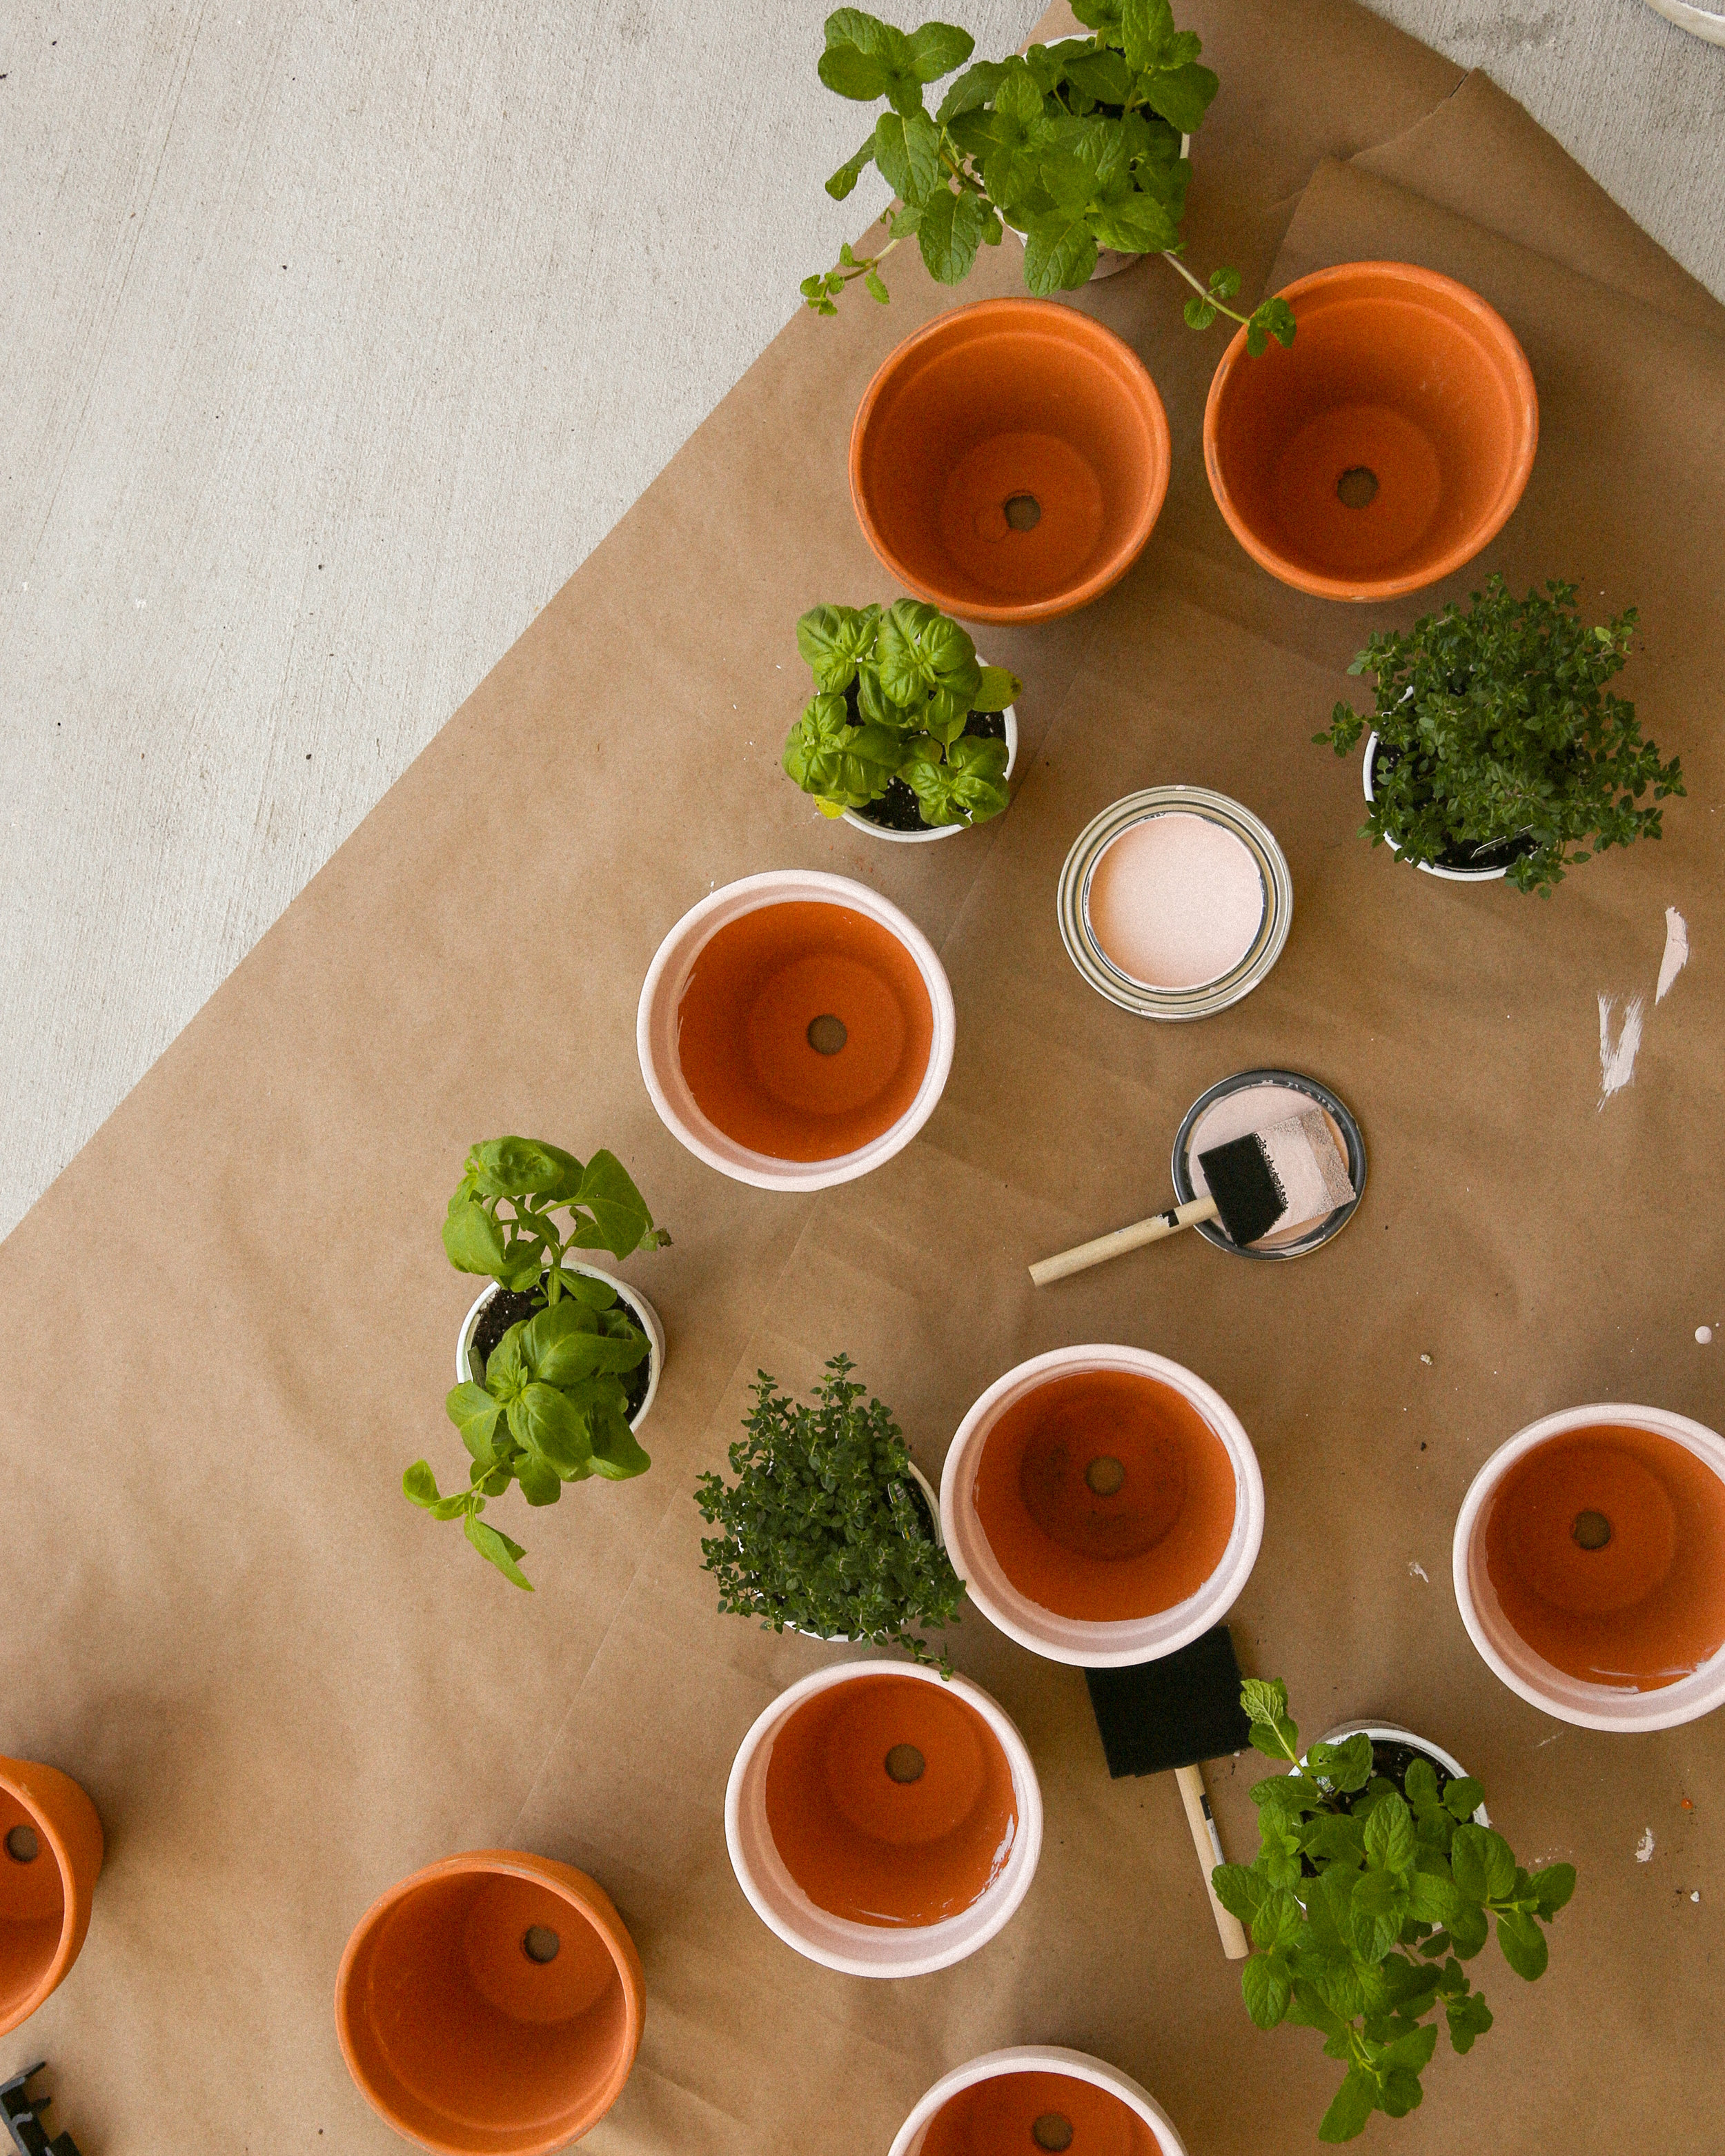
Lay down your drop clothes or newspaper in a well-ventilated area (outdoors is best), and lay out all of your pots.
Gently dip your foam brush into your paint, and, holding the terra-cotta pot still from the inside with one hand, gently apply the brush to the pot at the base and use your hand inside the pot to rotate the pot. Re-apply paint to foam brush as needed. Work your way up the pot until the entire pot has been painted.
Place the pot bottom-down and brush paint on the inside of the pot, far enough down so that the soil will cover any unpainted parts—we’d recommend going at least 1” down.
Let dry for an hour, and if you want to paint the bottom of the pot, flip it upside down and do so. We only did one coat, but if you think it needs a second coat, go ahead and repeat steps 2 & 3.
Clip on the railing clips and fill with soil, your plants, and arrange as desired!
PIN THE POST!
Honey, Check These Out Too!!!