Planting a Backyard Pumpkin Patch


I want to grow the biggest pumpkin I have personally ever seen. In real life with my own two eyes, that is.
And so far the bar is, thankfully, pretty low. The only pumpkin patches I’ve ever really been to were, like, at elementary schools around New Orleans. I’m sure South Louisiana has a big pumpkin growing culture (I’m not actually sure of this), but from what I’ve seen? Pathetic.
I didn’t grow up around farms and county fairs, and a pumpkin growing competition was certainly not on my childhood agenda, so in a way, I’m making up for lost time.
If I had to take a gander, I’d say the biggest pumpkin I’ve seen in my whole entire life with my very own two eyes was probably about as tall as my knee and as wide as a bicycle tire.
I can do that, or better, I think.
Last year was a test run. We planted a pumpkin patch in a fenced-in portion of our land, and it did relatively well if you take into account we were gone for the first month after we planted it and also had no clue what we were doing. It was a useful experiment that taught me where the sunlight hit best and how much space we needed for the vines.
But even if your personal goal is not gargantuan pumpkins sizeable enough to self-isolate within, I think you’ll find some of my tips useful, as written from a newly experienced pumpkin nerd who has been preparing for this moment for at least 10 months.
When to plant your pumpkin seeds depends on your hardiness zone, but throughout most of the American South, your best bet is June.
Keep scrolling for our guide to planting a backyard pumpkin patch that will give you pumpkins just in time for Halloween!

2022’s little pumpkin patch at the 30-Day mark!

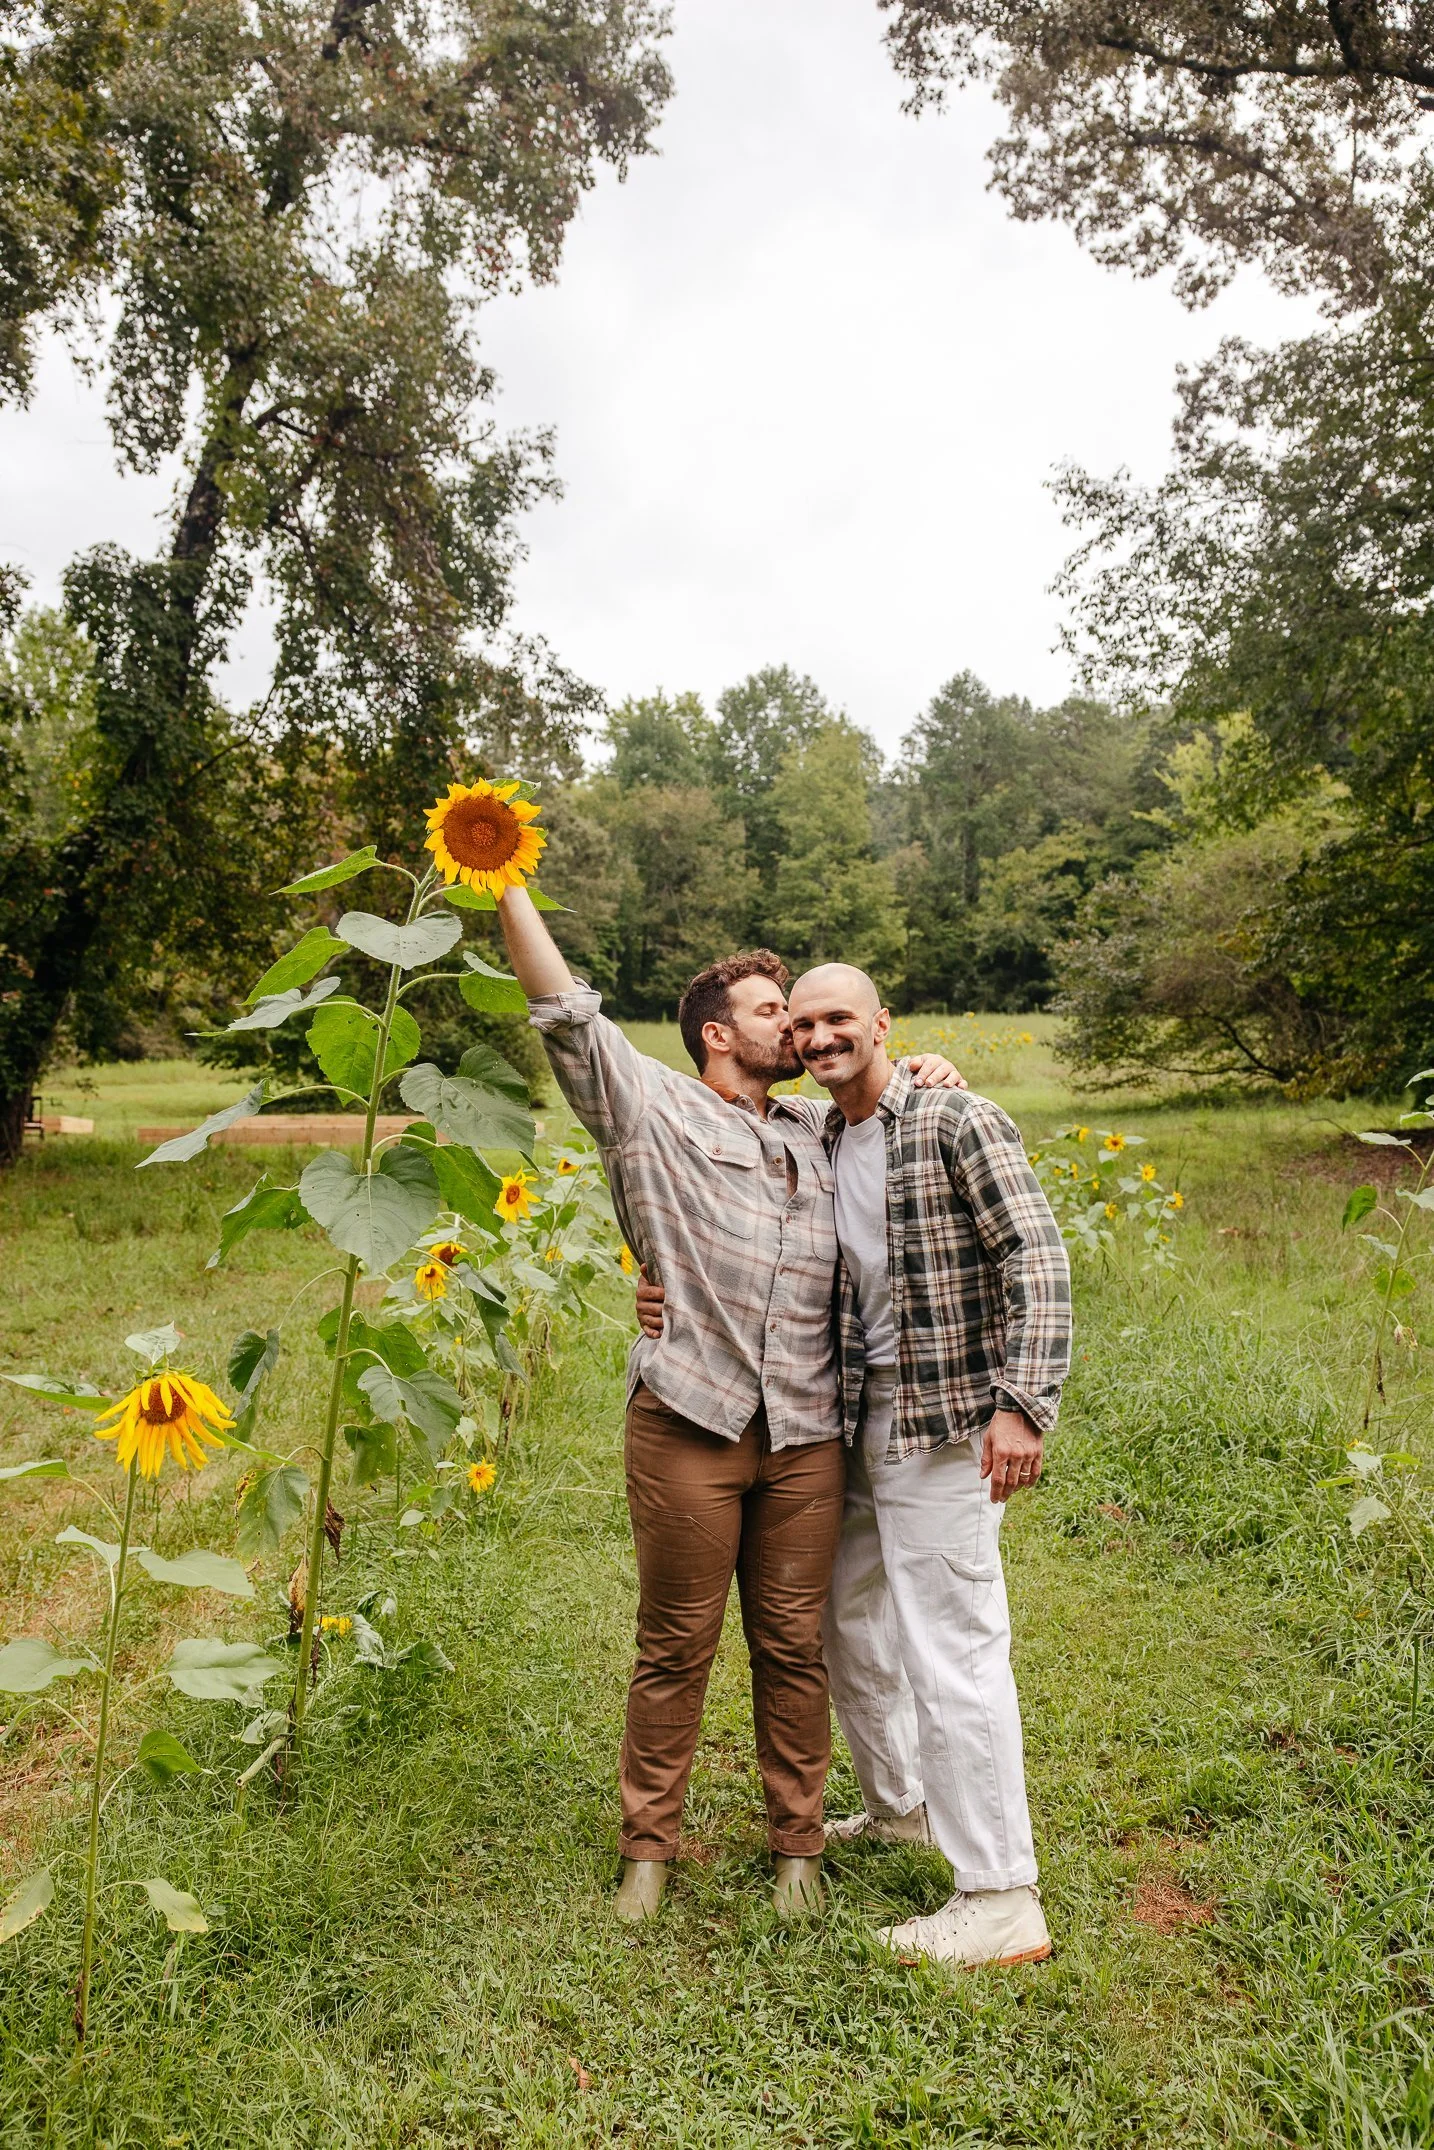
2022’s patch had marigolds and sunflowers as companion plants to help bring bees to the area!

Seeds from Harris Seed Co.’s selection of Powdery Mildew Resistant pumpkins

Creating mounds of organic matter to plant the seeds in. The mound shape allows for warmer soil and better drainage—two things your seedlings will love.

Planting the seeds at a depth of about 1”, pointy side down.
Step 1: Pick the Perfect Spot, Sunlight Edition
No crap. Most folks will claim you’ll need at least six hours of direct sunlight every day, but honestly, I think you’re going to be happiest with your patch if you plant somewhere that gets more like eight or more hours of direct sunlight. Make sure you’re giving your pumpkin pals the best chance at thriving by starting with excellent sunlight conditions.
Step 2: Pick the Perfect Spot, Soil + Watering Edition
Pumpkins are actually kind of cool with whatever you’ve got if you’re able to add a good bit of compost or organic matter and know how to water. Pumpkins in well-draining, sandier soil will need water more frequently (like, maybe every day in hotter climates), while pumpkins in clay-heavy soils will need water less frequently and are more prone to root rot if over-watered. The leaves will turn a yellow color if they are under-watered or over-watered, so if you see that, use your grubby little fingers to feel the soil a couple of inches deep. If it’s wet, water less, and if feels bone dry, water more. It will take patience to find the right balance.
Step 3: Choosing your seeds.
Go for the big ones, the small ones, the orange ones, or maybe even the funky striped ones. Take into consideration your growing area as larger varieties require more space to run their vines. We love Harris Seed Co.’s selection of pumpkin seeds, and they’ve got literally every variety I could want. Of particular interest to me is their entire section of pumpkin seeds that produce plants somewhat or entirely resistant to powdery mildew, that weird spotted/white/yellow/brown stuff you might’ve seen on pumpkin leaves. Skip to step six for more on that.
Step 4: Make Your Mounds, Plant Your Seeds
The mound method of planting pumpkins involves digging a shallow hole, filling with compost and organic growth aids like blood meal, and creating a small mound with the soil. Mounded soil gets warmer, drainage will be excellent, and you’re able to easily amend the soil. Each mound should be between three and six inches high and can usually support up to two plants. Plant the seeds pointy side down, about one inch deep in the soil, and then…
Step 5: Water, Water, Water!
After planting your seeds, water each mound so the entire thing is moist all the way through. If it’s summer and the heat is persistent, water the seed and seedlings every single day to make sure they don’t dry out. Brand new seedlings will easily wither and die if not given proper hydration. Once your seedlings have produced their first true leaves, not the “sprout” leaves, you can assess how often you need to water following the guidelines laid out in Step 2. Pumpkins drink up a lotttta water, so you’ll want to keep the soil moist, but be mindful they are also prone to root rot if overwatered. The best method is to start by watering them only so much that the soil is consistently moist about one and a half inches deep (the knuckle method).
Step 6: Watch Them Grow & Watch Out For Pests and Infections
Pumpkins are fun because they really do explode out of the ground. One day you have a seedling and the next you’ll have a few feet of vine. They are very rewarding plants that make beautiful yellow flowers and bring a lot of whimsy to your garden. That said, all that lush beauty can turn into a cemetery real quick if you’ve got a fungal breakout or pest infestation. I’m not going to give you the bible on pumpkin plants here, but if your plant rapidly dies and appears withered at the base, look up squash vine borers, a pest that is honestly the worst. More commonly, you may encounter a fungal infection called powdery mildew. As mentioned in step three, you can buy seeds resistant to the disease or easily treat it through organic means with fungal sprays. Sprays only prevent it from spreading, you’ll want to treat it as soon as you see it, as it can’t be reversed.
Step 7: Flowers!
If all goes to plan, you’ll get lots of gorgeous yellow flowers all over your vines. You’ll most likely get a ton all at once, and then they’ll all die and you’ll be sad. Don’t fear! That’s normal, and those were men with inconsequential deaths anyway. Female flowers are more rare and present with visible fruit inside of the vine at the base of the flower. The male flowers pollinate this pretty lady and produce a pumpkin. You can hand pollinate by touching a cotton swab to the male flowers (any flower that doesn’t have visible fruit at the base) before touching it to the inside of the female flower, or you can stop being a weird pumpkin sex machine and let the bees do their job.
If you’re like me and chasing the biggest pumpkin of your life: cull any female flowers until you’ve got substantial vine growth. I will be letting my vines get to about 10 feet before allowing the fruit to set—all those leaves feed the pumpkin! Once you’ve got a fruit set, cull any new female flowers that pop up, limiting your plants to one pumpkin per vine, giving you the best chances of making a monster, if you bought seeds that are capable of becoming one.
Step 8: Pumpkin Growth & Harvesting
Once your pumpkins have fruit set, slide a piece of tile or thick cardboard under the fruit so that it is not in contact with the soil. This helps lower the odds of it rotting from soil contact. Once your fruit has reached your desired color and the rind is hard (you can’t easily puncture with a fork), it’s ready to harvest! Clip off with a sharp pair of shears and display your hard work (or cook it up, if you are planting edible varieties!).

You might also like…