
Picking Apples & Prepping Cider
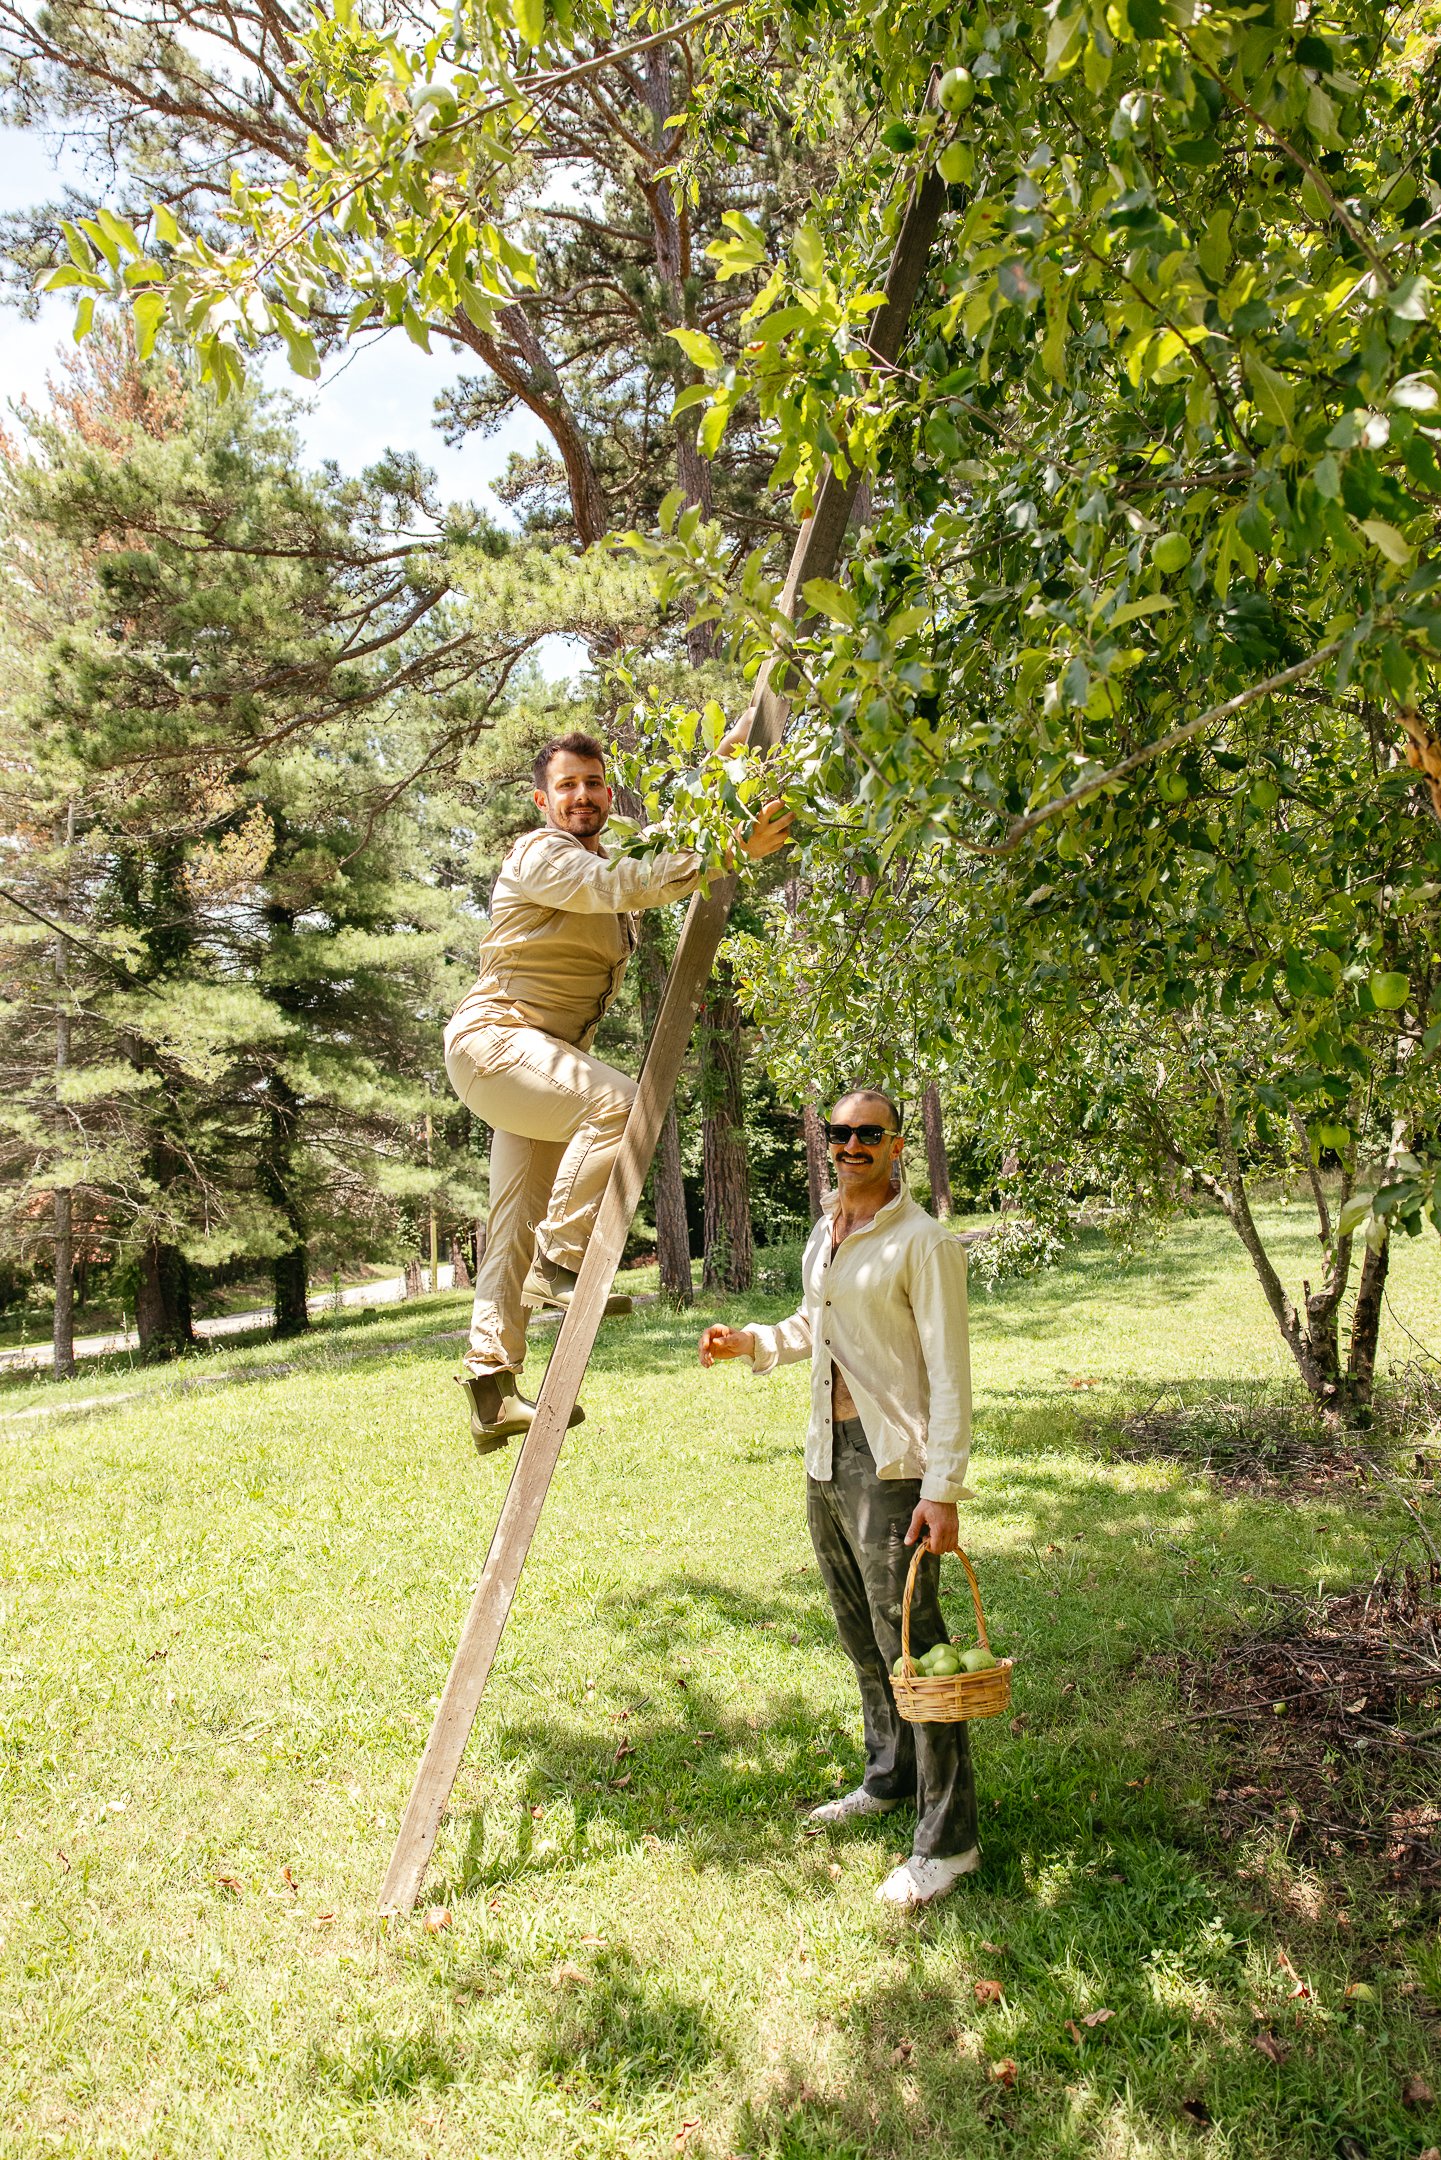


I still get so excited every time I come home and see the three large apple trees in our front lawn filled with fruit. From May to August, they’re just hustling and bustling out loads of beautiful green apples, and as someone “deeply devoid of joy,” it’s remarkable how this simple little pleasure can change my mood.
Which makes me all the more sure I can never do city life again. Living immersed in nature has taught me gratitude and patience and wonder, and that’s something I’m not willing to trade in for convenience.
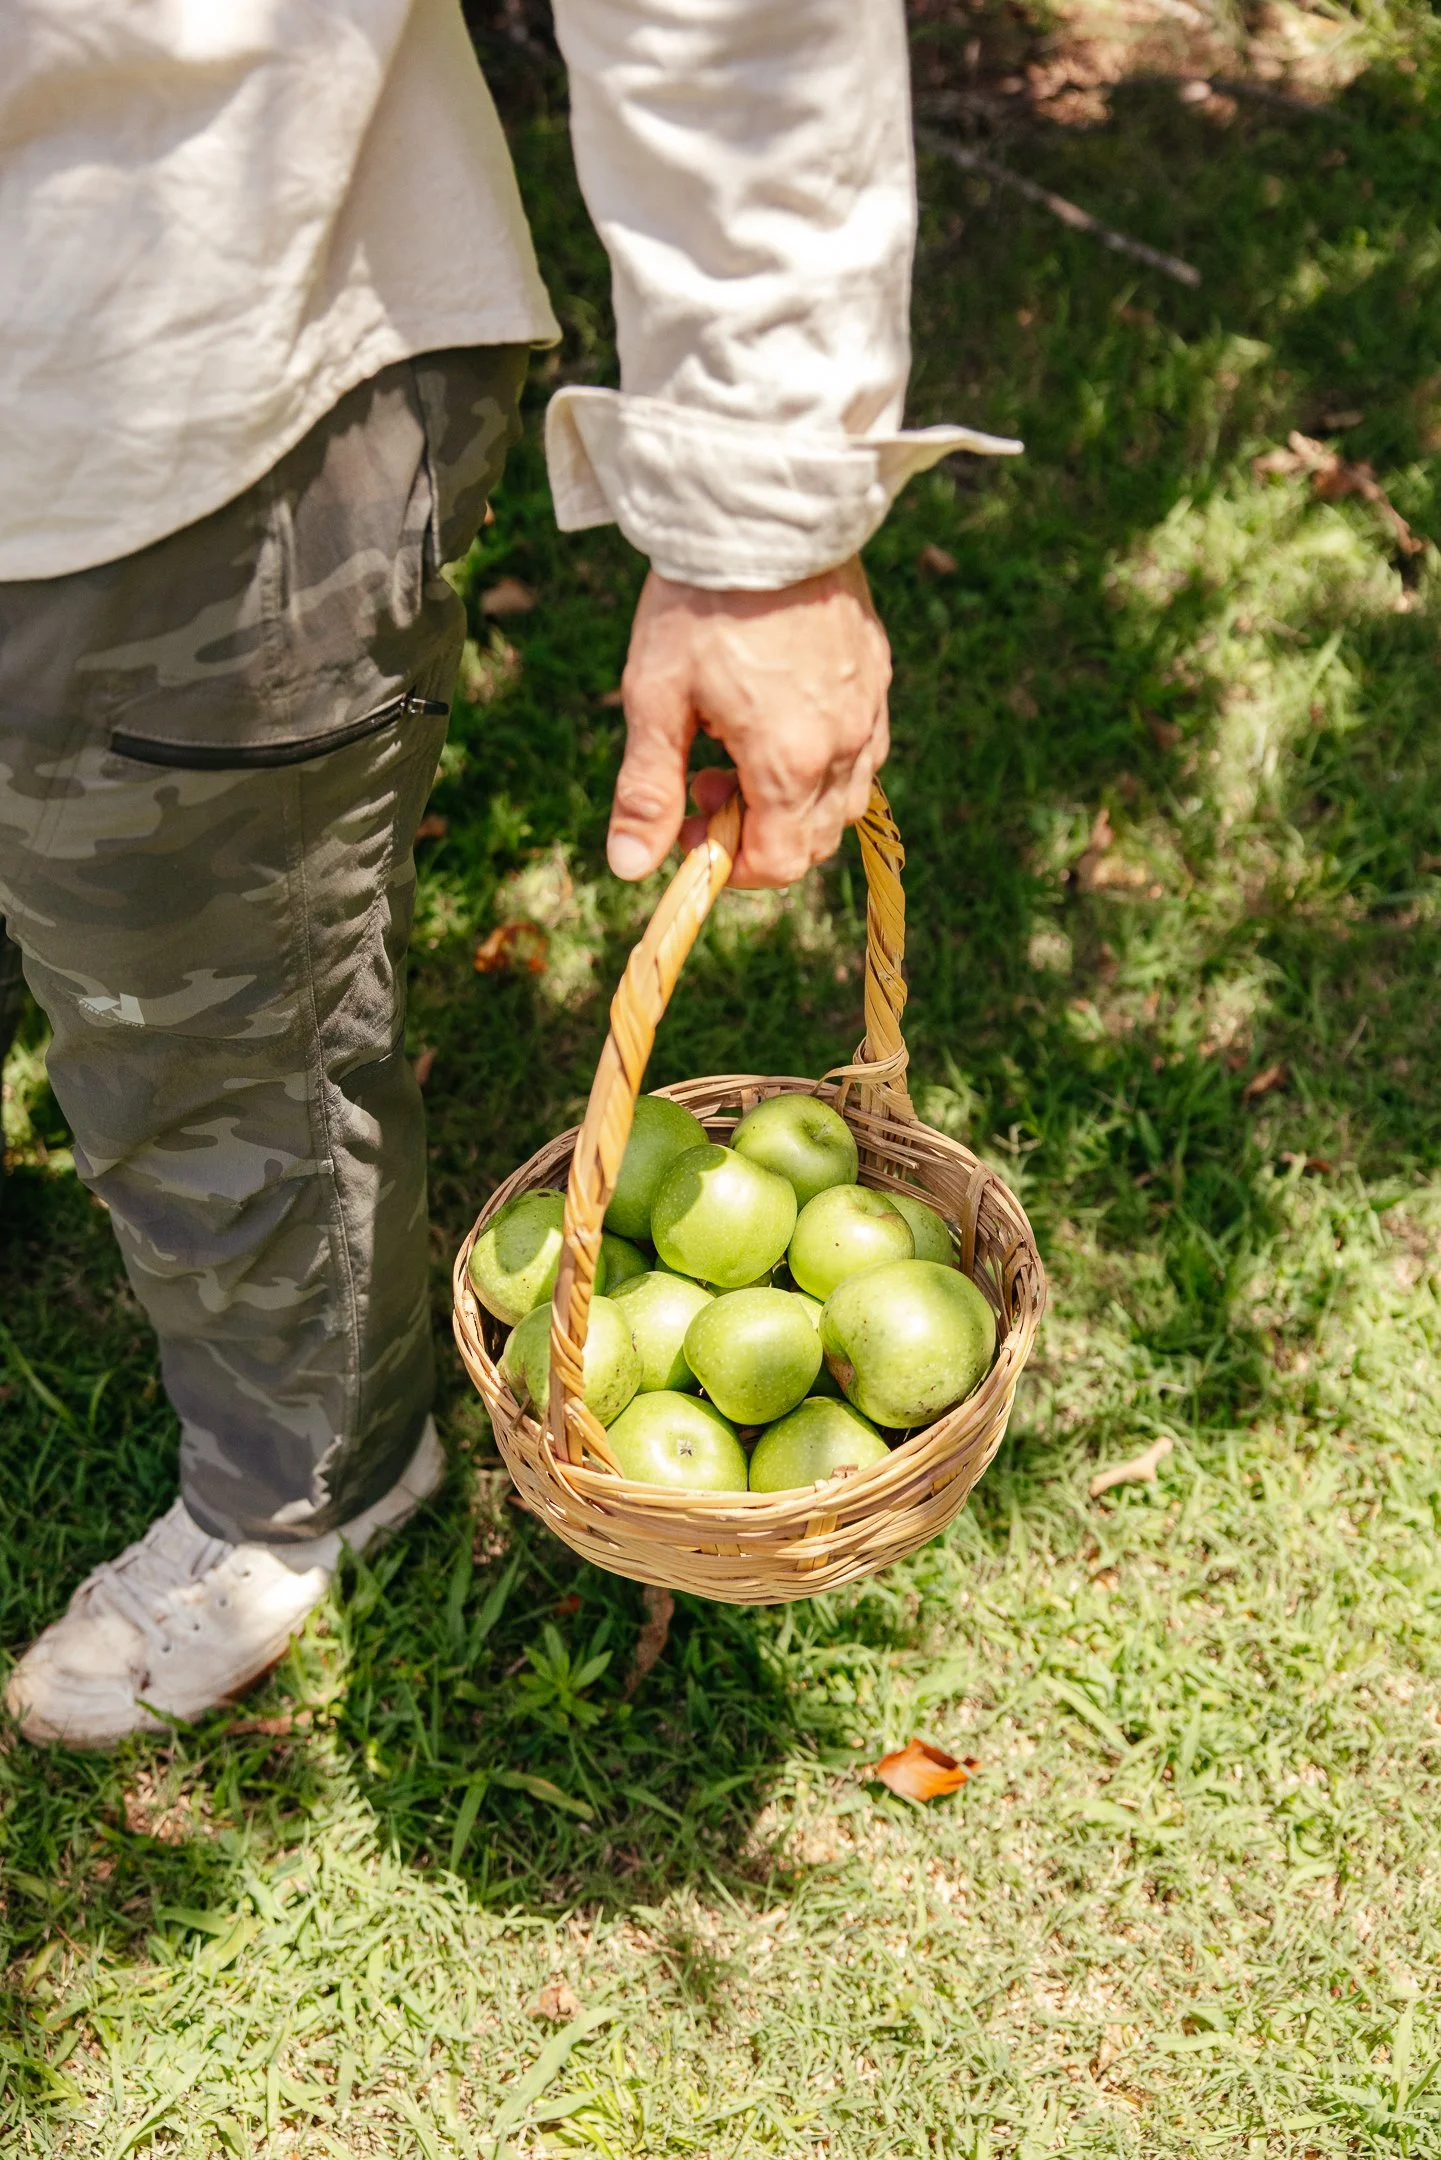
We get such a ginormous number of apples, we have to thin out the trees so the branches don’t break or get warped by the weight of the fruit. Last year, we resorted to feeding the excess apples to the pigs that live down the road at our friends’ farm, but this year we had a different goal in mind: booze. Hard apple cider. A perfect use for under-ripe tart apples.
The process to make apple cider is surprisingly simple, or at least I thought it seemed really simple. I did Google “apple cider botulism??” a lot just to make sure I wasn’t about to Jonestown us, and it seems like it’s actually pretty safe given the level of alcohol from fermentation. Still, I wanted to be as sanitary as possible for this small cider operation, so I purchased these fermentation buckets from Amazon for pretty cheap.
The recipe I’m following is not very detailed, kinda like a grandma writing down how to make her lasagna. But I was able to cross reference it with the basics of cider making and fermentation to make sure I was doing it correctly.
I don’t quite feel like I’m in any position to teach you how to make hard cider, but I’ll let you know the very simple approach I’m taking!
The method I chose to use involves freezing the cut up fruit first to break it down in place of using a traditional cider press. We started by freezing the cut apples for 72 hours, added them to our fermentation buckets with a pound of sugar per five pounds of apples, covered with cool water and added brewer’s yeast. We let the mixture sit for a few days until it was clear the yeast was doing its thing and getting bubbly before applying an airlock and letting it ferment for 30 days.
Because we didn’t use a press, we’ll have to strain the solids out once fermentation is complete. I have yet to see if what we did actually resulted in anything at all, but I’ve got high hopes and an empty goblet!

YOU MAY ALSO LIKE…


