Decorative Moulding 101: Picture Frame Moulding


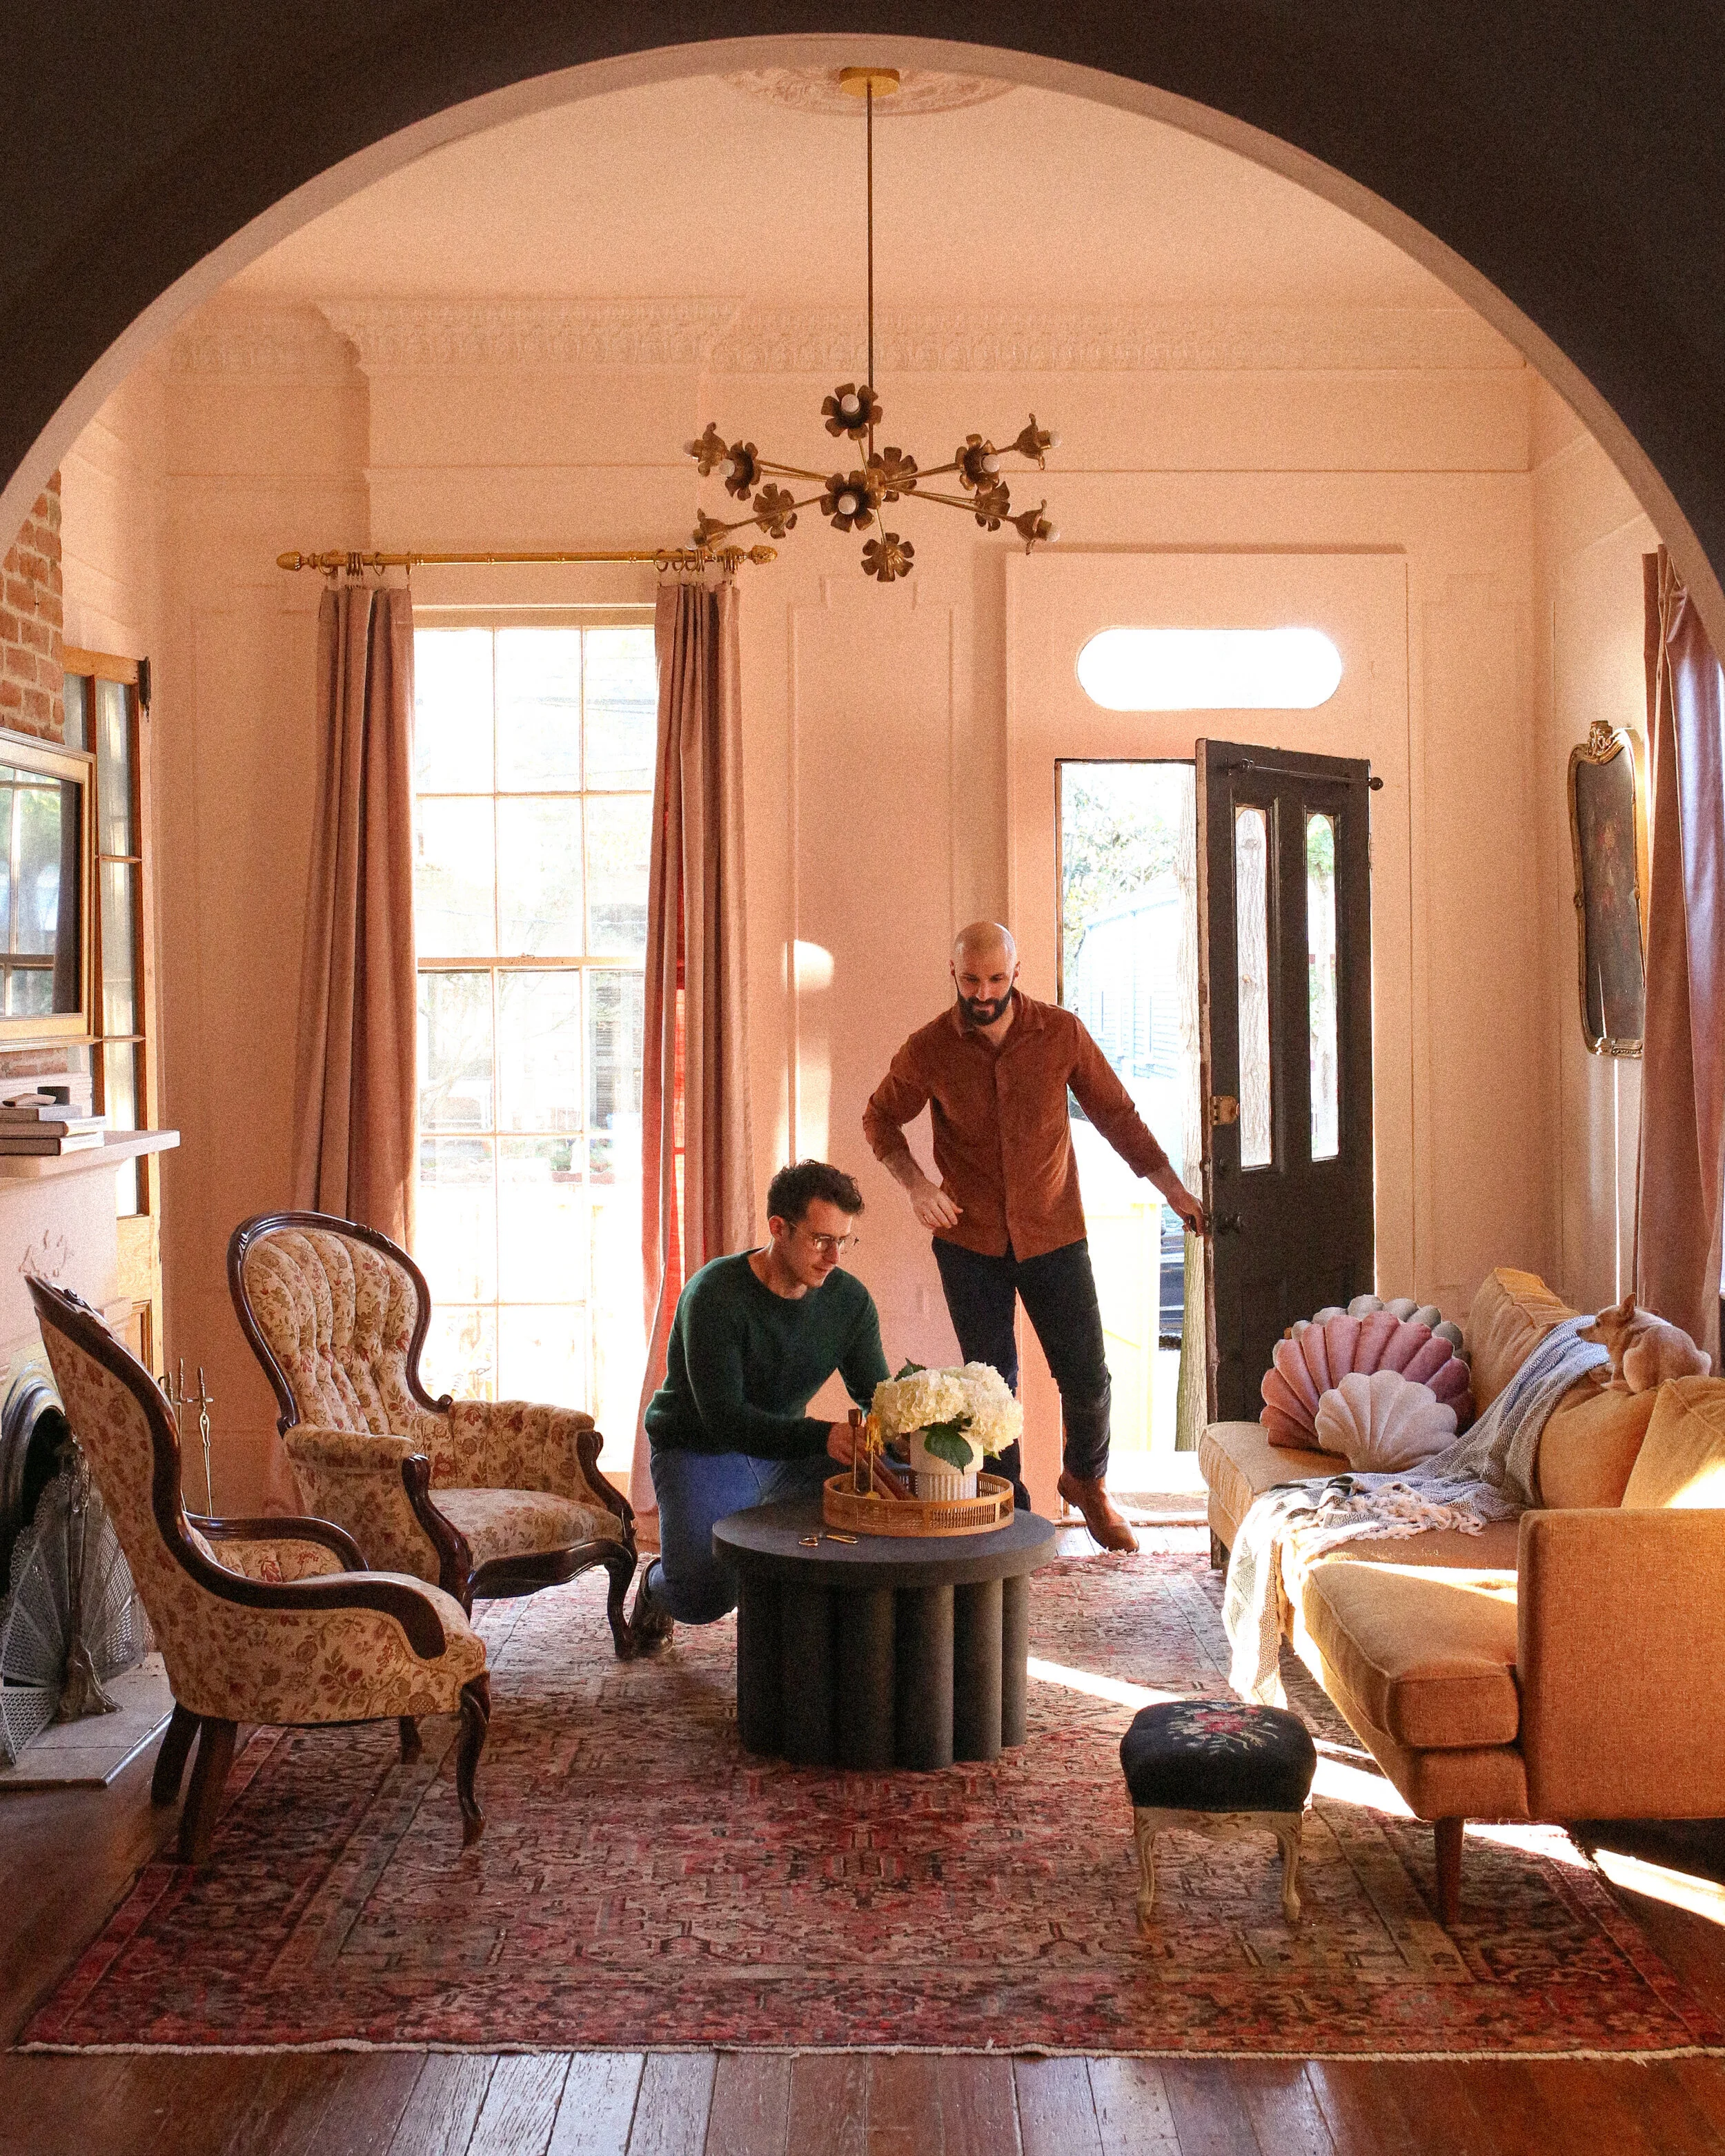
When we first toured the home that we now live in, I immediately knew decorative moulding would need to be a thing. The home’s bones are Victorian, but there are no real finishing touches to give it the opulence of Victorian style that we love so much. Decorative moulding offers just that. It doesn’t serve any purpose other than to be a pleasing aesthetic, so I can totally relate, and it gives a sort of high-class touch while being actually pretty low cost to install.
And a quick note on spelling: we know the standard in American English is “molding” but that simply reminds me too much of a growing fungus, so we’re unapologetically adding the British u.
Matt’s been rapidly growing his tool collection lately, so once I did some digging and realized we had all the tools to get this done ourselves, we jumped on working out a plan for what the decorative moulding shape and size would be. The room I’m currently decorating is the front entry living room, and when it all comes together it’ll be bold but classic, with Victorian pieces paying homage to the era of the home’s construction balanced by modern design elements to keep it feeling fresh and unstuffy. We decided to map out a moulding shape with sharp geometric edges to off-set the other somewhat froo-froo elements of the room, providing a bit of balance.
Oh, and by no means is decorative moulding limited to any one home style. I’ve seen it used across the board, in everything from California modern style homes to industrial-leaning farmhouse vibes. If you’re looking to do decorative moulding in your home, a Pinterest search for “decorative picture frame moulding” is basically your bible and will give you all the inspiration you need. There are SO MANY directions to go in, so be warned it’s kinda hard to pick one.
Regardless of what pattern you decide on, we’ve outlined what you’ll need below. If you’re not familiar with making 45 degree angled cuts on a miter saw, I’ve also got a more in-depth video resources for you below under “notes” to help guide you along better than I can do here. It takes a second to get the hang of and was a bit painful to my brain but it’s actually not very complicated with a few practice tries.

Figure 1: measure using the longest ends of each 45 degree angle

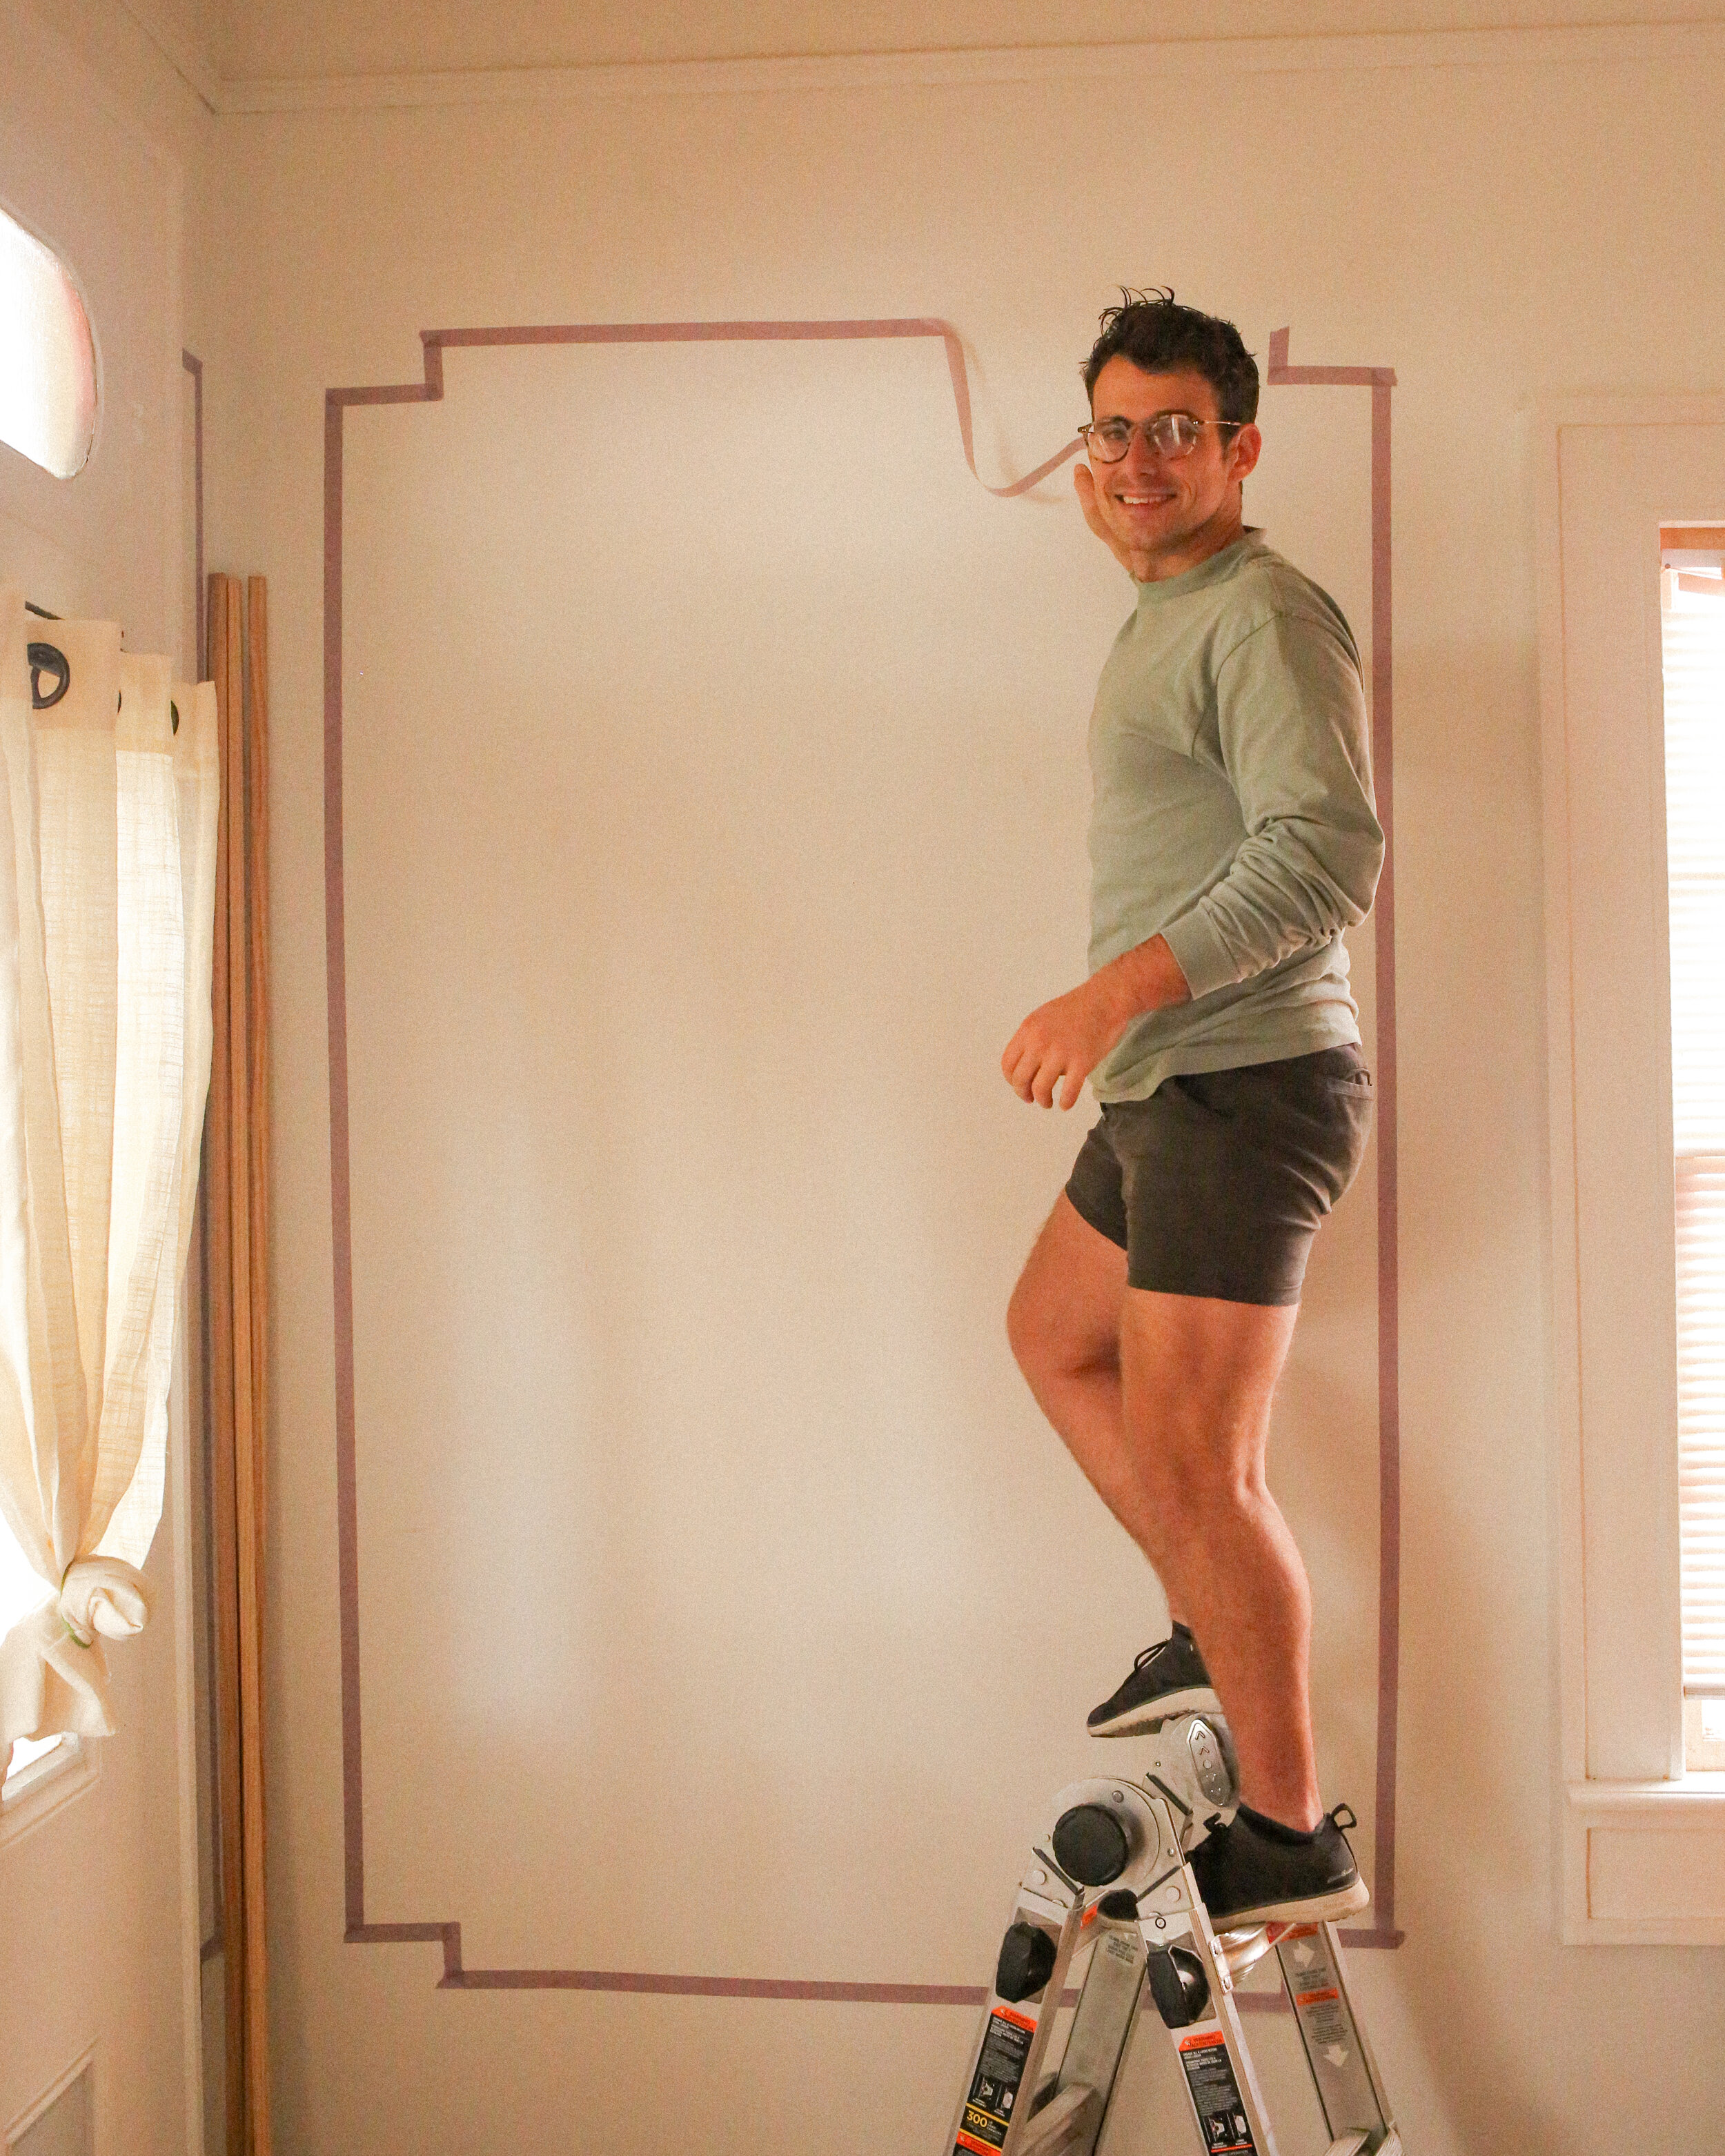
Figure 2: use a mock-up and painters tape to play around with your ideas.
Decorative Picture Rail Moulding DIY
Note: the moulding we purchased is from Home Depot, and I’ve linked it right here. It costs about $5 per eight foot piece, and I think all together we ended up spending $200 on it for both the office and living room.
Painter’s tape
Tape measure
Enough decorative moulding to fit your planned designs (see step 2 below for measuring tips)
Miter saw (we have the Ryobi 7-1/4” Sliding Miter Saw)
Nail gun (we have the Ryobi 18-V 18 Gauge Brad Nailer)
Nails (we used 18 gauge brad nails from Porter & Cable)
STEP 1 | PLAN & TAPE
Use painter’s tape to tape out the decorative moulding size and shape around the entire room. If you know the exact decorative moulding you want to use, use a painter’s tape that is a similar width to help give you an idea of proportions (for instance, the moulding we wanted to use was 5/16” so we used a 5/16” thick tape for this part). This is time consuming but it really lets you get a feel for how the finished product will look, leaves room to make adjustments to your original vision, and will help when it comes to measuring how much moulding you need to buy. See notes below on moulding placement & stud vs no stud!
STEP 2 | MEASURE & GATHER SUPPLIES
Measure each portion of your taped moulding and add all of these together to give you your total number of linear feet for the moulding. Our decorative moulding design actually has 12 cuts per shape (given the little indents—see Figure 2 above), so we had to add up the 12 measurements per shape, and then add all of the shapes together to get the total number of linear feet to buy. Keep in mind when measuring, that joining two pieces at a 45 degree angle means you should account for the longest spread of trim (see Figure 1 above). If you’re super new to making these kinds of cuts you’re basically bound to mess up (and even if you do you’re still our special little sweetie), so order about a 15% excess of moulding.
STEP 3 | CUT
Use your miter saw to cut your pieces to the desired length. Because we’re working with wood and also we’re not professional carpenters, we found that as we went along with installation there were a few minor corrections that needed to be made with the miter saw, so if you’re renting a miter saw make sure you keep it for when you do the actual install in case you need to make additional cuts and corrections. Once it’s all cut it’s time to start the install! If you’re planning to paint these suckers a different color or finish than your walls, you’ll need to do that before nailing to the wall. We painted it the same color and finish so we saved painting for once it was on the wall, which is easier and less messy.
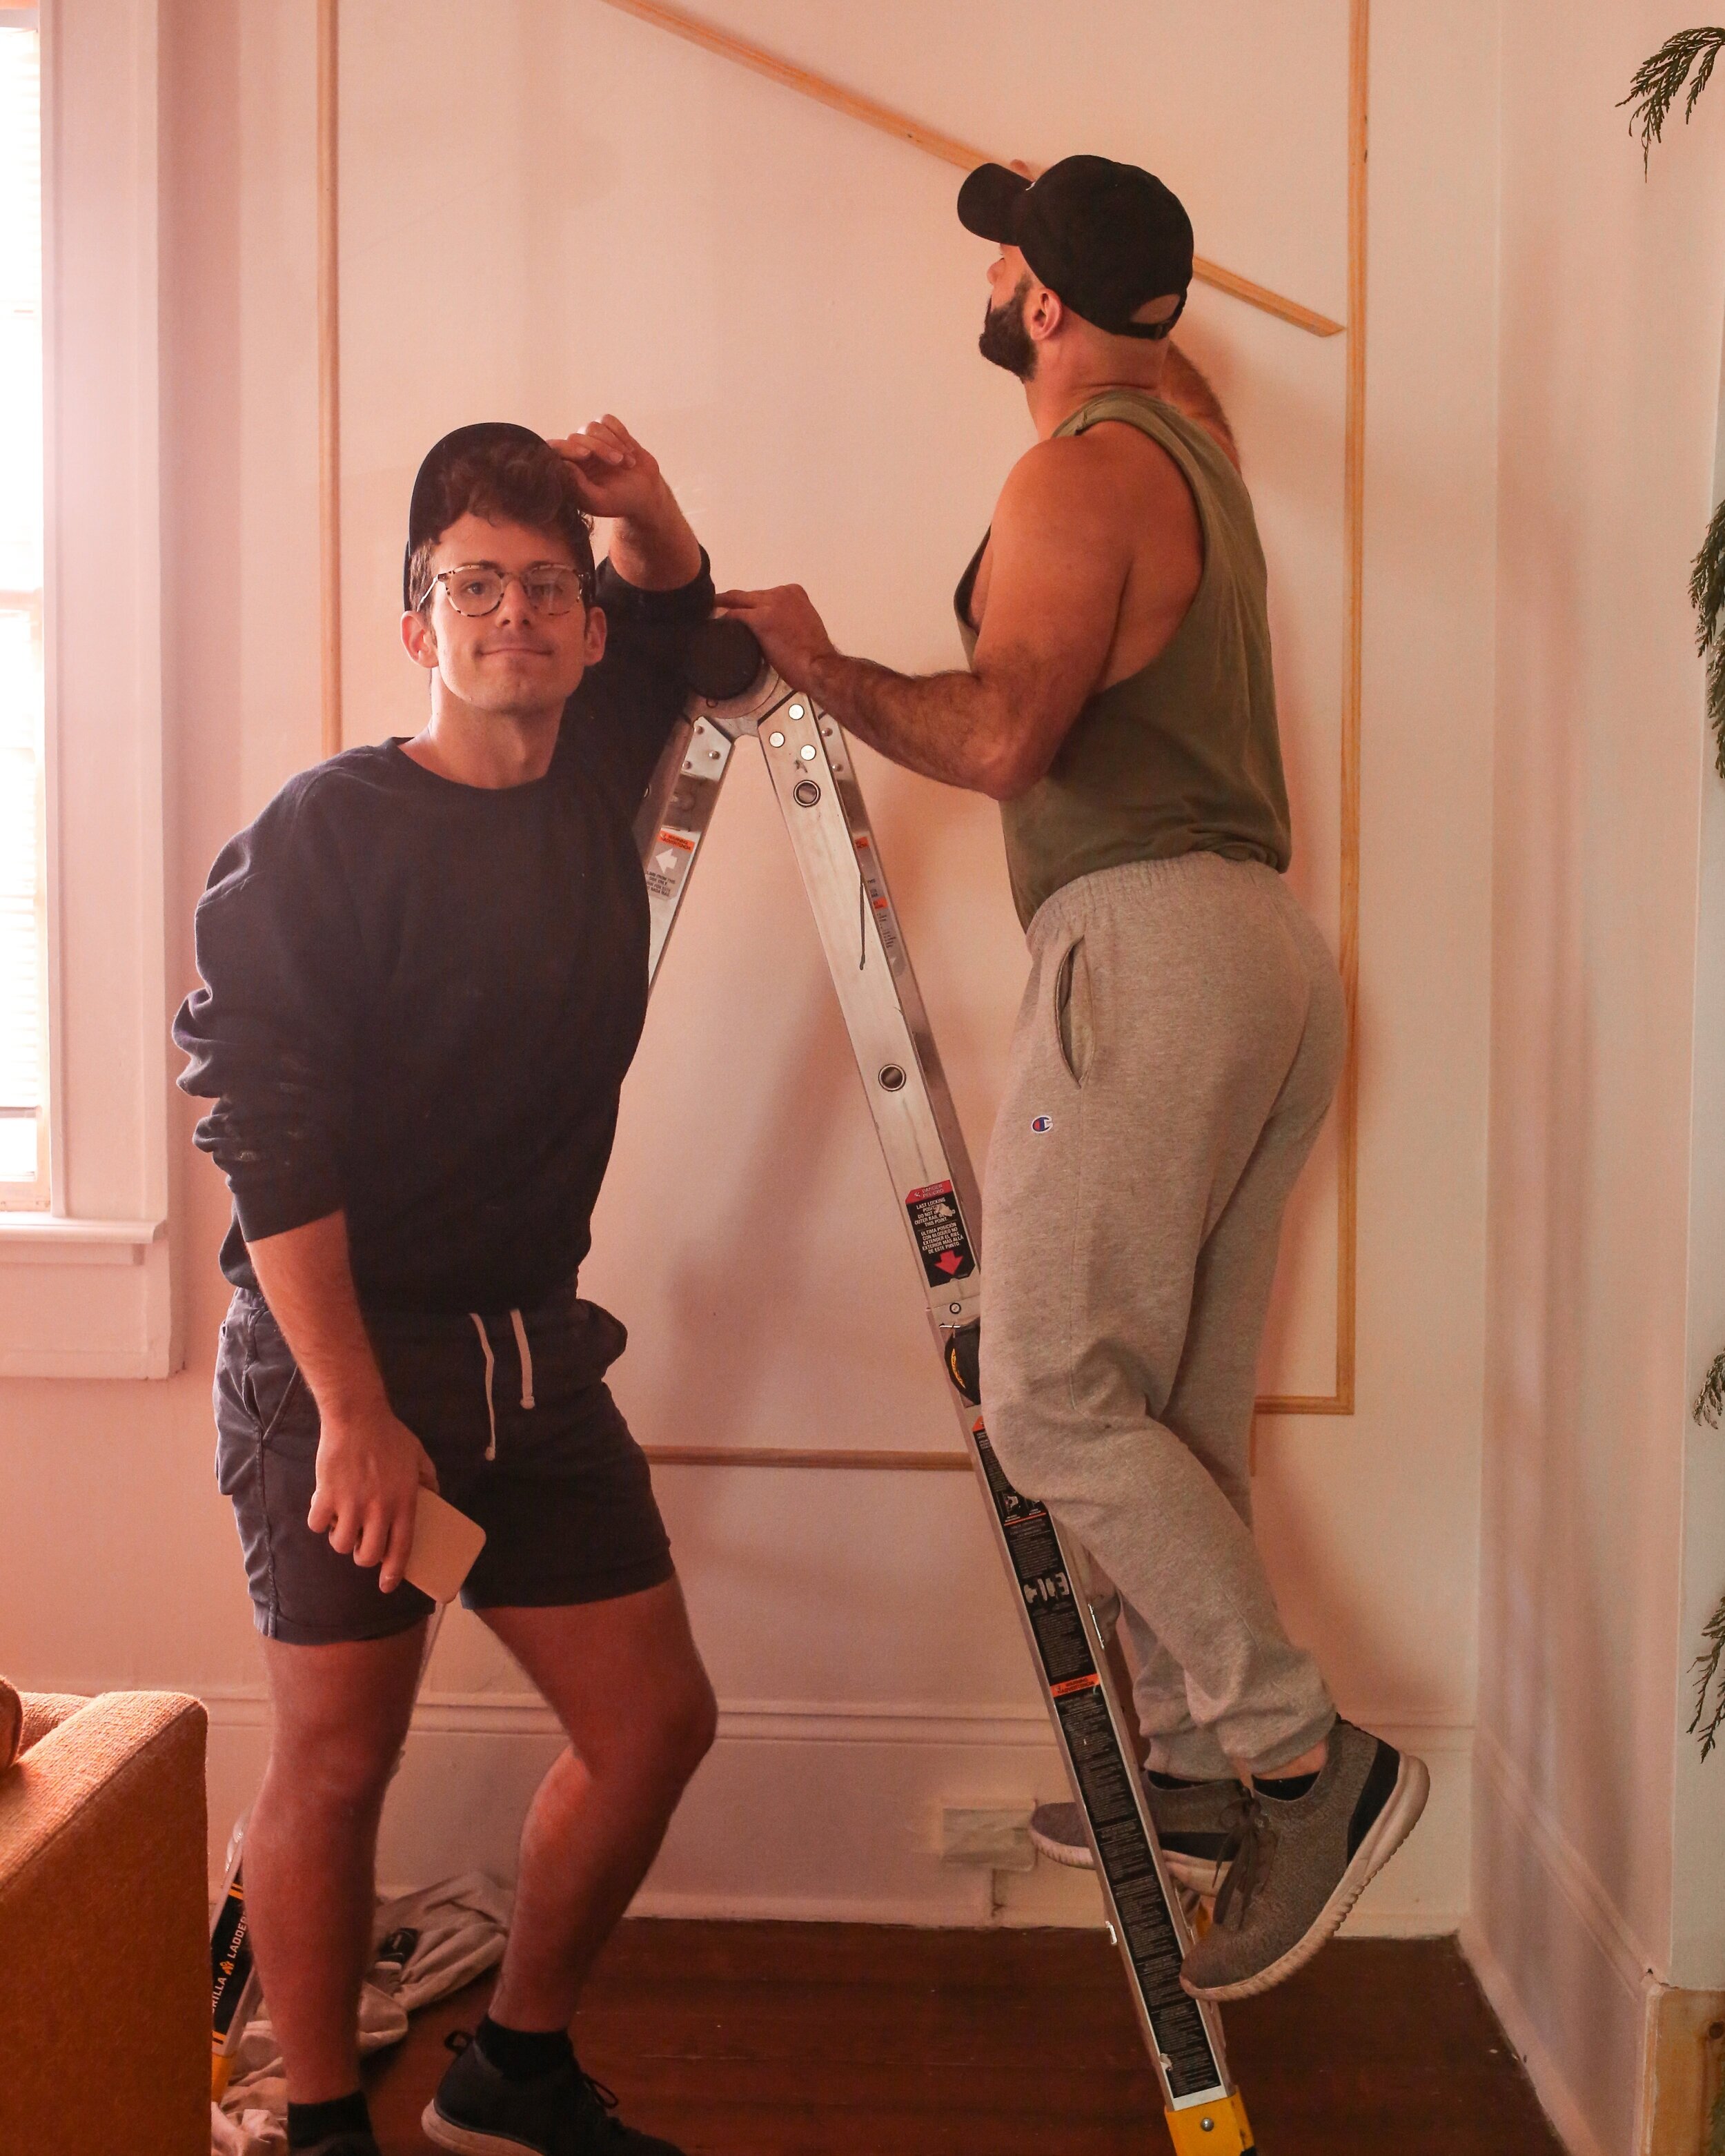
STEP 4 | PLACE & NAIL
Remove your painters tape and begin your install. We used adjacent walls and windows to help give us exact measurements for where the pieces should go, but you could also use a yard stick and pencil to sketch on the wall as your guide. For any pieces larger than 48 inches or so, this is easiest as a two person job—one person to put the piece in place and hold it in down, and one person to nail it in. Nail each piece of moulding on both far ends to keep it in place, and then also nail every 12-18" inches along the moulding. As you install, continually measure or use your sketched lines to make sure your wood isn’t bowing. If it is bowing out, you’ll need to firmly slide it back to where it needs to be when nailing.
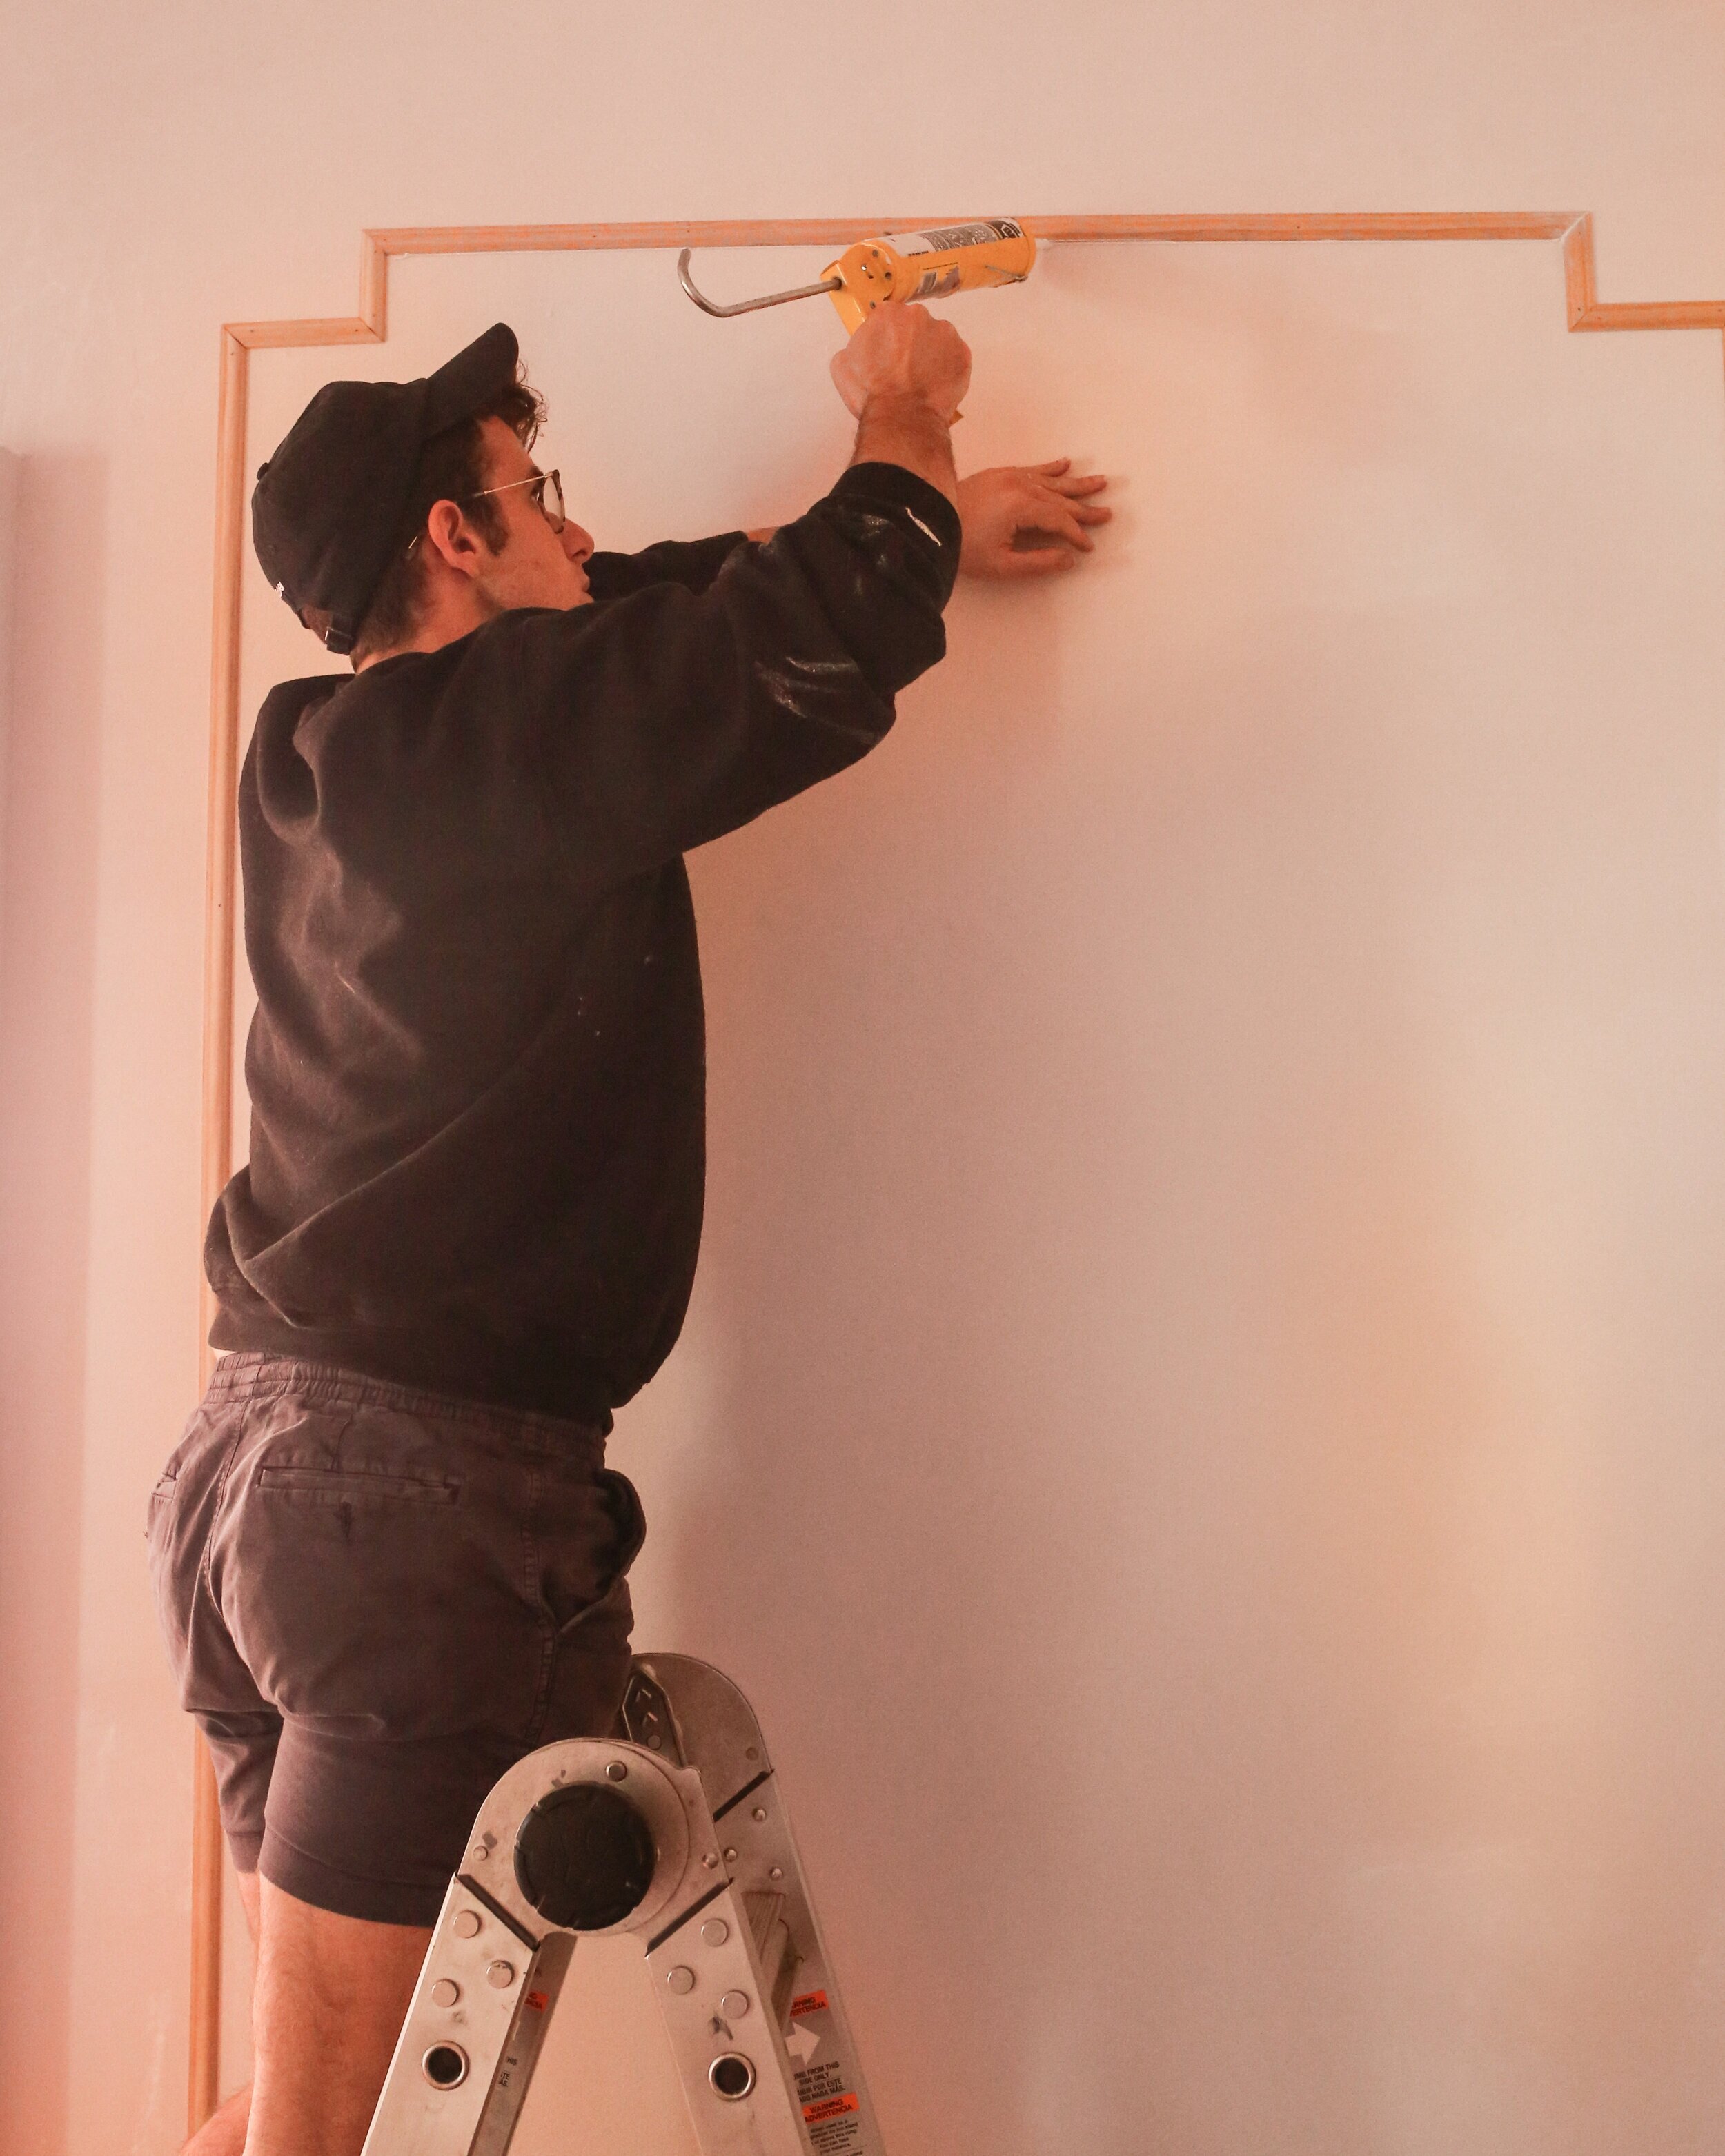
STEP 5 | CAULK
Once all of your moulding has been nailed, follow up by caulking the edges with paintable caulk. This helps further adhere the moulding to the wall as well as creating a seamless and polished look. Not doing this step may result in a tiny visible gap between the wall and moulding that will, eventually, make you Very Sad. You should also caulk over any visible nail holes.
NOTES
Note on placement of moulding (stud vs no stud): we have solid wood bargeboard behind our drywall, so basically ever part of the wall is a stud and we could put these puppies anywhere. If you use a similarly lightweight decorative moulding, you most likely can do the same even just on drywall, and the caulk will be your friend for making sure it adheres and stays in place. If you’re planning to use a heavier moulding, you may need to make sure you’re placing your moulding in a location where it can be nailed into a stud for added support.
Make sure to follow all safety guidelines that come with any power tools you use, and wear protective gear when necessary, especially eye and protection and dust mask when sawing, and potentially ear protection as well.
Video resource for 45 degree angle miter saw cuts: See Jane Drill: Miter Saw Cuts