
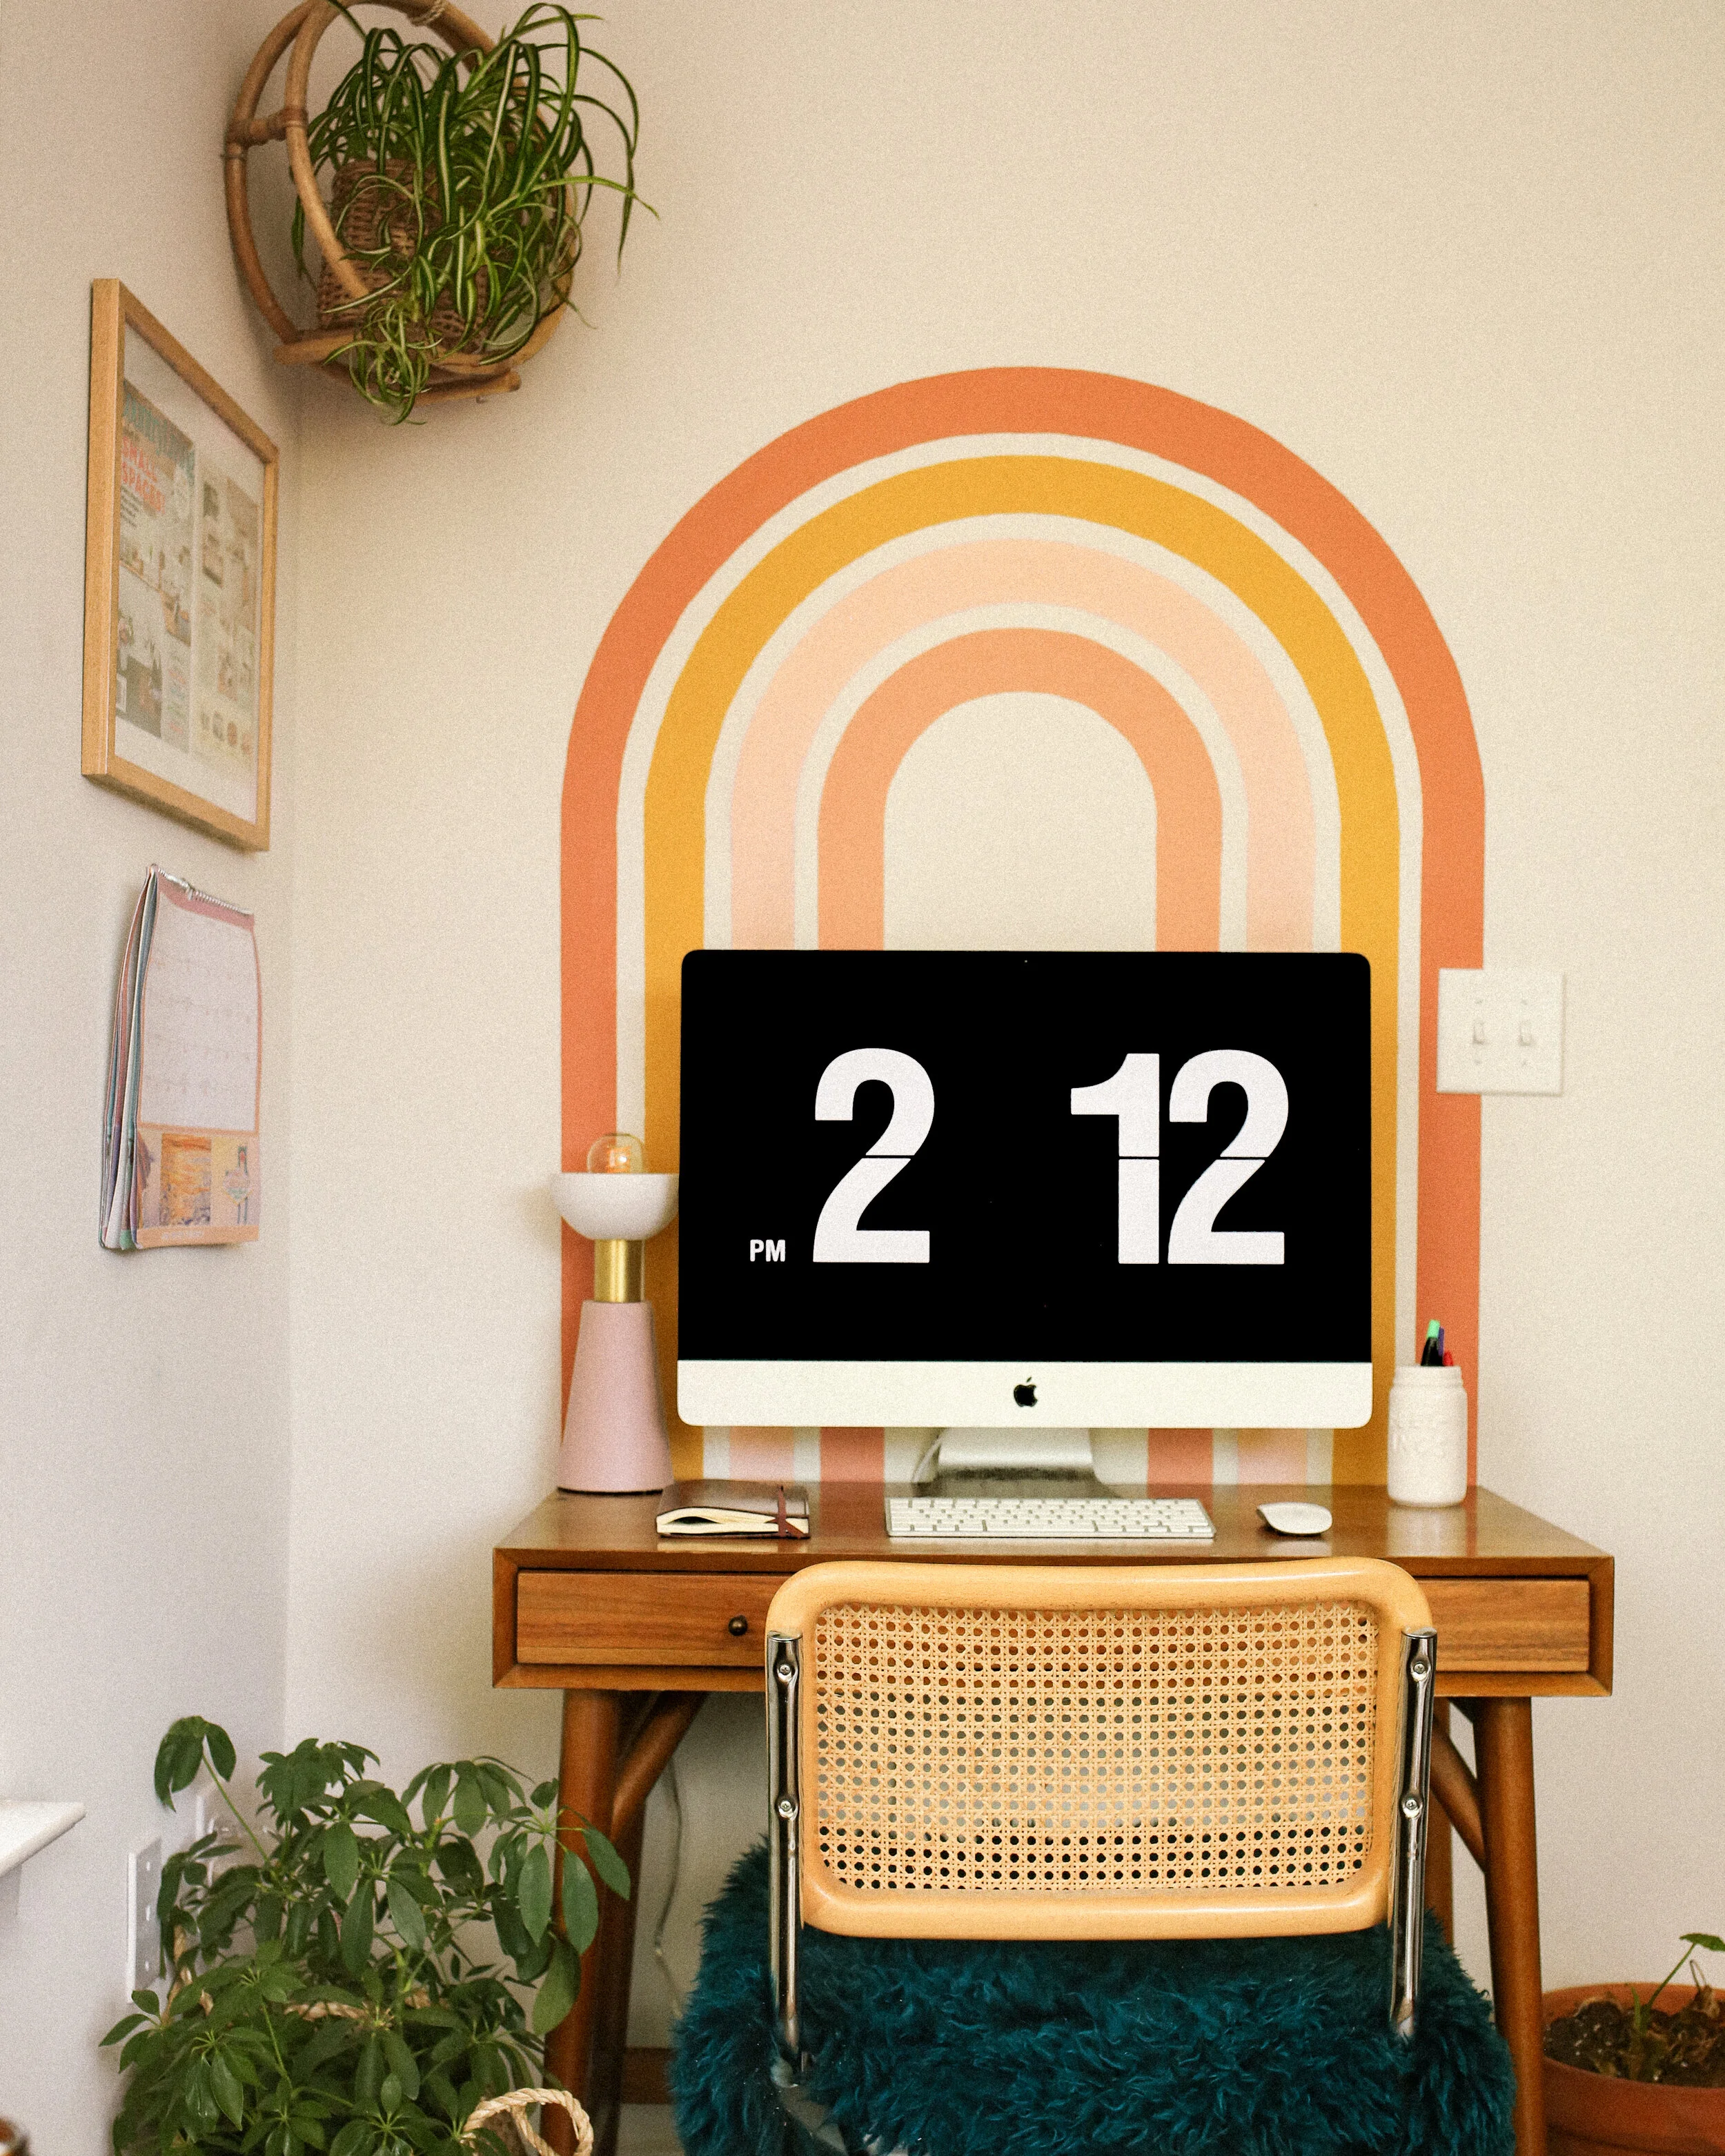
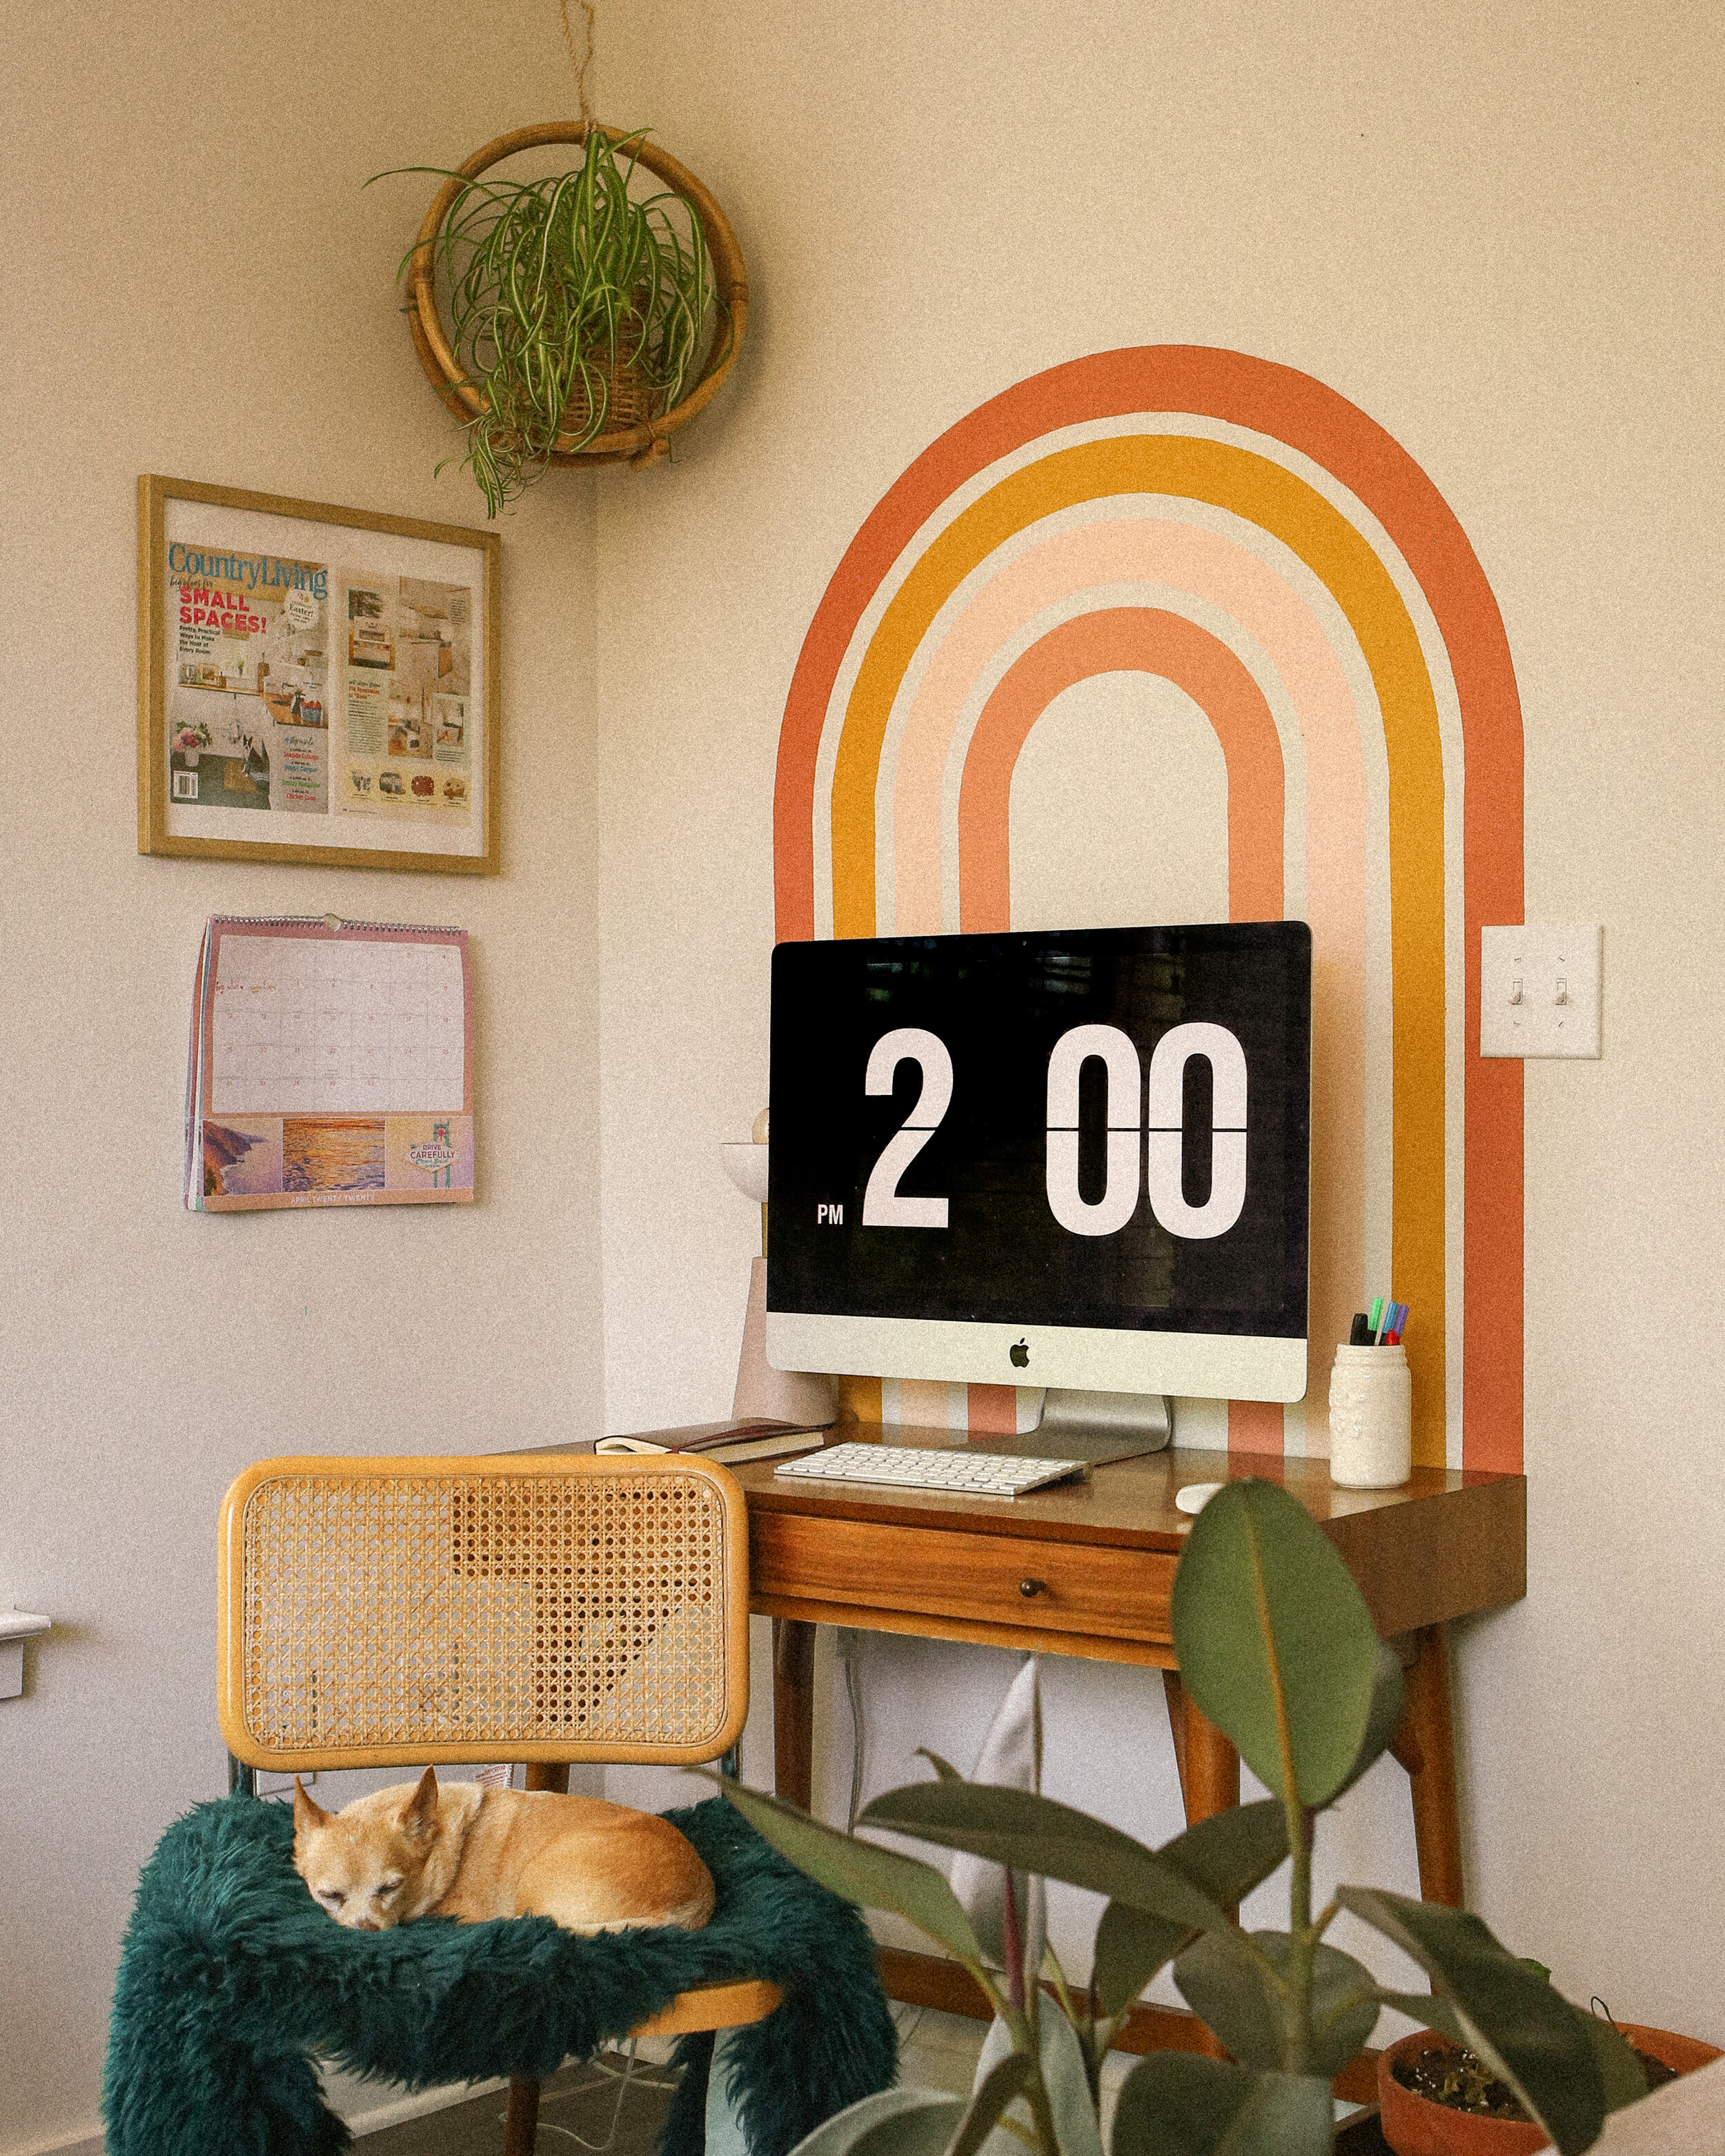
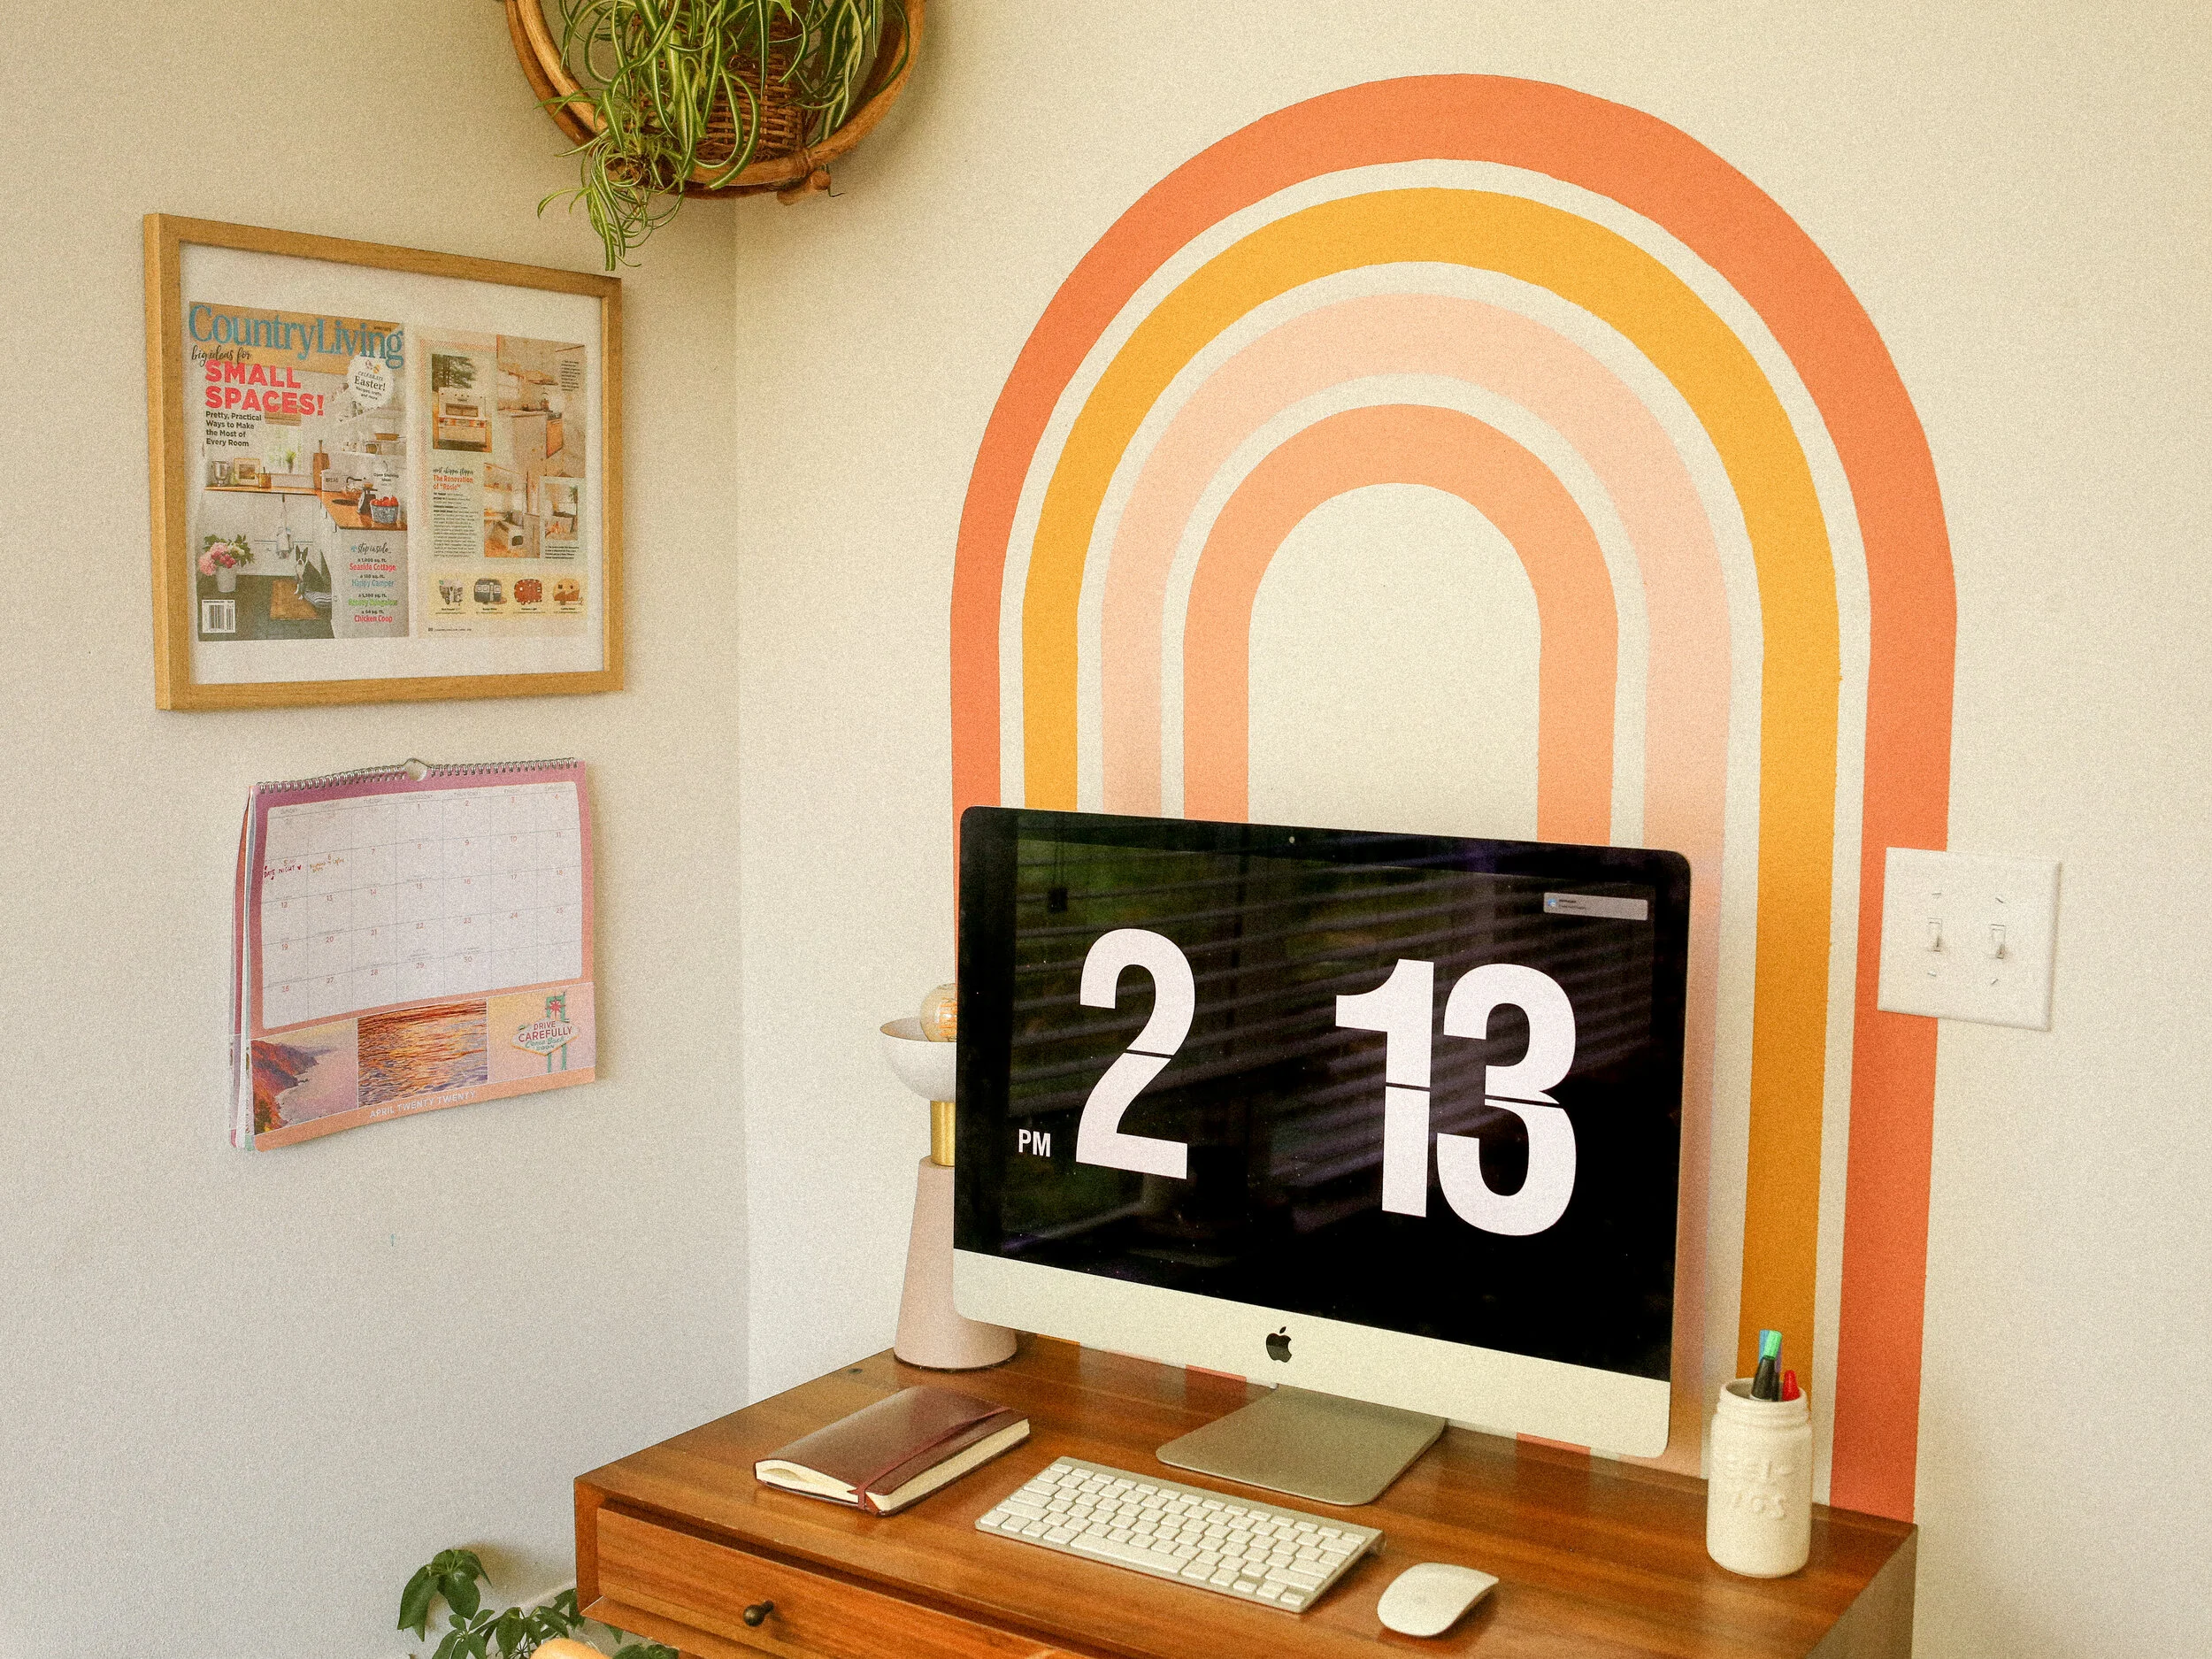
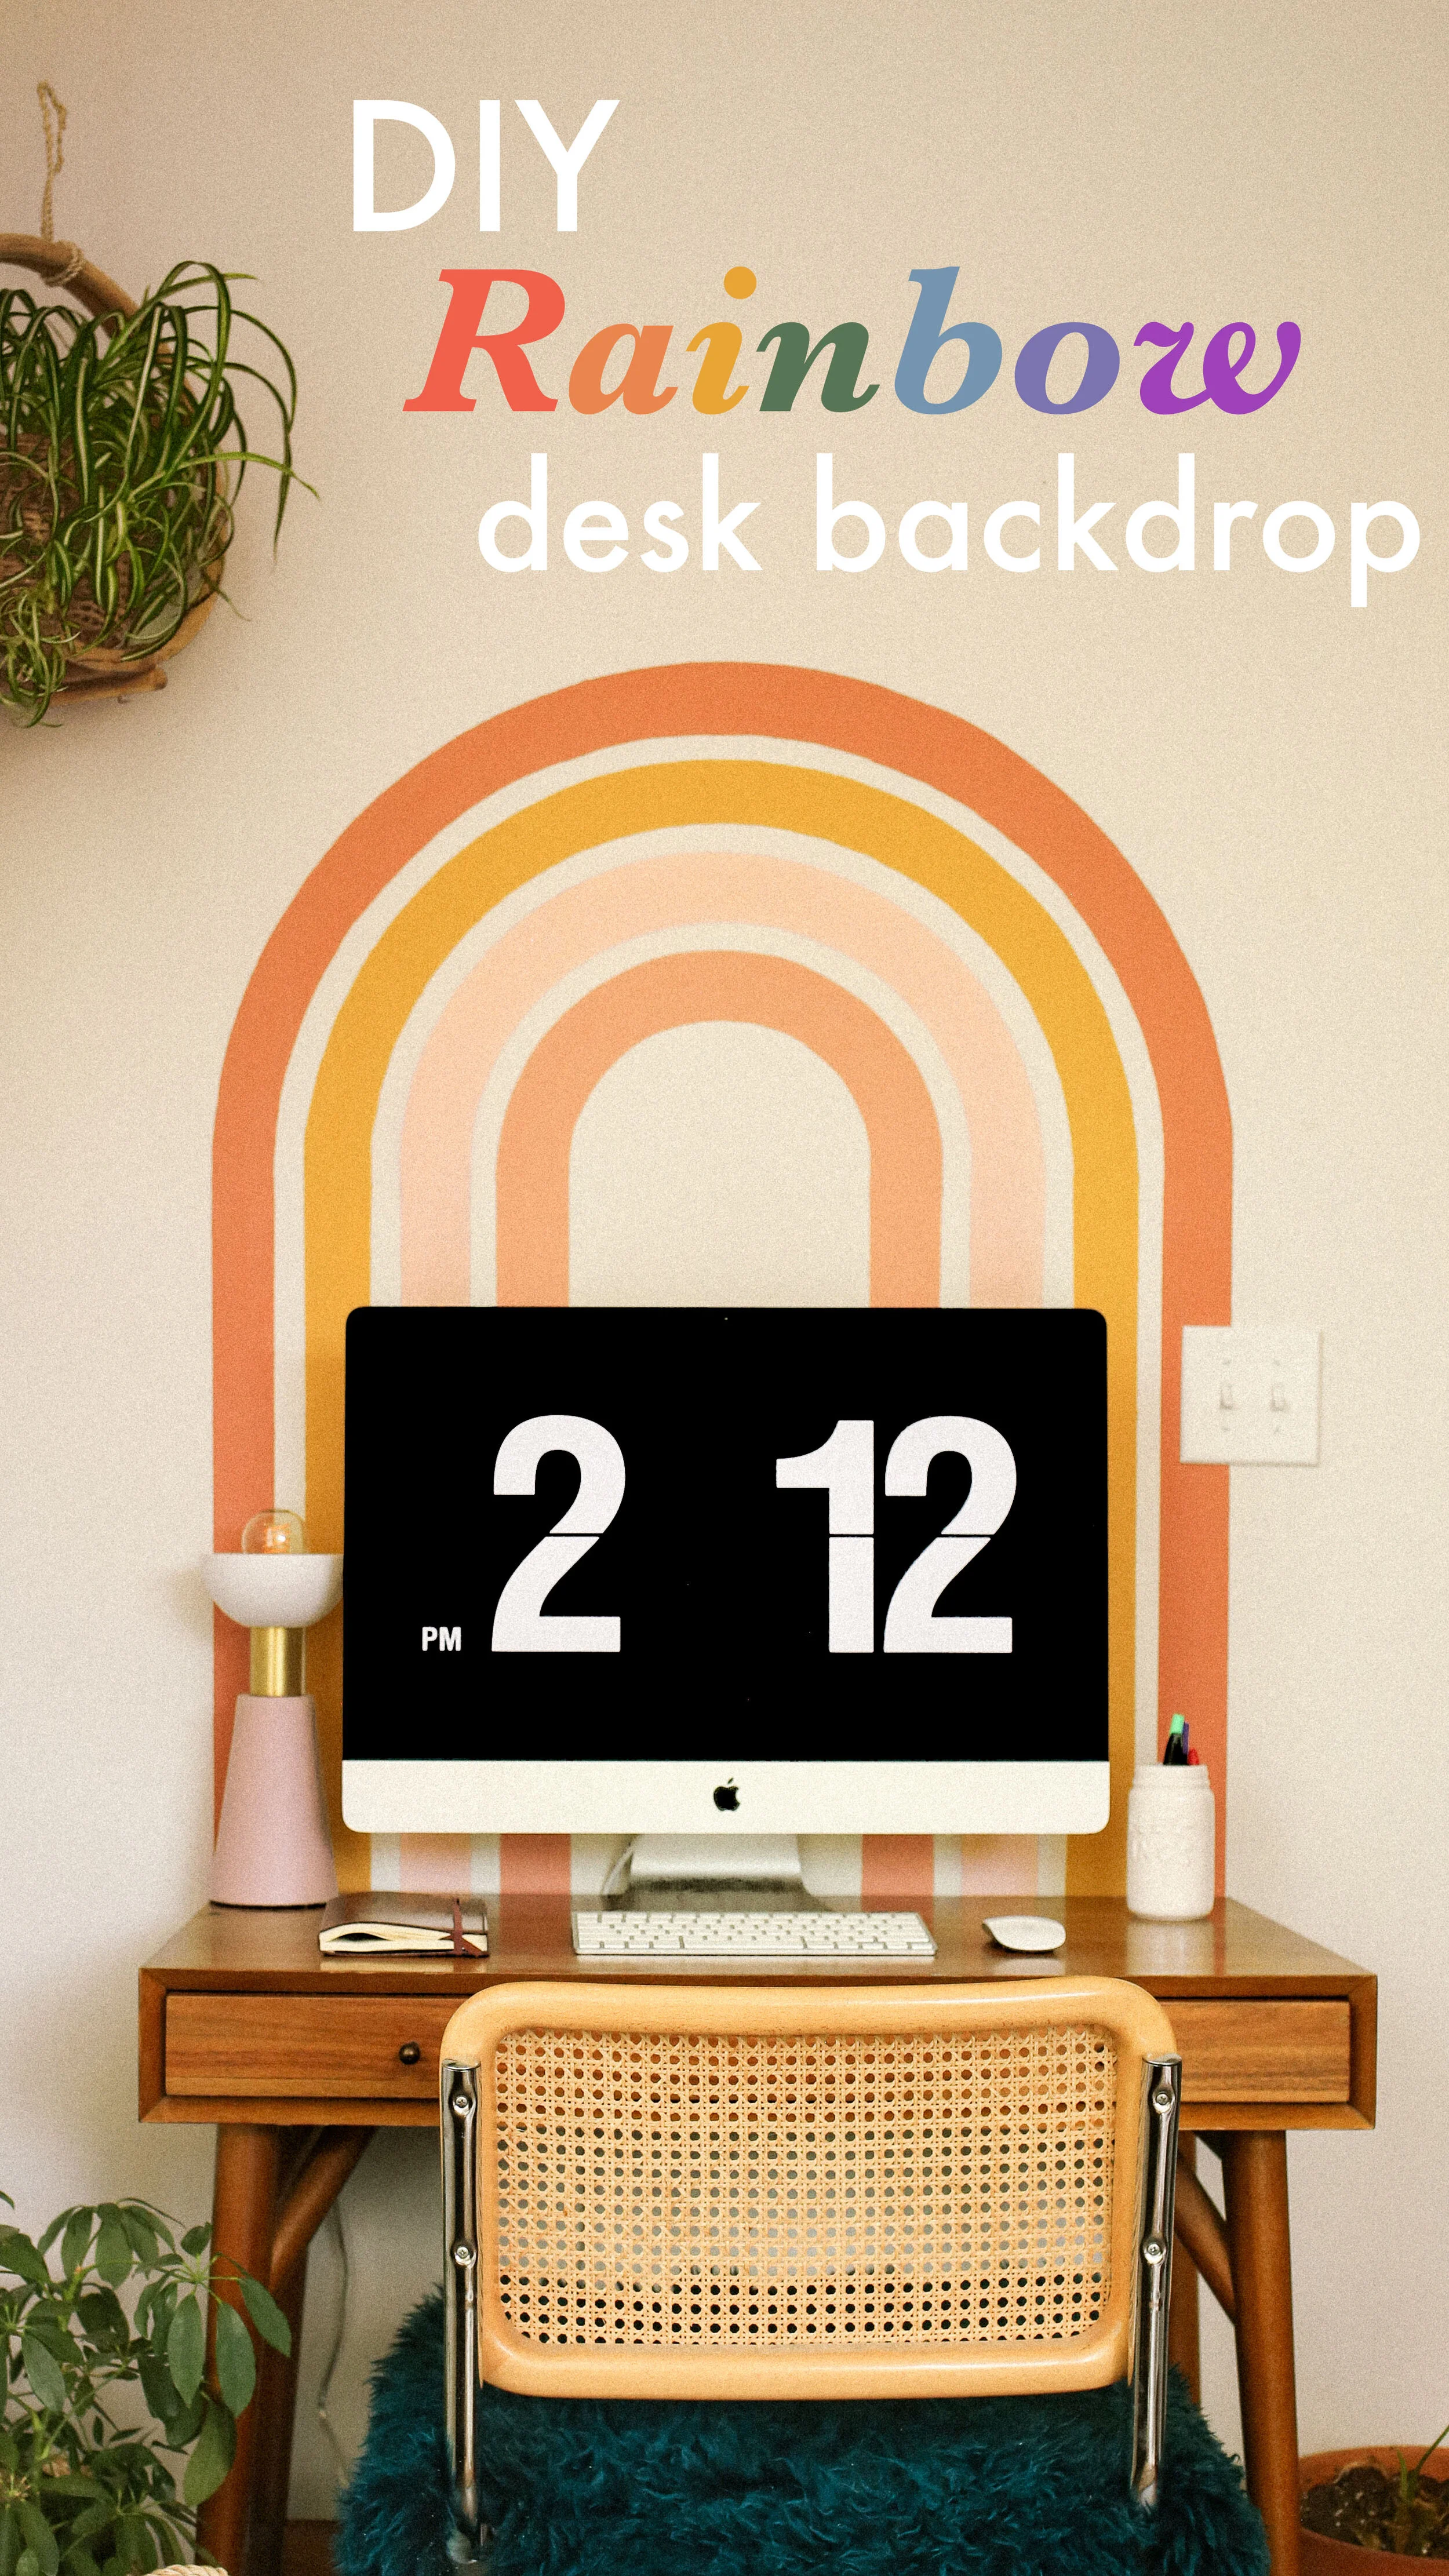
DIY Rainbow Desk Backdrop

Happy Day Number Whatever of social distancing! We’ve been going from doing absolutely nothing productive and feeling horrible about it, to reminding ourselves that it’s okay to just chill, to doing actually productive things, to curling up for a cookies and Ozark hangout, and all the way back to doing absolutely nothing. For the record, all of these things are valid ways to spend your time during this crisis.
If you’ve found yourself at home more often than usual, which I hope you have because we should all be practicing #SocialDistancing, maybe you’ve got the itch to start a DIY project. If not, that’s fine, but I imagine if you’re already here reading this you do. We’re lucky to work from home in normal times, so this whole thing hasn’t really affected our work schedule very much at all. But with more people working from home now, we thought maybe it was time to give our little home office a cute refresh and share it on this here website for you to look at and follow along with if you want to do something similar. :)
We’re super into this DIY because it’s a cheap and easy way to make a desk feel like a totally custom piece that was designed specifically For Your Home. And we say desk, but really this could work for a number of different furniture items—bar carts, media consoles, dressers, as a bed headboard, really anything that rests against a wall. Below we’ll get into the steps, and to be frank it may look complicated, but it really, really isn’t. We’ve done our best to break it down for you in the simplest format possible!
A Note On DIY Projects vs. Essential Outings
To be clear, we did not do any materials shopping for this project, and we don’t recommend or condone visiting a store for a nonessential activity like this as long as social distancing is recommended. If you’re reading this from the future and COVID-19 has passed and people are safely leaving their houses again, hello from a weird relic of that time we all had to stay inside for several months (?? TBD). If you’re reading this and COVID-19 is still a thing, stay inside.
All the materials we used for this project were things we already had in our house from previous projects. If you’ve got a basic selection of craft and DIY supplies, you should have everything you need to do this project already. For paint colors, we used sample size paints that we saved from past paint projects in our house. If you’ve ever painted a room in your house, you probably bought samples of a few choices and maybe you saved the ones you didn’t end up using! I encourage you to channel the part of yourself that saw something good in those colors, and create a cool combination of repurposed rejects.
If you do want to get new paint colors for this project, order paint sample sizes (in a pint size) online at Benjamin Moore or from mostly any other paint company’s website. The same goes for any materials you find you need. We’ve provided links in our materials list for you to find anything you might not have.
Not ready to do this project just yet? Pin the below images to save it for later!

DIY Rainbow Desk Backdrop
Materials
measuring tape (having a ruler or yard stick on hand also helps but isn’t necessary)
pencil + pencil sharpener
a marker (sharpie, a pen, anything will do really)
paint, in as many colors as you like. We used about 1/2 pint for the largest arch, down to just maybe 1/4 cup worth for the smallest arch—so unless you’re going much bigger than we did, you don’t need a ton!
paint brushes (ideally one angle brush for regular wall painting and one smaller detail brush for precision along the edges)
Note on paint colors: these are totally up to you, and like we mentioned they may just have to be what you have on hand. We wanted the darkest colors to be the largest arch and furthest interior arch to help define the shape, but that’s just a preference. In order of largest to smallest arch, we used: Red Earth from Farrow & Ball , Saffron Strands from Behr, Bayview Coral from Sherwin Williams, and the final color is a 1-to-1 blend of Red Earth and Bayview Coral. (Yes you can mix your own paint!)
Steps
I promise this is not as complicated as it looks at first glance! In fact, putting in the 20 minutes to do some measurements and a little math will make the rest of this fly by seamlessly. To make the guide as universal as possible, I’m going to be using letters to stand in for certain numbers that will be specific to you and to your desk or other furniture you’re using with this DIY. Consider making a dedicated card or sheet of paper and writing what numbers those letters correspond to in your project, just to make sure there are no mix-ups and for quick reference.
Just to provide a quick bare bones break down of this DIY: first you measure and pencil out the outlines for the arches of your rainbow on the wall, next you create a string + pencil contraption that will allow you to trace half-circle arches, then you use painters tape to outline the vertical lines down from the semi-circles to your desk or other furniture, and finally you paint it all. Done.
The variables you’ll need to know:
R: this is the width of your desk or piece of furniture divided by two. You can see this in the first diagram below. Our desk was 36” so our R was 18”. If your desk if 50”, your R is 25”, and so on.
X: the desired width of each arch. You can see this in the second diagram below. We did 4 arches all at 2.5” each. This is your personal preference, but we found 2.5” to be a great width for the arches.
Y: the space between one arch and the next. You can see in the second diagram below. Our Y was 1”. This too is your personal preference, but we found 1” to be a great width for the gaps between the arches.
Part 1: Getting Your Measurements
Measure desk width and divide by two. In our case, 36”/2=18”. This is gonna be your radius (R).
Position your desk against the wall. Pencil a dotted line along the wall at the height of the desk (Diagram 1 below).
Measure the center point of the desk, and then mark that center point with pencil on the wall. This is the middle point of the desk (Diagram 2 below).
Choose how high you would like the peak (Diagram 3 below) of the rainbow to go. This is totally up to you and your preference—we decided to have the rainbow peak 44” above our desk. Follow the middle point of the desk directly up in a straight line (using a tape measure or yard stick for accuracy) to the peak and mark a small notch with pencil for reference. Next, measure the distance of R from the peak point down. Mark that spot with a small circle in pencil. This will be our center point for creating the arches. Move the desk out of the way for the rest of the DIY.

Diagram 1. Marking your desk height and width.

Diagram 2. Deciding the radius (R) of the arch so that it fits your desk perfectly
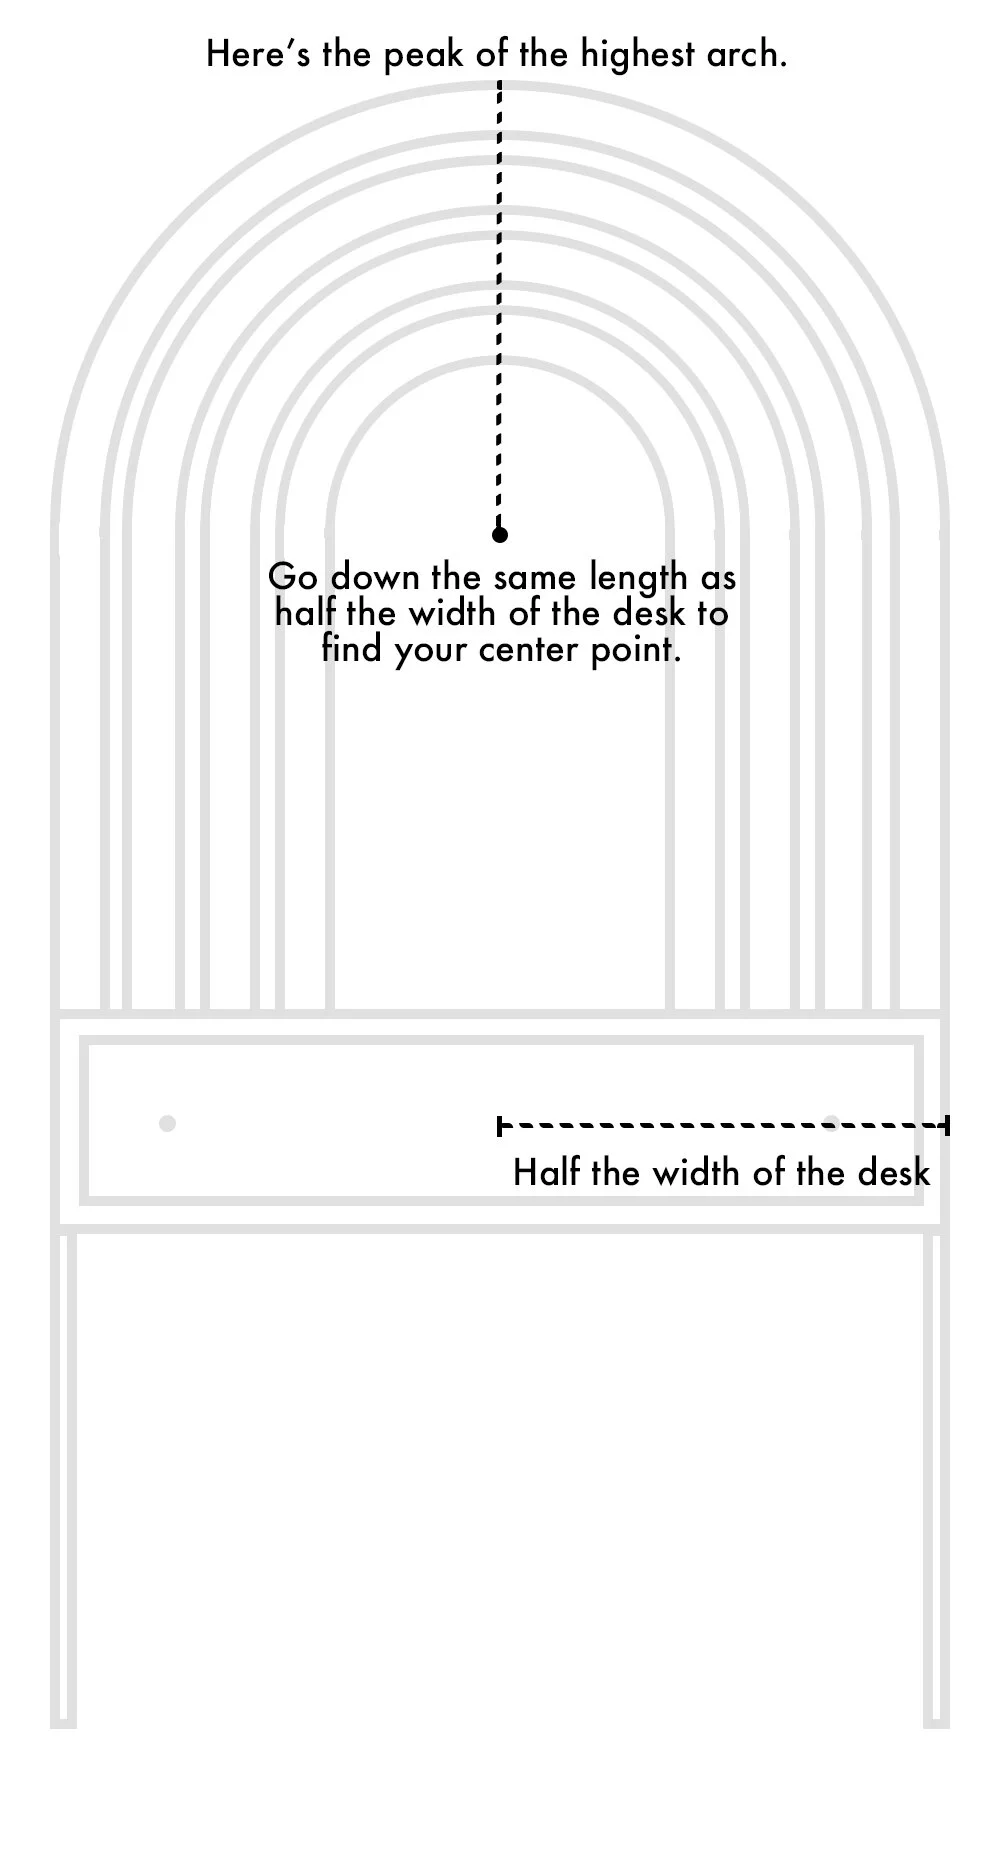
Diagram 3. Find your rainbow’s center point.
Part 2: Creating your arch sketch pencil.
Before moving forward, decide how thick you want each arch to be (Diagram 5 below). This number is X (For us, that was 2.5”). Decide how much space you want between each arch. This number is Y (For us, that was 1”). Note: feel free to make each arch and space different sizes if you want, but adjust the following instructions accordingly.
Cut a length of string that is the same length as R plus an additional 3 inches (so, because our R was 18”, we cut a 21” string). Tie one end of the string to a sharpened pencil, and use a hot glue gun to secure the string to that point on the pencil so it doesn’t slide (see images below).
Lay the string out from pencil to loose end. Use measuring tape to measure the distance R from the pencil down the length of sting. Mark that point with an ink marker (see diagram 4 below).
Moving towards the pencil from the first mark you made on the string, measure distance X and make another mark, then Y and make another mark, then X, then Y, until you have the appropriate number of marks. You should have double the marks as you want arches because these marks will help you to draw the inner and outer borders of each arch. Our rainbow has four arches, so we had eight marks on our string.
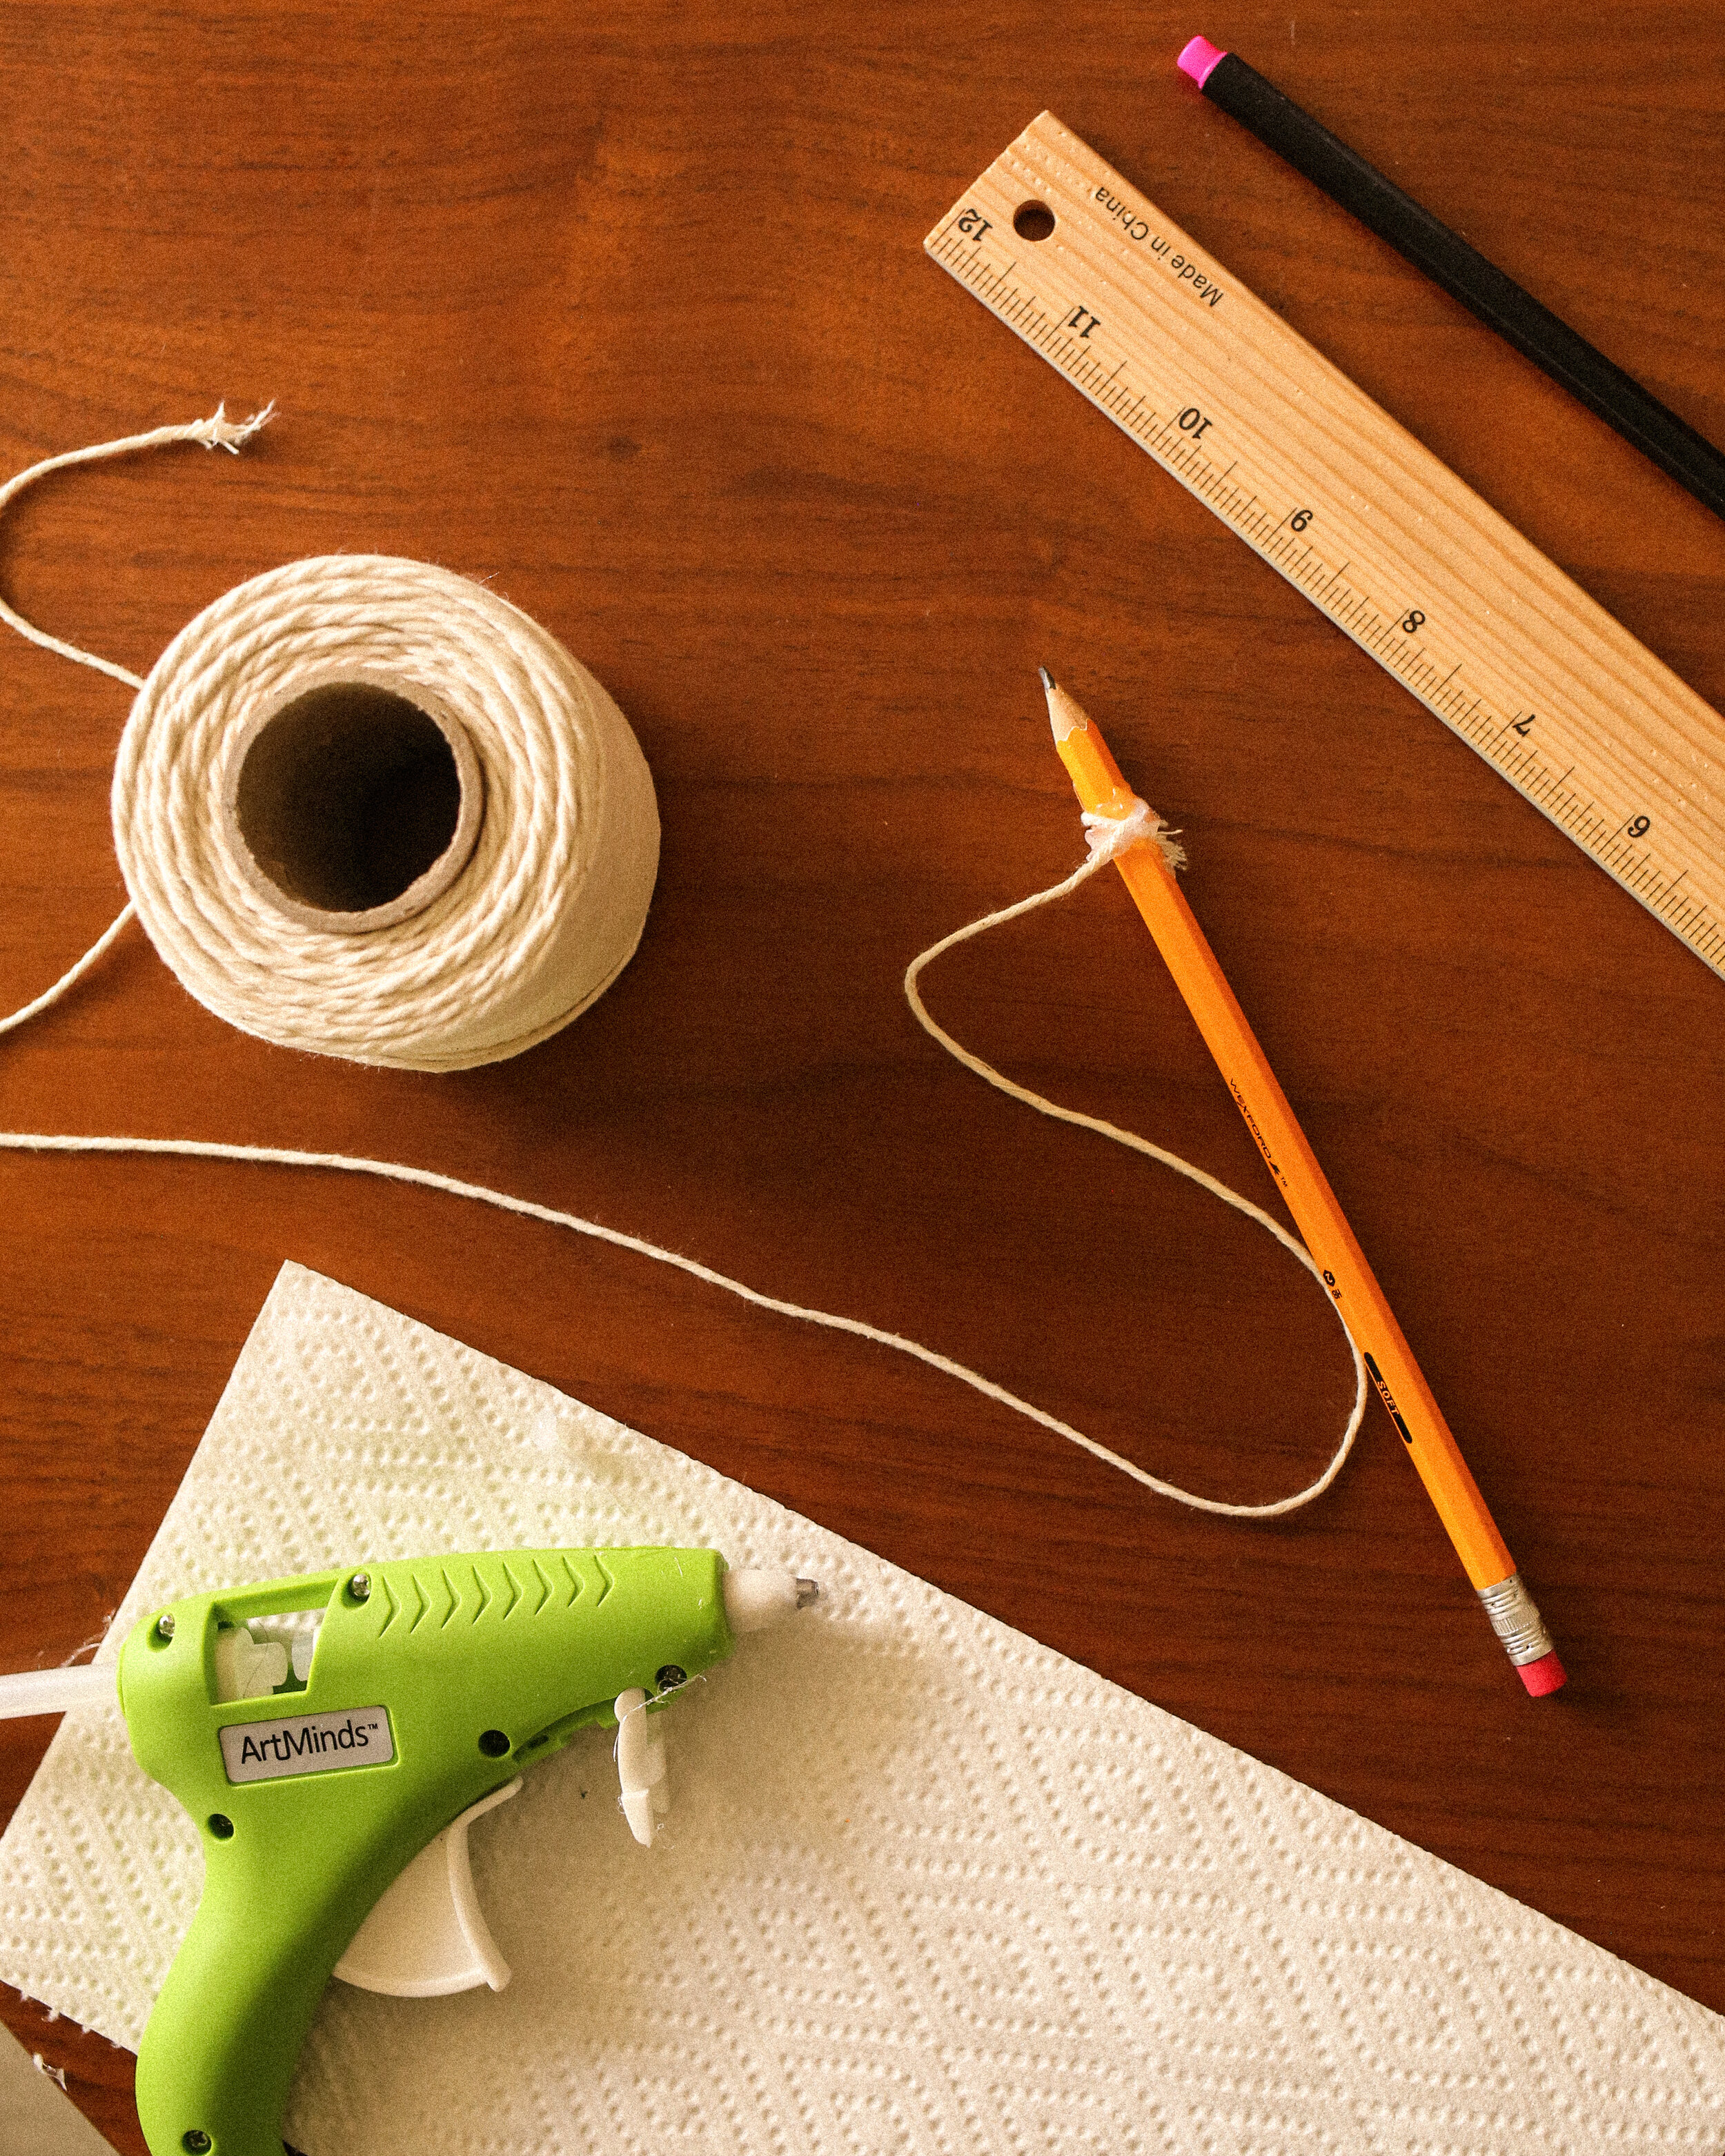
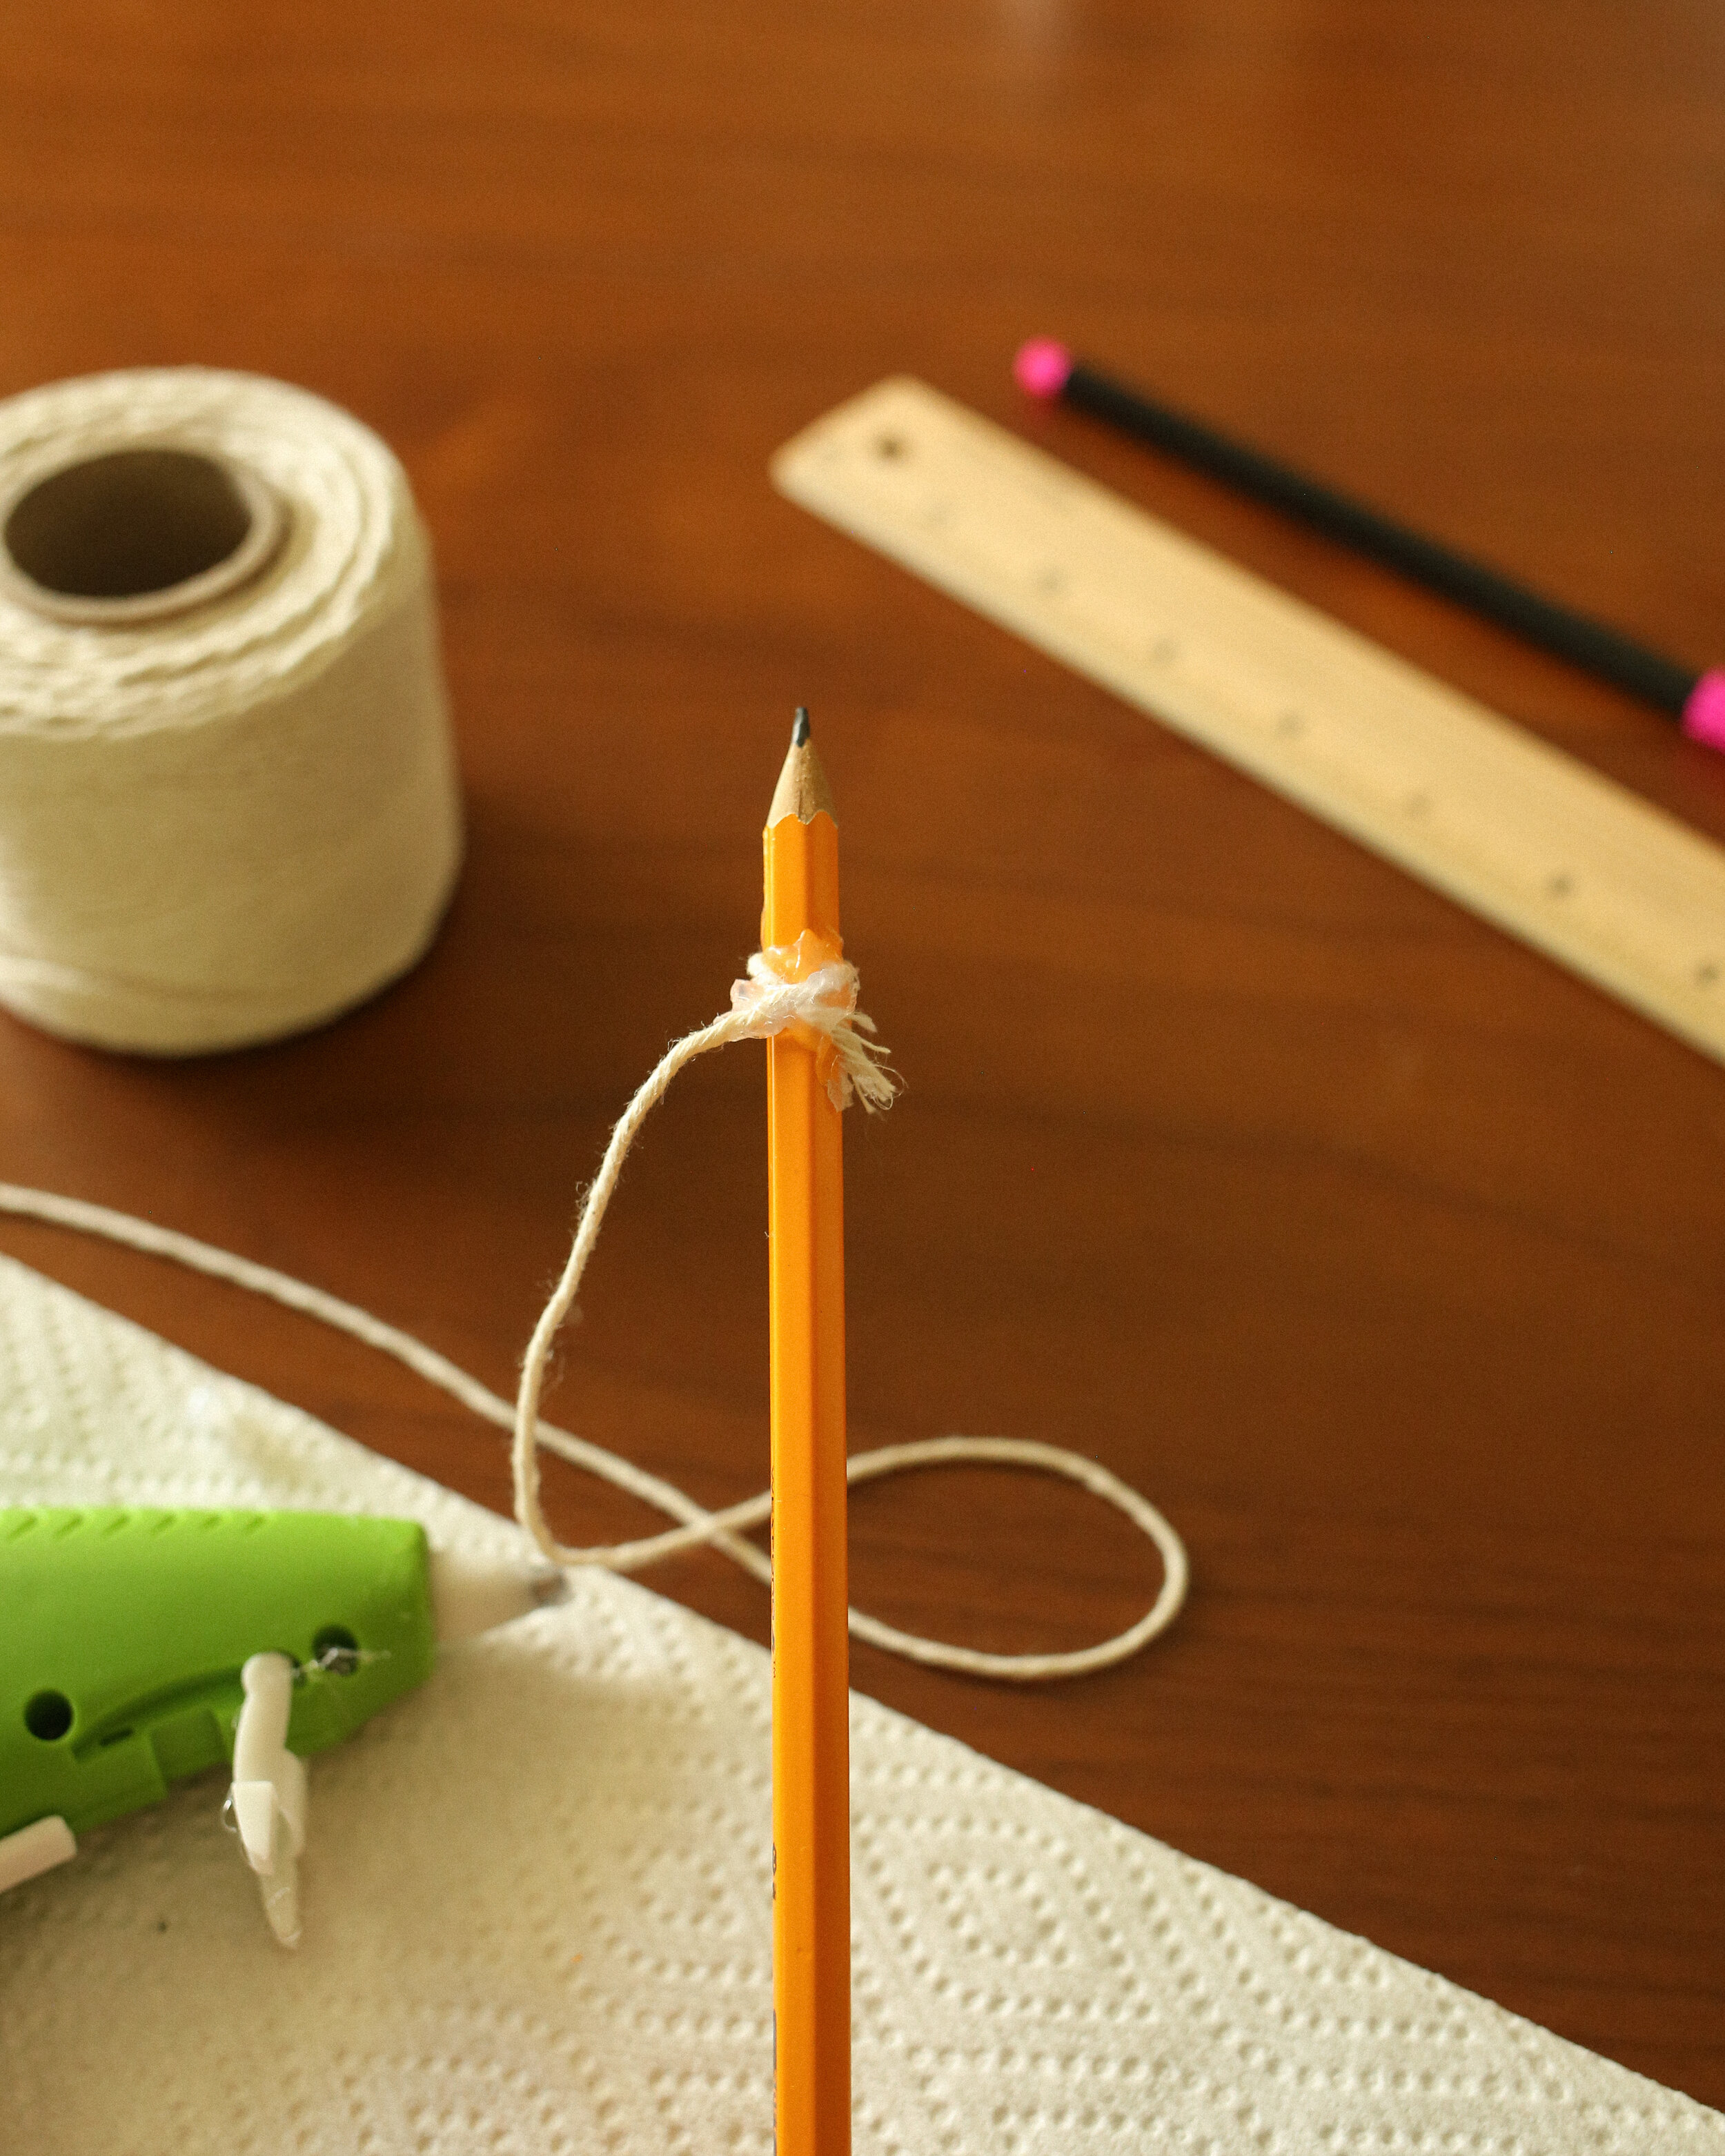
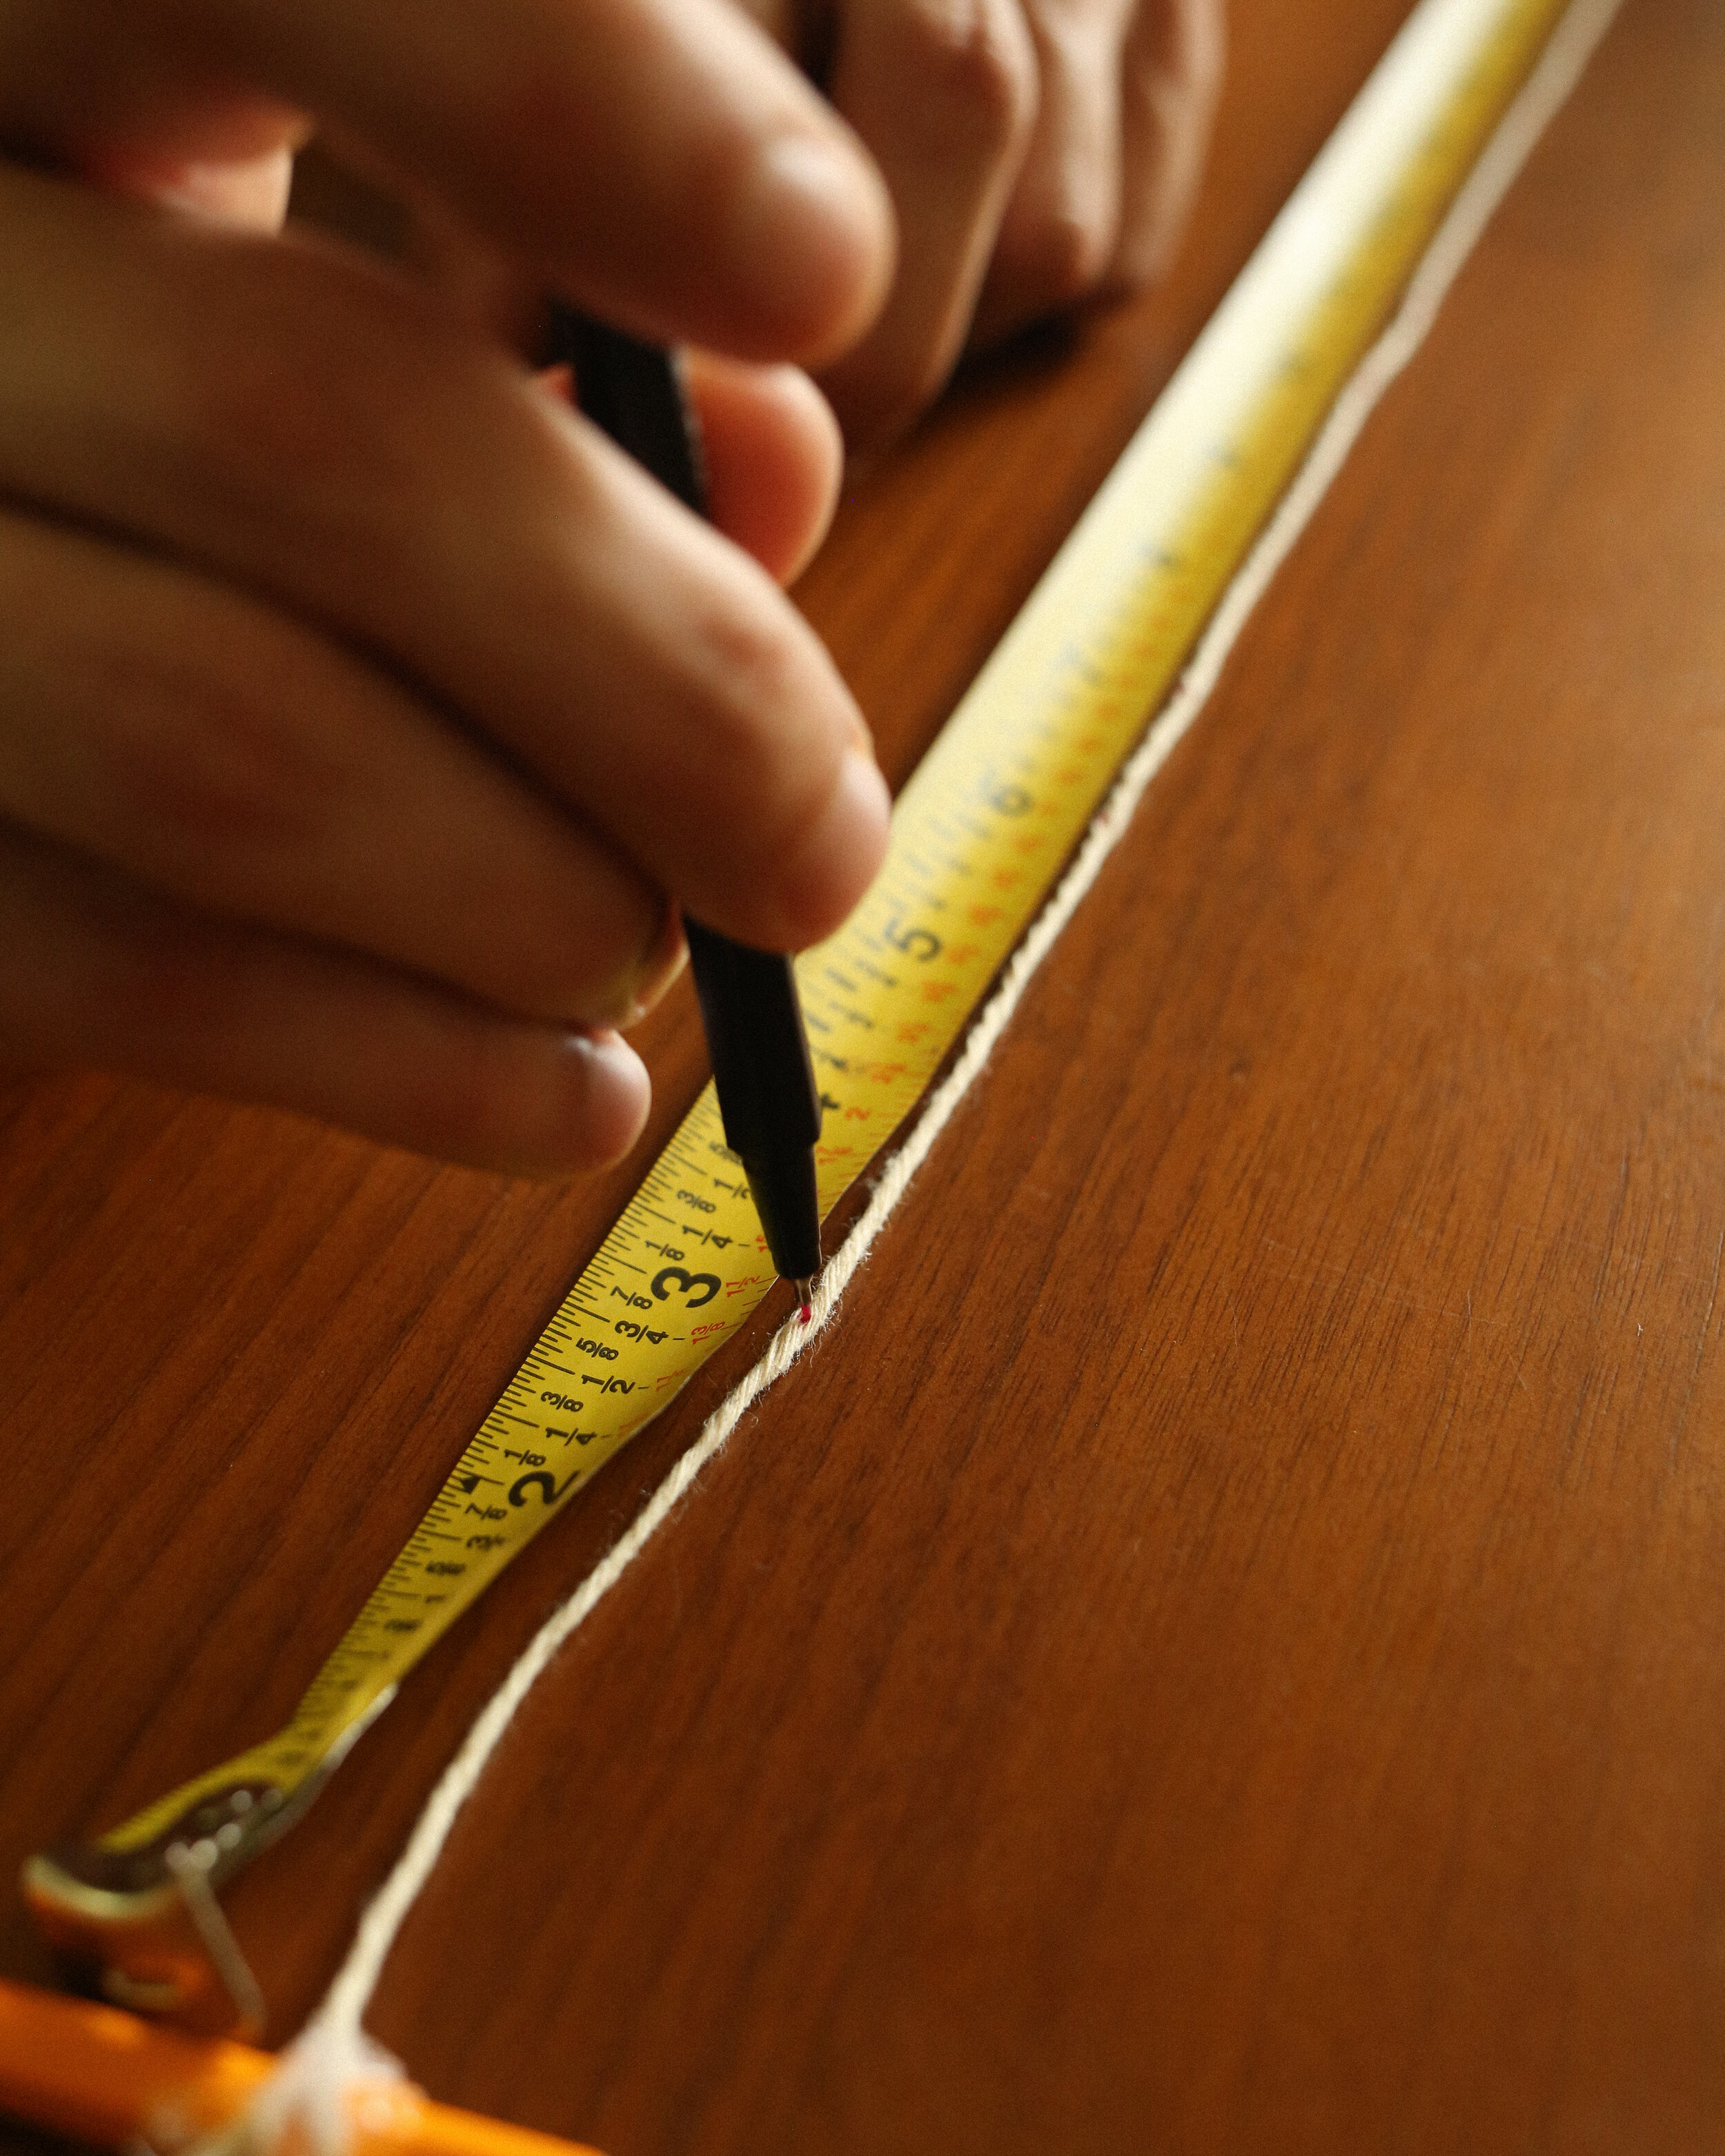

Diagram 4. Creating your arch sketch pencil

Diagram 5. Decide your desired width (X) for the arches
Part 3: Sketching the arches
Cut a strip of painters tape at least the width of the desk and place it in a completely flat, straight line so the strip rests just beneath the center point. Make a mark on the tape that lines up with the center point exactly (Diagram 6 below).
Have a helper take the string at the first mark on the string (the one furthest away from the pencil) and press it tightly against the center point. Have them use their fingernail to push so their finger doesn’t cover up any slack. If you don’t have someone to help you, you can pin or tape the string down, just making sure it won’t budge at all.
Pulling tight on the pencil, stretch the length of string all the way to one side. Sketch the semi-circle, keeping all slack out of the string all the way around. Make sure to mark the painters tape with small notches on both ends of the semi-circle (Diagram 6 below). NOTE: If you make any mistakes sketching the semi-circle, the eraser of your pencil should work to remove marks from your wall. If that doesn’t do enough, try magic eraser or a rag dipped in diluted bleach, if it’s a white wall.
Move onto the next mark on the string and repeat the above steps 2 & 3 until you have gone through all the marks you made on the string, and you have sketched out all of the semi-circles, and the painters tape has notches corresponding to all of the circles.

Diagram 6. Marking the painters tape where each arch & gap should end. Hold the string firmly in the center point. Pull the pencil so there is no slack as you sketch the semi-circles.
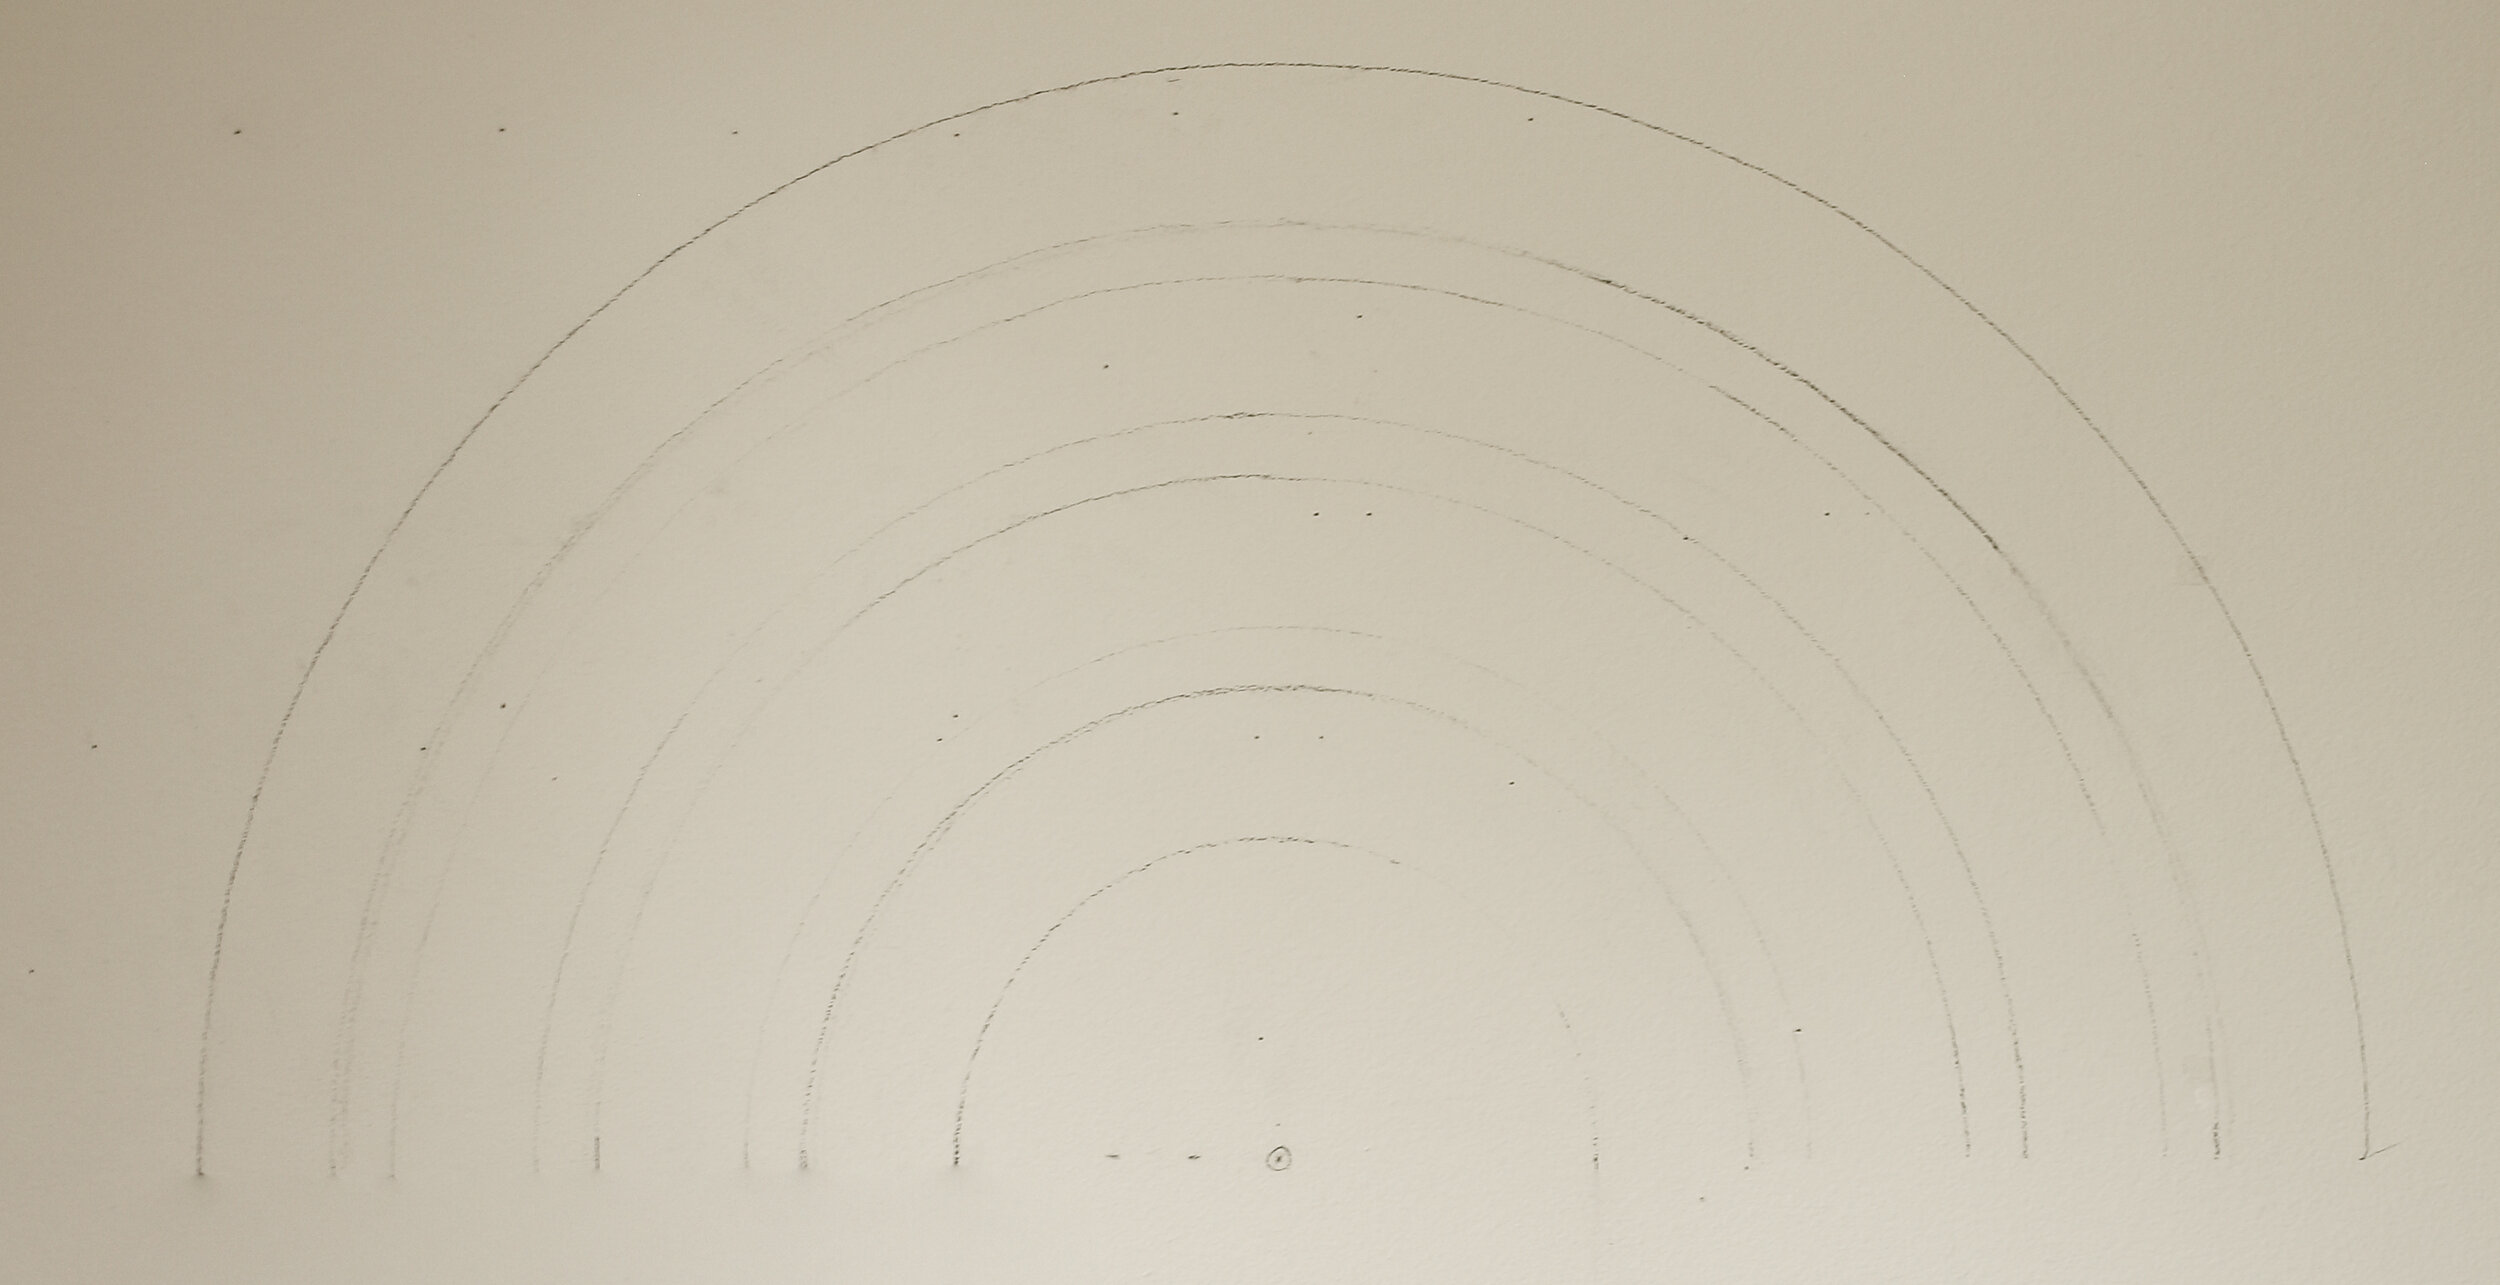
This is what your arches should look like at this point. It’s not exactly pretty, but it serves as your guide for the following steps.
Part 4: Taping & Painting Your Arches
Remove the painters tape underlining the center point and move it down so it underlines the dotted line you sketched signifying the top of the desk (Diagram 7 below). Make sure the center mark that you made on the painters tape lines up exactly with mark you made for the middle of the desk point—this way the notches you made on the tape are a straight shot down from the corresponding semi-circle ends. Now the painters tape will be the line where the vertical part of your arches stop—it should be even with the top of the desk, once the desk is replaced.
Use additional strips of painters tape to outline the vertical sections of the arches, in straight lines from the existing notches on the horizontal tape to each corresponding semi-circle end (Diagram 8). Start from the inner most arch and move outward, letting each arch dry before continuing on.
Paint one arch at a time, beginning with the vertical sections that are taped off on either side, then carefully painting inside your pencil outlines to fill in the semi-circle section. It’s best to use a thicker brush to fill in the bulk of the arch to save time, then a smaller detail brush to precisely paint the edges so you don’t paint outside the pencil lines. Be careful not to use too much paint, to avoid excess and dripping. Remove the tape for each arch as soon as you’re finished painting that arch (removing tape when the paint hasn’t fully dried helps make sure you don’t remove any paint that has dried together across the tape and the wall). Repeat until all arches are painted.
Allow paint to dry for at least one full hour before taking an eraser and removing any stray pencil marks that didn’t get painted over.
Replace the desk and decorate to your heart’s content. :)

Diagram 7. This ensures the vertical lines will be straight all the way down to the desk

Diagram 8. Outlining your vertical lines with painters tape prior to painting to ensure accuracy.

Freehanding the arches, not as scary or hard as you’d think!

Doing touch ups after removing the painters tape. Please note: we outlined the entire rainbow, including the vertical lines, but this is not necessary as painters tape will act as your vertical line outline.
Check out our favorite new flip clock screensaver, too! It's a free download at Fliqlo.com

Thank you so much for stopping by the blog! Let us know if you have any comments or questions on this project, or if you give it a go! Don’t forget to tag @probablythis in your social media project posts so we see it :)
xoxo Beau & Matt

