
We Turned Our Wall Into A Table--Bargeboard Table DIY

So, I was tempted to make a really structured DIY about this but I’m assuming that most people aren’t planning on cutting apart their walls—which would need to be made of solid wood—to do this project? We’ll do more of a story time for this one, and so, admittedly, the DIY aspect is just here for funsies.
When we walked into this house for the very first time, under early-pandemic restrictions that allowed only four people, masked, to enter at a time, we instantly knew it was going to be ours. That said, we also instantly saw approximately 1,000 problems that needed functional and decorative solutions. That’s sort of what made it perfect for us. There was just this insanely precise combination of century-old gorgeous architectural detail on the one hand, and a whole century of subsequent owners’… choices… on the other. Perfect for people who want projects but also love a place with history and character. We’re not preservation purists, but do we believe in highlighting as many original and historic details as possible whenever working in older homes and that has certainly been front of mind during our renovations and design plans.
A previous renovation had turned the home from a true shotgun double duplex into a large residence with a much smaller apartment rental, but left the flow in some parts of the house kind of disjointed. For instance, the front two street-facing rooms of the home are both full of windows and connected via a single doorway on one side of the fireplace, so they’re open to each other and used similarly but still very walled off. We decided to improve the flow by adding a second doorway on the other side of the fireplace so that when all the doors are open it feels kind of like one big room, but when they’re shut they’re two separate spaces.


When we cut into the wall where we wanted this new door framed, we were surprised and honestly super ecstatic to find the original bargeboard walls still intact behind the drywall. Bargeboard was commonly used to build houses in New Orleans in the 19th century. It’s wood recovered from literal deconstructed barges that had been stripped for parts and used in home construction—apparently this was a more profitable alternative than the costly option of sending them back upriver. We basically screamed when we found out we still had some in our walls, and since we were still convinced this new doorway needed to happen, we also immediately knew we needed to repurpose the wood somewhere else in the house. Highlighting historic elements! With our garden bed dining area underway, an outdoor dining table was the way to go. We thought that would be a fun and honorable new way to use this material. Also we’re thrifty as shit, so getting to skip out on buying more furniture? Yes ma’am thank you so much.


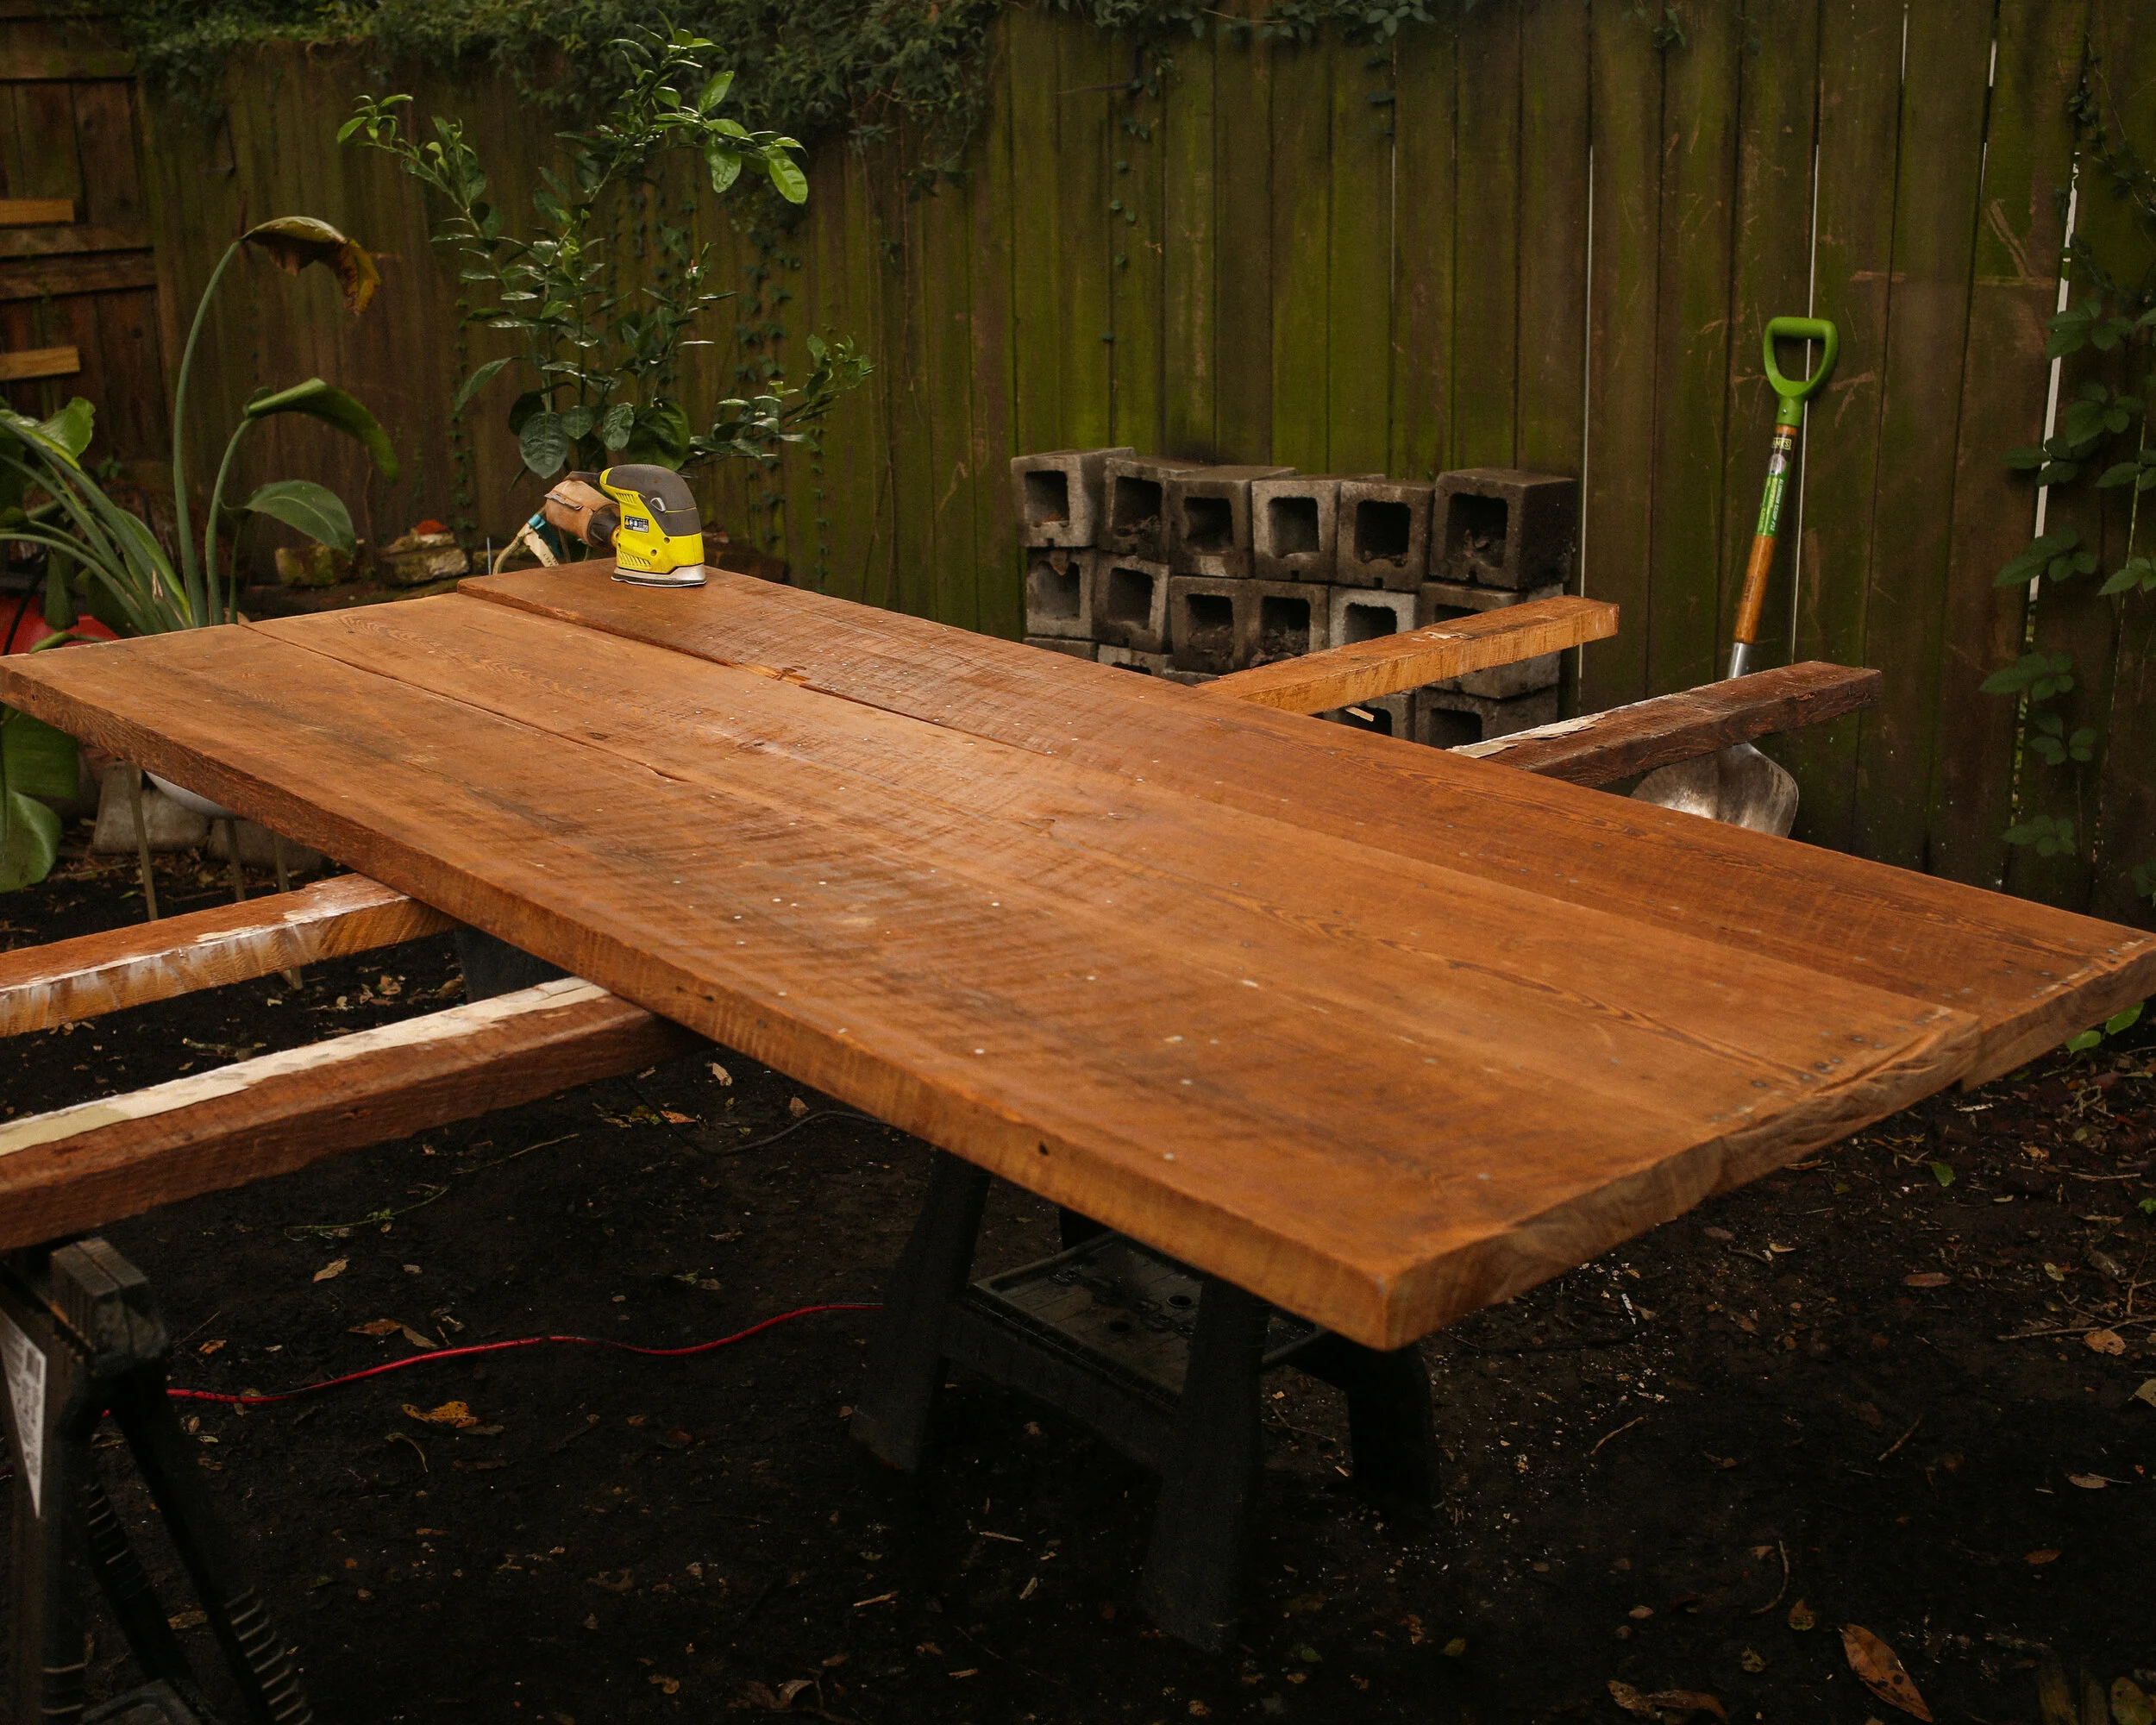
So, step one of this tutorial? Have really old wood that happens to be cut into the dimensions of 83”x35”, conveniently the same as the doorway you just fashioned to match a different doorway in your house and also conveniently the size of the table you would like to create. Steps 2 through 7 below. Thanks, sweetie!
Bargeboard Table Diy
large boards of reclaimed wood that, laid together, will measure to an appropriate tabletop size
smaller boards, preferably scraps of the same wood, to be used as brackets joining the tabletop boards
Waterproof wood sealer such as this one
exterior wood screws
table legs—we found ours at Bear Hollow Supply (several options, install hardware included, plus free shipping!)
5/8” spade bit (if you use the hardware included with Bear Hollow Supply’s legs. If you use something else, you may need a different size spade bit)
wrench for insert nuts
remove any nails or metals (like staples) from the wood as well as any other random bits of crud prior to sanding.
Sand the wood down starting at your lowest grit and working your way up. We started with 36 grit because our wood surface was notched and uneven, and worked our way up to 220 because we wanted the tabletop as smooth as possible. Unless your wood is very rough and uneven like ours was, you should be able to start with 80 or 100 and go up to 150 or 180.
Waterproof your wood or stain it as desired— follow drying instructions and time length before moving on.
Place your table boards how you want them, turn them upside down so that you’re working on what will be the underside of the table, and lay out the brackets on top. Screw exterior wood screws into the brackets We found 3 roughly 5” wide and 24” long brackets were great for making our table sturdy and strong.
Place your legs where they’ll be and mark where you need to drill holes for the insert nuts. We were really careful to make sure we had the legs wide enough to give just enough room for three folks to sit comfortably while still having knee room for people to sit on the ends of the table, which for our table length ended up being about 62” of space between the legs. (Tip: figure between 18” and 24” of space per person, or if you know which chairs you’ll be using, use that measurement as a guide)
Use a spade bit to drill holes where you marked, and then screw in the insert nuts. Again, this step is specific to the legs from Bear Hollow and the hardware that comes with them, so your installation may look different.
Attached your legs with bolts provided by Bear Hollow, and you’re all set!


Let us know what you think, and thanks for stopping by the blog boo!
xoxo Beau & Matt

