
Rosie Renovation: DIY Triangle Wood Floors


One of the first things we knew we needed to do, before even having Rosie here with us *in the flesh*, was to replace her floors with something a little more... Woodsman Glamour.
Woodsman Glamour
(noun): the intersection between rustic living and fierce attention to detail and finesse.
example: Josh was going to just be a park ranger for Halloween but then he went all woodsman glamour with that sash made entirely of intricately braided vines.
see also: lumbersexual
Since Matt and I are only 50% useful when it comes to the more advanced DIY projects, we called upon our good friend and carpenter, Chad Robin of Totem Woodworks here in New Orleans to do these floors. Chad is remarkably talented and does custom wood things ranging from cabinetry to big tables to small special tables to intricate custom floating shelves to hanging glowing wooden chandelier things that are freaking sick, etc. He's also super cute, so there's that.
And he's always up to taking new custom orders, so get on it y'all.
This project is a somewhat more advanced DIY situation, but it can be done by the most novice wood worker if you're super careful with your measuring and prep work - but you're going to want to be super careful when it comes to cutting your triangles as that's the part most easily messed up. You could also just fly Chad out on location to make your entire home look like a geometric Neverland, just a thought.
We were first thinking we'd want hexagon flooring and started discussing that, but then all three of us realized that a hexagon is basically just a bunch of triangles stuck together anyway but more complicated to cut, so triangles became the new focus. We went back and forth on stains and sizes, eventually deciding on using reclaimed cypress with a light stain, and having each triangle measure 3". In retrospect, the triangles could have probably been 4" or even 5" and saved a bunch of time during cutting and installation, but none of us had really any clue what to expect so we went with 3" and the extra labor (sorry Chad).
For a space as small as Rosie's floors (around 40 sq feet), you're looking at about one solid day of cutting all of the triangles, and then about two days to lay them all down, and then an extra day for staining, assuming you work from like 9 to 5 on it each day. Perfect project for a long weekend or for when you call in "sick."
Check out the checklist for supplies you can find on eBay, our corporate partner for this whole Rosie Renovation, and instructions courtesy of lil bb Chad below!
Shopping List:
chop saw (Chad used a compound angle miter saw for this)
nails (long enough to go through your triangles and into the wood base board below. Our triangles were 1/2" thick, so the nails were 1.25")
adhesive (check to make sure whatever adhesive you go with works with the materials you are using)
brush for polyurethane
wood (ours is reclaimed cypress that needed to be de-nailed and sanded down, but if you don't have access or time to do all of that Chad recommends using basic pine from the home improvement store - just stain before cutting if desired)
To shop all light industrial equipment on eBay, click here!
Step 1: Chopping the Wood
First, you'll want to prep your materials for the install, which means cutting all the wood and getting everything on that shopping list up top. The cutting of the wood is pretty much the most important part of this entire process, and doing it wrong can really screw you up. Please don't let this be a Pinterest fail. So, there's math, and it's a bit confusing but hopefully the video and diagram below will help explain!
Our triangles were 3" on each side, so from the tip top of one triangle point to the base below it was 2.5" (if you draw right down the middle - see video 1 below). Chad took the strips of wood and used his table saw to cut slats that were 2.5" wide, which gave him one rectangular piece of wood that needed to have two diagonal cuts made with the chop saw to turn it into a triangle. In video 2 below, you'll see he clamped a piece of wood to the saw at the correct angle, providing a set marker for where the next piece of wood that was going to be cut.
Helpful tip: as you're making these, you can place six together to see how they line up - if cut correctly they should form a perfect hexagon - and make any adjustments necessary.
You can do some complicated math to figure out exactly how many triangles you need, but you can also just guesstimate and then make more if necessary. If going this route you'll probably want to just add a bit more on to what you expect you'll need.


Step 2: Prepping the Surface
Before you even begin putting down the floors themselves, you'll need to tear up the original flooring. Rosie never had cute vintage floors, instead there was some kind of awful stick and peel tile situation happening that definitely had to go. So, first step is really to just tear up whatever was there before, and to make sure that your nails, staples, or adhesives will work well with the surface of the flooring.
After we tore up the tile, there was a good bit of paper residue and sticky glue adhesive, so we scraped off what we could to reveal the original wood below and the rest we just had to put the new floors on top of. You can use an acetone to remove any excess glue residue etc that is left over from the floors you tear up, but just a warning it's gonna get real messy real quick. Once all original flooring is gone, do a good cleaning to prepare for the new floors.

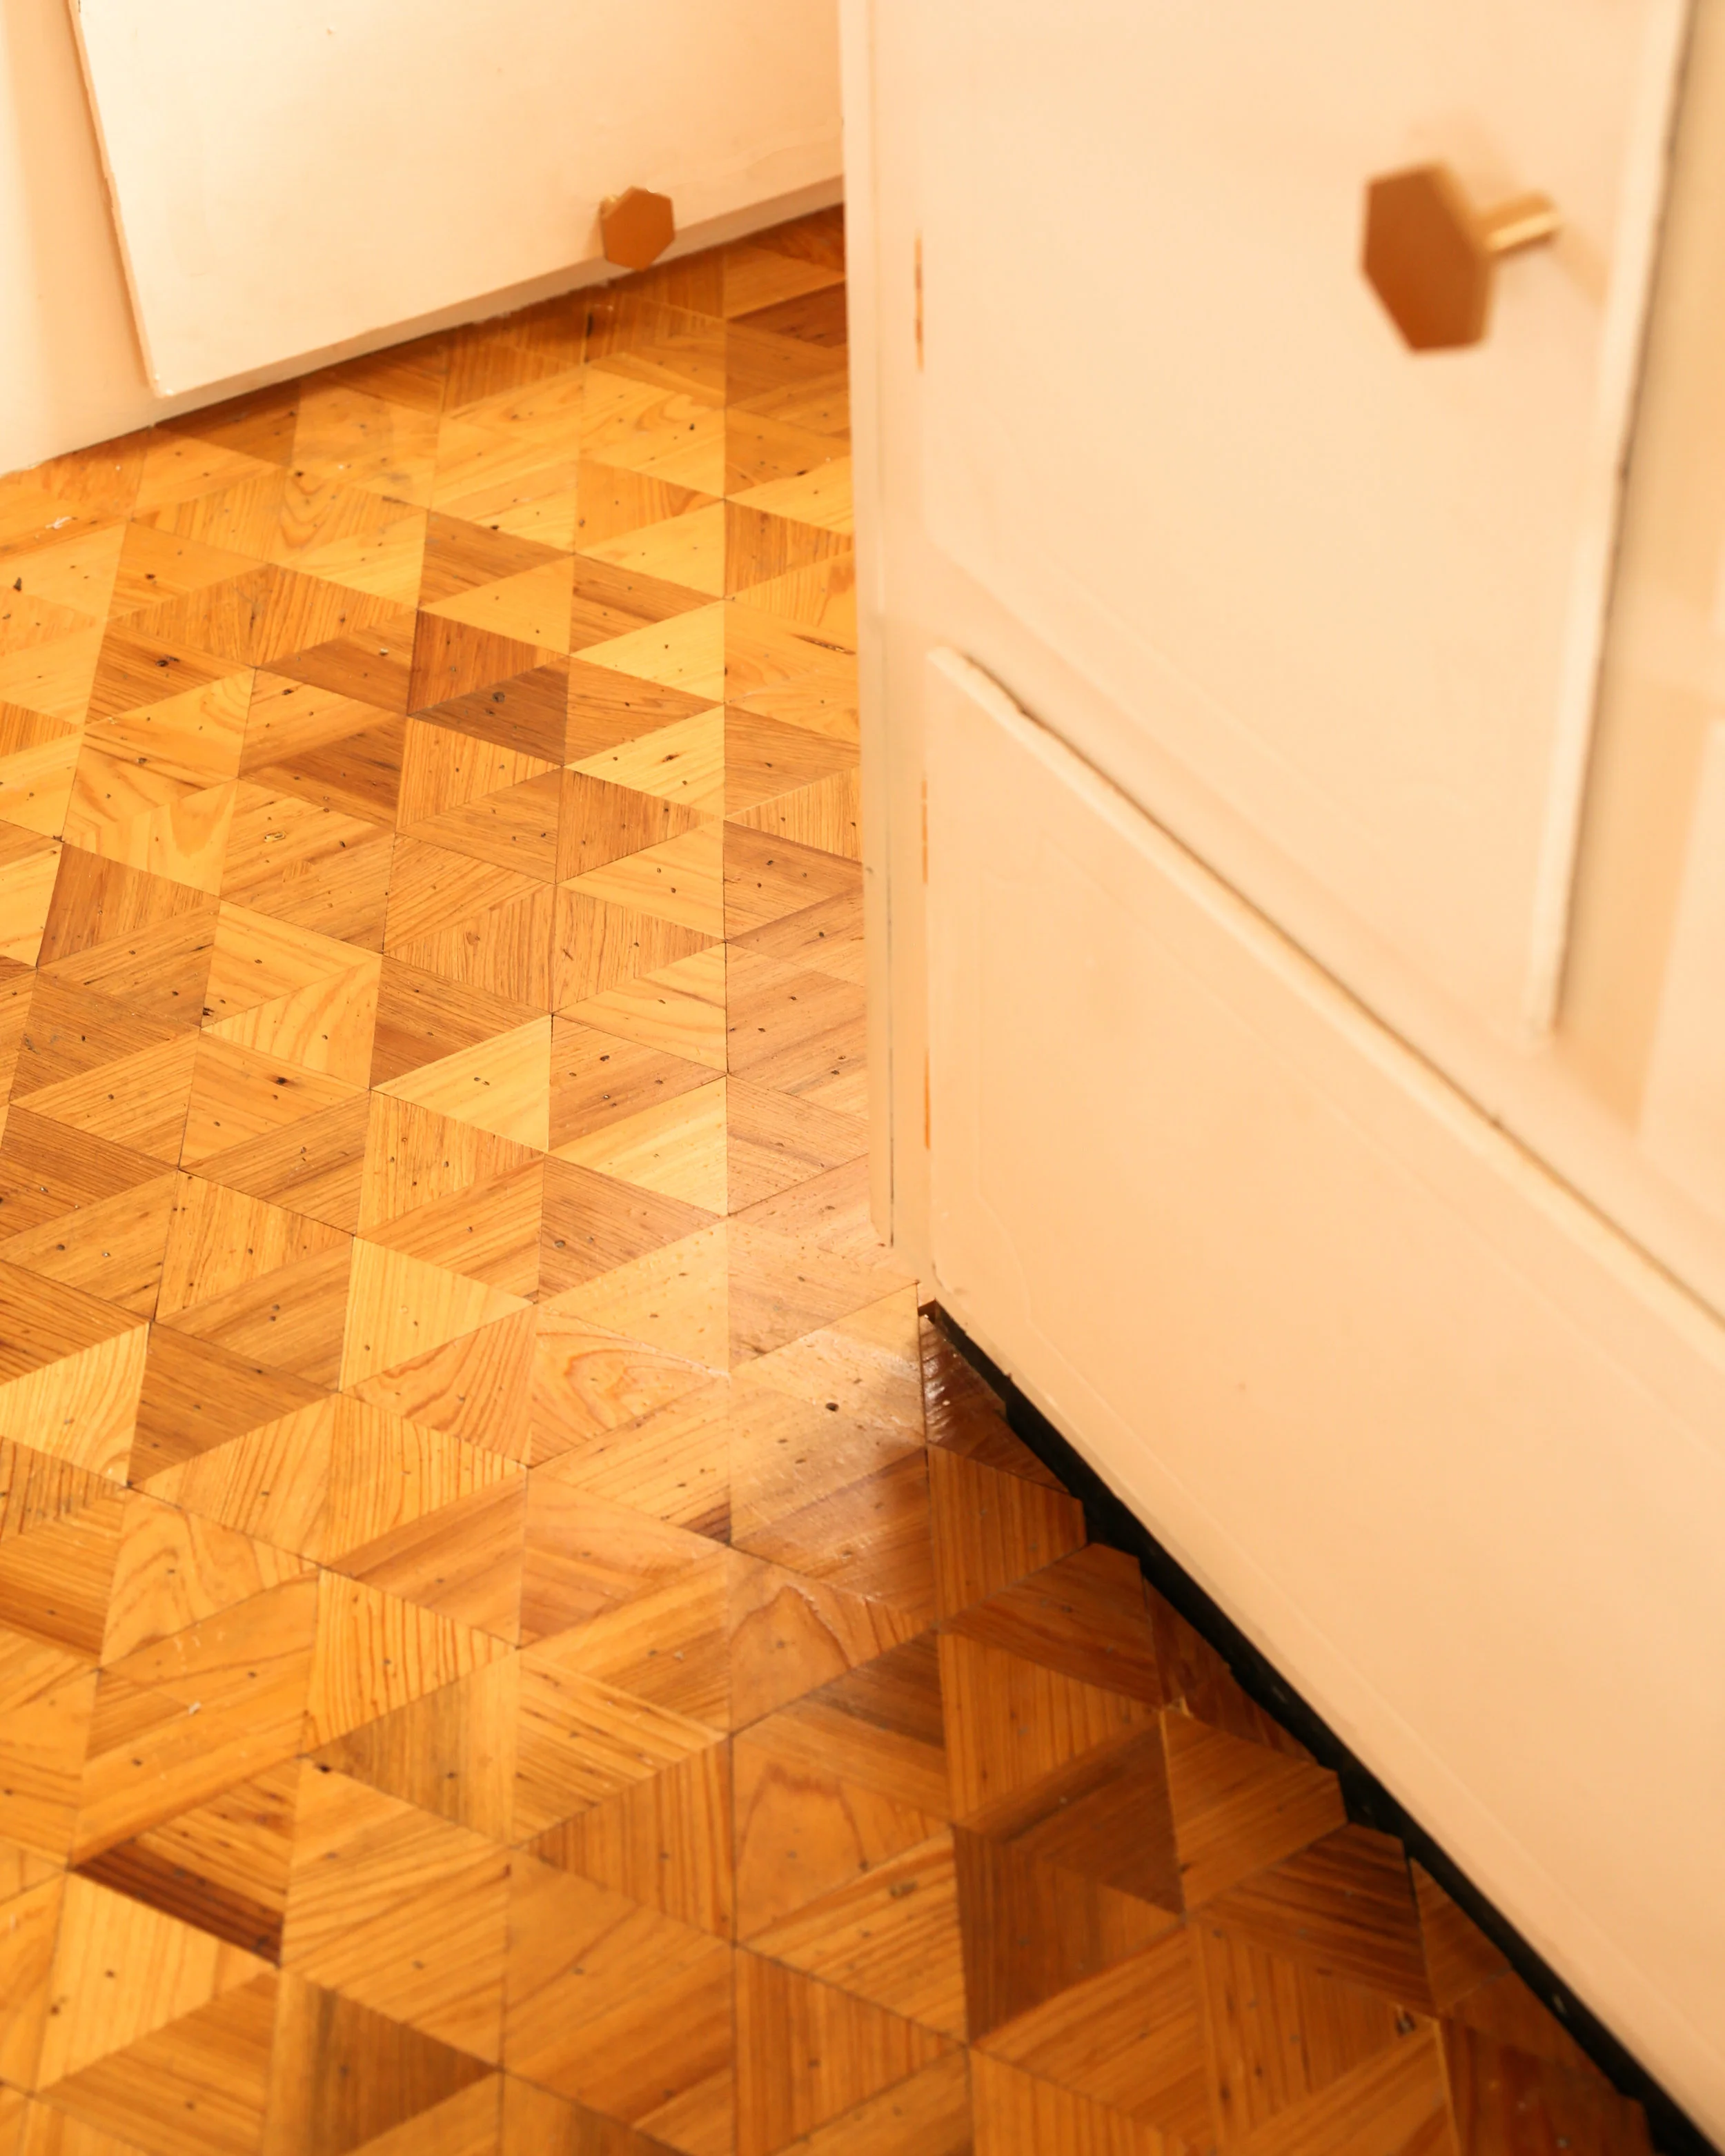
Step 3: Laying Down the Wood
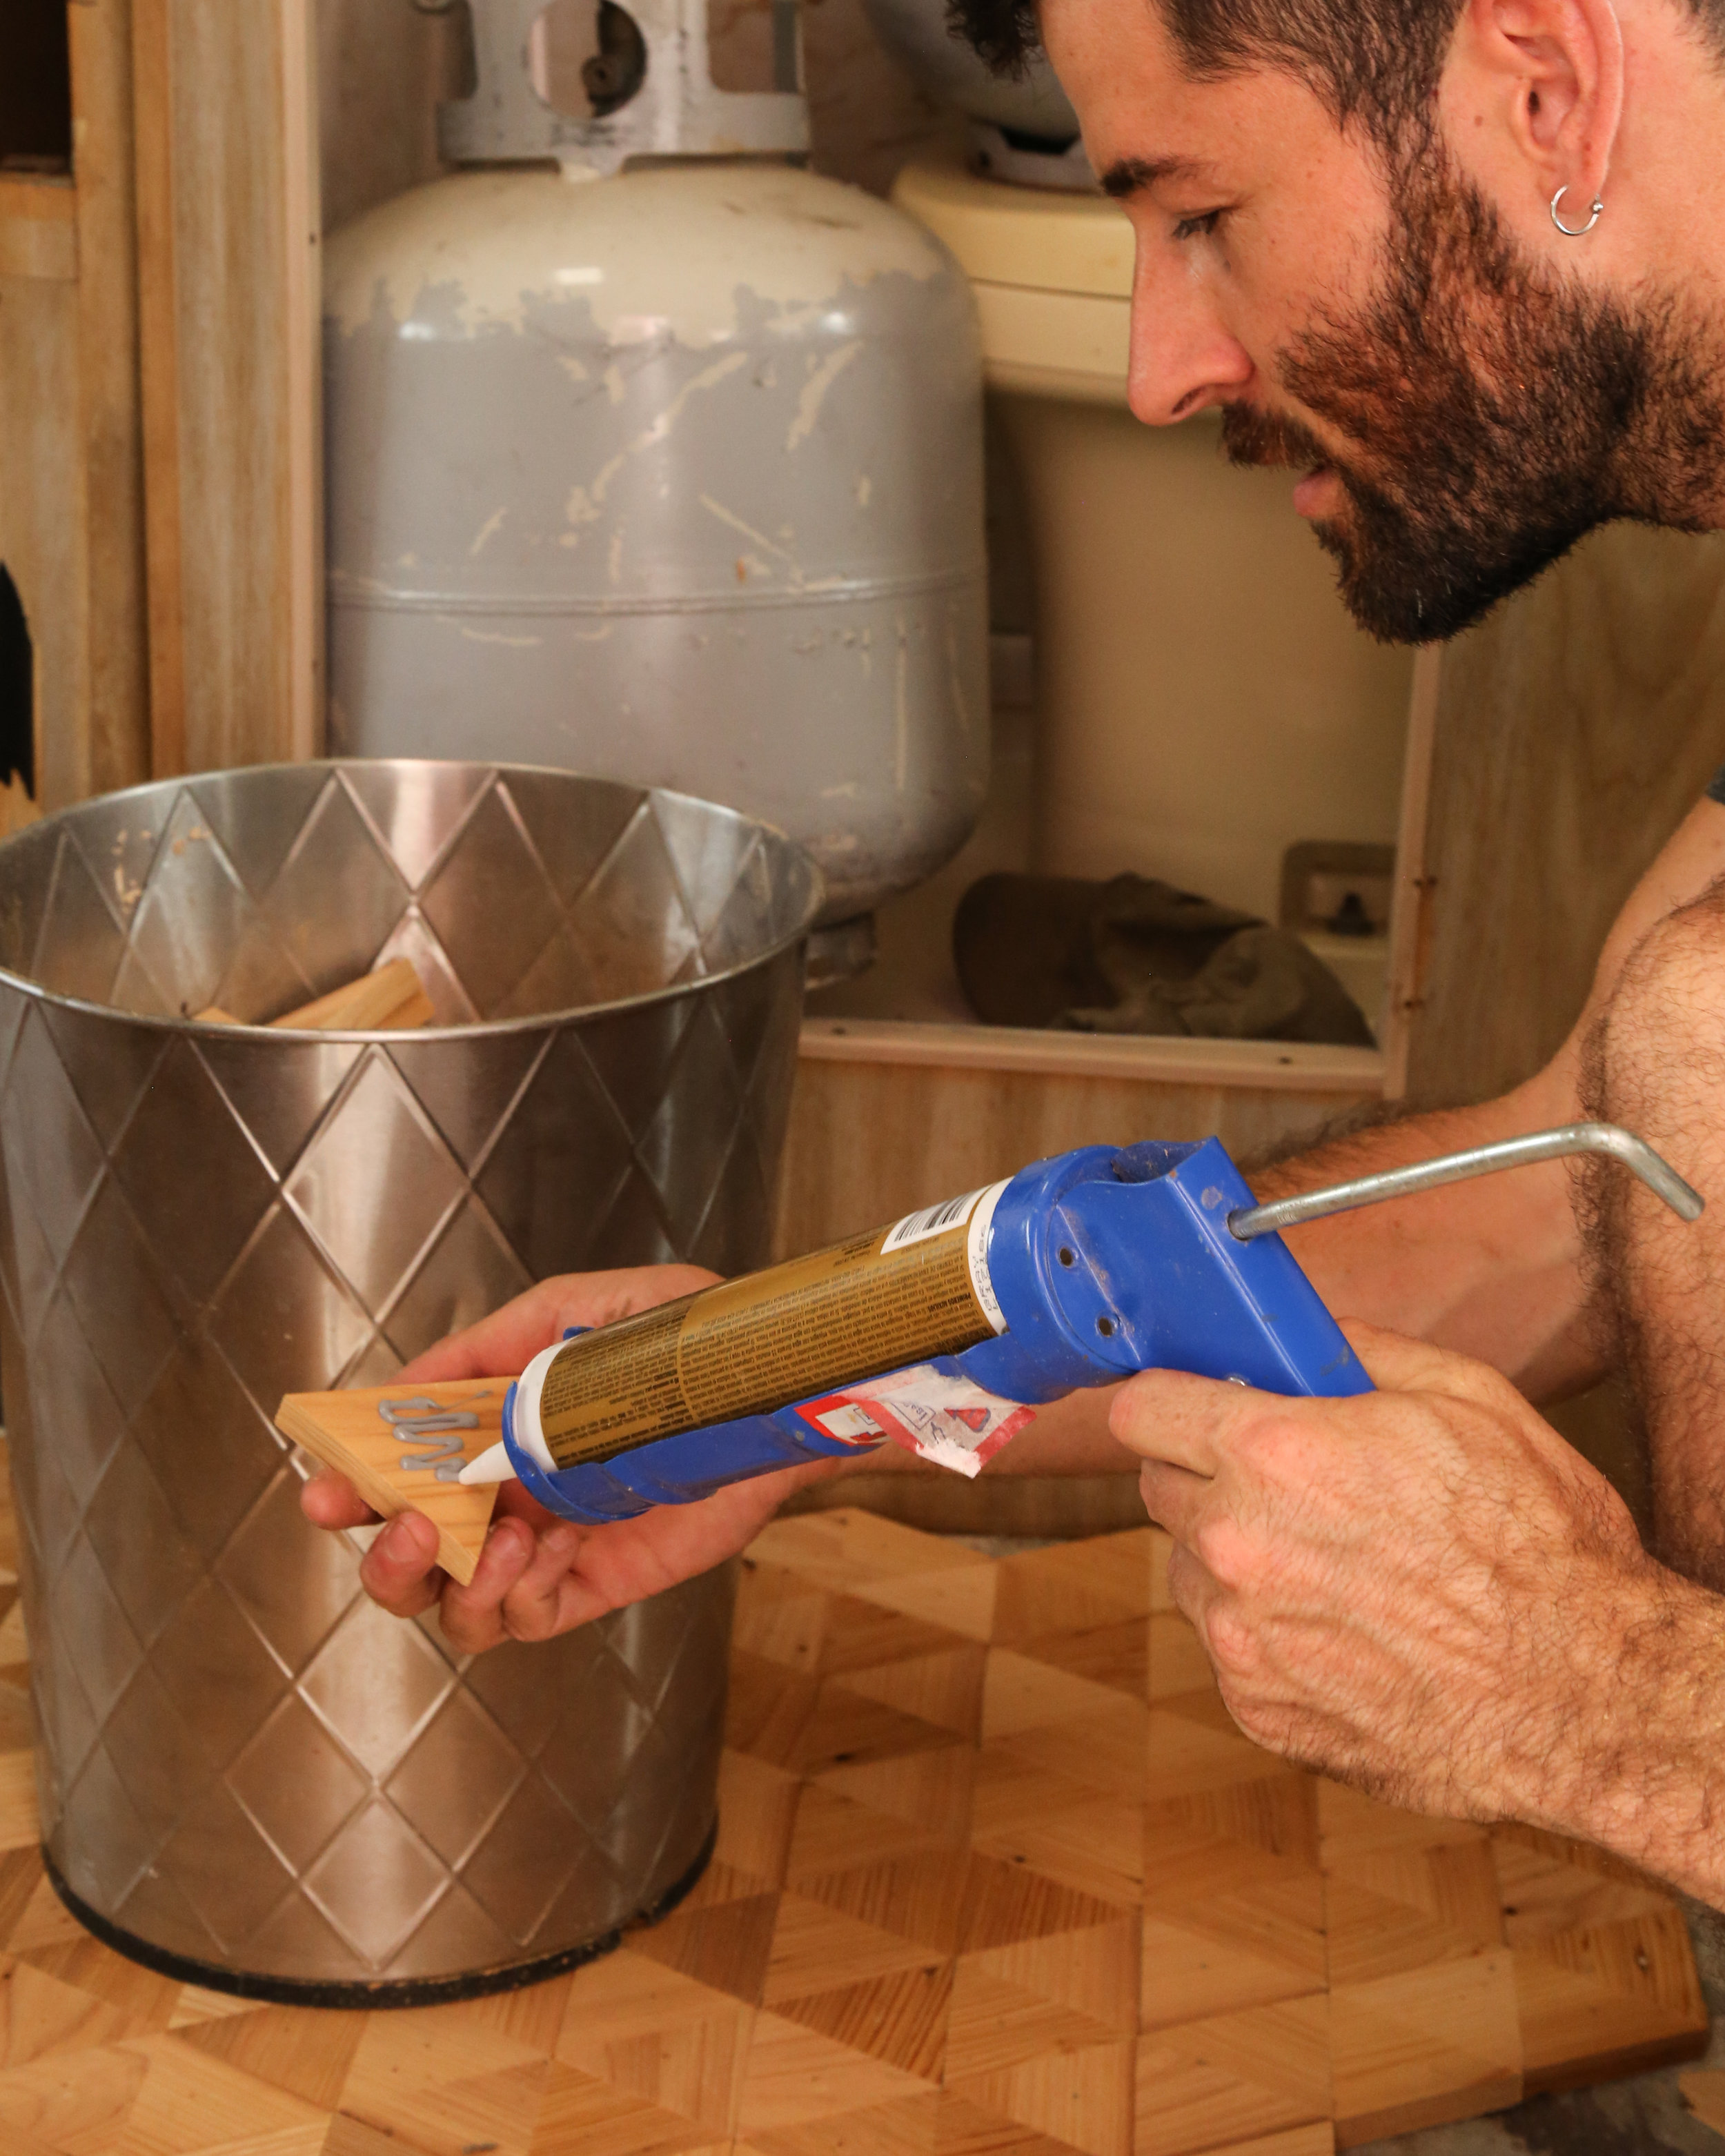
Start on one side and work your way across. You'll use a small amount of adhesive on each triangle, put it in place, and then repeat for a whole row. Once you're sure they all fit nicely, you then use the nail gun to nail each triangle down with one or two nails.
This is the long part. You'll just keep doing this basically forever, and then at a certain point you'll scream with excitement when you're done. The edges won't be perfect, so you're going to want to put down a thin border strip of wood along the wall just to cover up any imperfections and give it a nice finished look.
Step 4: Sanding and Coating
Once all of your triangle have been laid down, use an orbital sander to sand out the surface and make sure everything is nice and even. Give it a good wipe down to remove and residue, and use your wood filler to fill any leftover gaps between triangles. Let it set and use the orbital sander again to level everything out, and once again clean it all up to prepare the surface for the polyurethane. Use a brush to apply your polyurethane, letting dry about 10 or 12 hours between each application. Ours got three coats which worked great, but you may find you need less or more depending on the look you're going for. We haven't added a border between the floor and walls yet as we had some painting left to do, but that's next up and it's going to bring it all together!

P I N T H I S P R O J E C T!
