
Our New Bedroom Paint Color: How To Mix Your Own Custom Color Blend
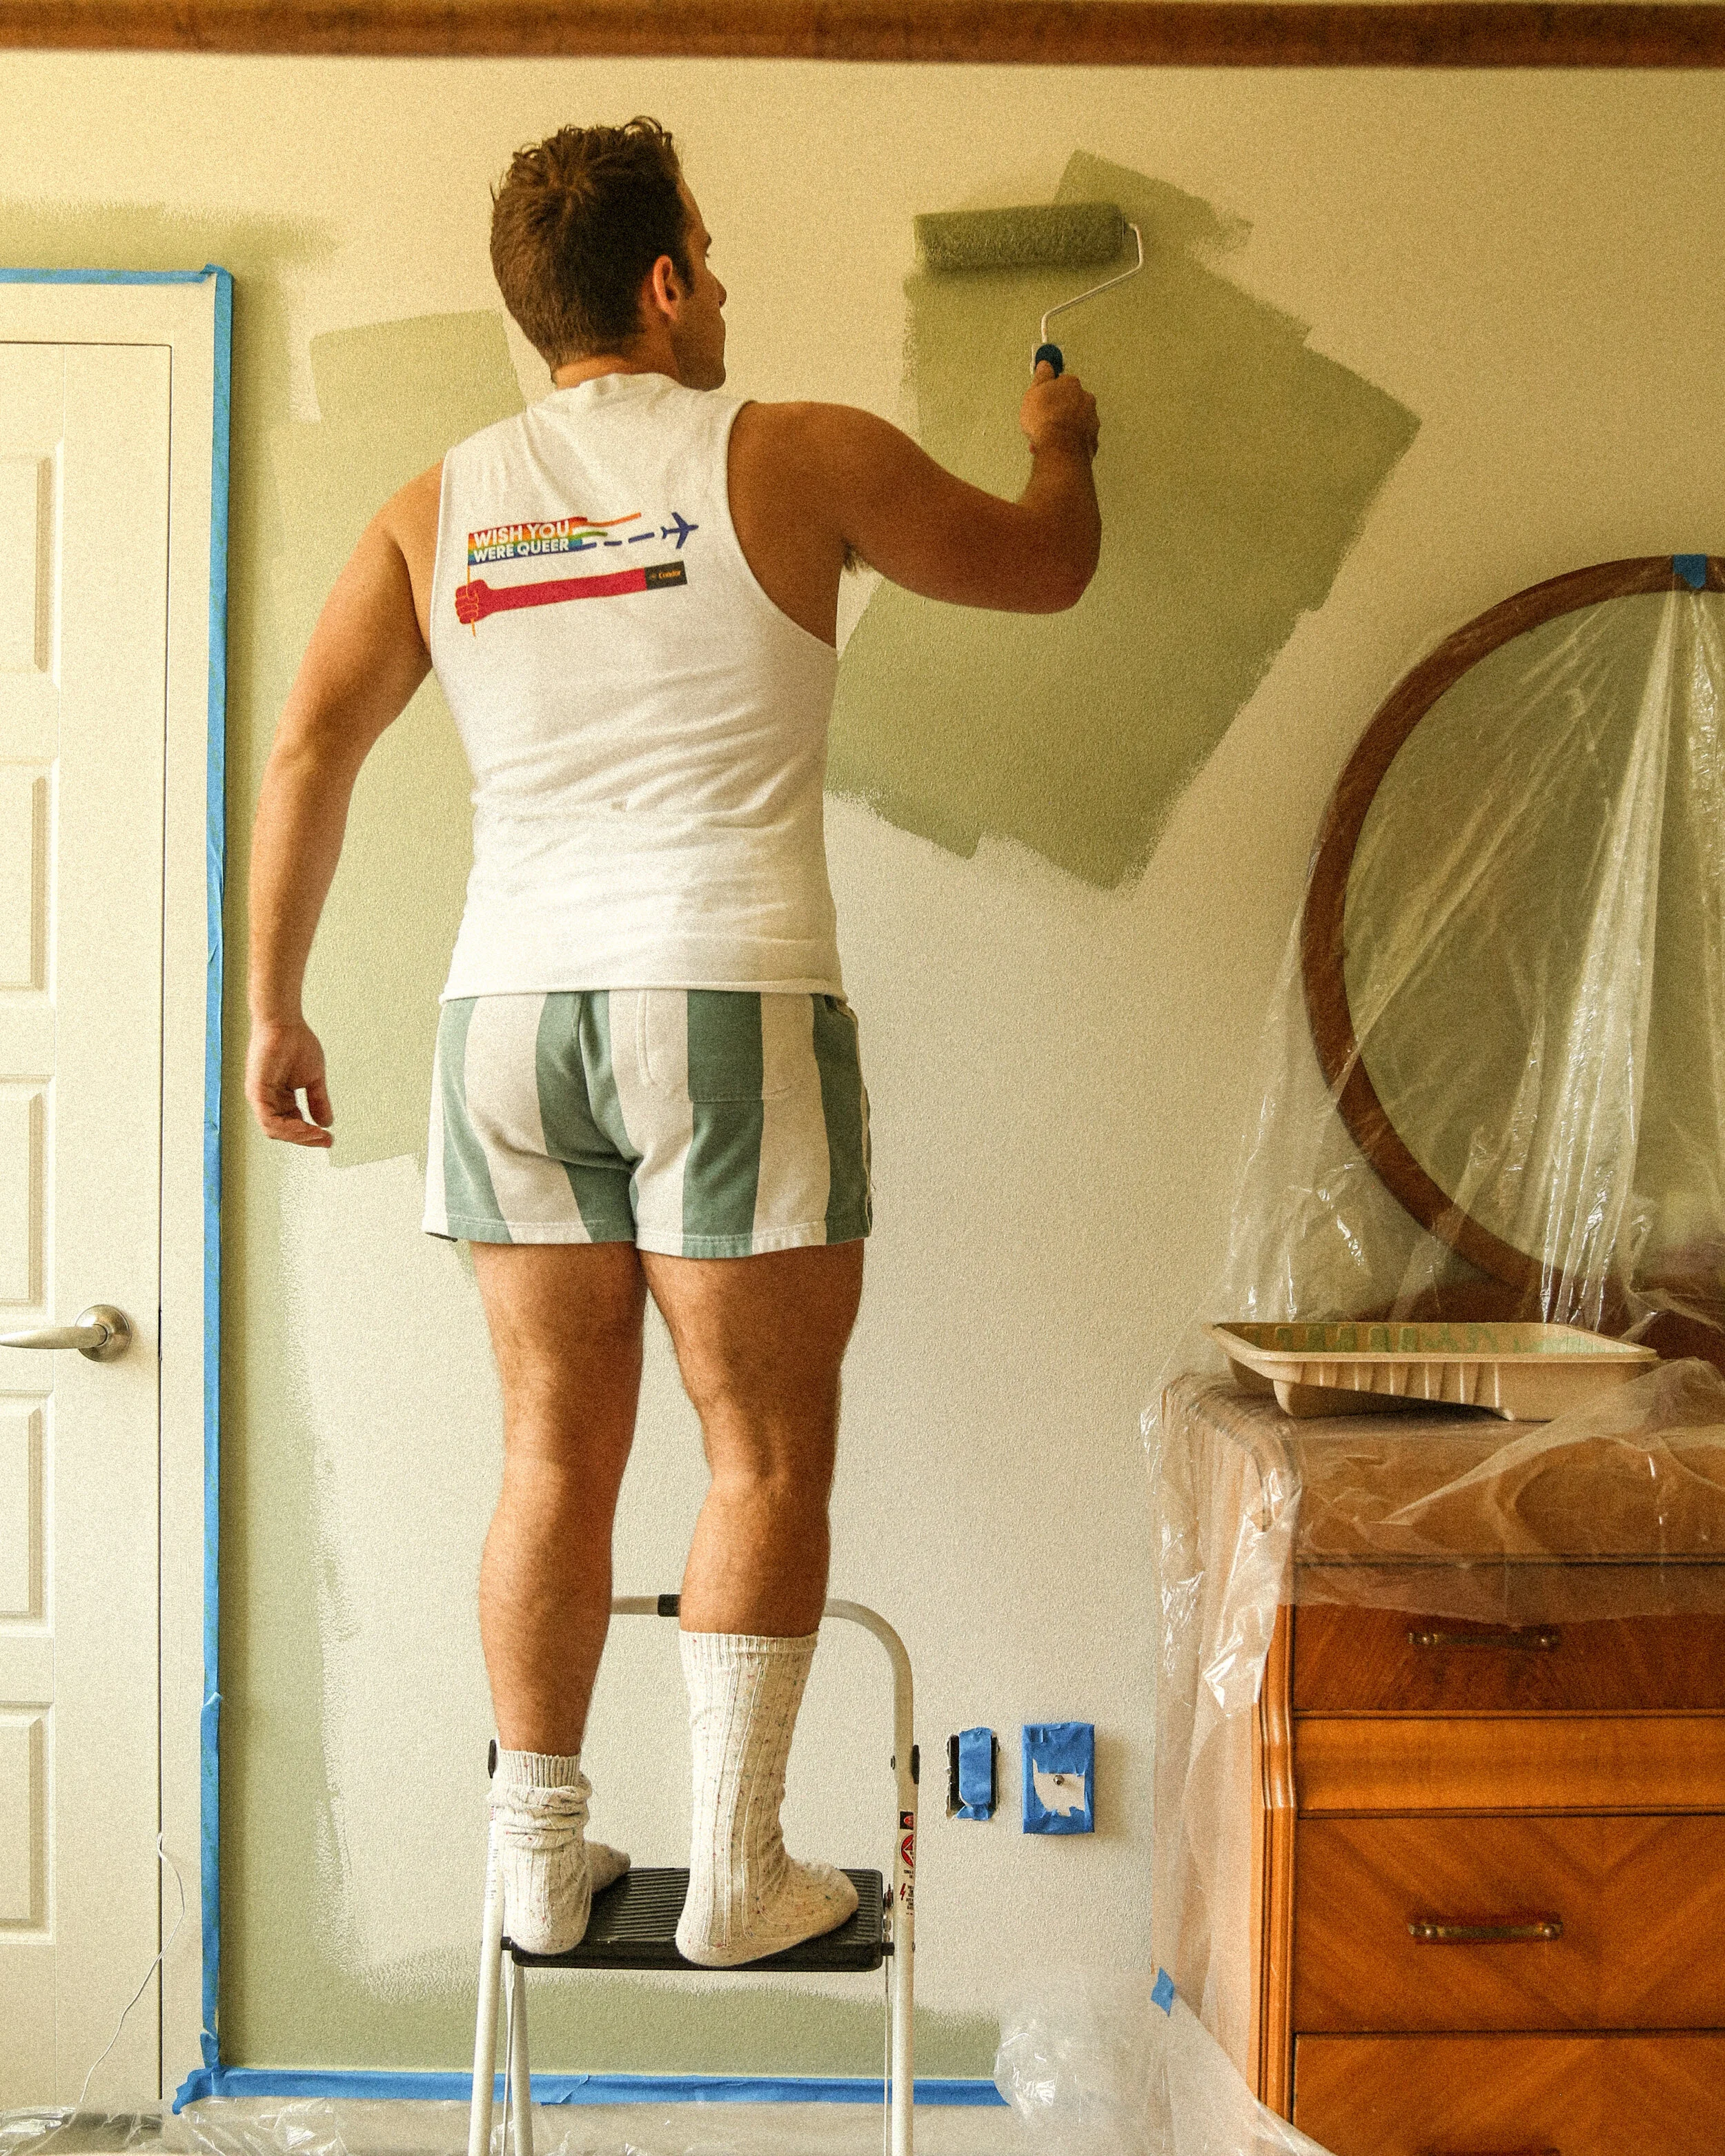
Please don’t read me for my outfit or for my half-assed protective taping—it was early and I was sleepy thank you for understanding I’m not a professional painter!
One of my favorite pastimes is walking into home improvement stores to pick up and put down approximately 500 paint sample swatches, then walk around in a circle muttering to myself about all the options while the well-meaning employees ask me repeatedly “Are you okay?” and “Are you sure you’re okay?” Like, no, I’m clearly not okay but I do need space to work out my color options!
Let’s rewind to last week.
After a year of discussing whether or not to paint the bedroom, we finally decided that yes, it needed to be painted. Luckily we immediately agreed on exactly what we wanted. Dusty sage. A color that would be kind of pale in areas of the room that get plenty of natural light but moody in the darker areas—all while being soothing and perfect for a bedroom * oasis *.

But then we picked three samples from all of the swatches and none of the samples looked quite right. One was too dark, one was too light, and one was too…kiwi? It was too kiwi. Kiwi isn’t welcome here. We did really like the too-dark and too-light ones, so we decided to make the ultimate compromise and try mixing them together. We posted about that on our Instagram stories and here’s when the questions started rolling into our direct messages.
“Can you just like mix your own paint, like is that okay?” is basically the gist.
The answer is 100% yes! If you’re using fresh interior paint you’ve gotten from the store, you can mix any colors that are the same paint type and finish (in our case: interior latex paint in a satin finish). All you need is the paints you want to mix, a 5 gallon bucket, and a paint stirrer. Mix to your hearts content, stirring until the colors are full blended and making sure you’ve scraped the sides and bottom of the bucket down to make sure it’s all incorporated. We tried several ratios (2:1, 3:2, etc.), but found a 1:1 ratio was actually perfect. That’s great because it was easy math and meant there wouldn’t be a lot of wasted unmixed paint.


The colors we settled on were Sherwin Williams Liveable Green—which was light and airy and…liveable—and Clary Sage, which was a rich sage color but just a tad too dark on its own. In the parts of the room that don’t get much light it would have felt a little bit too dungeony.
We started mixing different paint ratios and the thing we noticed immediately was that the 1:1 ratio didn’t actually look like 1:1 at all, but rather just like a slightly lighter version of the Clary Sage, which we already loved. So, important to note that you may need to do a bit of experimenting with mixing small amounts before you mix entire gallons. We made test swatches by mixing tiny bits of the paint—about 1/4 cup at a time.
Anyhow, we got to taping and painting and are absolutely in love with the results. It’s such a wonderfully relaxing room now, and we love how the green color works with our vintage furniture to create a space that feels really unique. We’ve got a full bedroom “reveal” coming in the near future, so check back in for that, but there’s a little sneak peak below for ya!
xoxo Beau

We love it! And yes that little painting above the nightstand is actually pixelated in real life—our friends have an art shop that specializes in selling pixelated nude images! A cute concept!
![The Best Hudson Valley Cottage Stay [Upstate New York Travel]](https://images.squarespace-cdn.com/content/v1/5451b54de4b0d0c075728ccb/1690378254614-DFO3V1TFOY571DIHUNRL/hudson+valley+trip+cottage-4.jpg)


