
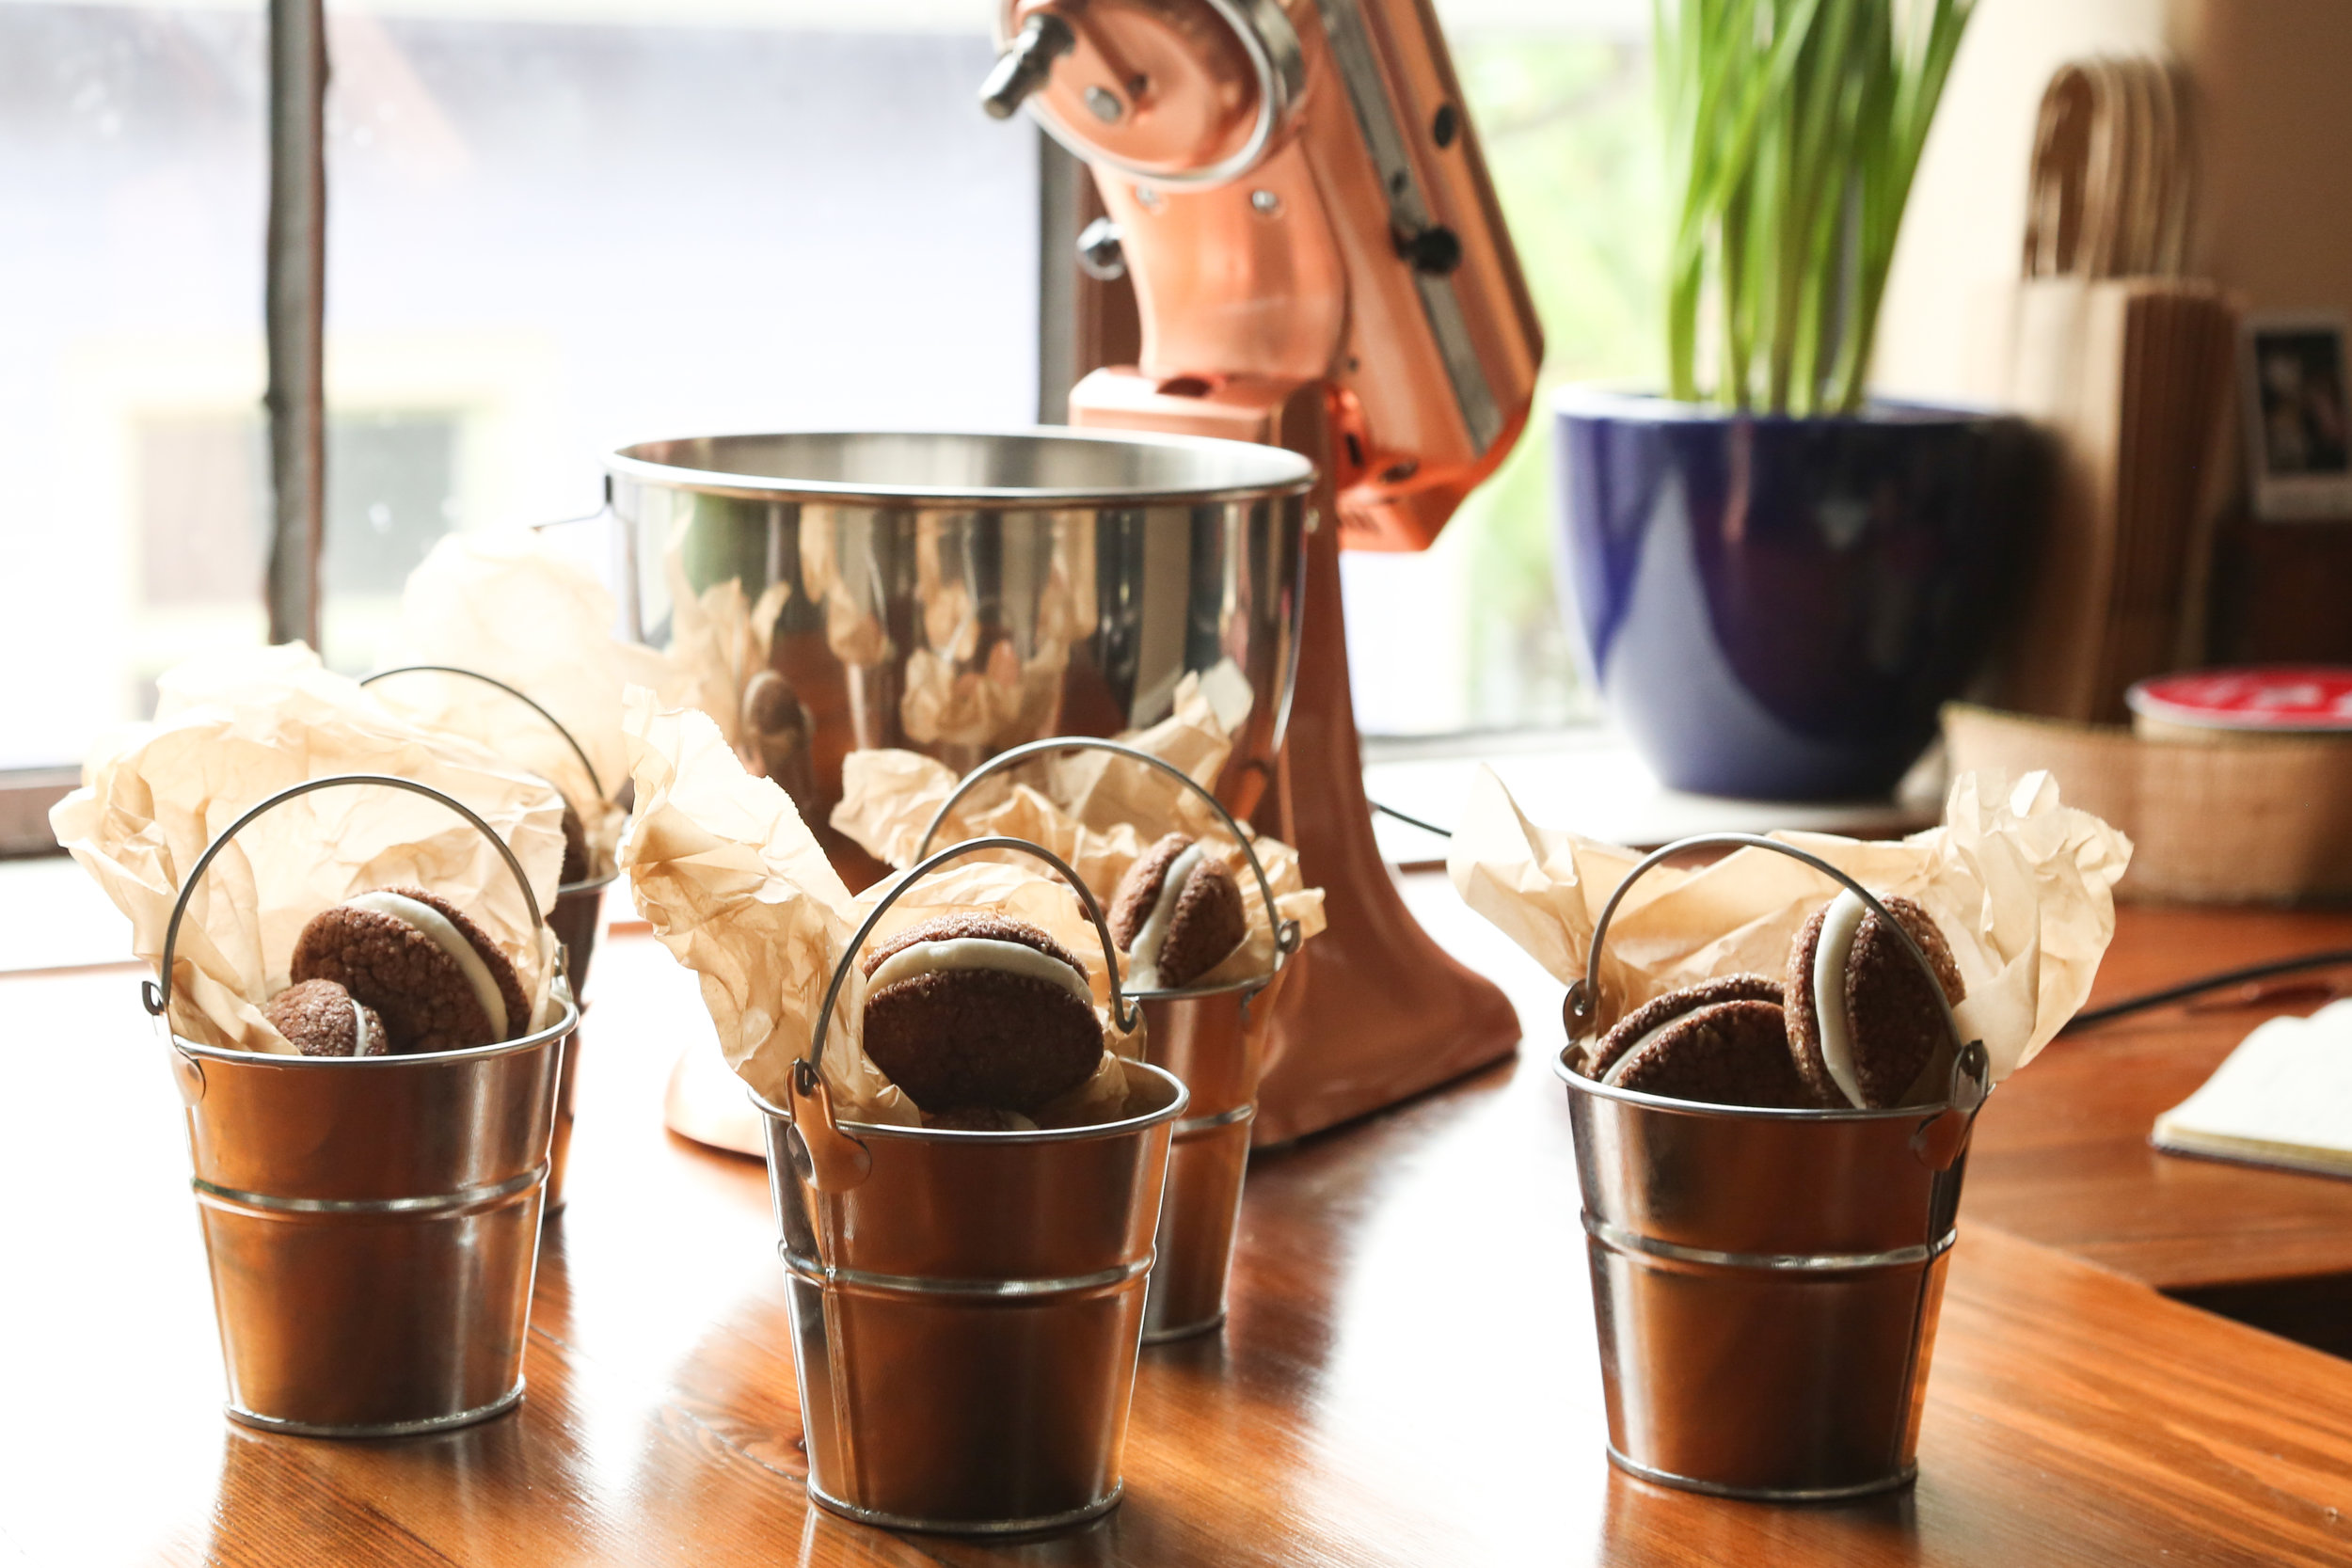
Mexican Hot Chocolate Cookie Sandwiches


Check out this dope copper mixer we're using in this post, here!
We had a cookie baking date! Well, every day is kind of a cookie baking date but we did this one up with our finest winter sweater game instead of the usual pajamas and knee-high socks situation. We felt fancy, OK. This particular cookie baking date had basically one mission: make the perfect Mexican Hot Chocolate Cookie Sandwiches. These little buds are kinda great for the holiday because they taste like winter but don't require us to actually have the skill set to perfectly ice sugar cookies into reindeer and dreidels and stockings and baby Jesus, because that shit is harrrrd, y'all.
Instead, we've created some pretty easy to make - and even easier to assemble - cookie sandwiches that can be done in more or less one hour and don't require steady hands or too much attention, so feel free to have the second glass of eggnog or whatever it is that gets you in the mood for holiday baking. Other than the cookies, this *particular* cookie baking date was super special because our friends at Zola wedding registry let us test out their copper KitchenAid mixer, which like, OK, woah. We got it in the mail about a week ago and have finally stopped hyperventilating and happy-sobbing long enough to write this post and share the magic of baking with one of these bad boys. Our obsession is intense.
Anyhow, Zola is this online wedding registry who's motto is "anything for love" and we were like in love with the copper KitchenAid and then it appeared at our door SO THEY REALLY MEAN IT YOU GUYS. The registry also has experiences like trips to Thailand and wine and cheese (!!!) club memberships and are you taking notes because we might get married specifically for this stuff so make sure you bookmark this post please. We've got more info on what Zola can do to make your wedding registry dreams come true at the very bottom of this post... but let's discuss these cookies in a bit more detail, shall we?
Yes.
OK, so the 411 is they're basically chocolate sugar cookies with a soft interior and a crispy outside and a kick of heat from cayenne pepper. There's a hefty dose of marshmallow love from a marshmallow cream filling that we're pumping in between the cookies and it really literally tastes like a Mexican Hot Chocolate in cookie form, which you probably gathered from the title of this post. They are SO GOOD. Alright guys, you can find a step-by-step photo guide below, as well as a written instruction section at the very end. See you next week!
Mexican Hot Chocolate Cookie Sandwiches
prep: 10 minutes // cook: 12 minutes // makes: about 36 cookies, enough for 18 cookie sandwiches
Mexican Chocolate Cookies
- 2 cups all-purpose flour** (see notes at bottom about flour measurement - v important!)
- 1/2 cup unsweetened cocoa** (same note as above)
- 2 1/2 teaspoons baking powder
- 2 teaspoons ground cinnamon
- 1 - 1 1/2 teaspoon cayenne pepper, depending on desired spice level
- 1/2 teaspoon salt
- 1/8 teaspoon ground cardamom
- 2 sticks unsalted butter, room temperature and soft
- 1 1/2 cups granulated sugar
- 2 large eggs
- 1 teaspoon vanilla extract
- 1/2 cup raw turbinado sugar
Marshmallow Cream Filling
- 1 stick unsalted butter, softened
- 2 cups powdered sugar
- 2 cups mini marshmallows
- 1 - 3 tablespoons heavy cream** (may not need, see notes!)
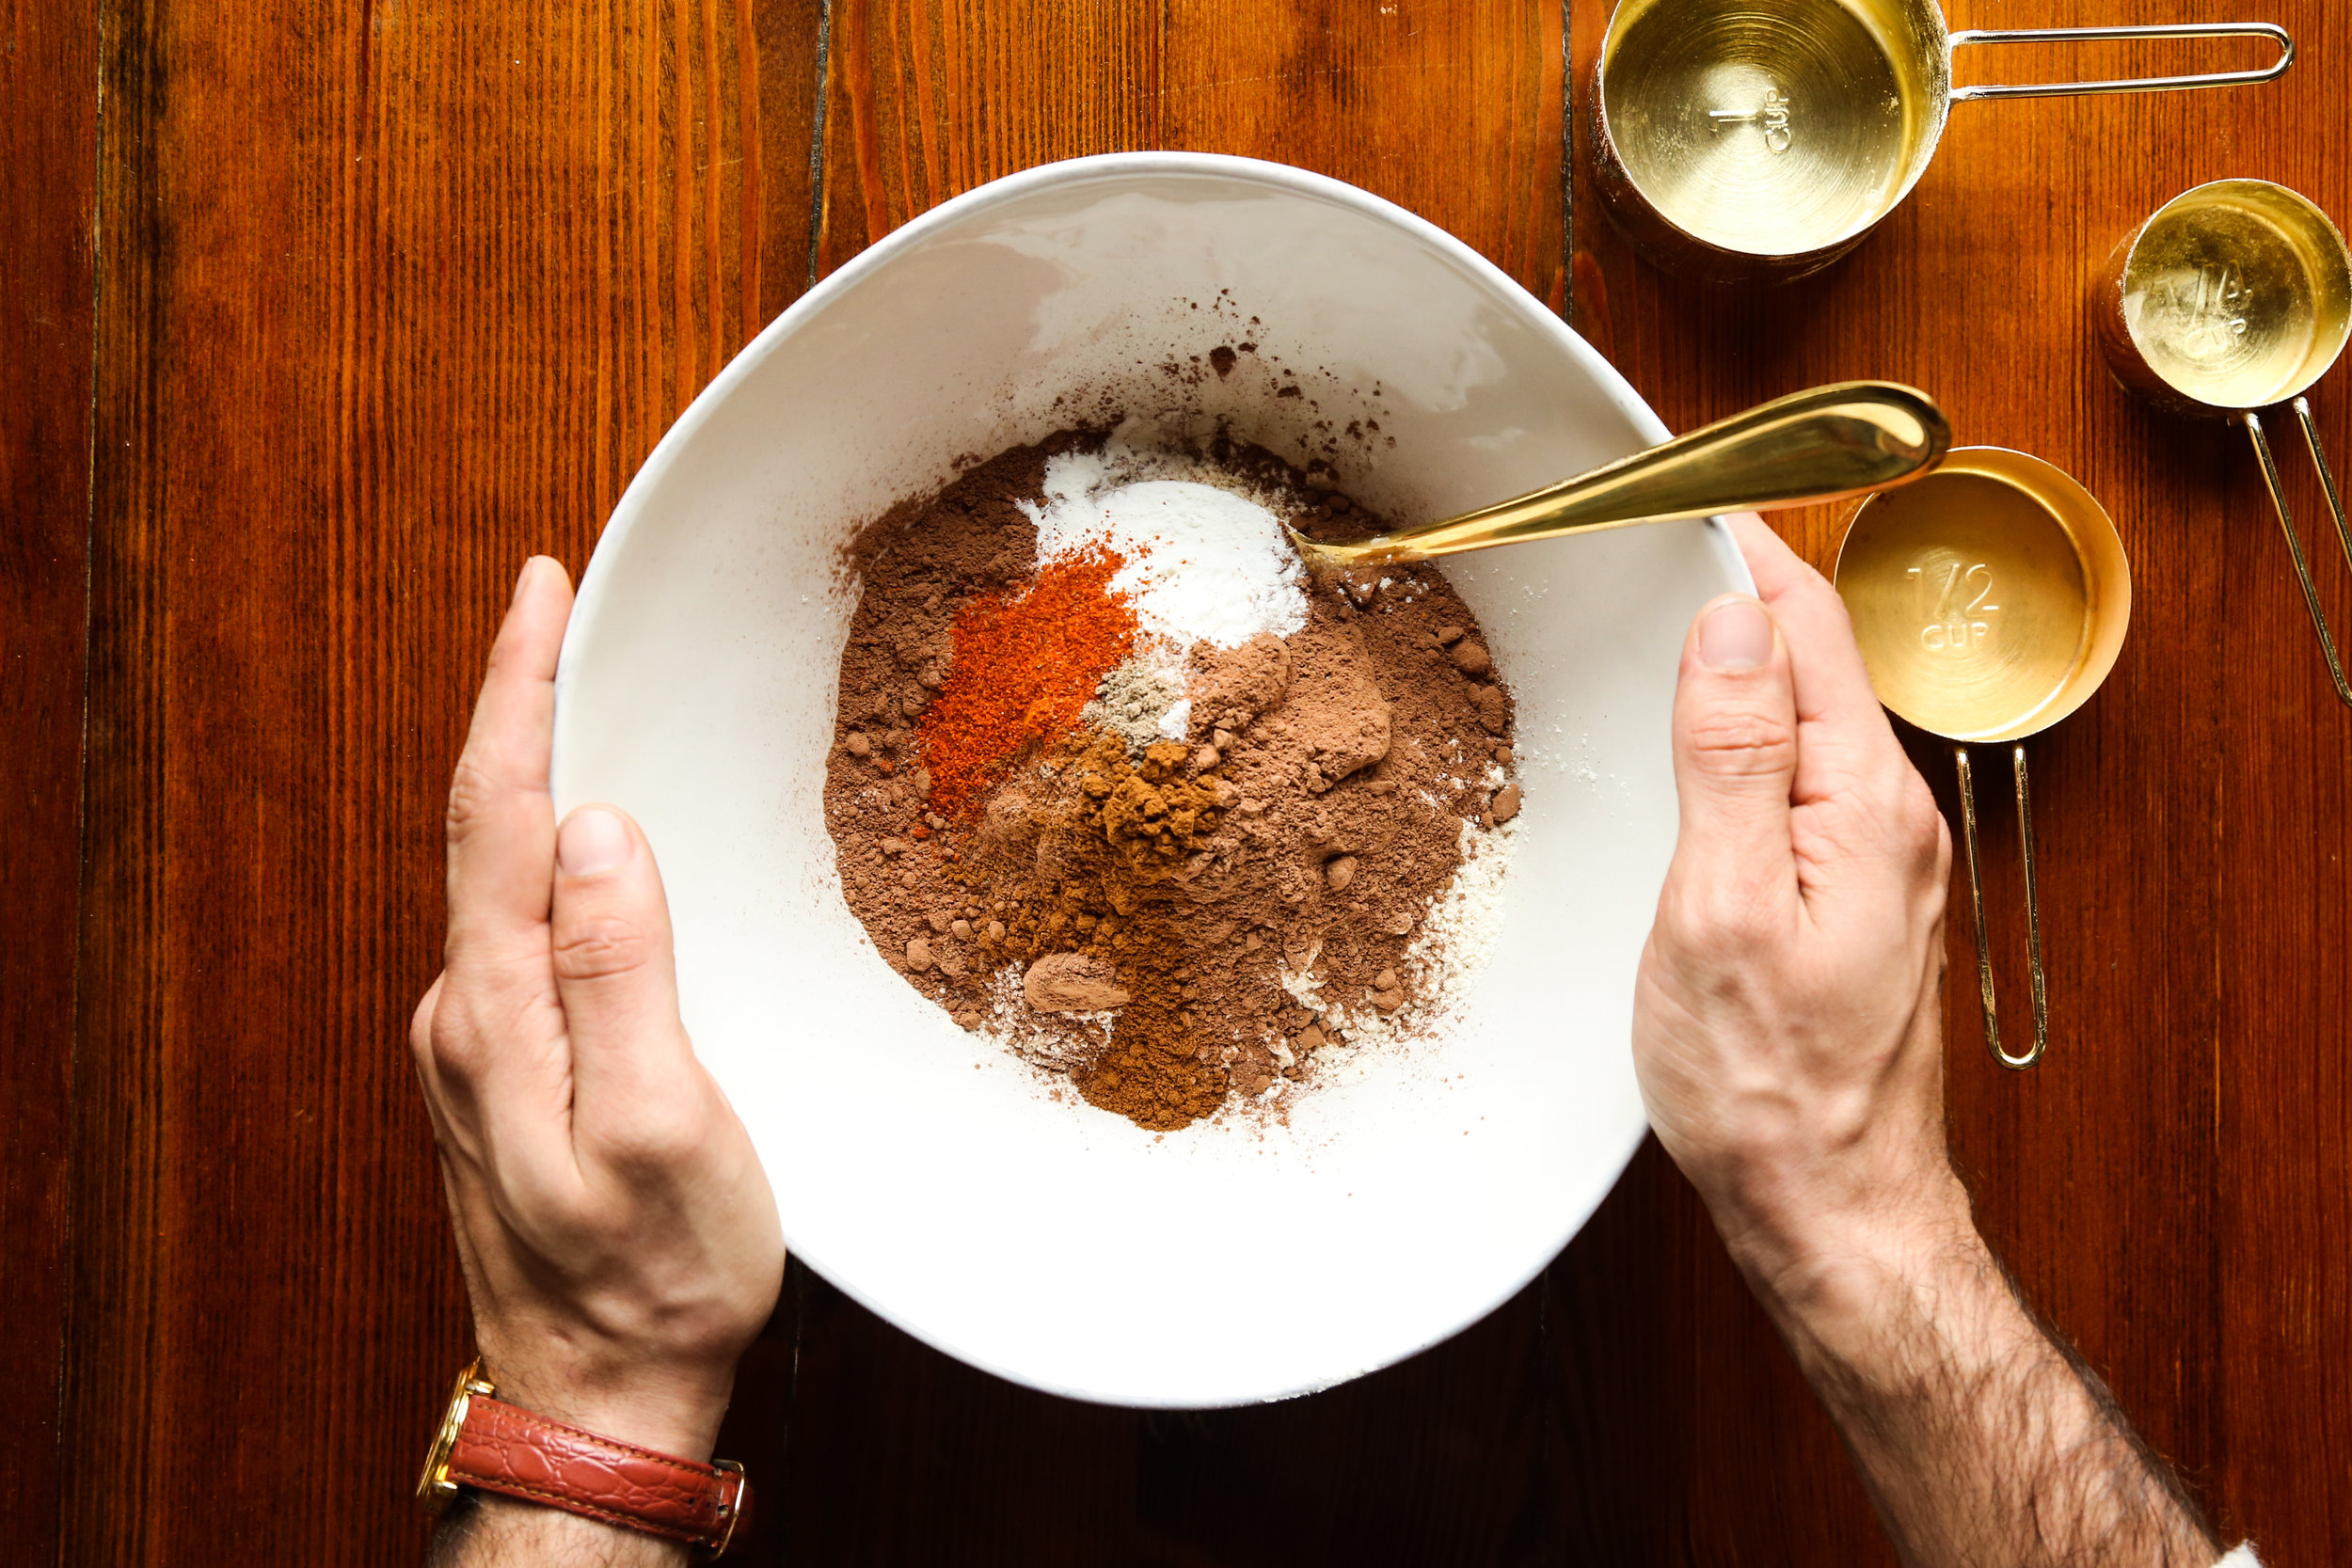
First things first, let's preheat our oven to 400 degrees and line two baking sheets with parchment paper. Perfect. OK, we're ready. Go ahead and whisk together the flour, cocoa powder, baking powder, cinnamon, cayenne, salt, and cardamom in a medium mixing bowl and set aside.

Next, we're breaking out the stand mixer and putting on the paddle attachment. Place the softened butter and granulated sugar in the bowl of the mixer and cream on speed 7 for about two minutes, until fluffy. Scrape down the bowl and add in the eggs, one at a time, mixing on low between each addition, followed by the vanilla extract. Beat for another minute on speed 7, until slightly fluffy.
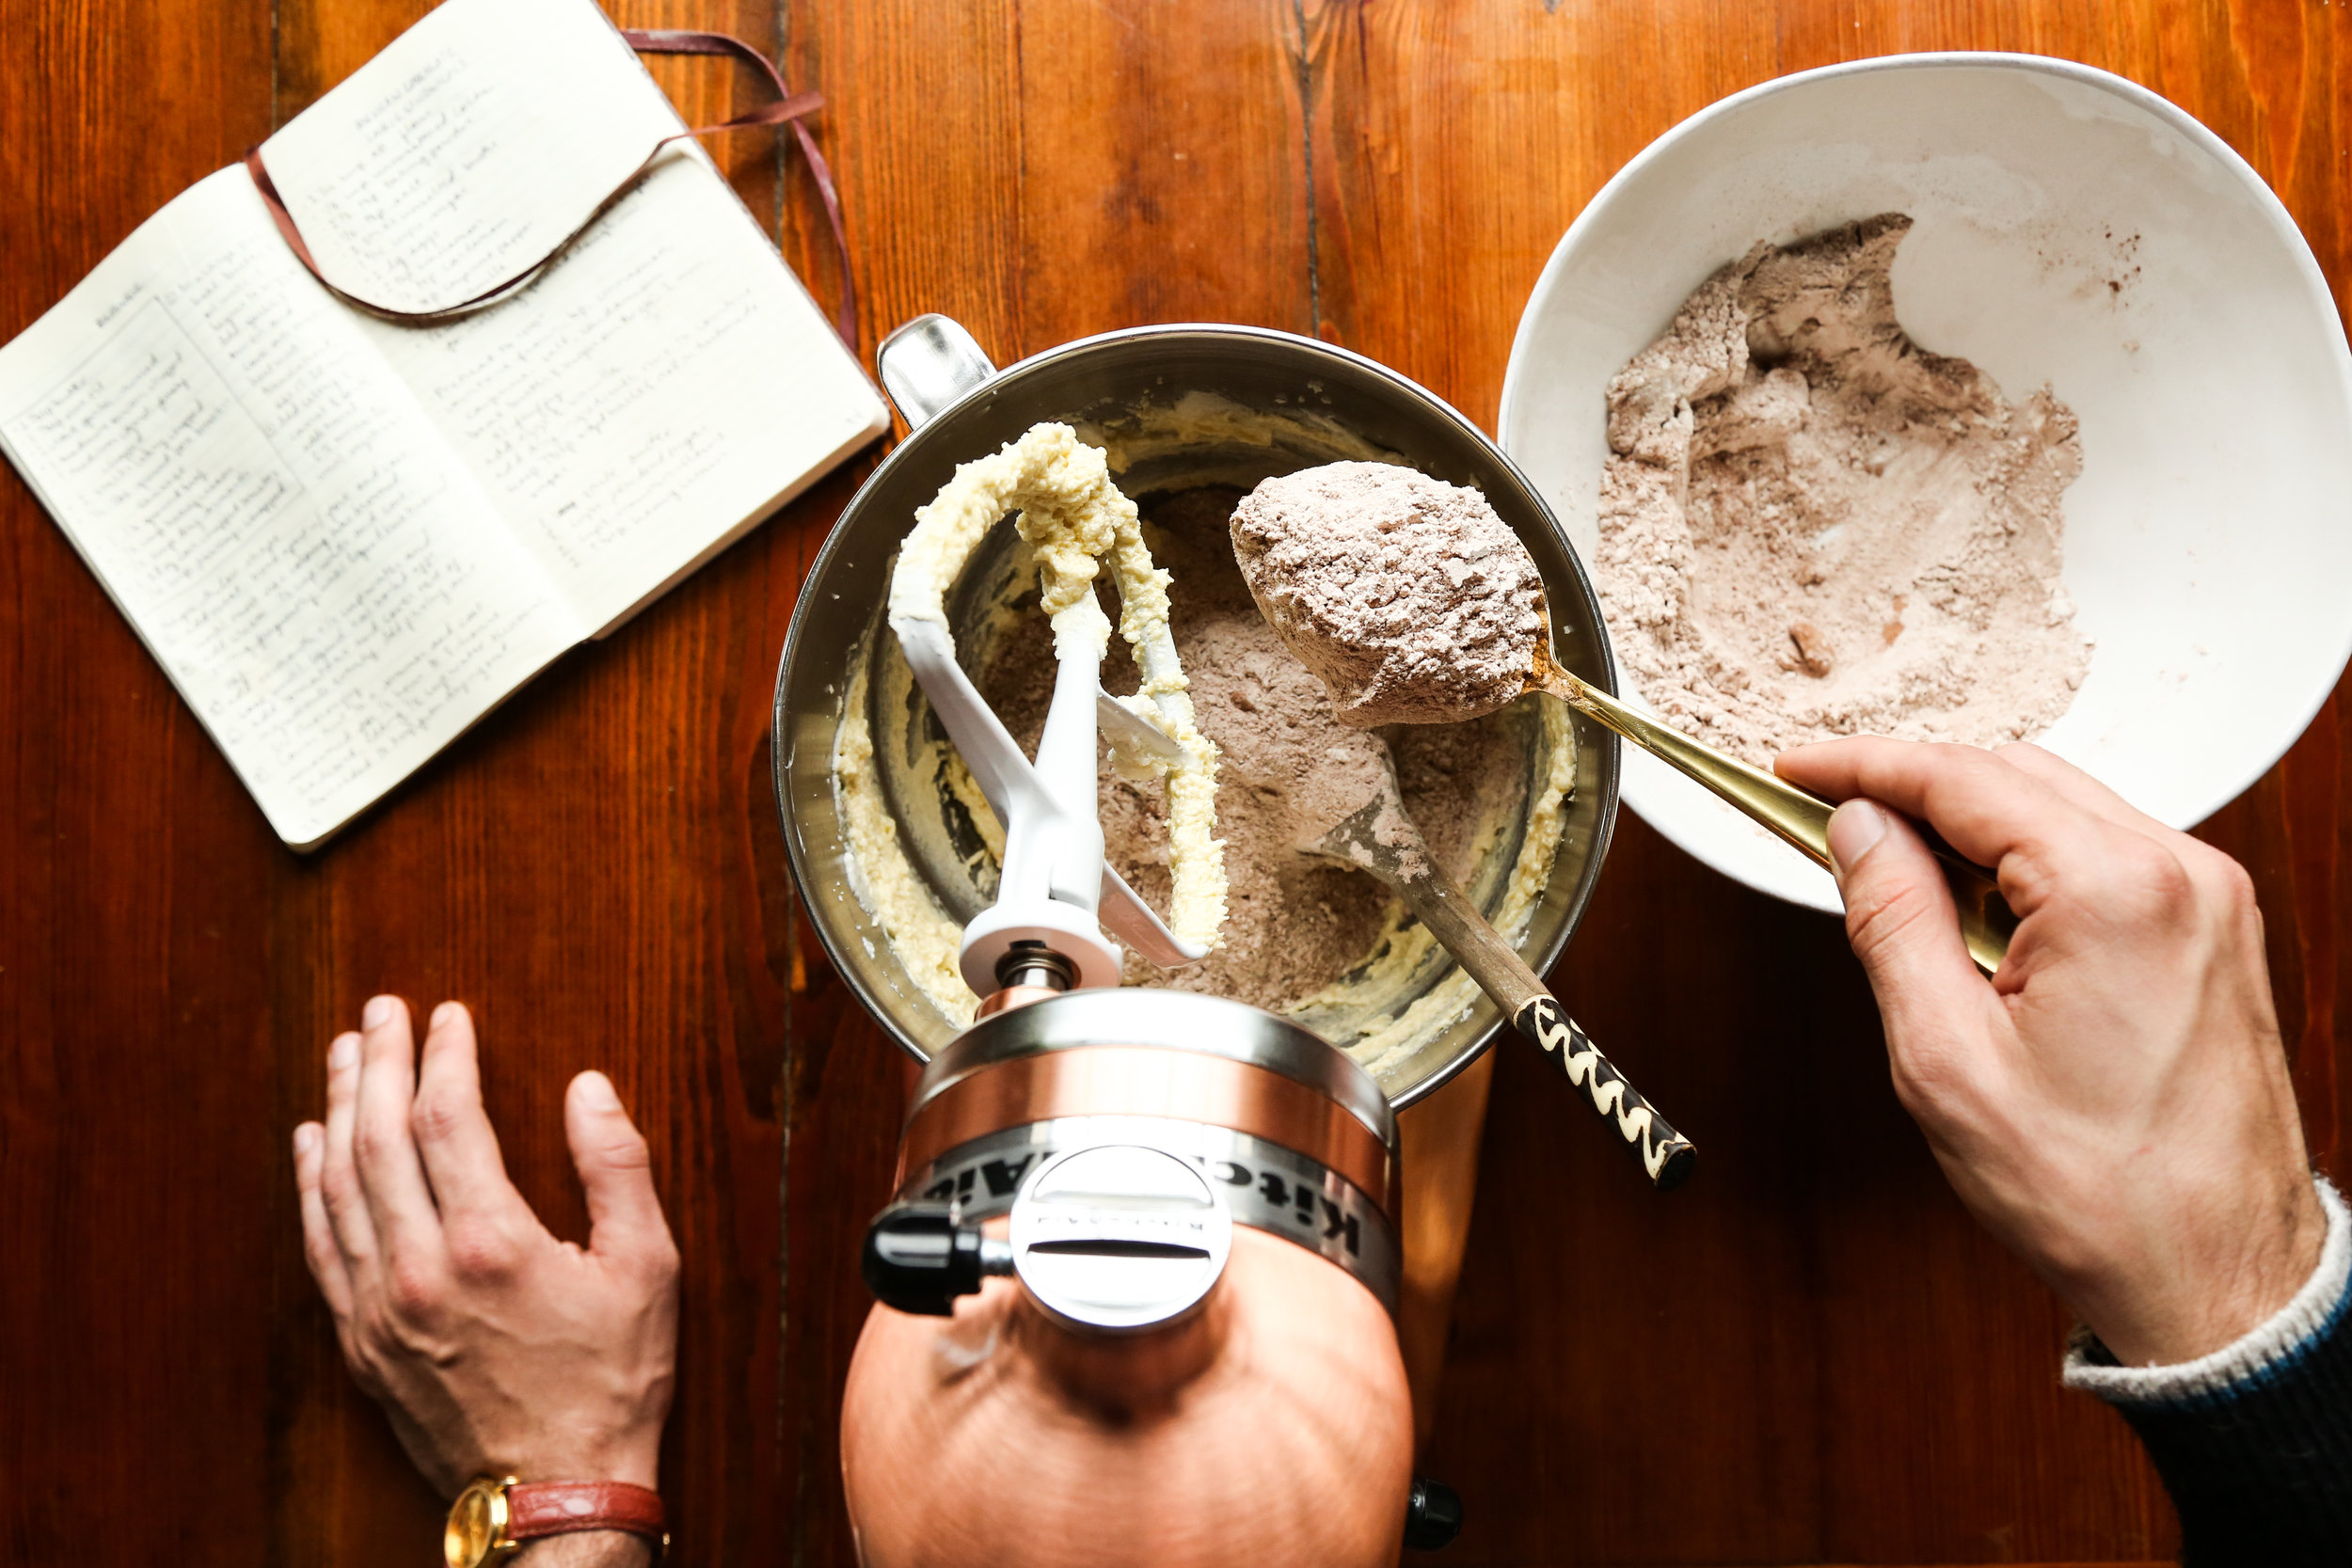
Scrape down the bowl and add in your dry mix, about 1/2 cup at a time, mixing on low between each addition, until it has all been added. Don't over-mix here, we just want it to all be coming together - sweet and simple.

Place your turbinado sugar into a shallow dish. Use a tablespoon measure to scoop out an even tablespoon of the dough*, roll in your hands into a ball, and then roll lightly into the turbinado sugar.
*If your dough is super soft and hard to roll into a ball, just refrigerate the whole bowl of dough for about thirty minutes to firm up, and then roll. Just let the rolled dough balls sit out at room temperature for about ten minutes before baking so that they don't go into the oven cold.
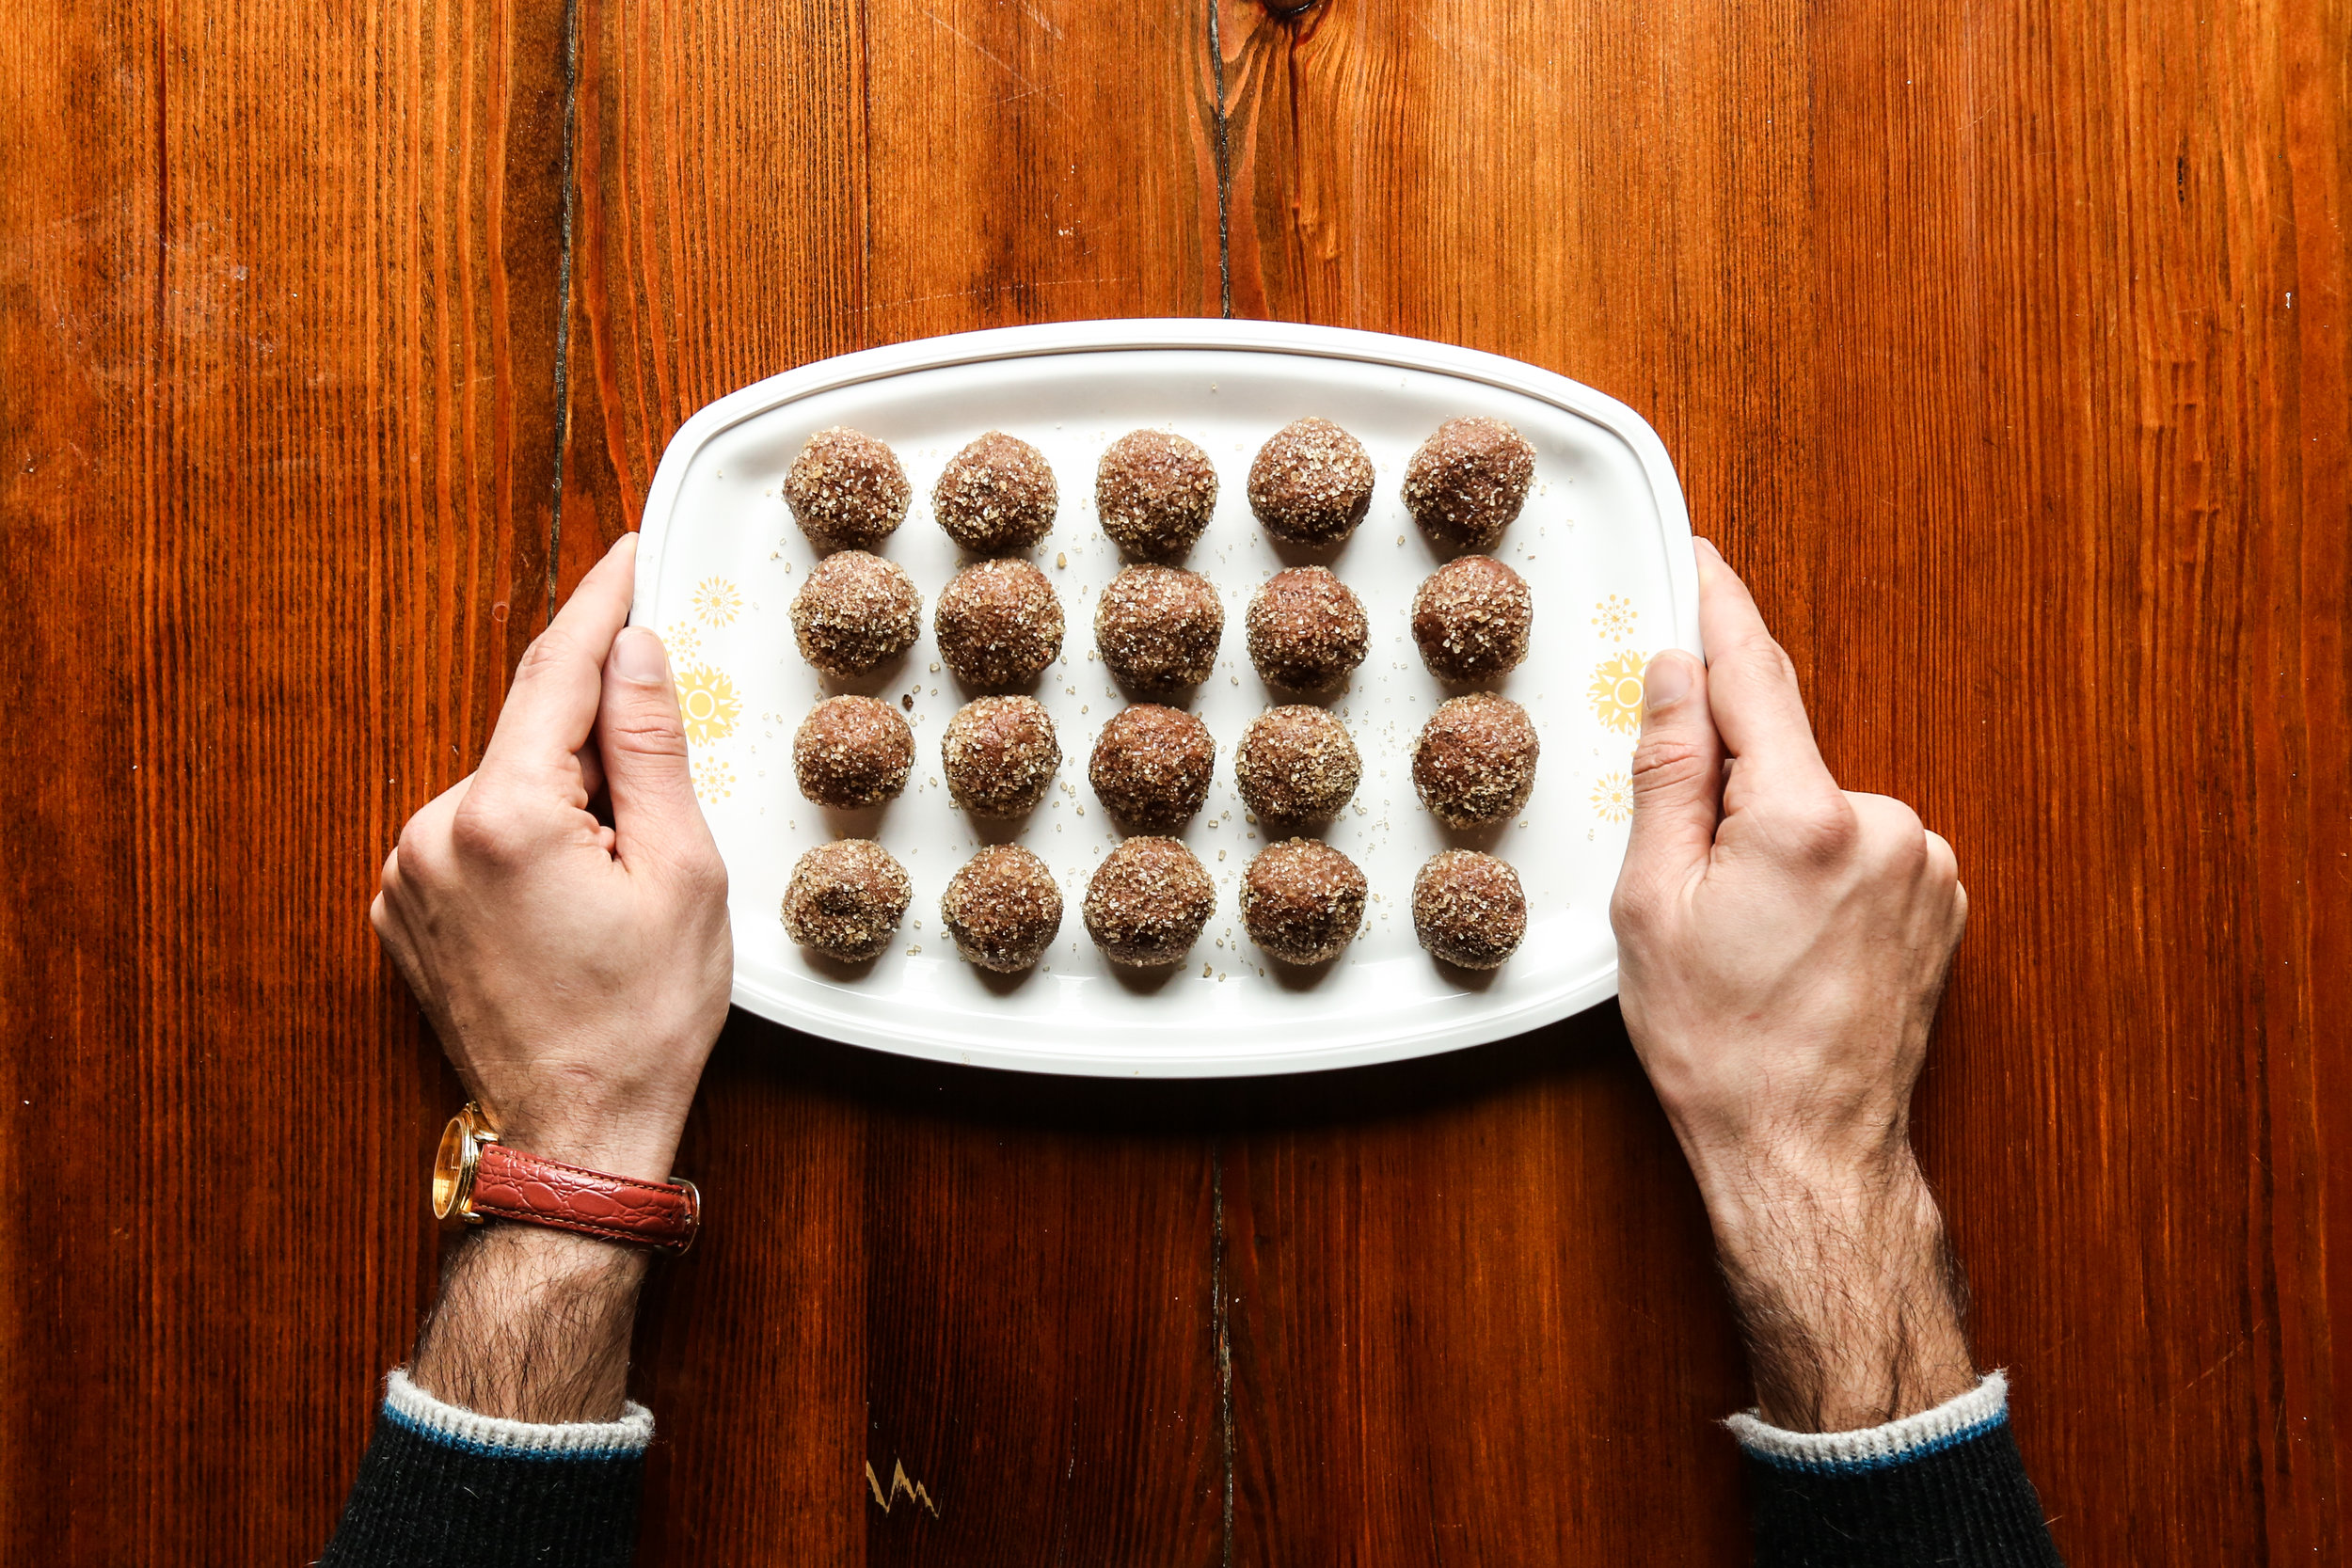
Look at all these cute little bbs ready for the oven!

Place the dough balls on the prepared baking sheet, making sure each one of your new cookie friends has about two inches to spread out.
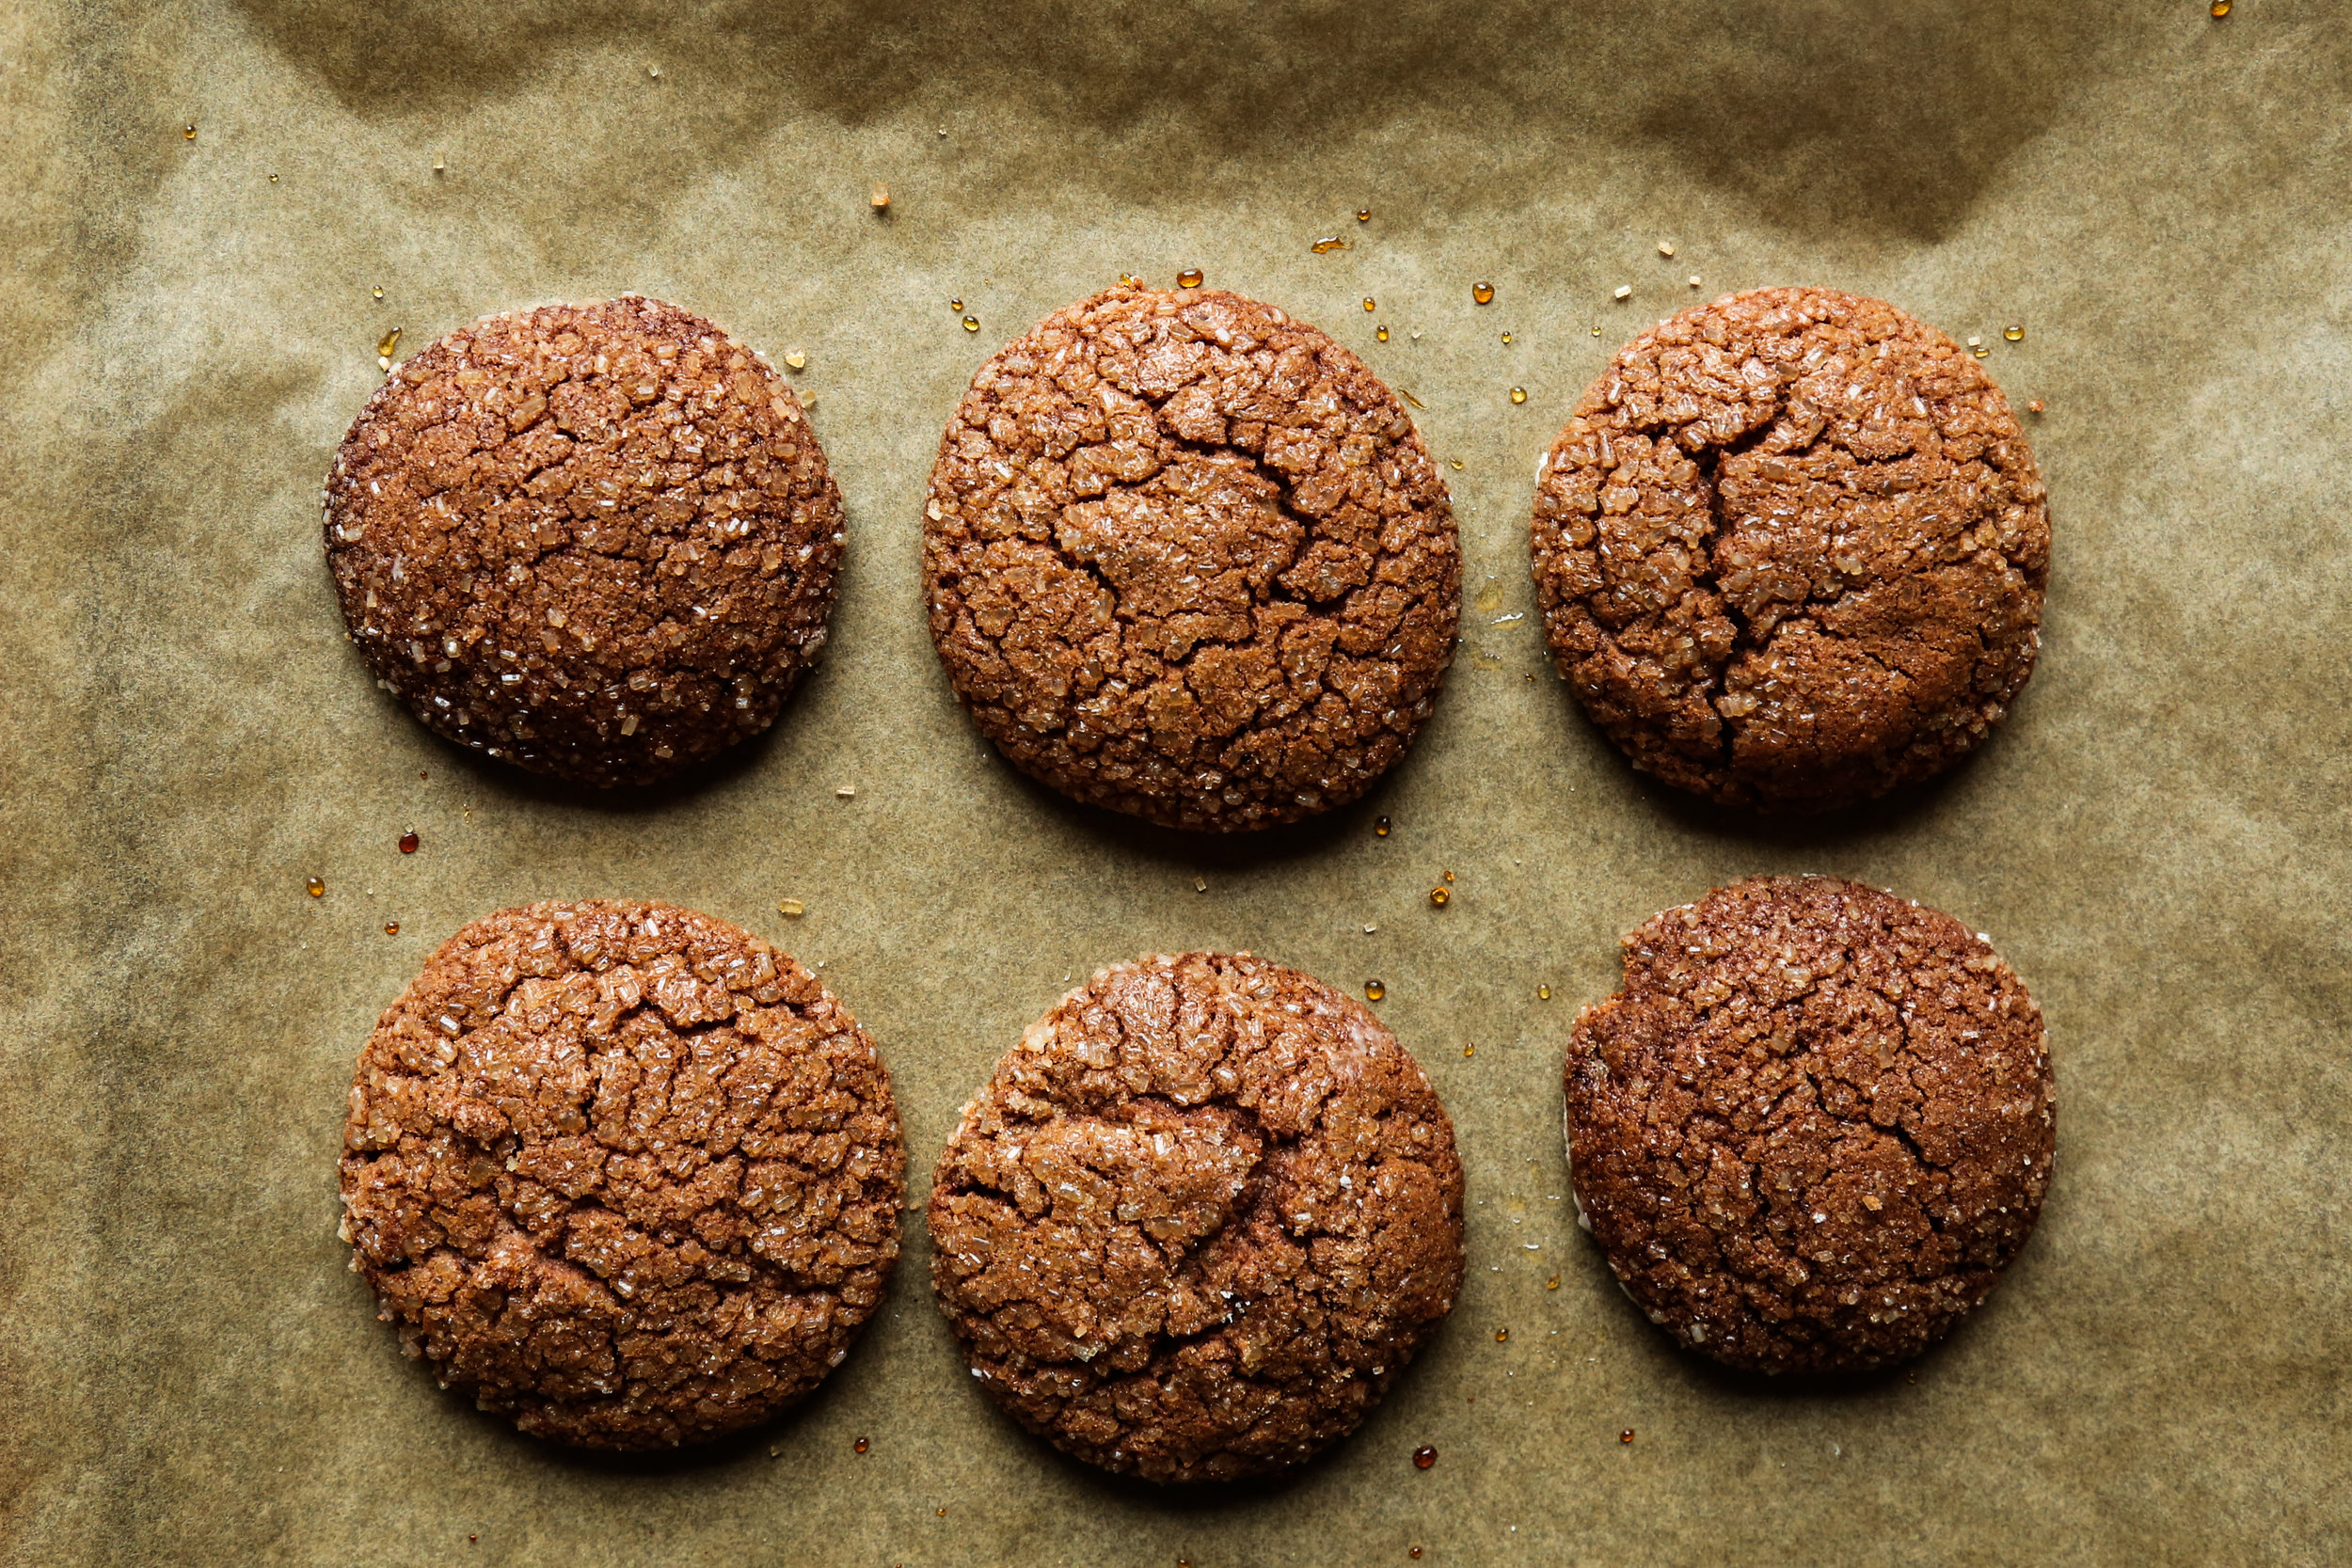
Let them bake in the oven for 10 - 12 minutes, until the tops begin to crackle and the bottom edges turn a slightly darker color. Remove from the oven and give a little push on the center of each cookie to flatten them slightly (if they haven't totally flattened out on their own), making them perfect for cookie sandwiches! Let cool on a wire rack until room temperature.

While the cookies cool, go ahead and get that marshmallow cream whipped up! First, use the paddle attachment to beat the butter on high speed for about one minute, until slightly fluffy. Add in the powdered sugar 1/2 cup at a time, beating between each addition. Your filling will be slightly stiff at this point. Next, melt the marshmallows in a heat-safe bowl in the microwave for about 45 seconds, watching very closely as the marshmallows will rise and puff out of your bowl if you aren't careful. Whisk it together with a fork and add to the filling mixture. Switch over to the whisk attachment and whip the filling for about one minute on high speed, until fluffy, scraping down the sides of the bowl as necessary. It should be thick, but still thin enough to squeeze out of a piping bag. If it's too thick, add in just a tablespoon of heavy cream at a time, mixing between each addition, until desired consistency is reached. Note: we did not need any additional cream in any batch of recipe testing, but your experience may vary!

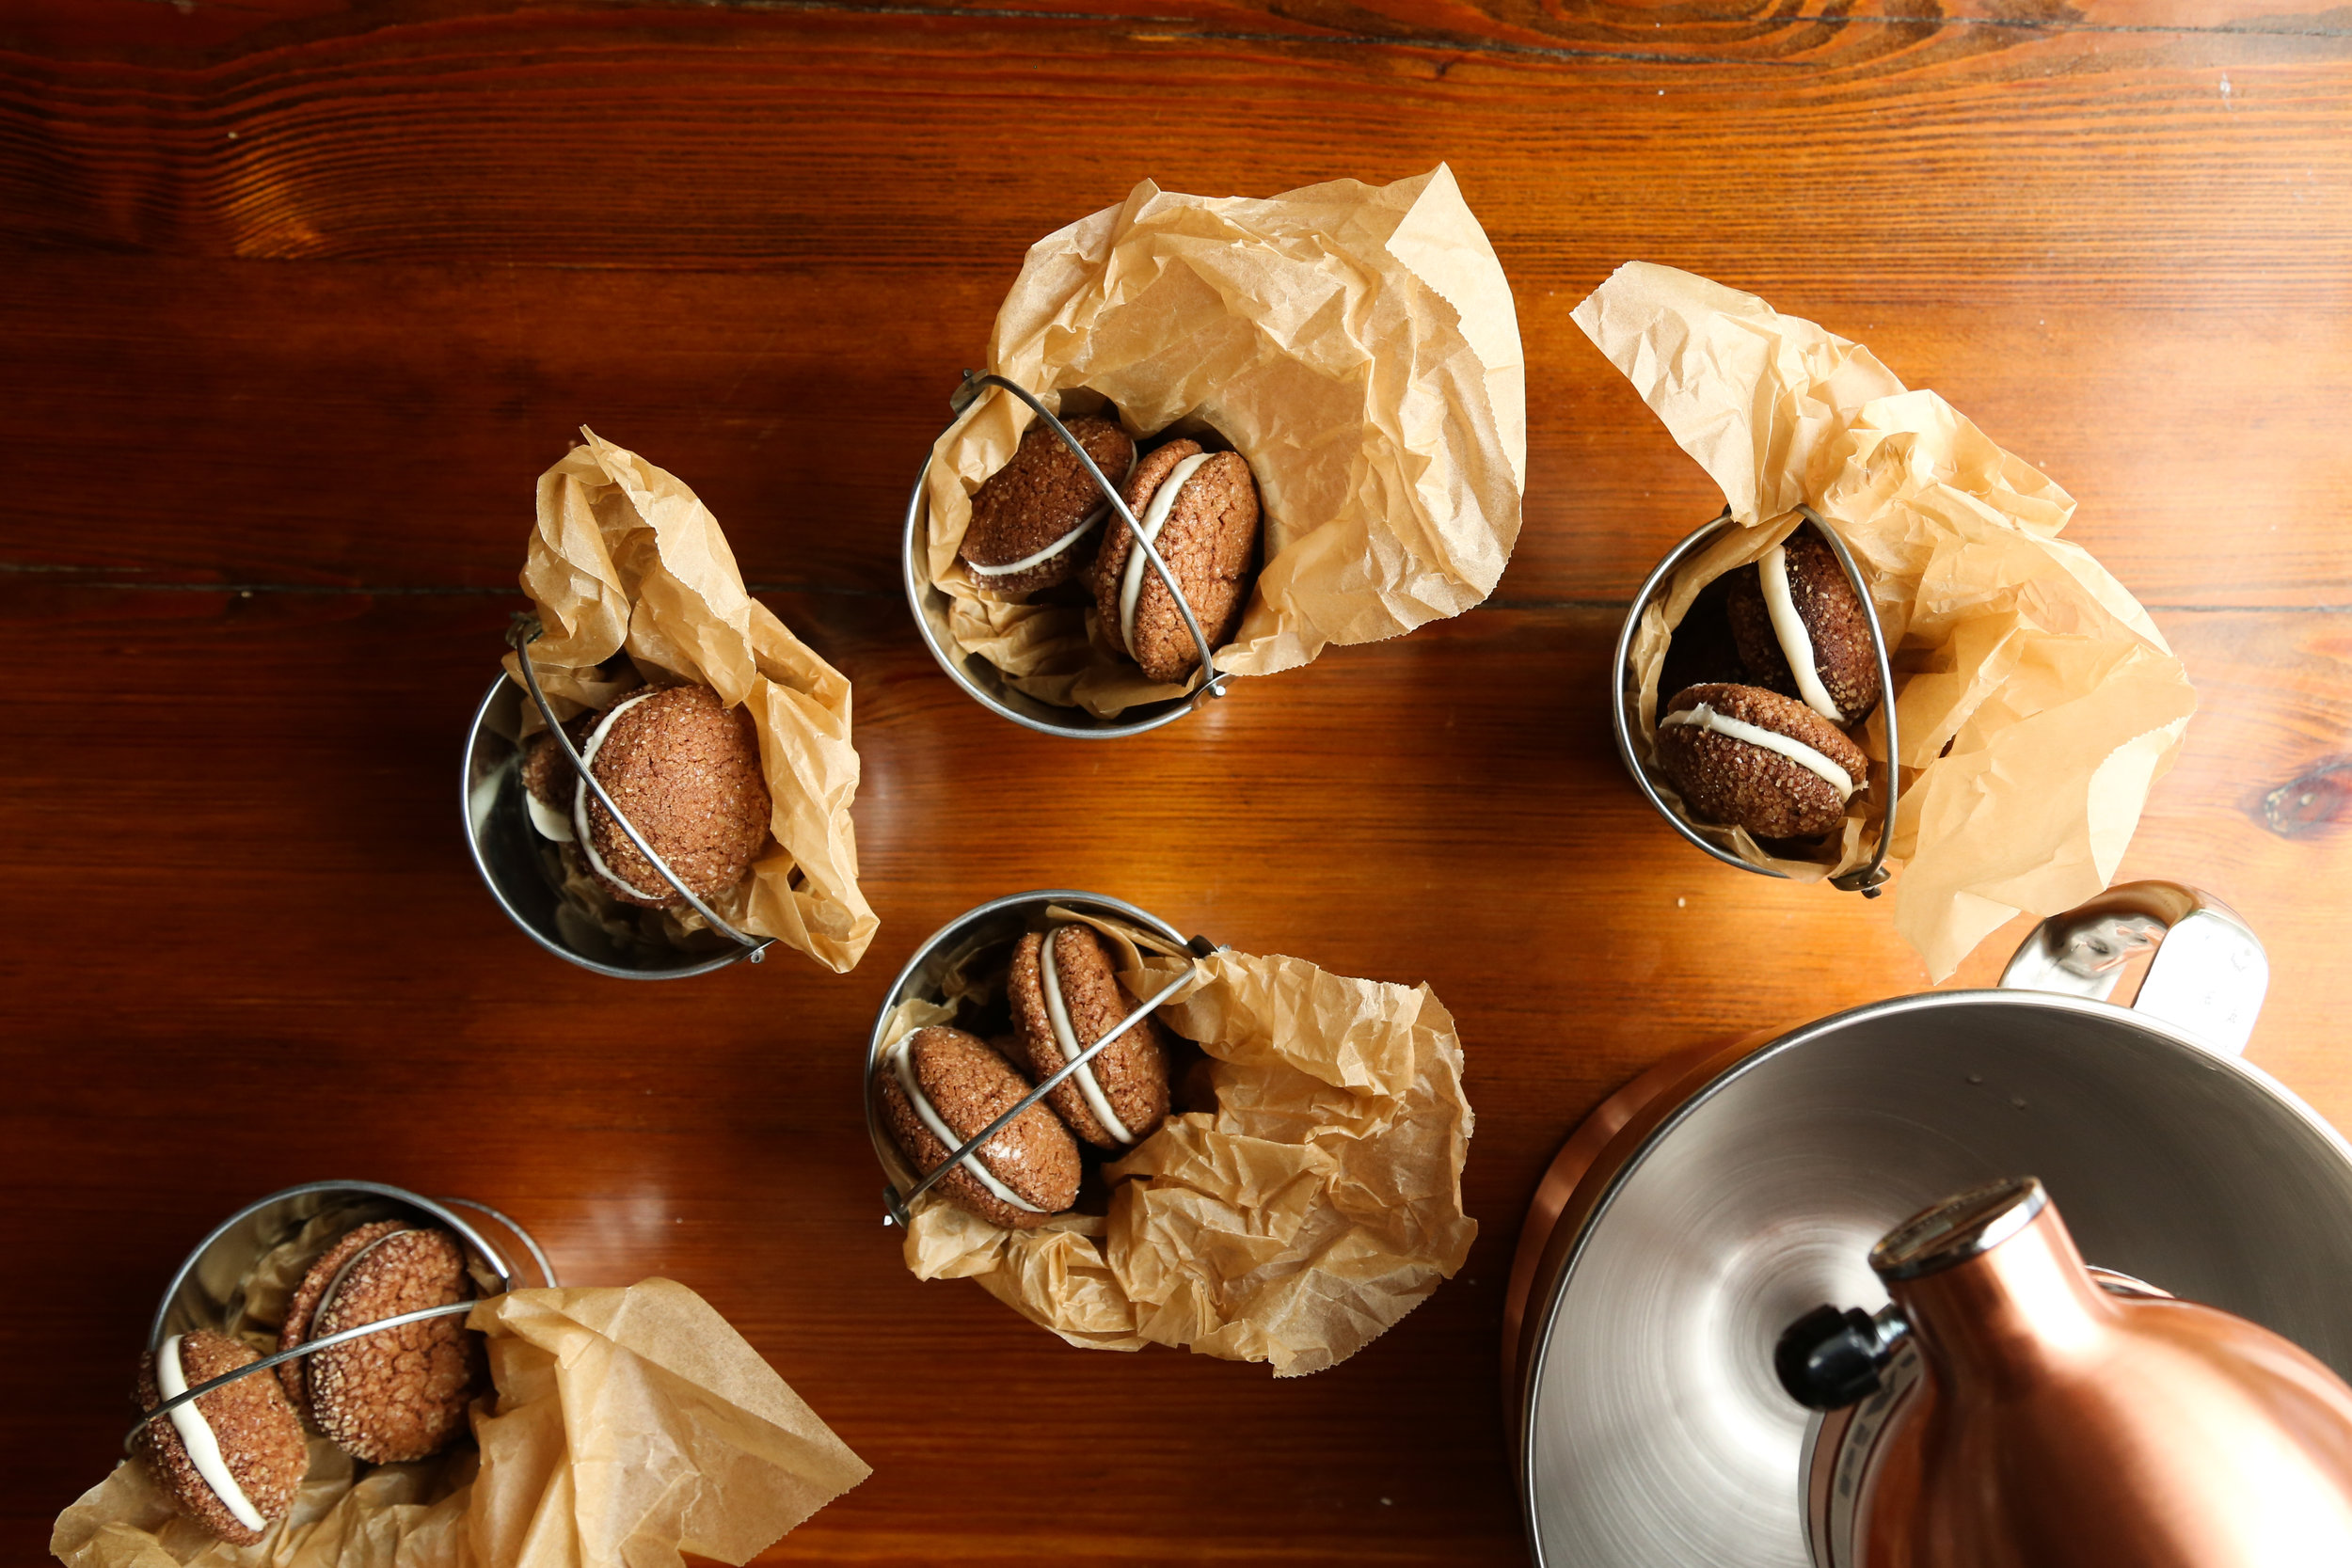
Transfer your filling to a piping bag or zip-top bag and snip off the end. Turn half the cookies upside down and pipe a little swirl of the filling in the center and top with the remaining half of the cookies. Press down just slightly to lock them together!

You can refrigerate these guys for half an hour to firm up the filling quickly, but after about an hour of being left out the filling will firm up kind of like an Oreo, which is v good and allows for easy transportation and packaging. These cookie sandwiches will remain good in an airtight container for up to 3 days! Enjoy!
Written directions:
Mexican Hot Chocolate Cookie Sandwiches
prep: 10 minutes // cook: 12 minutes // makes: about 36 cookies, enough for 18 cookie sandwiches
Mexican Chocolate Cookies
- 2 cups all-purpose flour** (see notes at bottom about flour measurement - v important!)
- 1/2 cup unsweetened cocoa** (same note as above)
- 2 1/2 teaspoons baking powder
- 2 teaspoons ground cinnamon
- 1 - 1 1/2 teaspoon cayenne pepper, depending on desired spice level
- 1/2 teaspoon salt
- 1/8 teaspoon ground cardamom
- 2 sticks unsalted butter, room temperature and soft
- 1 1/2 cups granulated sugar
- 2 large eggs
- 1 teaspoon vanilla extract
- 1/2 cup raw turbinado sugar
Marshmallow Cream Filling
- 1 stick unsalted butter, softened
- 2 cups powdered sugar
- 2 cups mini marshmallows
- 1 - 3 tablespoons heavy cream** (may not need, see notes!)
- Preheat your oven to 400 degrees and line two baking sheets with parchment paper.
- Whisk together the flour, cocoa powder, baking powder, cinnamon, cayenne, salt, and cardamom in a medium mixing bowl and set aside.
- In the bowl of a stand mixer fitted with the paddle attachment, place the softened butter and granulated sugar and cream on speed 7 for about two minutes, until fluffy. Scrape down the bowl and add in the eggs, one at a time, mixing on low between each addition, followed by the vanilla extract. Beat for another one minute on speed 7, until slightly fluffy.
- Scrape down the bowl and add in your dry mix, about 1/2 cup at a time, mixing on low between each addition, until it has all been added. Don't over-mix here, we just want it to all be coming together, sweet and simple.
- Place your turbinado sugar into a shallow dish. Use a tablespoon measure to scoop out an even tablespoon of the dough, roll in your hands into a ball, and then roll lightly into the turbinado sugar. Place the dough balls on the prepared baking sheet, making sure each cookie has about two inches to spread out.
- Bake in the oven for 10 - 12 minutes, until the tops begin to crackle and the bottom edges turn a slightly darker color. Remove from the oven and give a little push on the center of each cookie to flatten them slightly, making them perfect for cookie sandwiches! Let cool on a wire rack until room temperature.
- While the cookies cool, make the marshmallow filling. Use the paddle attachment to beat the butter on high speed for about one minute, until slightly fluffy. Add in the powdered sugar 1/2 cup at a time, beating between each addition. Your filling will be slightly stiff at this point. Next, melt the marshmallows in a heat-safe bowl in the microwave for about 45 seconds, watching very closely as the marshmallows will rise and puff out of your bowl if you aren't careful. Whisk it together with a fork and add to the filling mixture. Switch over to the whisk attachment and whip the filling for about one minute on high speed, until fluffy. It should be thick, but still thin enough to squeeze out of a piping bag. If it's too thick, add in a tablespoon of heavy cream at a time, mixing between each addition, until desired consistency is reached. Note: we did not need any additional cream in any batch of recipe testing, but your experience may vary!
- Once the cookies have completely cooled (definitely don't want melted filling everywhere!), transfer your masrshmallow filling to a piping bag or zip-top bag and snip off the end. Turn half the cookies upside down and pipe a little swirl of the filling - top with the remaining half of the cookies and press down just slightly to lock them together!
- You can refrigerate these guys for half an hour to firm up the filling quickly, but after about an hour of being left out the filling will firm up kind of like an Oreo, which is v good and allows for easy transportation and packaging. These cookie sandwiches will remain good in an airtight container for up to 3 days! Enjoy!
NOTES
- When measuring your flour and cocoa, use a spoon to fluff the flour (and cocoa) in the bag (or box) and then gently use the same spoon to pour the flour and cocoa into the cup measures. A lot of folks often just scoop out the measurements with the cup measure, but that causes a compaction of our ingredients and leads to a larger amount of dry ingredients in the baked goods, resulting in denser cookies that don't spread very well! Read more about the importance of measuring dry ingredients this way, here.
- The heavy cream for the marshmallow filling is only needed if your filling is crumbly and super stiff after the addition of the melted marshmallows. You most likely won't need the heavy cream at all, but depending on the humidity where you live and the brand of marshmallow used, you may need just a touch of the heavy cream to help thin out the filling so that it can easily be piped out onto the cookies.


PIN THE RECIPE!

Thanks a ton to our friends over at Zola Registry for providing us with this dope mixer for this post. We took some time to peruse Zola and are pretty much in love with the entire concept, as it's basically the future of wedding registries. All you need to do is sign up, create a list of items from the over 450 brands available, and personalize it with messages and notes to make the process easier for guests. Also, there is 24/7 tech support, a registry manager to help couples pick out the right gifts across price points - AND couples can exchange gifts for something they'd like or need more and even set up specific delivery dates.
As part of our partnership, Zola is offering $50 to any of you guys when you sign up for Zola and receive $500 in gifts. Check out this offer here!